rmorton
-
Posts
290 -
Joined
-
Last visited
rmorton's Achievements
Well-known member (3/3)
-
Bit late for me too but a very good idea. I did some parts with primer sprayed on but I am dependant on the temperature in the garage for that so this lot will be black stuff and paintbrush on the kitchen table. The black isn't very resilient so sliding surfaces with a close fit aren't the best.
-
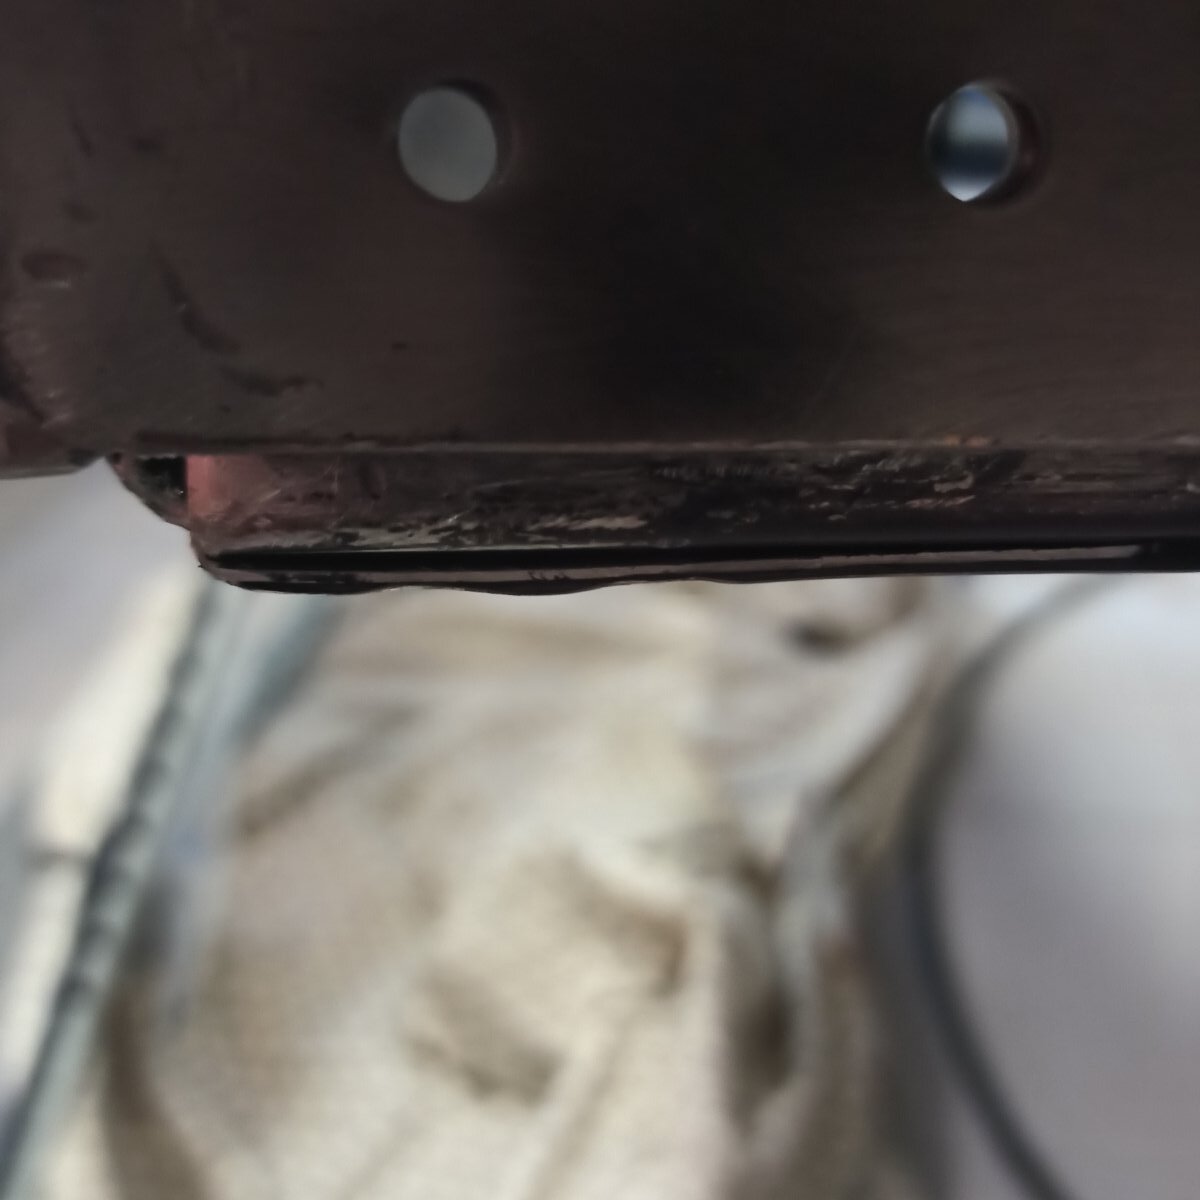
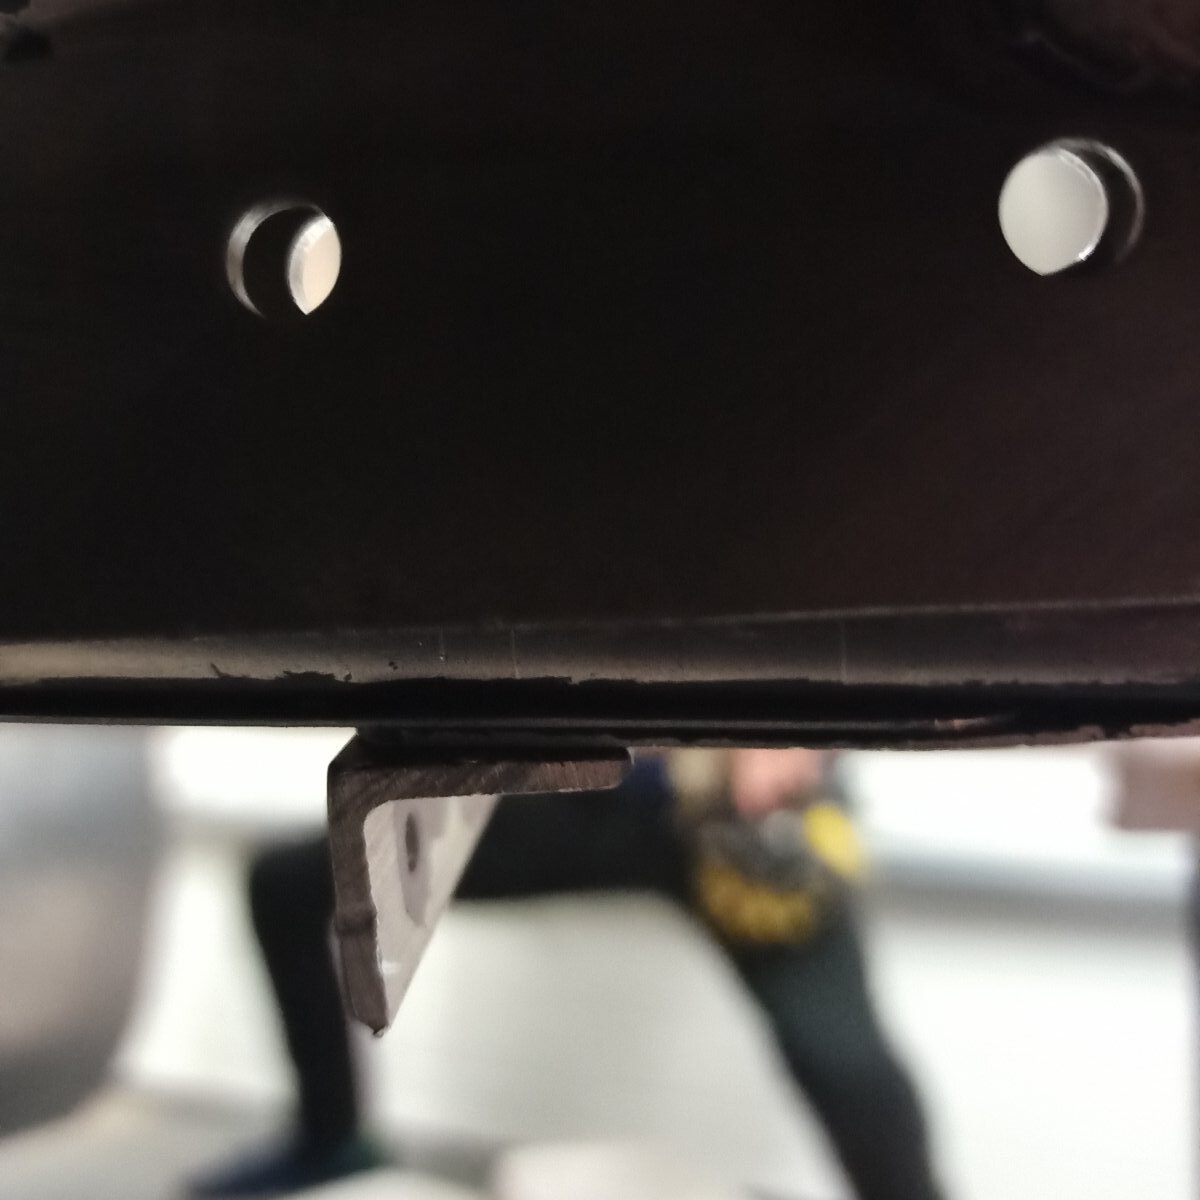
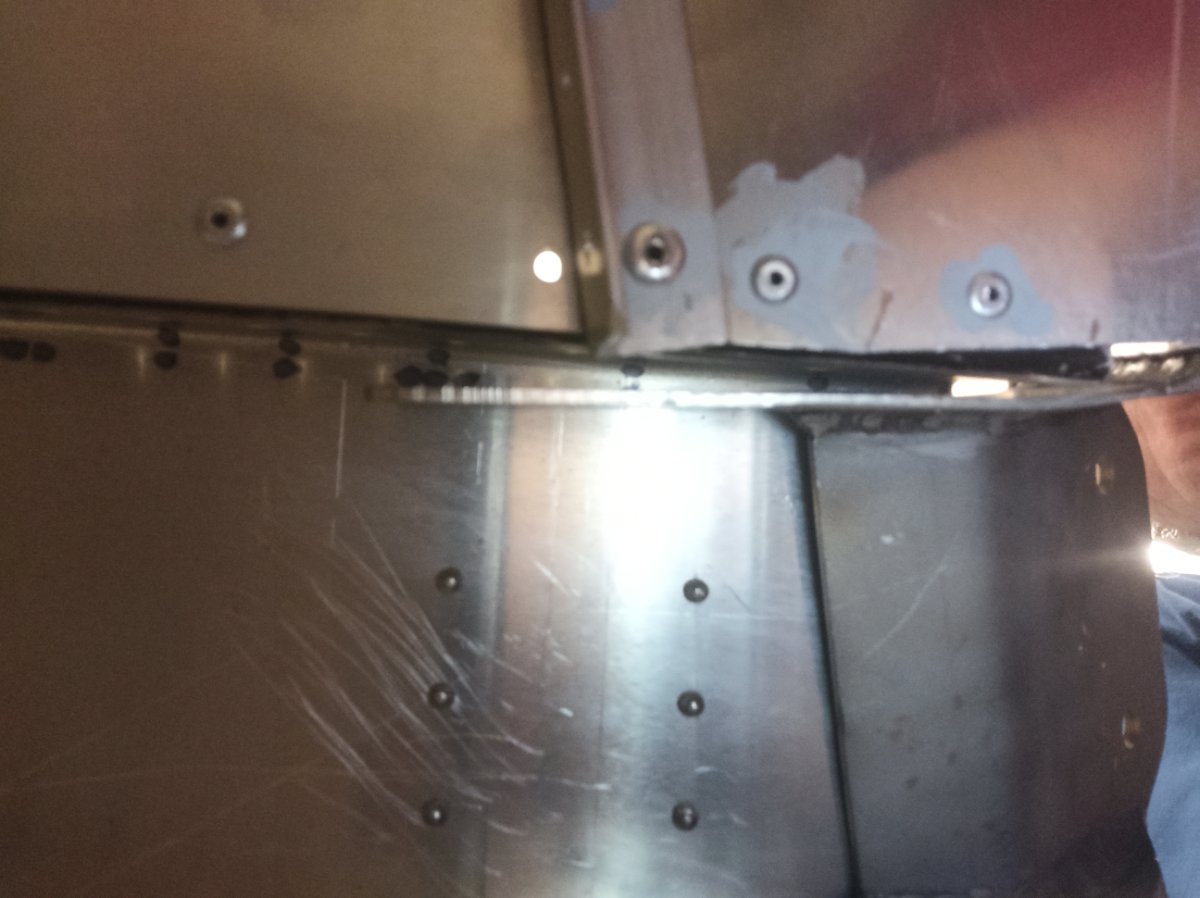
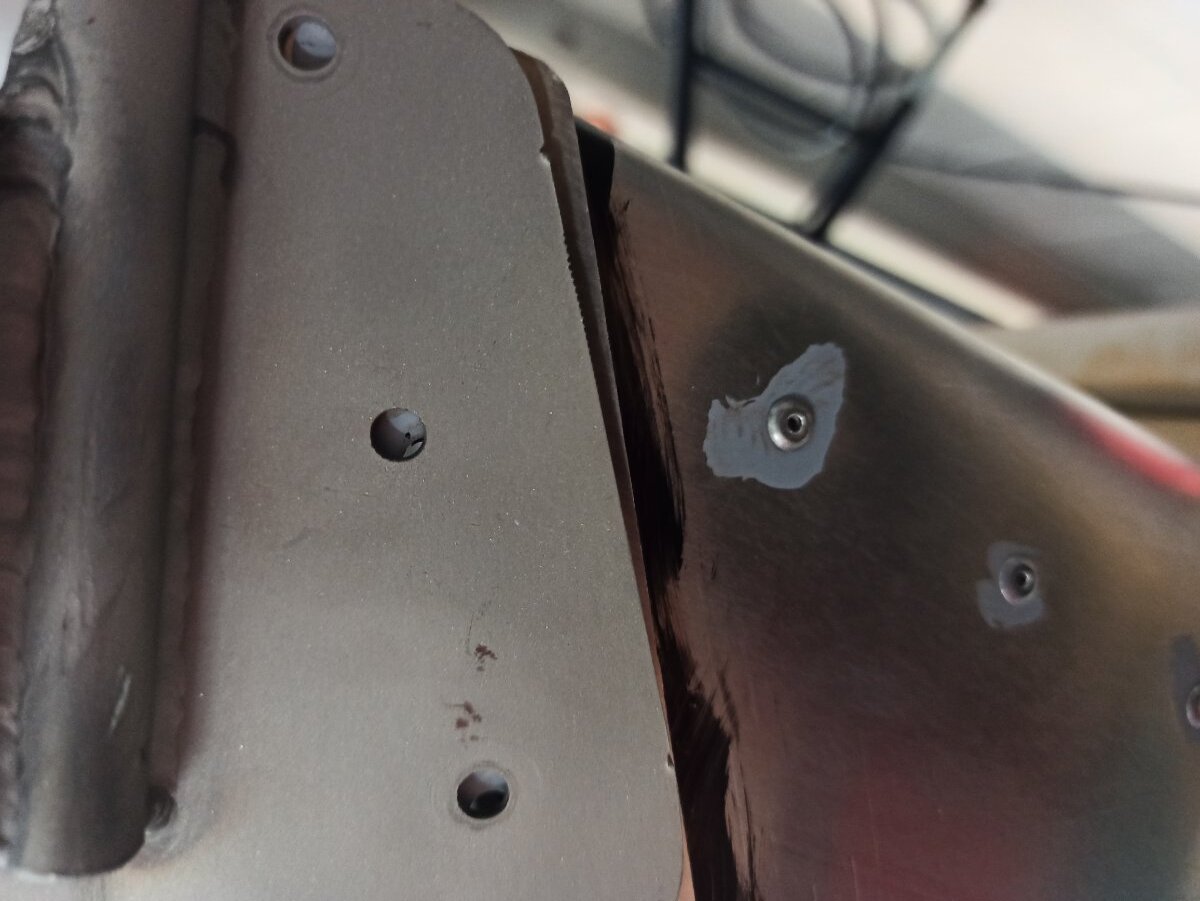
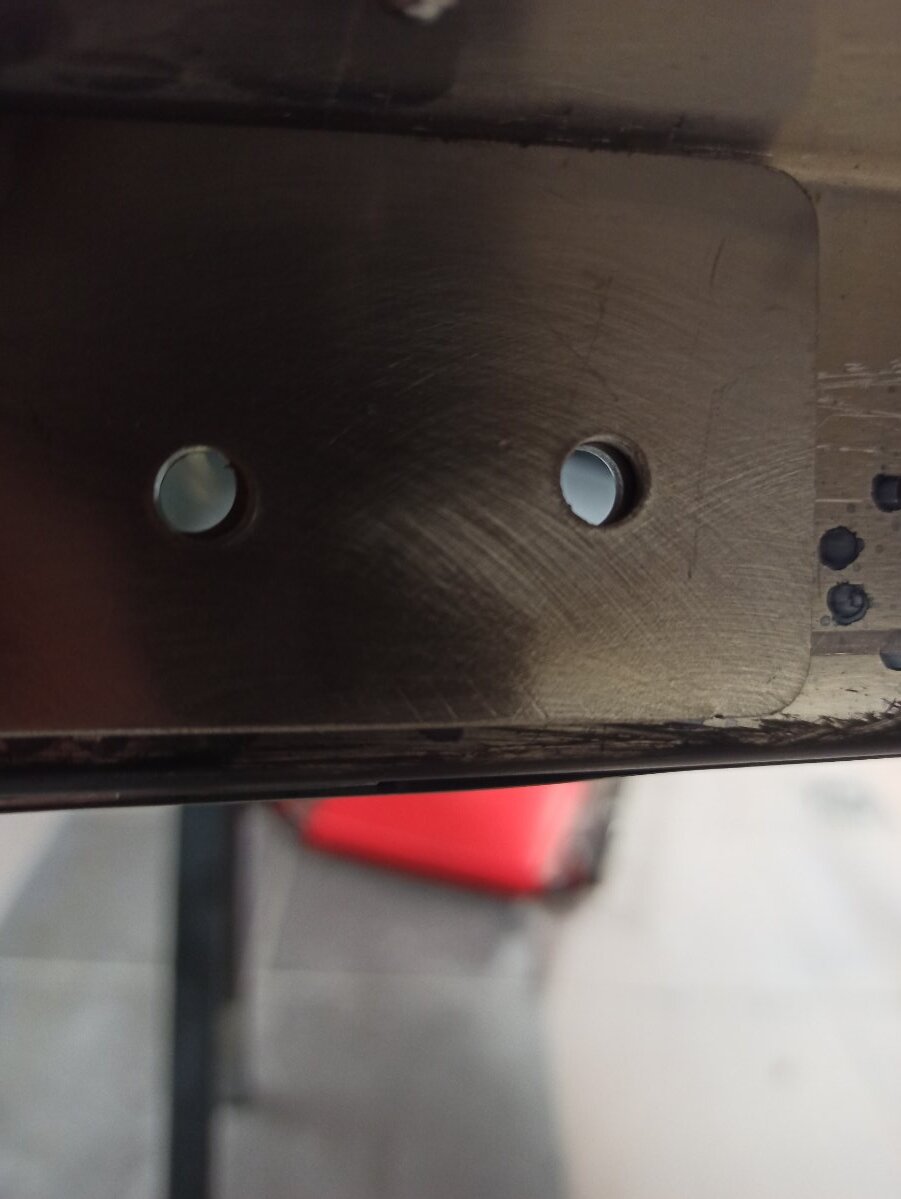
The awls work well and as you say there is usually a cause for the misfit. On one side this was one of the legs in the channel was warped and blocked the correct positioning of the bracket, plus the welds binding on the skin and end of the U channel. The other side took more time to figure out. Similar issues with the bracket as well as the top plate of the bracket welds were too high. I have been very wary of edge distances with rivets and notice there are a few places where the holes are very close to the edge, I assume thatches locations are non critical. Another annoyance is the black stuff will often prevent a rivet going in even when the holes align first time.
-
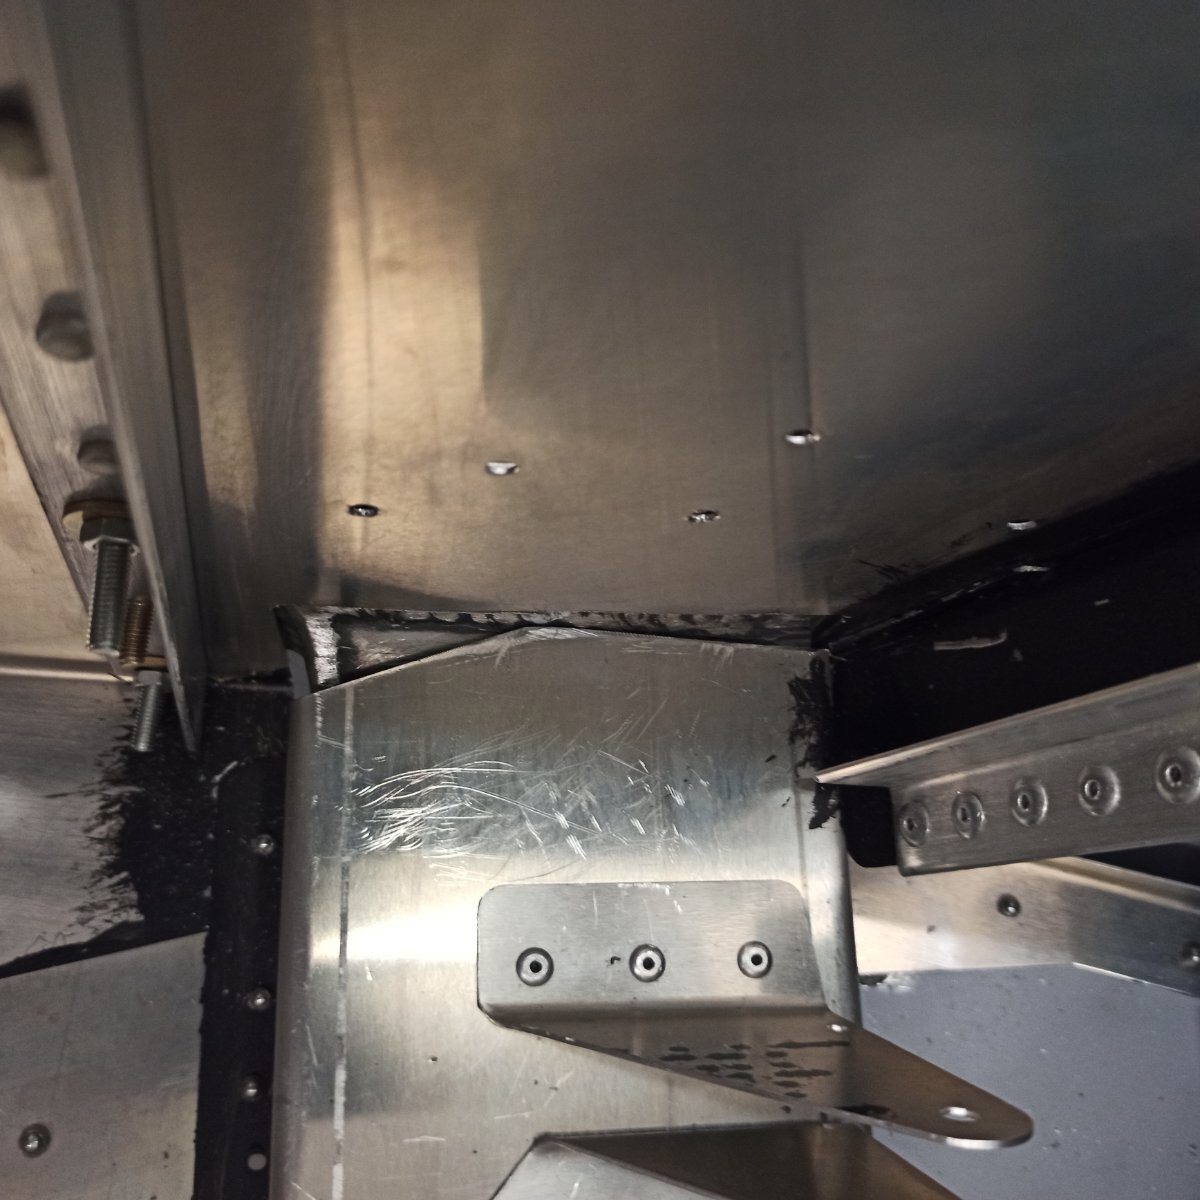
Finally after a week back at work, much reflection on the wise words and pictures from Ibob and others on FB, I took a cardboard template and proved the holes weren't a million miles apart. I started by using the awl to align the different layers then cleaned the holes out with a slow drill of the right diameter. Then with reference to Ibob's photo I started to identify where the welds caught on the U channel. First I filed back the welds where this was safe to do so and then trimmed the end of the U channel and outer fuselage skin to allow space for the bracket welds. I think there is still a small bit to come off the end of the U channel and then the rest should align. One remaining problem is the two shims that go between the bracket and the sides of the U channel. The front one will go in and there is space to spare, but the back one wont fit. Is it ok to put this on the inside of the fuselage or even use it only on the front face of the bracket ie have two at the front and non at the back. If they are only shims then the second option seems to be ok ?

-
Thanks Bob, I will give that a try, particularly the interference between the welds and the outer skin. I will also try to discuss this with the agentry phone as emails are all too easy to miss understand. The oddity is overmuch that the four front holes and t two of the three rivet holes align reasonably well (they are podgerable) It would be useful to know some check dimensions between holes. I tried to compare the position of my holes relative to the bolt tube with some photos on here and there does seem to be a difference. Ill let you know what I find
-
So I sent the pictures to the agent and his rather brief reply was there is no choice but to redial the holes. I will confirm this with him tomorrow and then ask a welder at work to close up the badly aligned holes before drilling the new. Is this a stainless steel piece do you know? I agree with Marty on the critical areas it might be better if they drilled undersize pilot holes that we can then drill out to suit. Generally the fit and finish is remarkably good when you consider all the bending and stretching some of the parts have to go through. Mind you this is the only kit I have built so can't compare.
-
I think the welds and some deformation from the welding certainly produce difficulties in the fit. With mine it is only the four holes, almost as it it slipped in the jib when drilling
-
Don't worry its a civil engineering term for easing things into place. So far I have used away and persuasion but it is way too tight. I have sent the photos off to the agent to see what they recommend. No amount of hammer work is going to get this to line up. Its really frustrating as the engine mount and cabin frame all week fine.
-
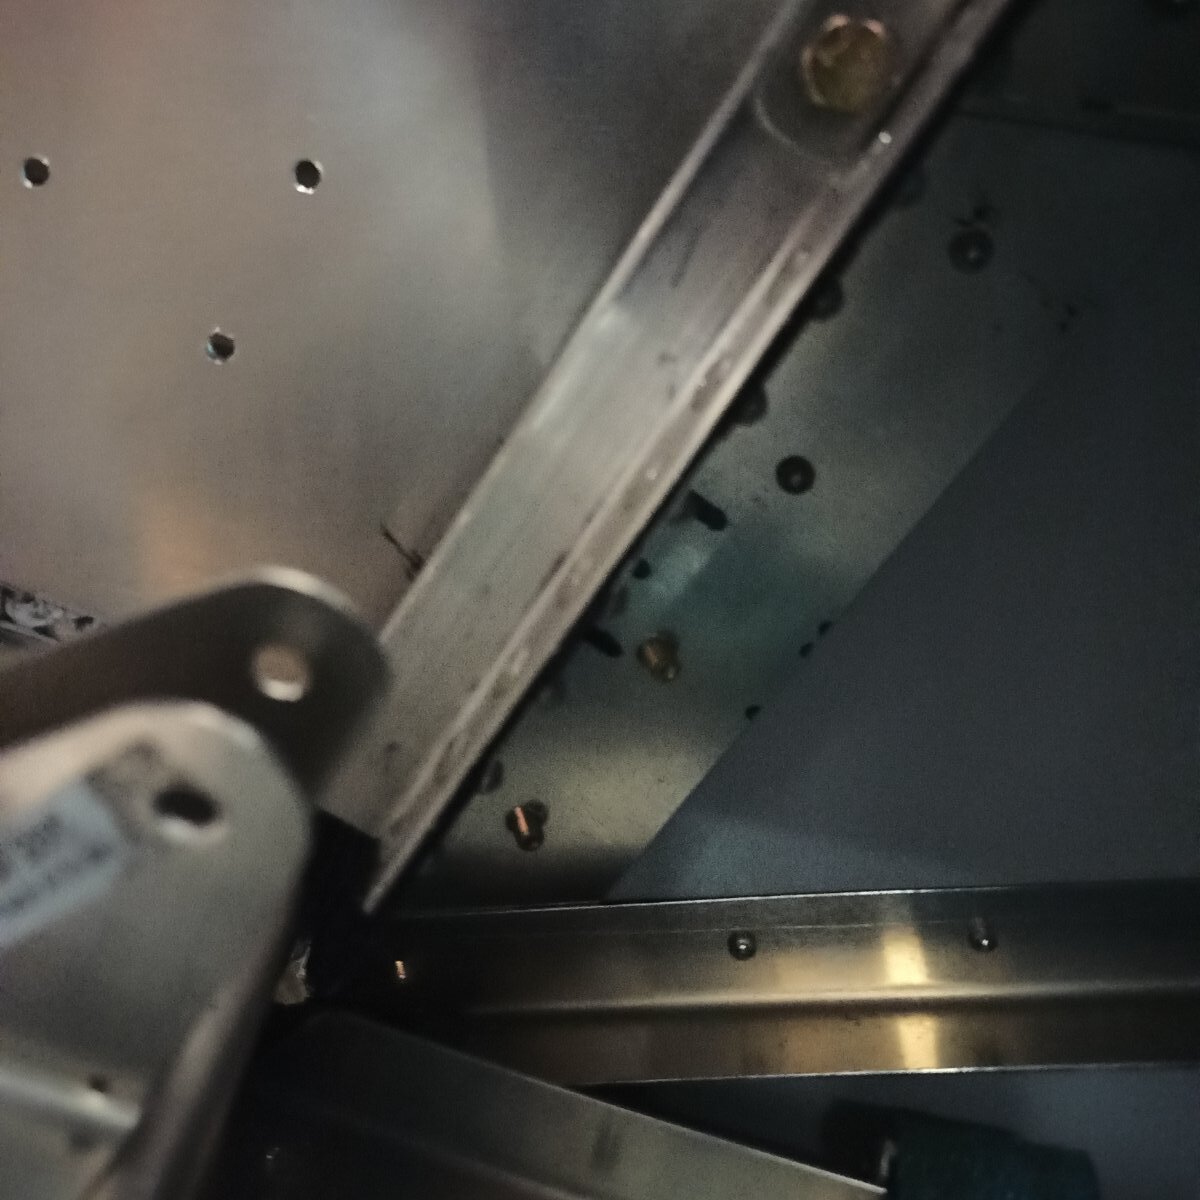
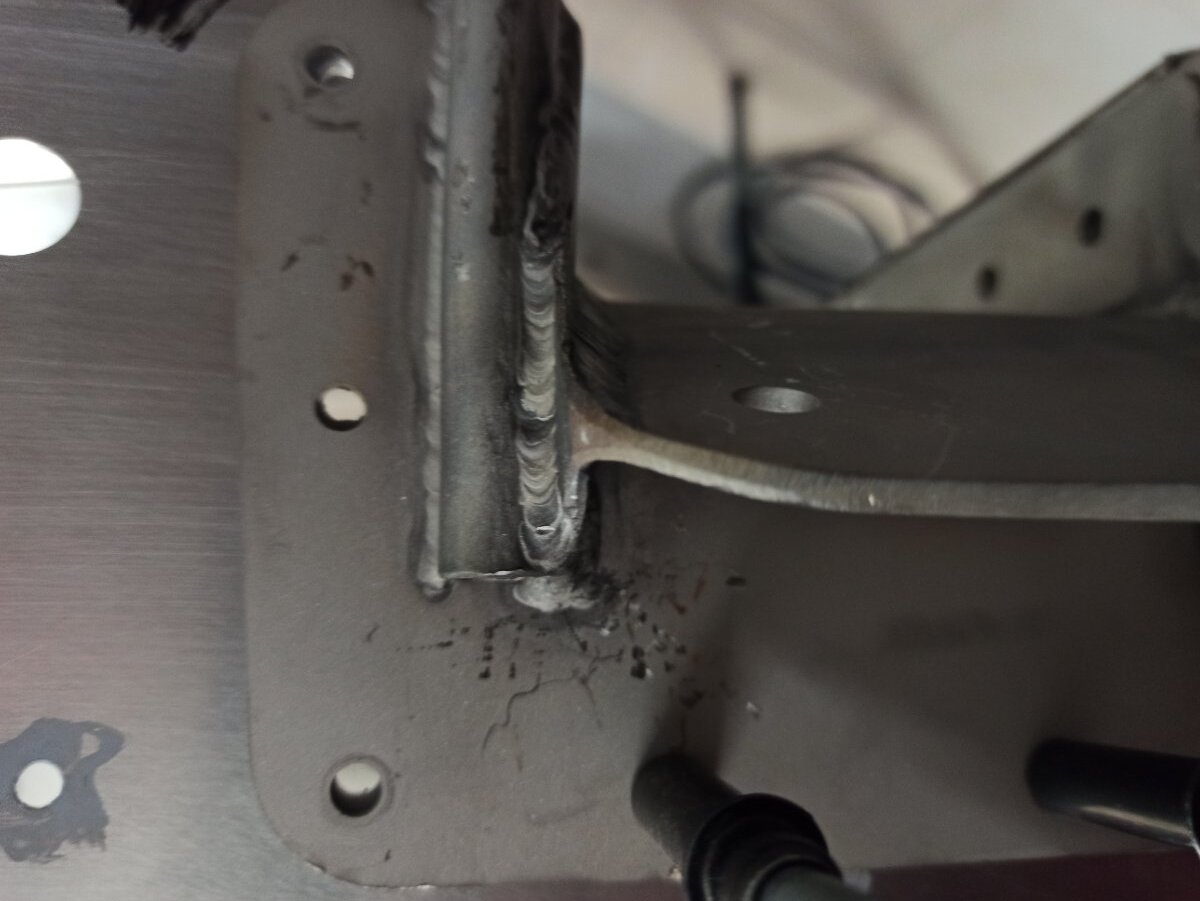
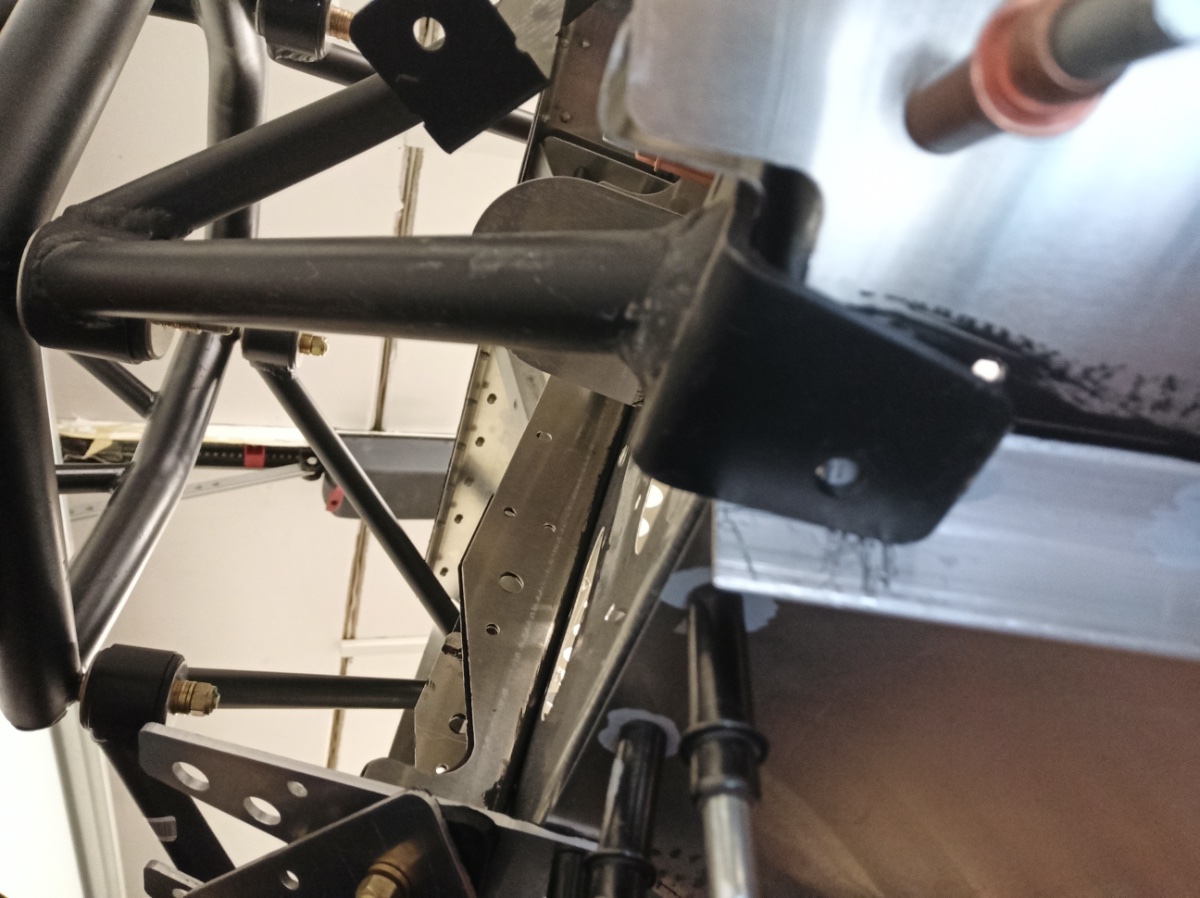
So it gets worse, now I am stuck. I am having a few issues like this in the cockpit area. The front three bolt holes, the two top rivet holes and the bolt holes in the tunnel line up reasonably well however the rear bolt holes and top rivet hole are at least one diameter out!! I am at a loss as to the best way to sort this. No amount of bashing with a hammer will line them all up. the only way I can see to solve this is to weld up the miss aligned holes and re-drill, is that the best way? does anyone have a close up of the rear plate and how it aligns with the bottom of the fuselage?
-
-
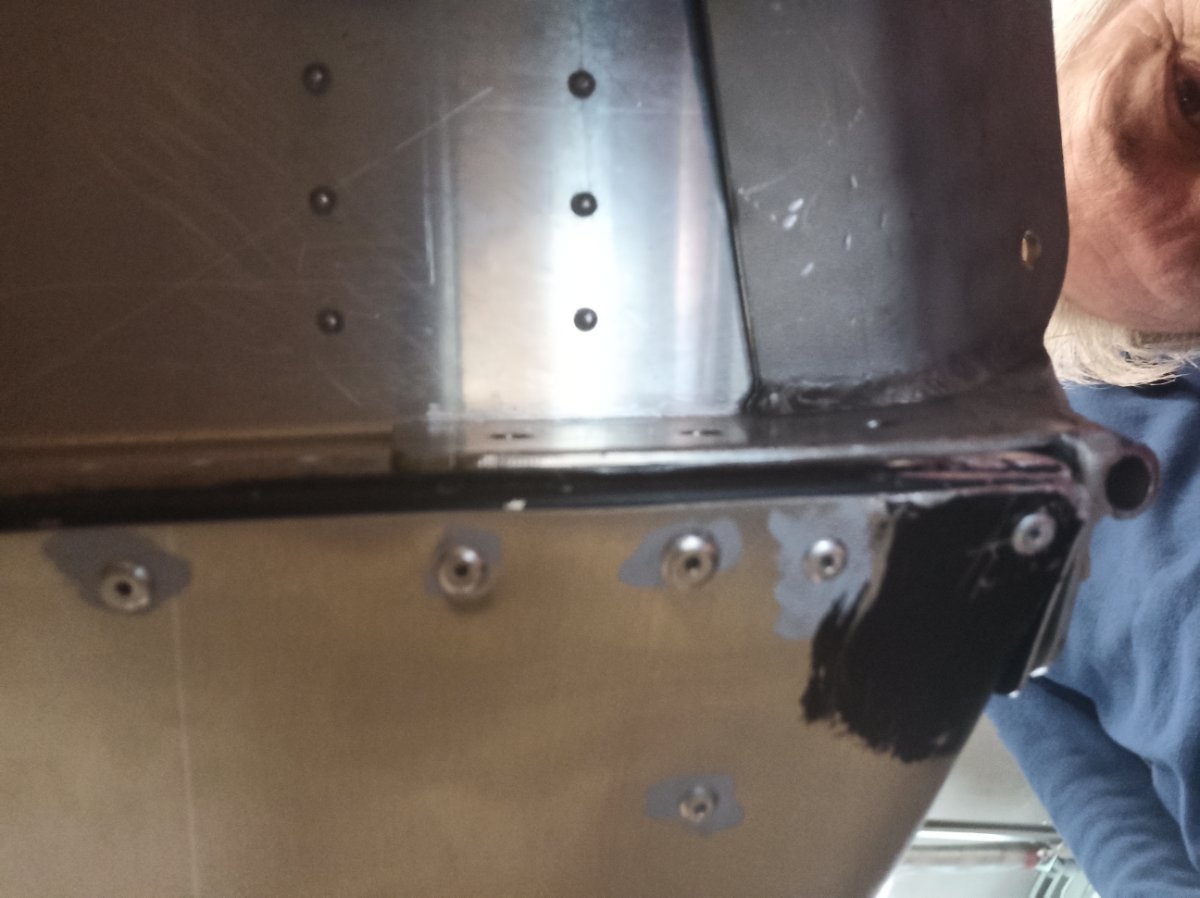
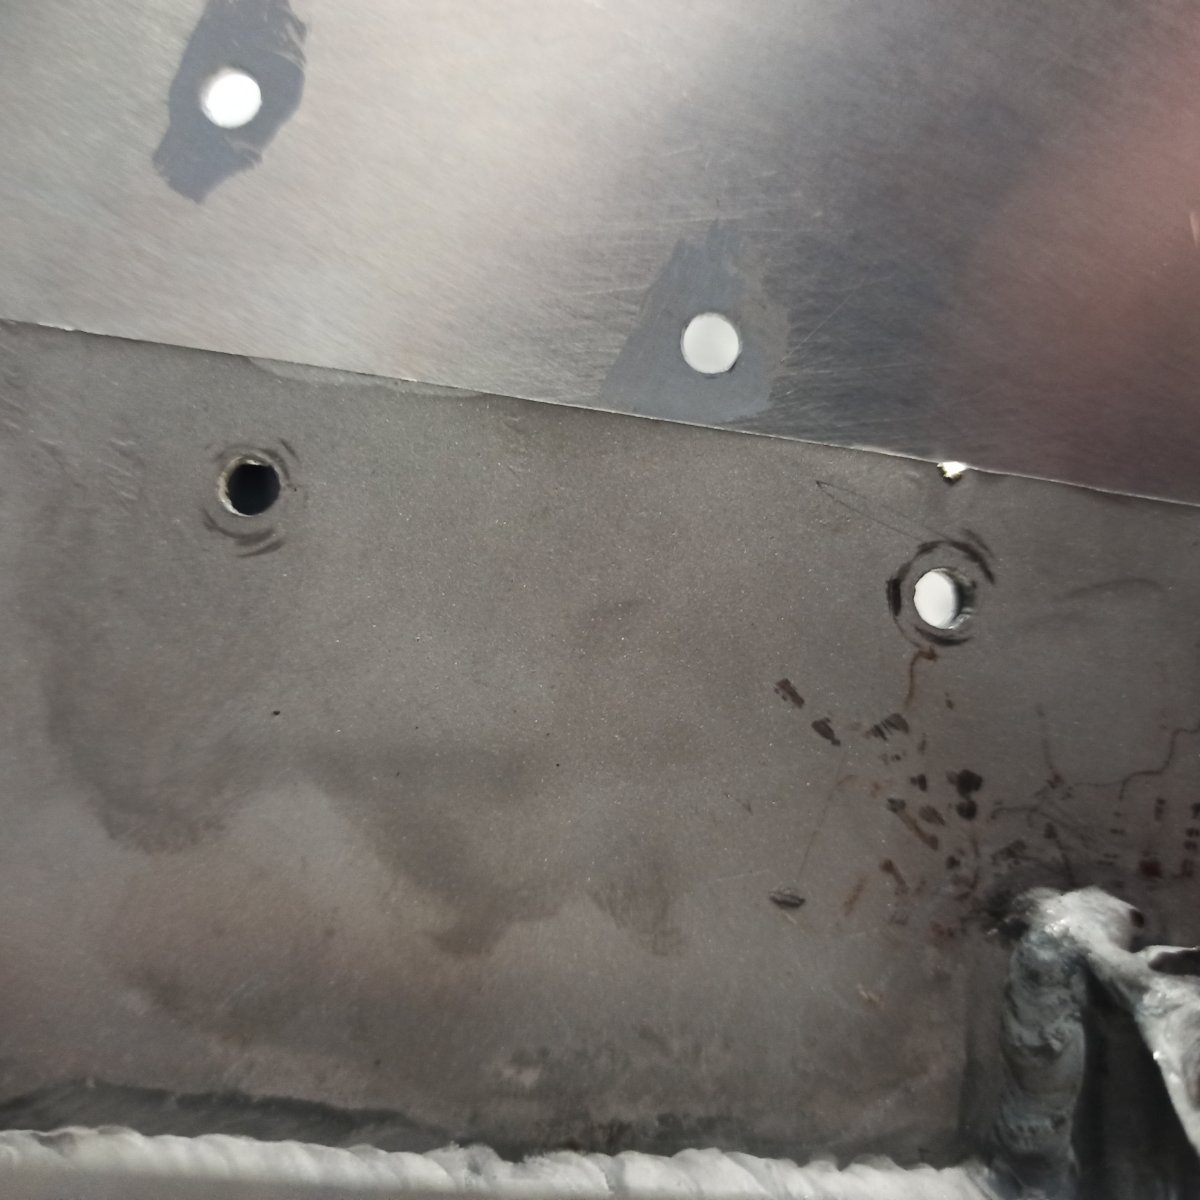
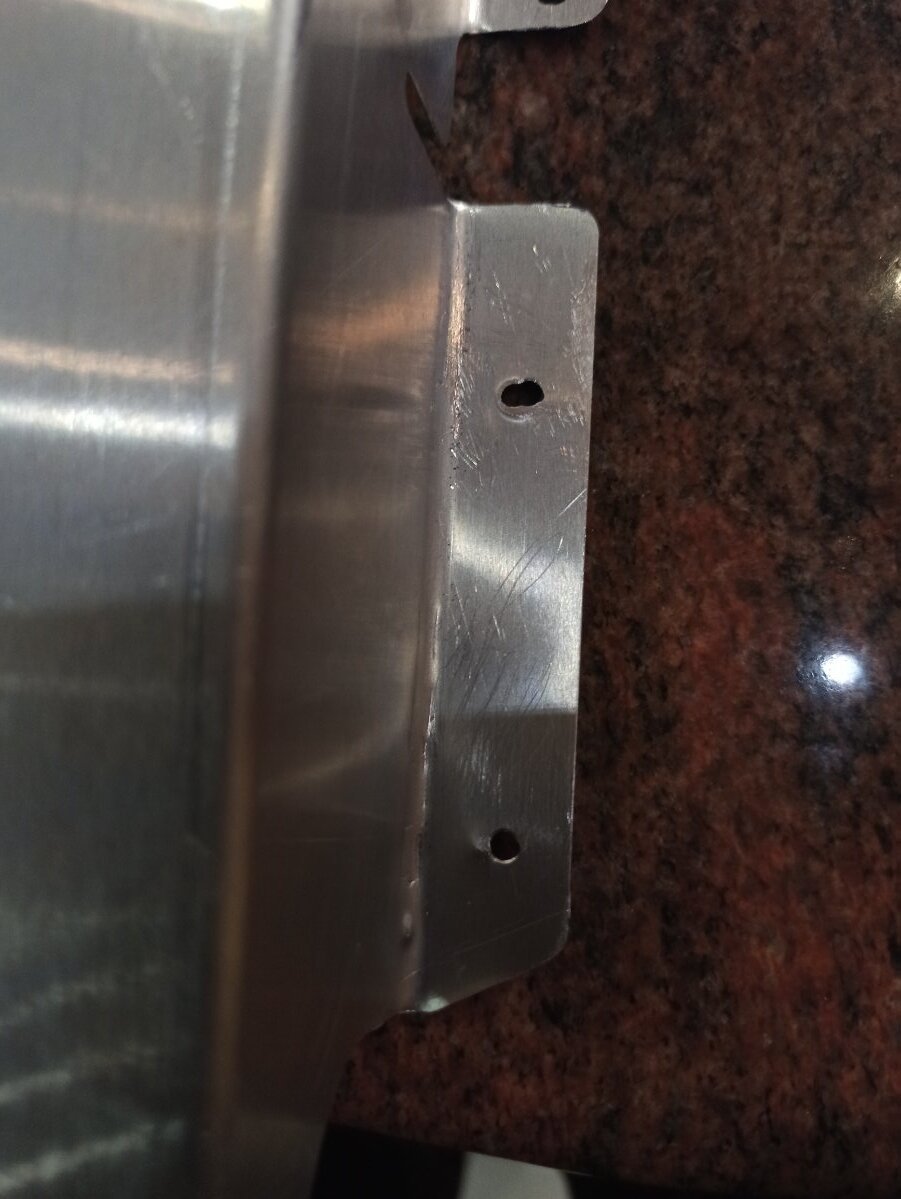
Ive been away for a while but not totally idle. Fuselage is coming on nicely now with lots of misfits to sort and plenty of rivets done. I have had a few occasions where rivet holes have stretched and torn such as the one in the picture. Most have been small and can be replaced with a larger rivet where space allows, however this one is is too big. Is there an accepted repair method for this problem? In this case the cover is not structural but the two undamaged holes below are (fuselage skin and aileron crank support.
-
That reassures me greatly! I am now confident that it will fit and with plenty of checks it might even be square! I have postponed the installation of the frame nd motor mount to re-organise a little as I was struggling for head room and space. Should be back to work (sadly day job as well) next week. Many thanks gents The pictures are fantastic
-
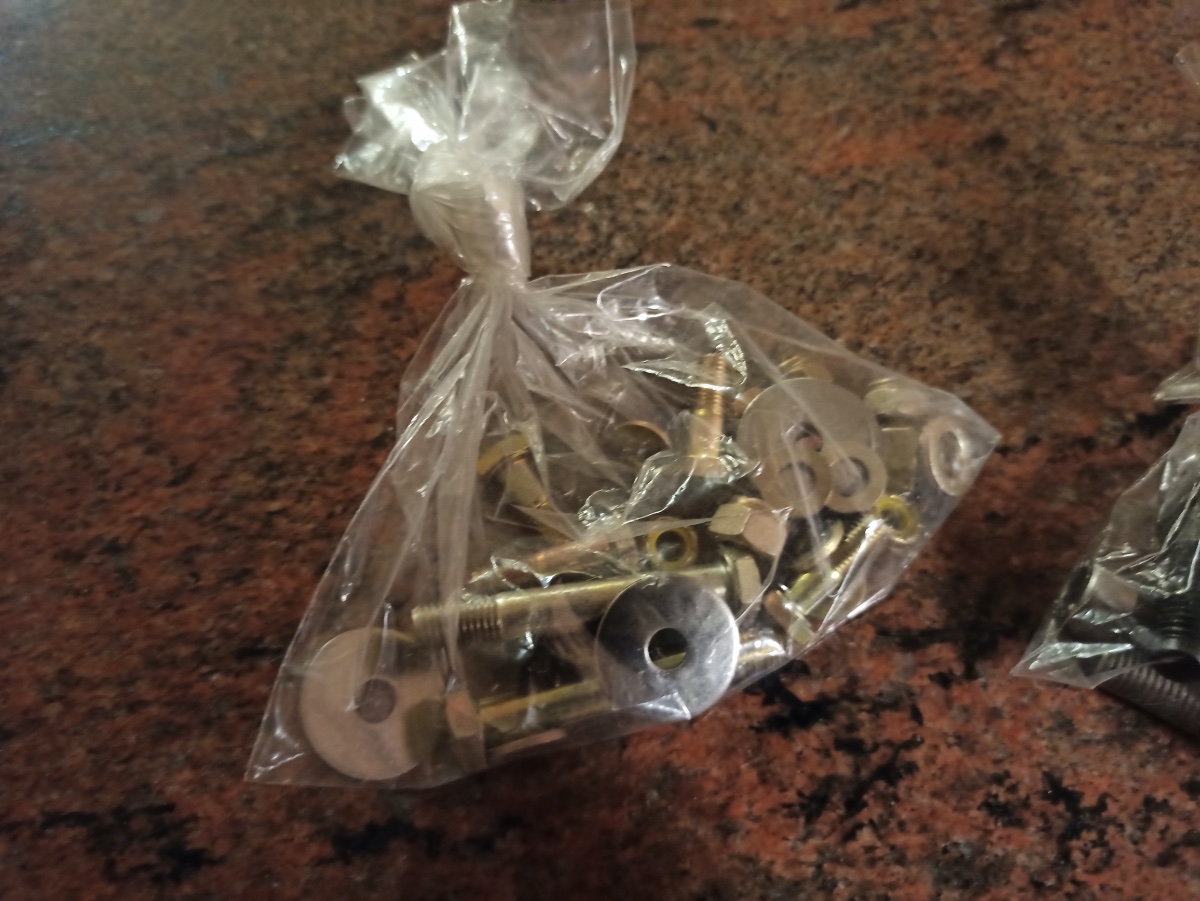
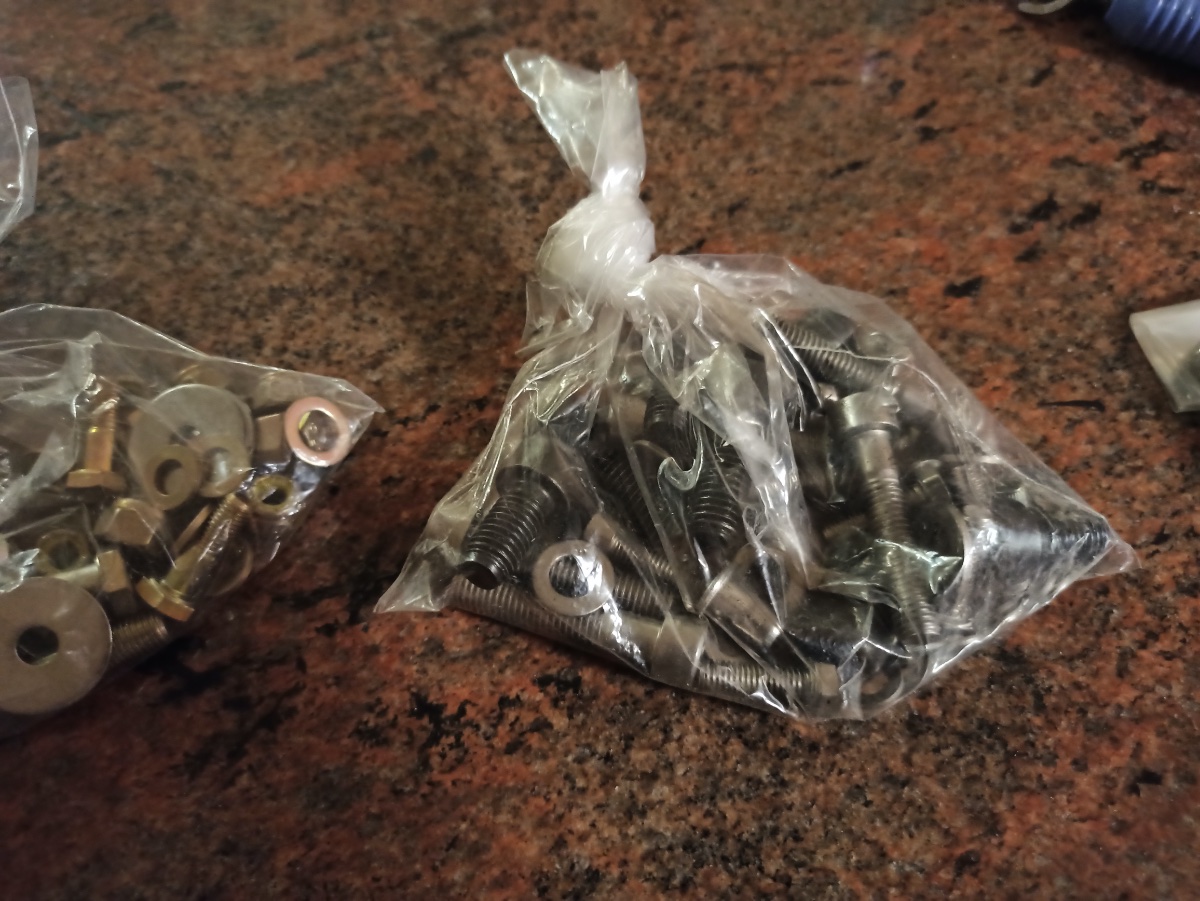
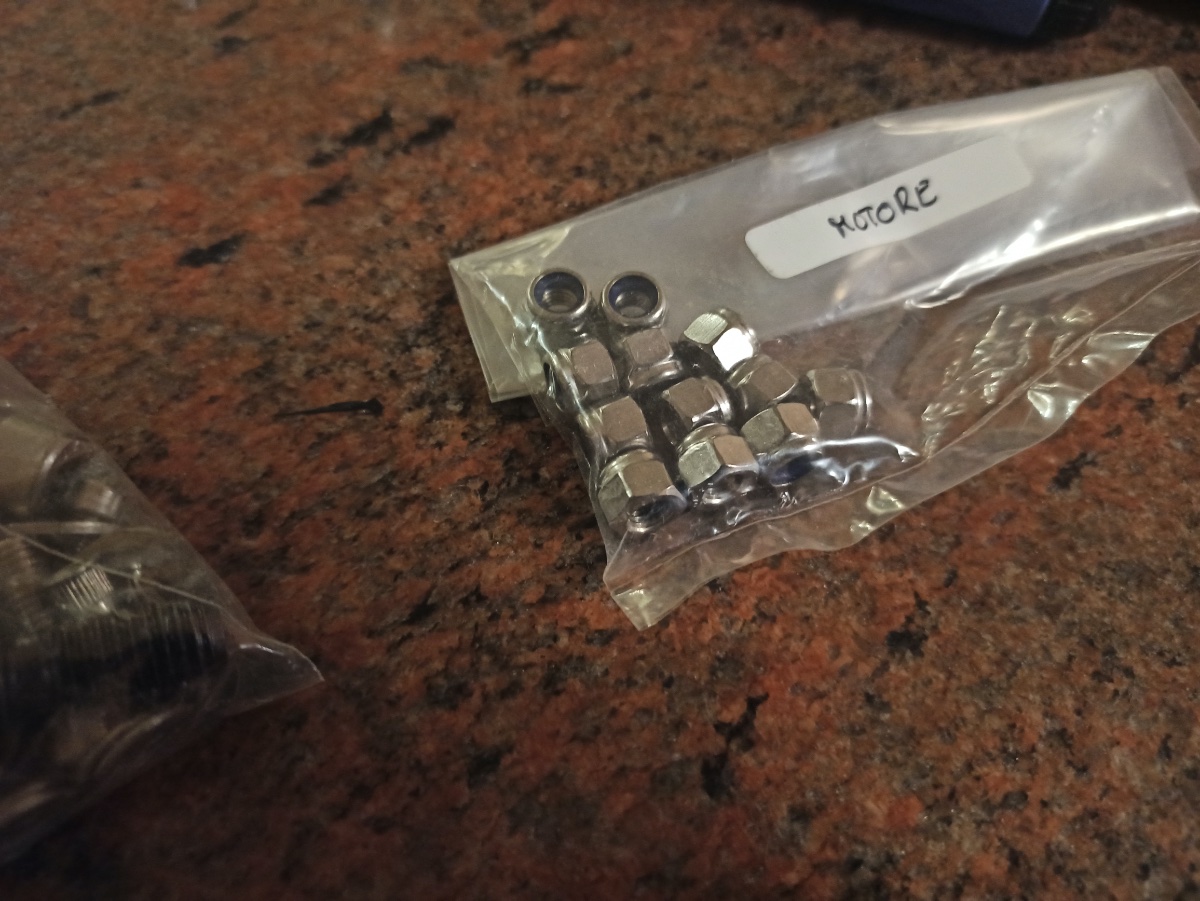
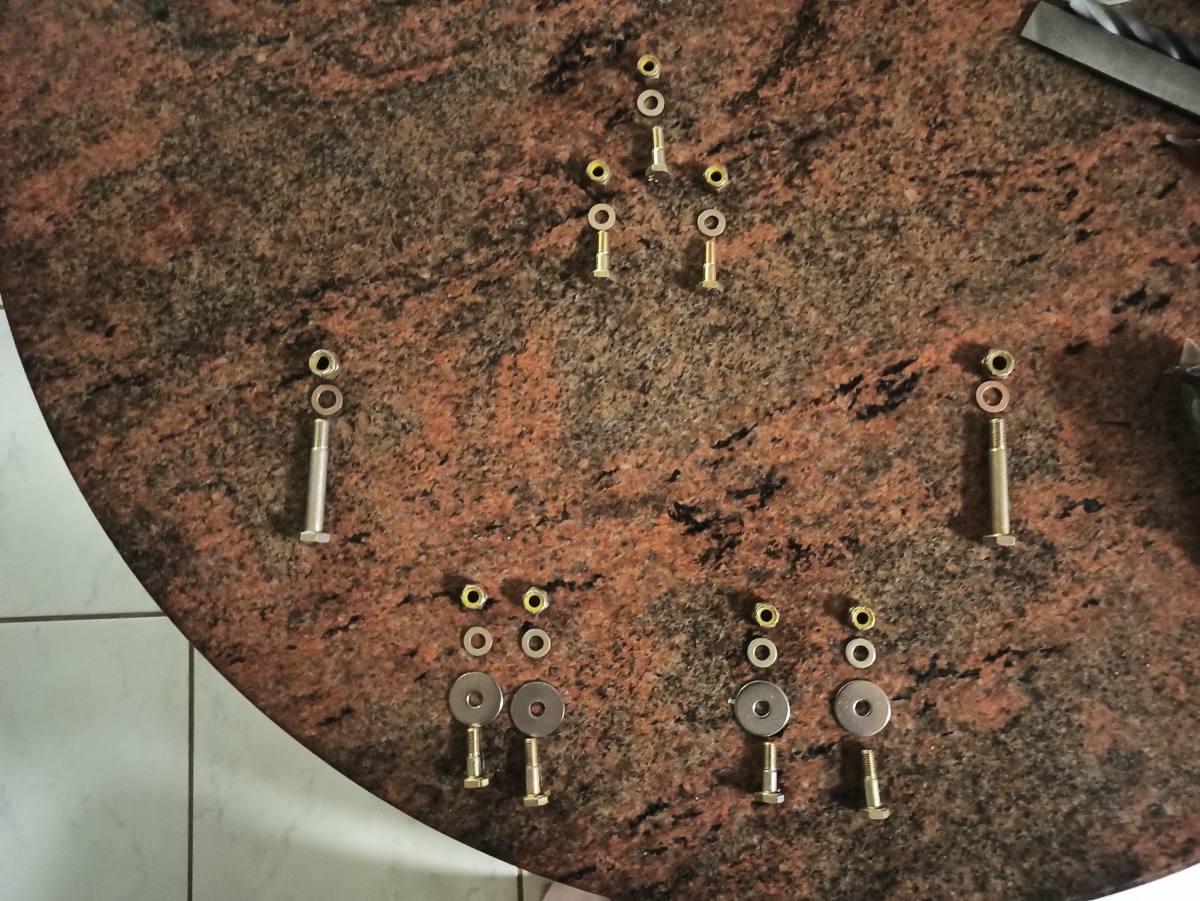
Found three bags of bolts that seem to be for the engine bay The end one os what I think is the right order for the engine mount.
-
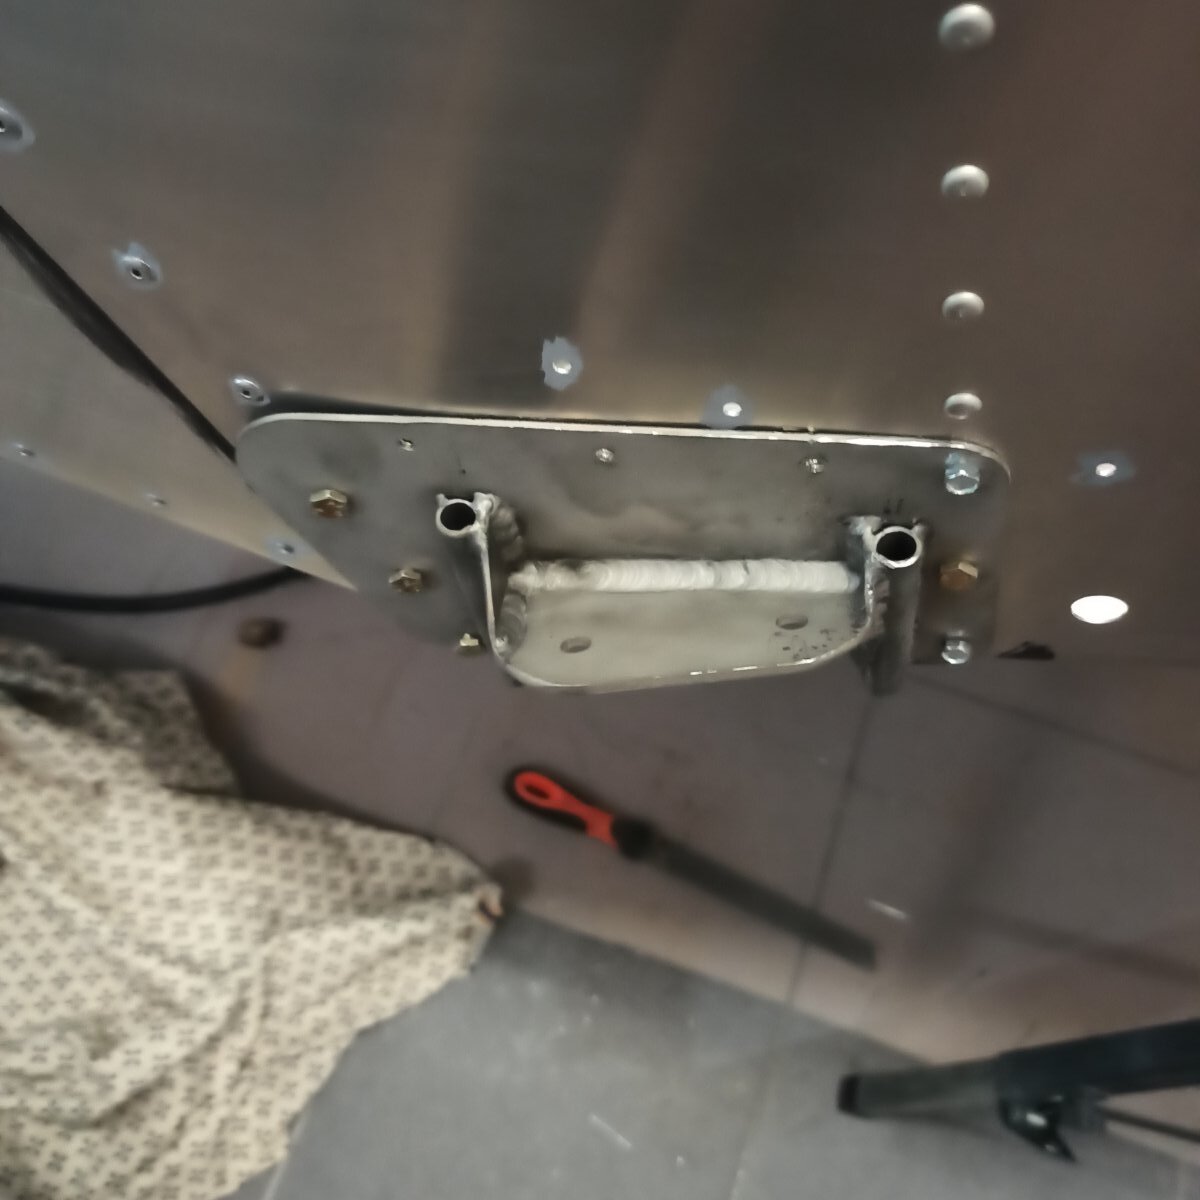
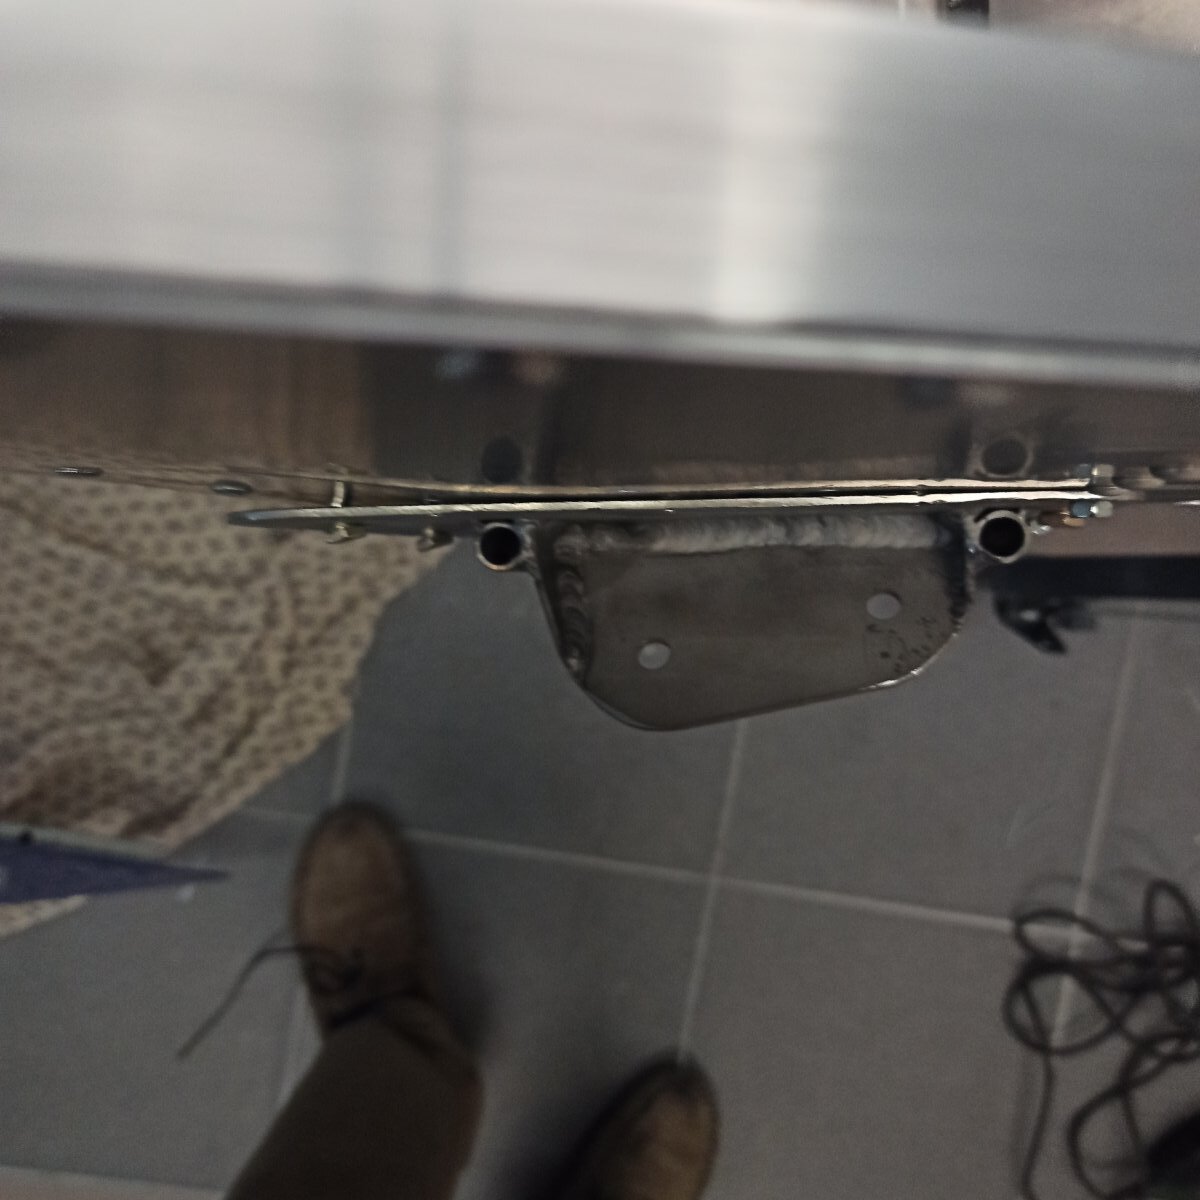
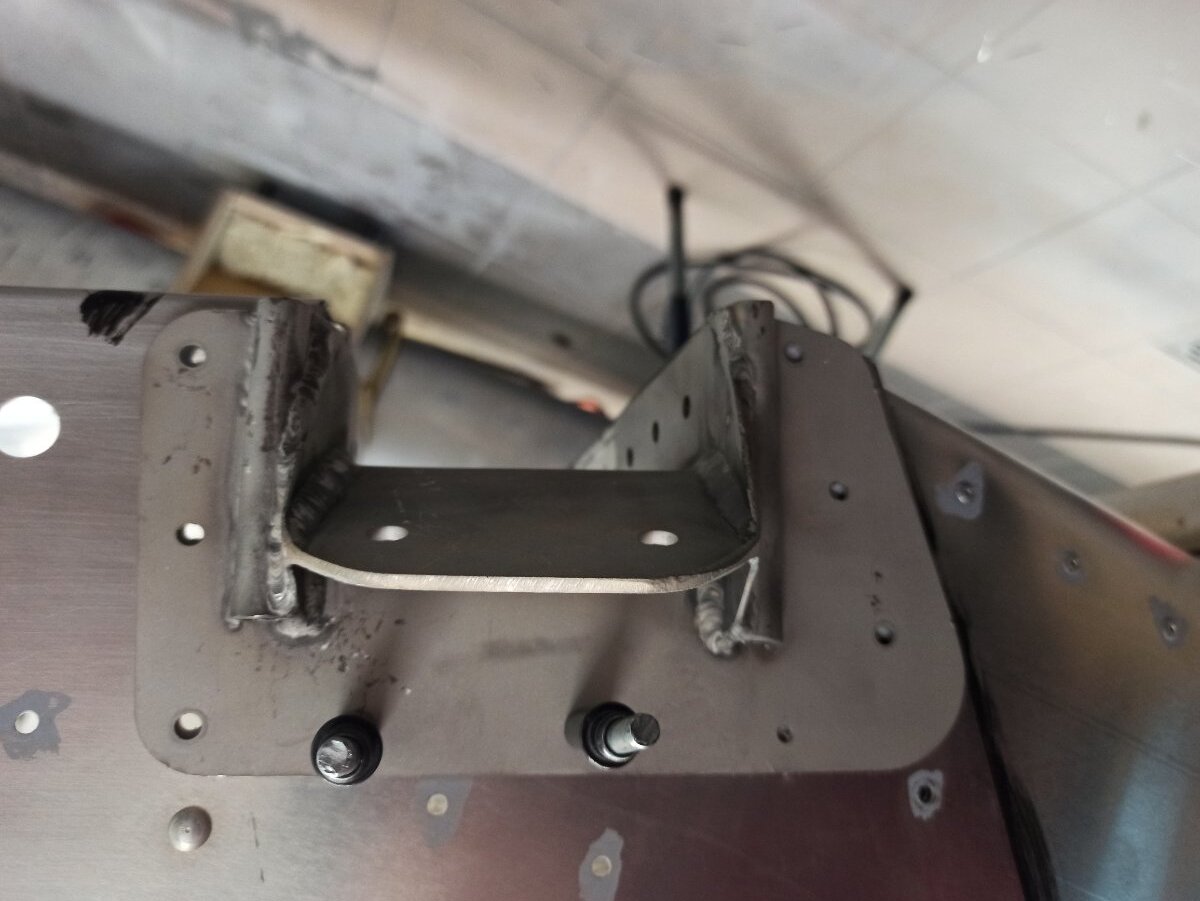
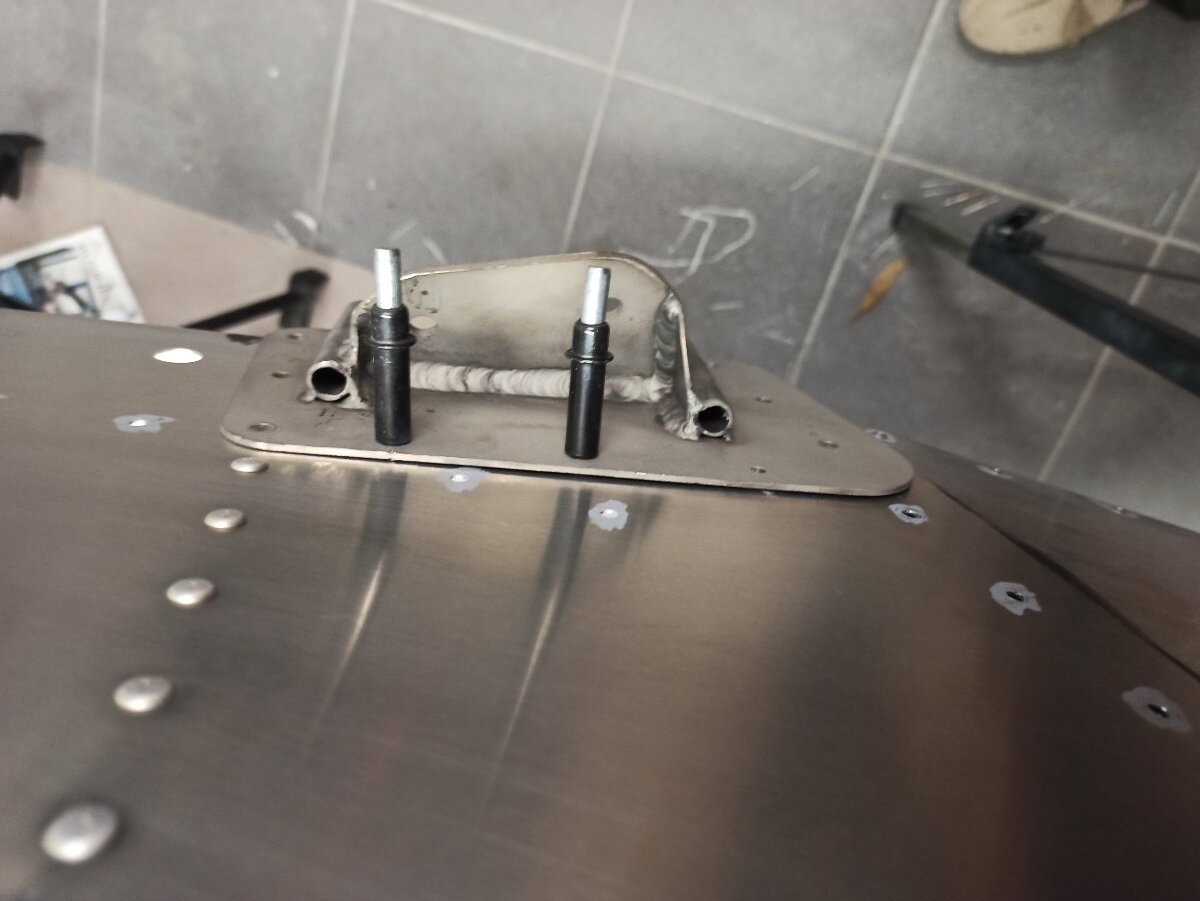
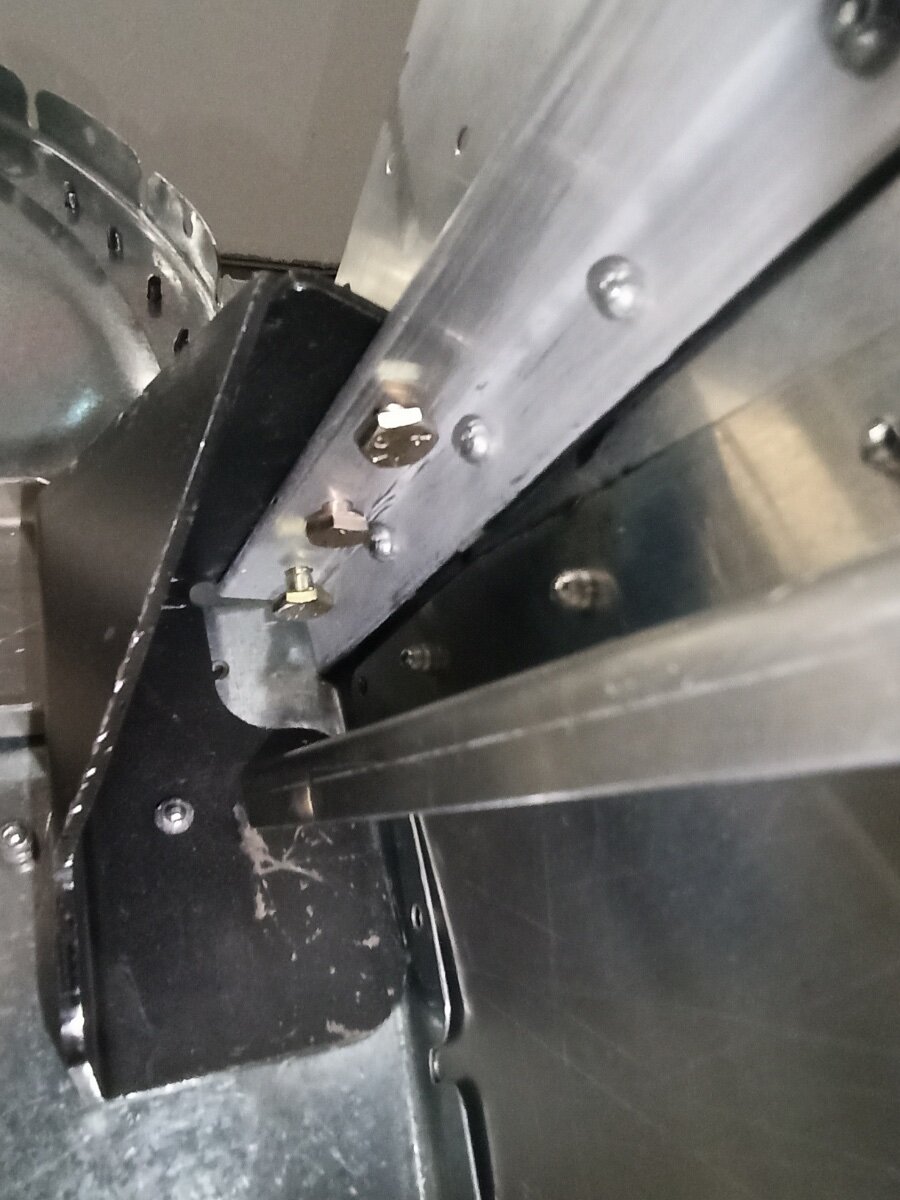
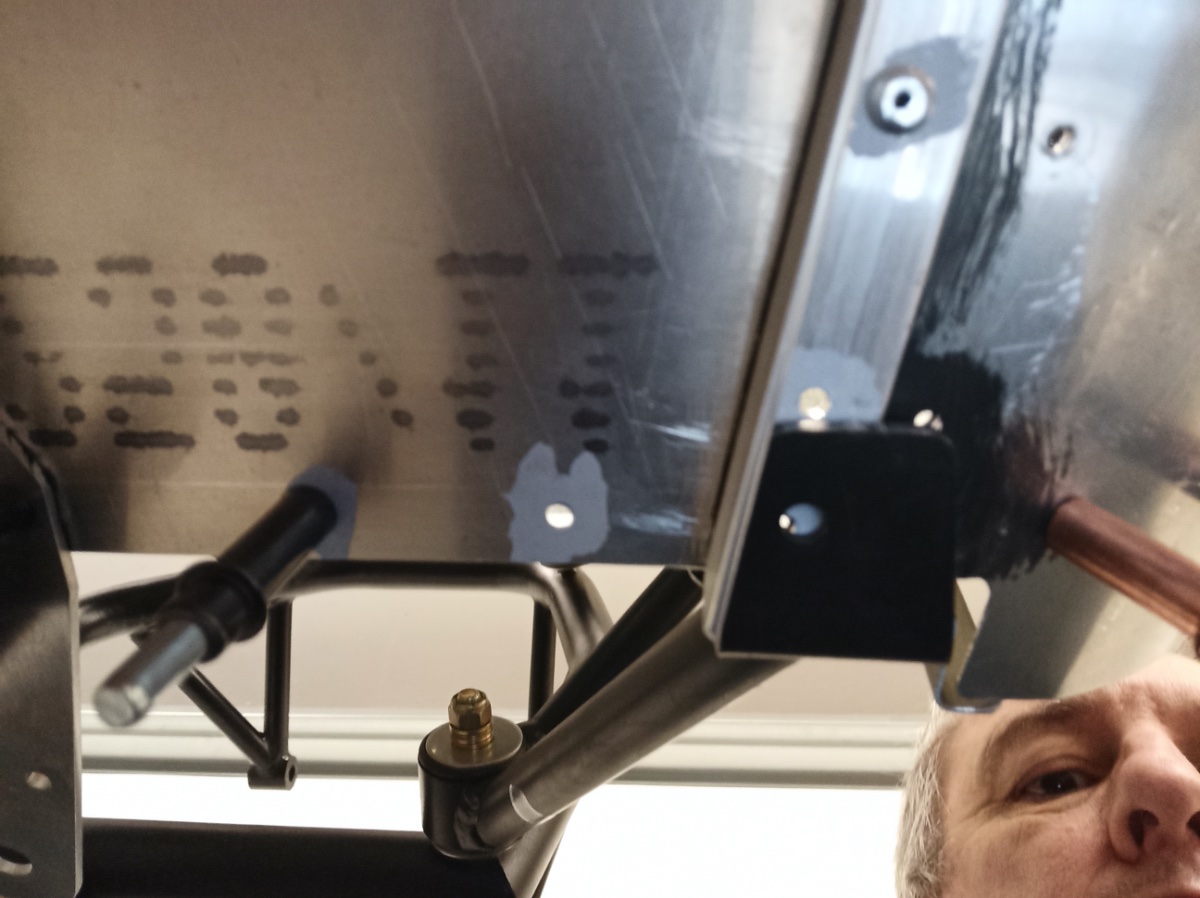
I got the internal support brackets fixed and they seem to be ok. the rest of the photos show the lower engine mount brackets just held in place and an upside down shot of the upper bengine mount bracket. It seems to fit ok.....
-
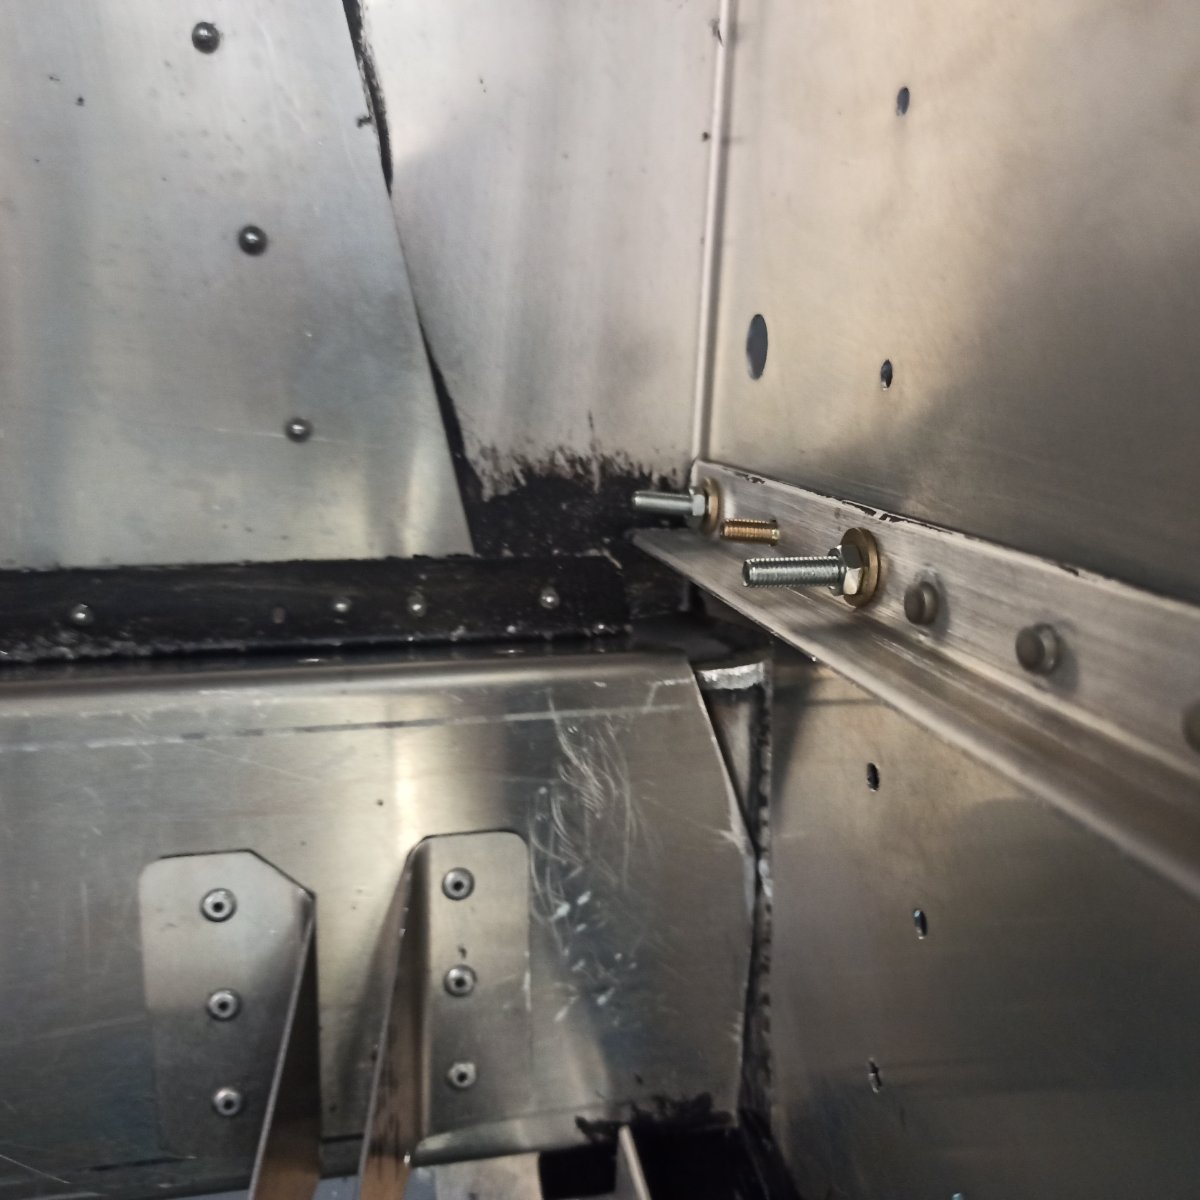
Hi Steve which holes did you drill first? I am about to do the same thing, Ive squeezed up the skin around the firewall and will rivet that in place before going for the engine mount, Does the top mounting plate line up with the cabin frame? I assume so but haven't tried it yet. I also have a mass of bolts and washers with no way of identifying which to use here, did you get a set of decent instructions or is it the standard "attach the motor mount using bolts" Thanks Richard
-
I bet its not cheap!