Builds By Baz
-
Posts
50 -
Joined
-
Last visited
-
Days Won
1
Content Type
Profiles
Forums
Gallery
Downloads
Blogs
Events
Store
Aircraft
Resources
Tutorials
Articles
Classifieds
Movies
Books
Community Map
Quizzes
Everything posted by Builds By Baz
-
 Updates!! Adding details to the Viper https://www.buildsbybaz.com/adding-details/ Viper-trailer torsion -suspension kit and wheels arrive. https://www.buildsbybaz.com/viper-trailer-display-podium/
 -
Here's how simple and fast it is to fit a wing to the Viper as a one-man operation. [img]https://i.imgur.com/asZqU7c.jpg[/img]
-
Fly by. Phone taped to the end of a broomstick. https://youtube.com/shorts/mMQPz9AOpP8?si=GEA67ckHrWHlLJME
-
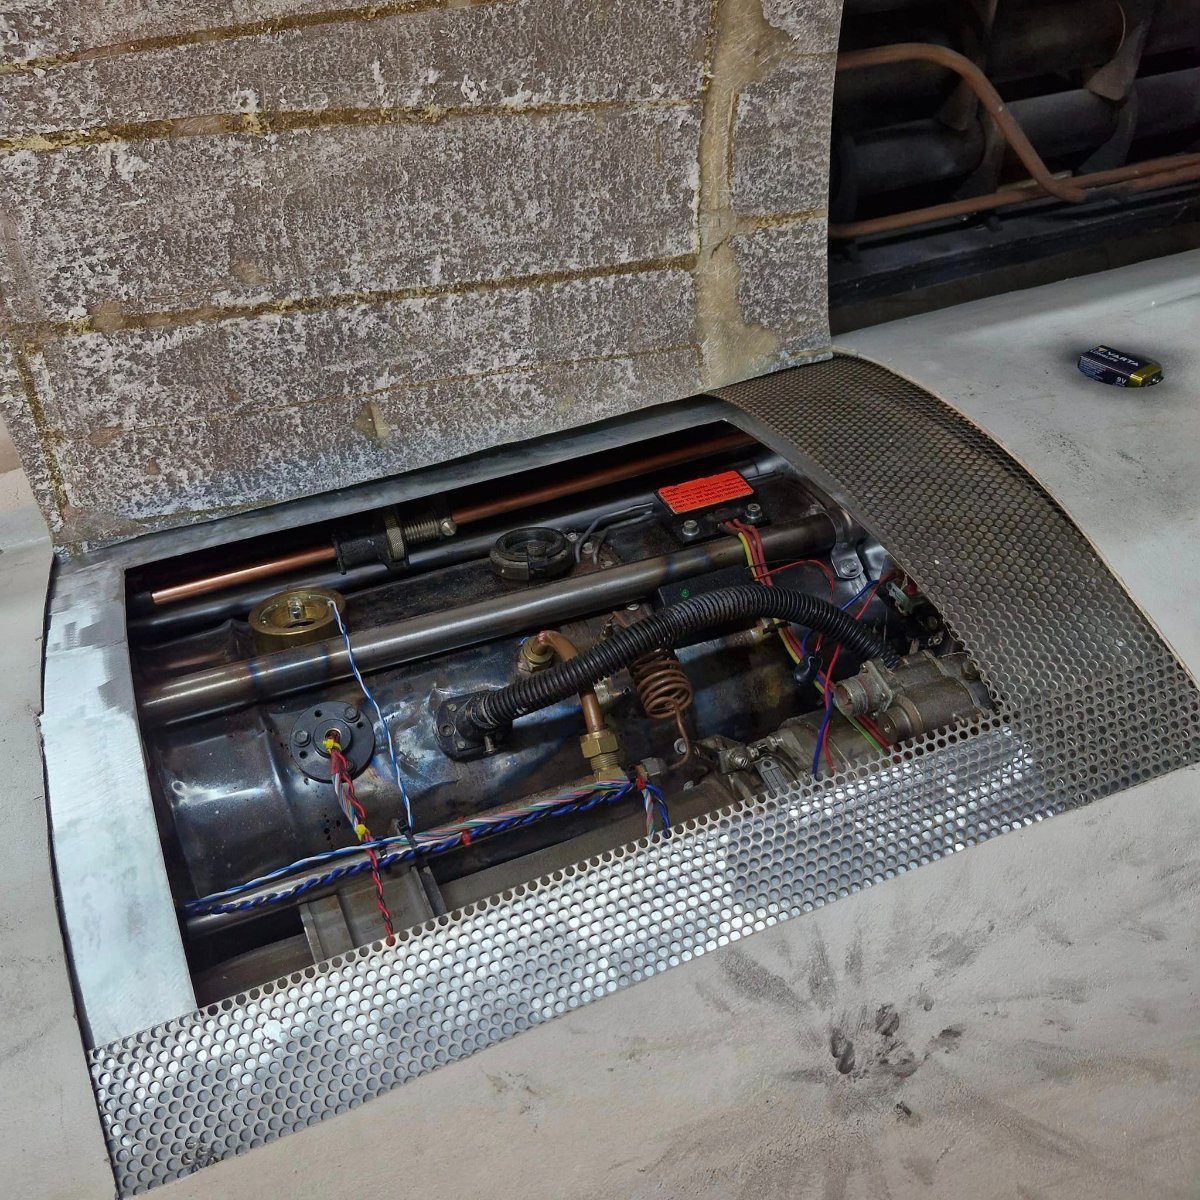
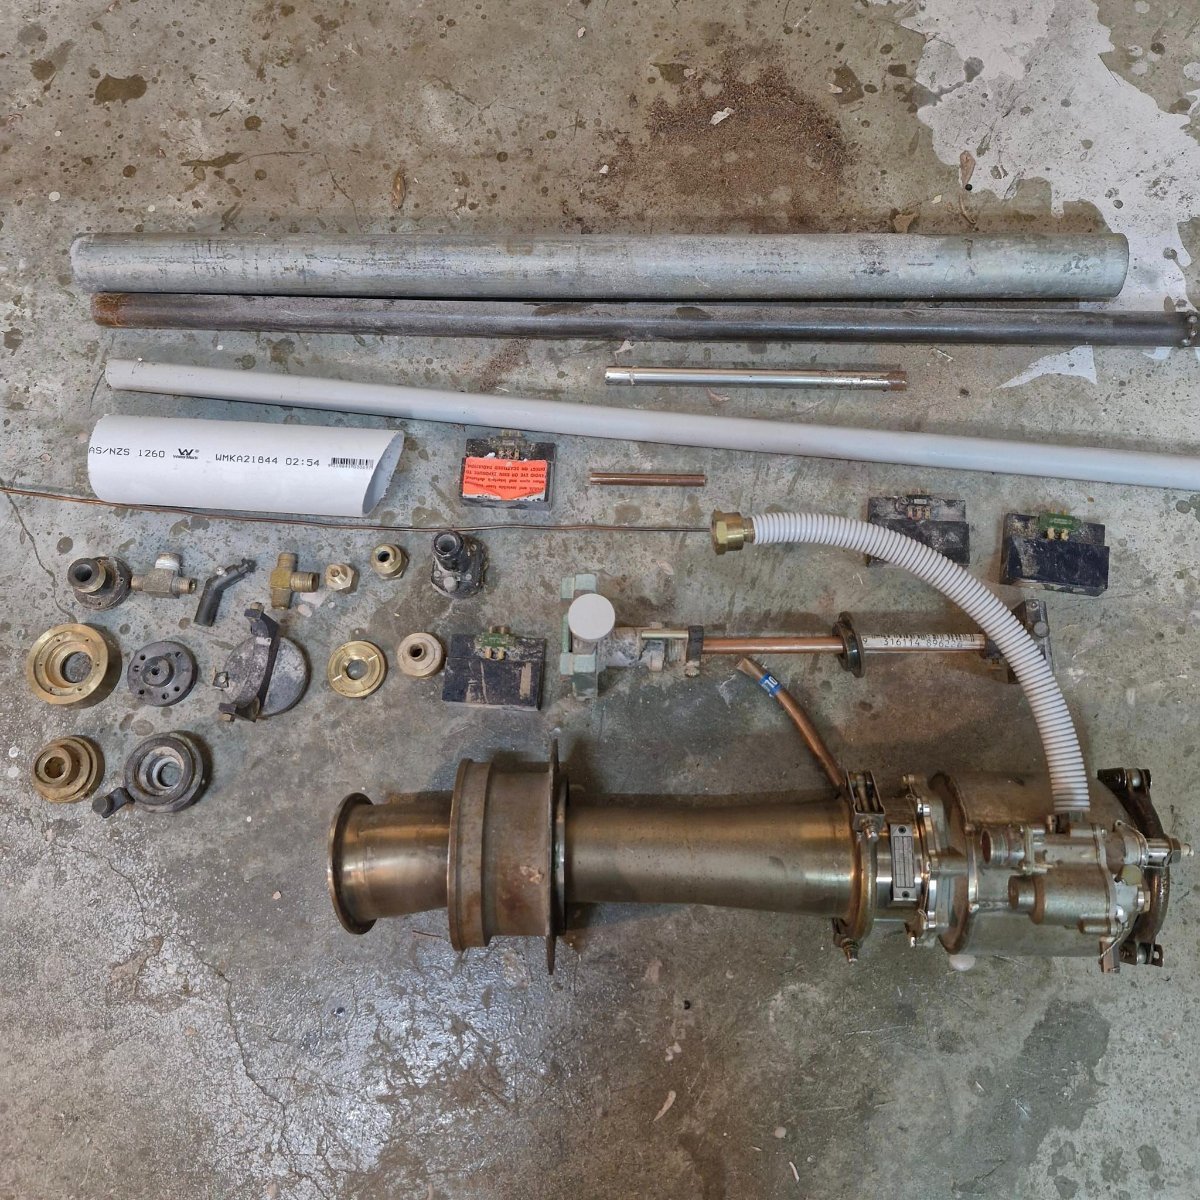
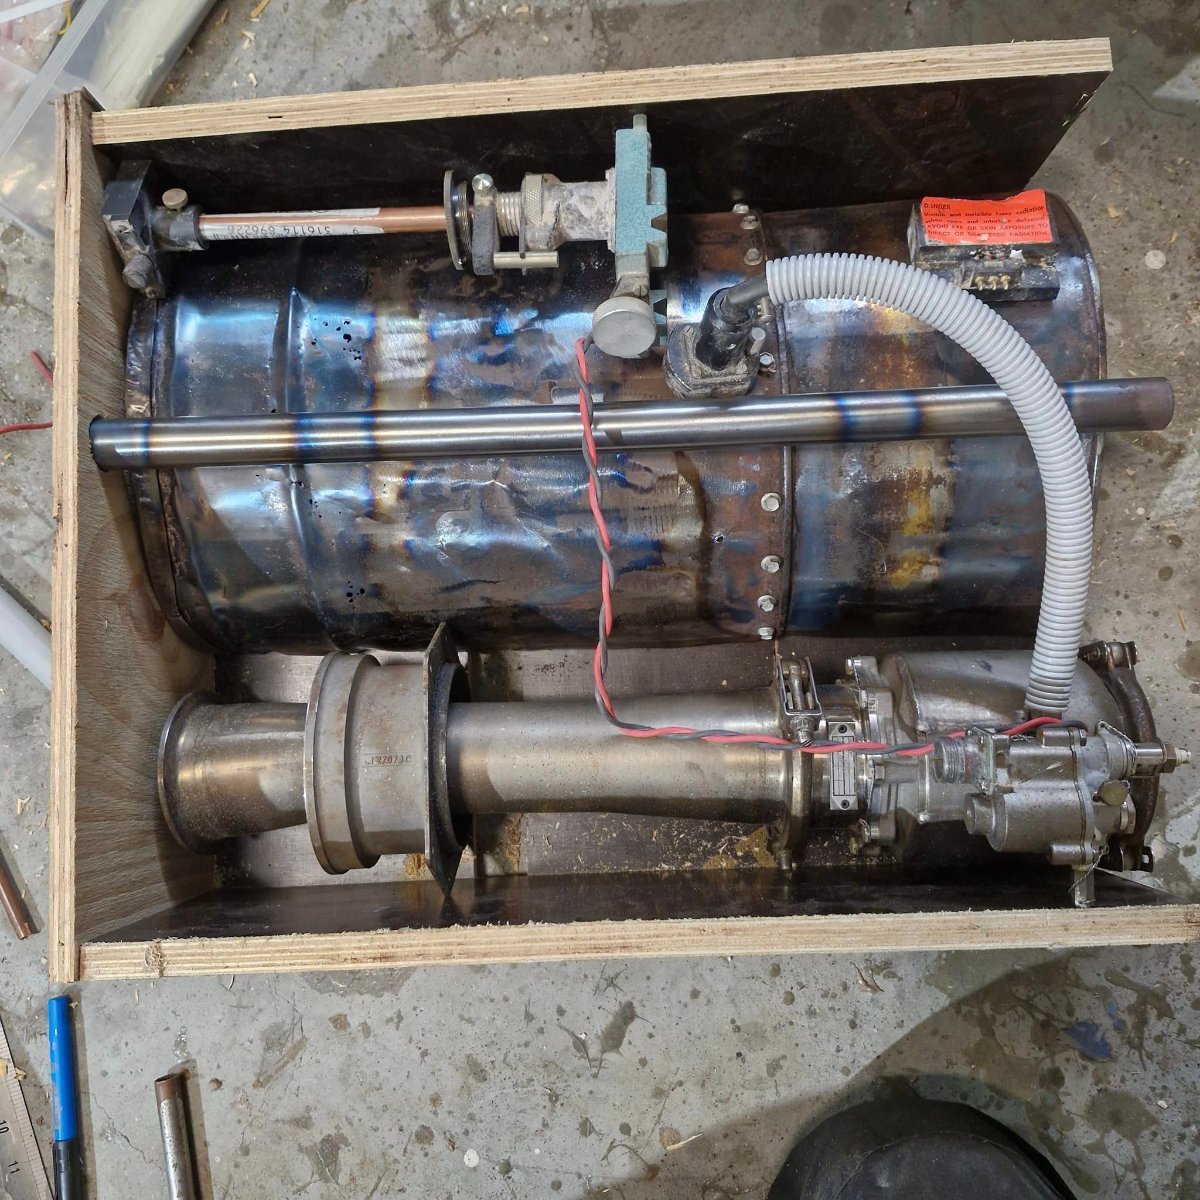
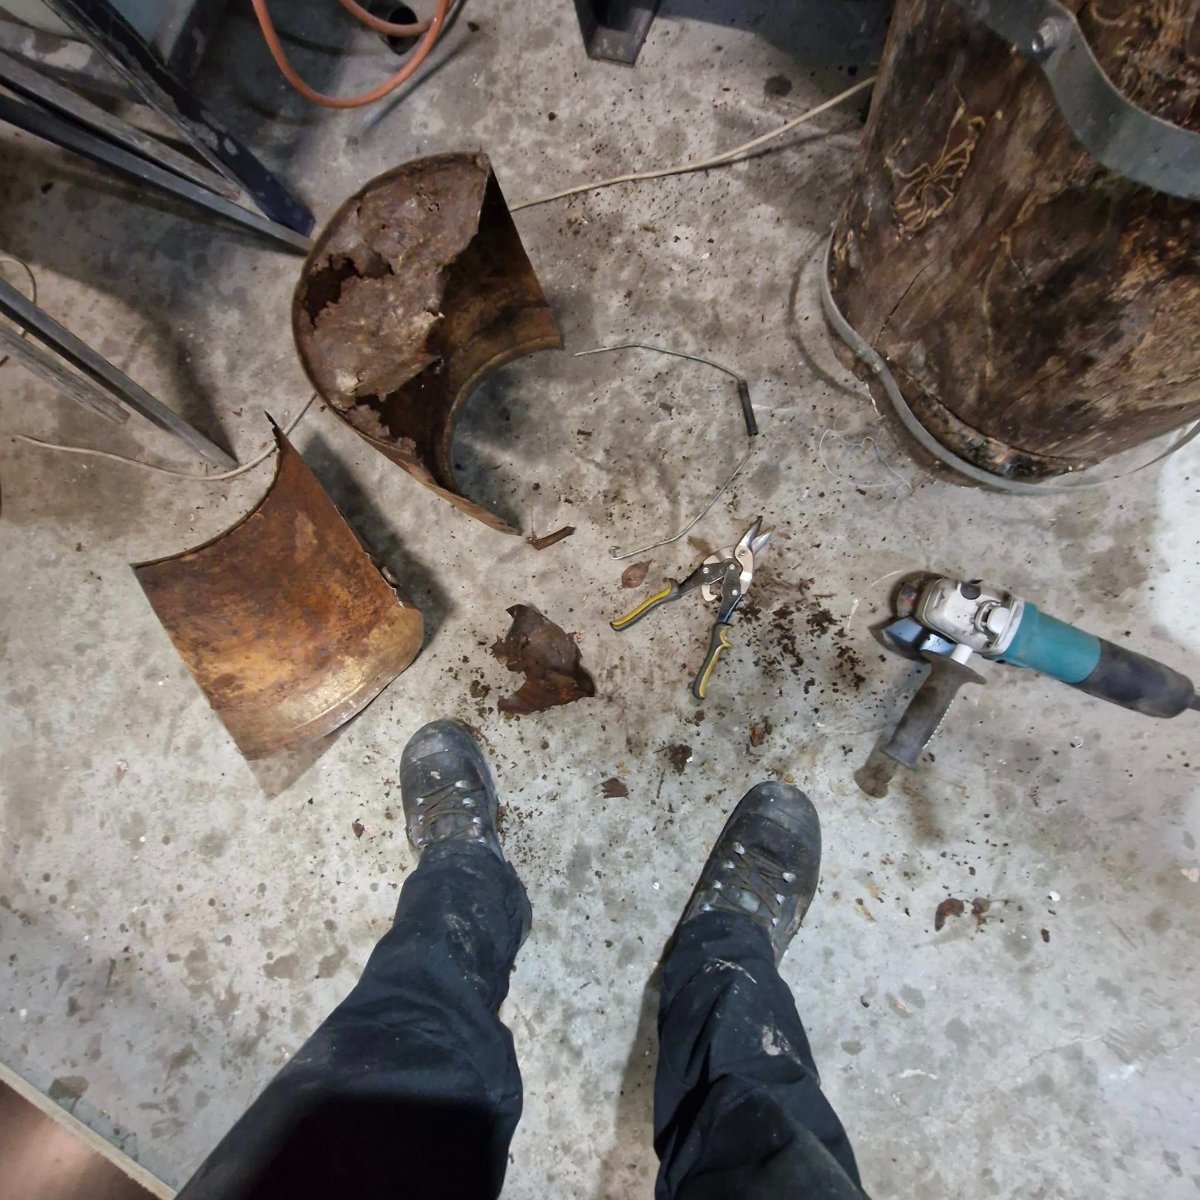
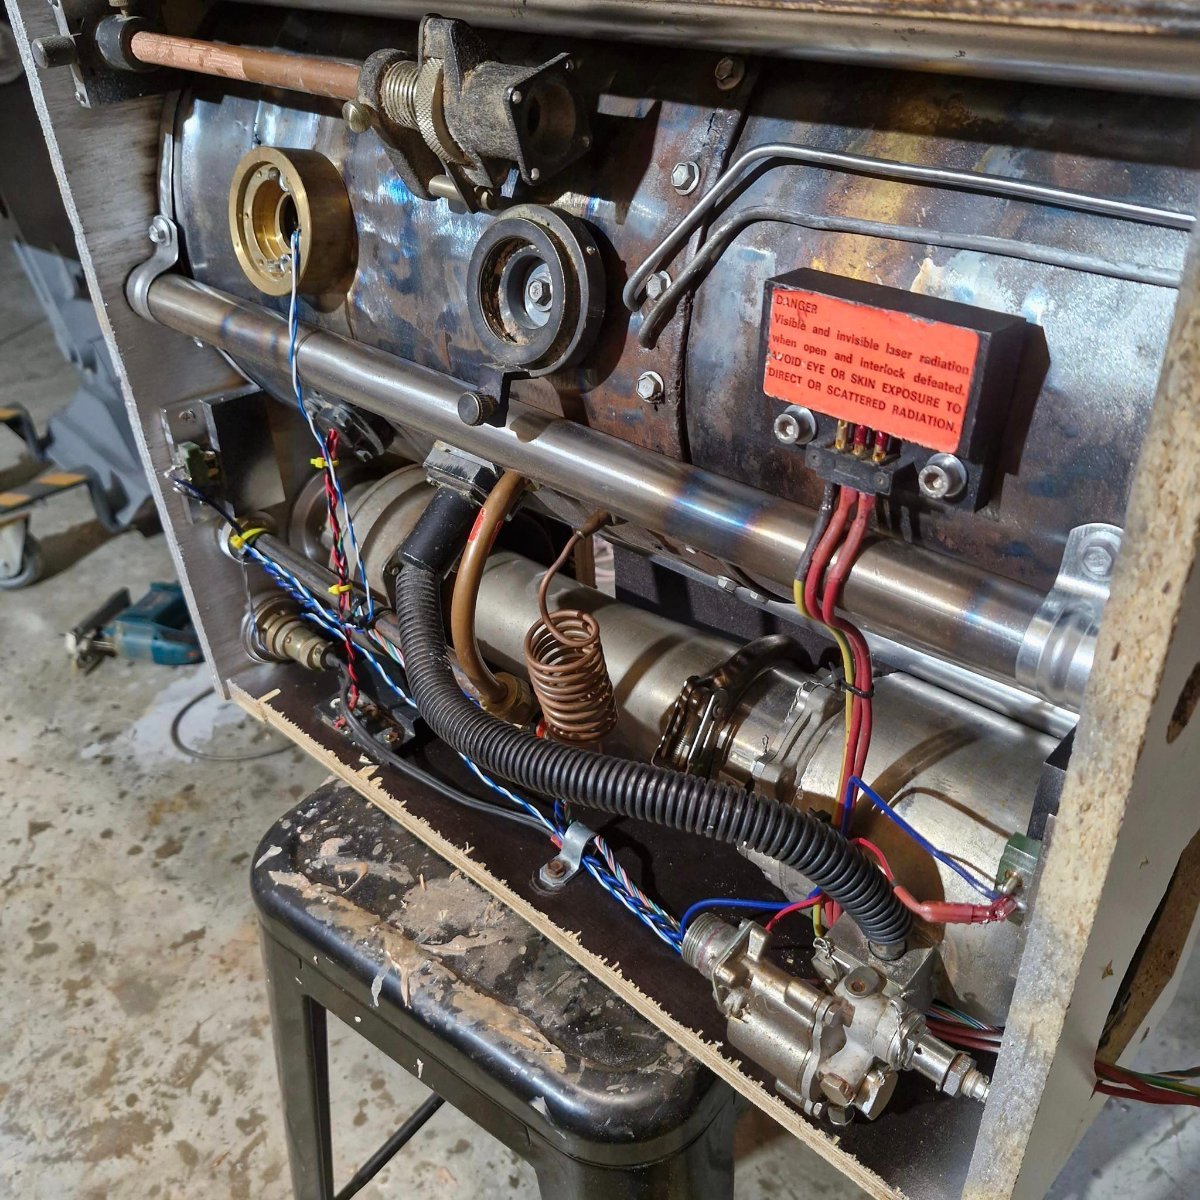
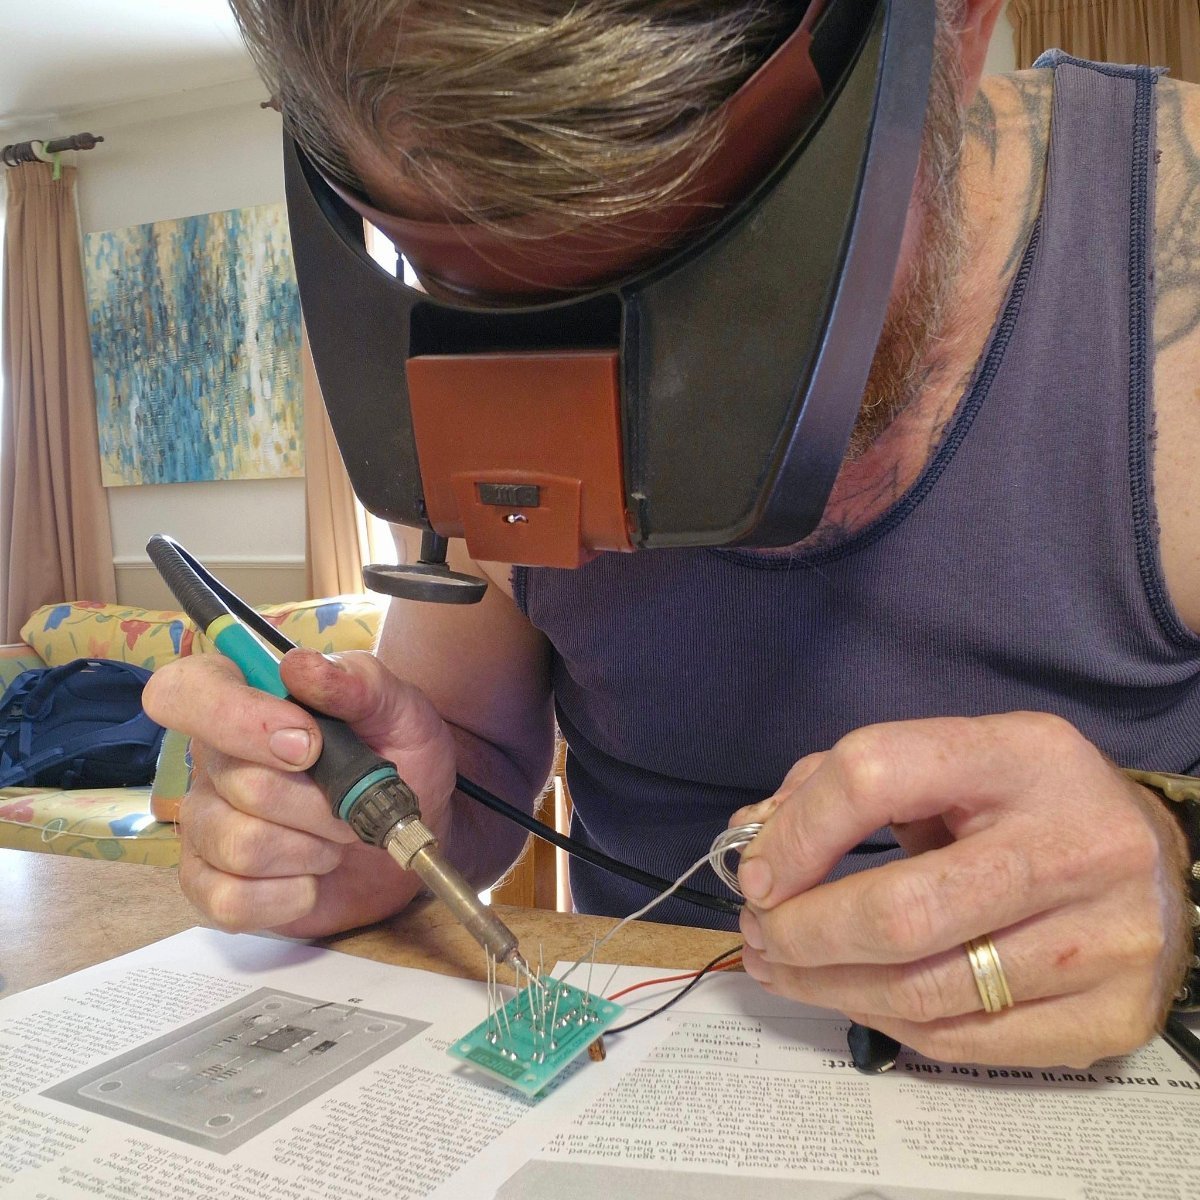
So far I've not been able to raise the money I need to purchase steel, suspension, braking and electrics to build this trailer. I have a heap of stock on my shop, but no luck selling yet. In my bored state of waiting, I decided to gather together some scrap aircraft engine parts, shed offcuts, a rusty old steel bucket and a box of brass and copper scrap components. I put together a bit of a FrankenBaz engine facade, totally non-cannon, and cut a hole to fit it into the top of the port engine nacelle. I soldered my first circuit board ever and gave it some blinking lights to bring it to life. I like it.

-
I have made a decision, that I will NOT be posting WIP photos of the Viper trailer build. I have already had too many keyboard warriors and, "experts" mouthing off. I have good help and guidance from people in the industry, so I'm fine. This means the Viper group is going to be pretty quiet for some time and honestly, I need the break. I might even be able to head out bush a bit more. Rest assured that as the money comes in over the next few months, I will be cutting, drilling, bending and welding like a crazy man at every opportunity. Happy new year and may 2024 fill your buckets. Baz out.
-
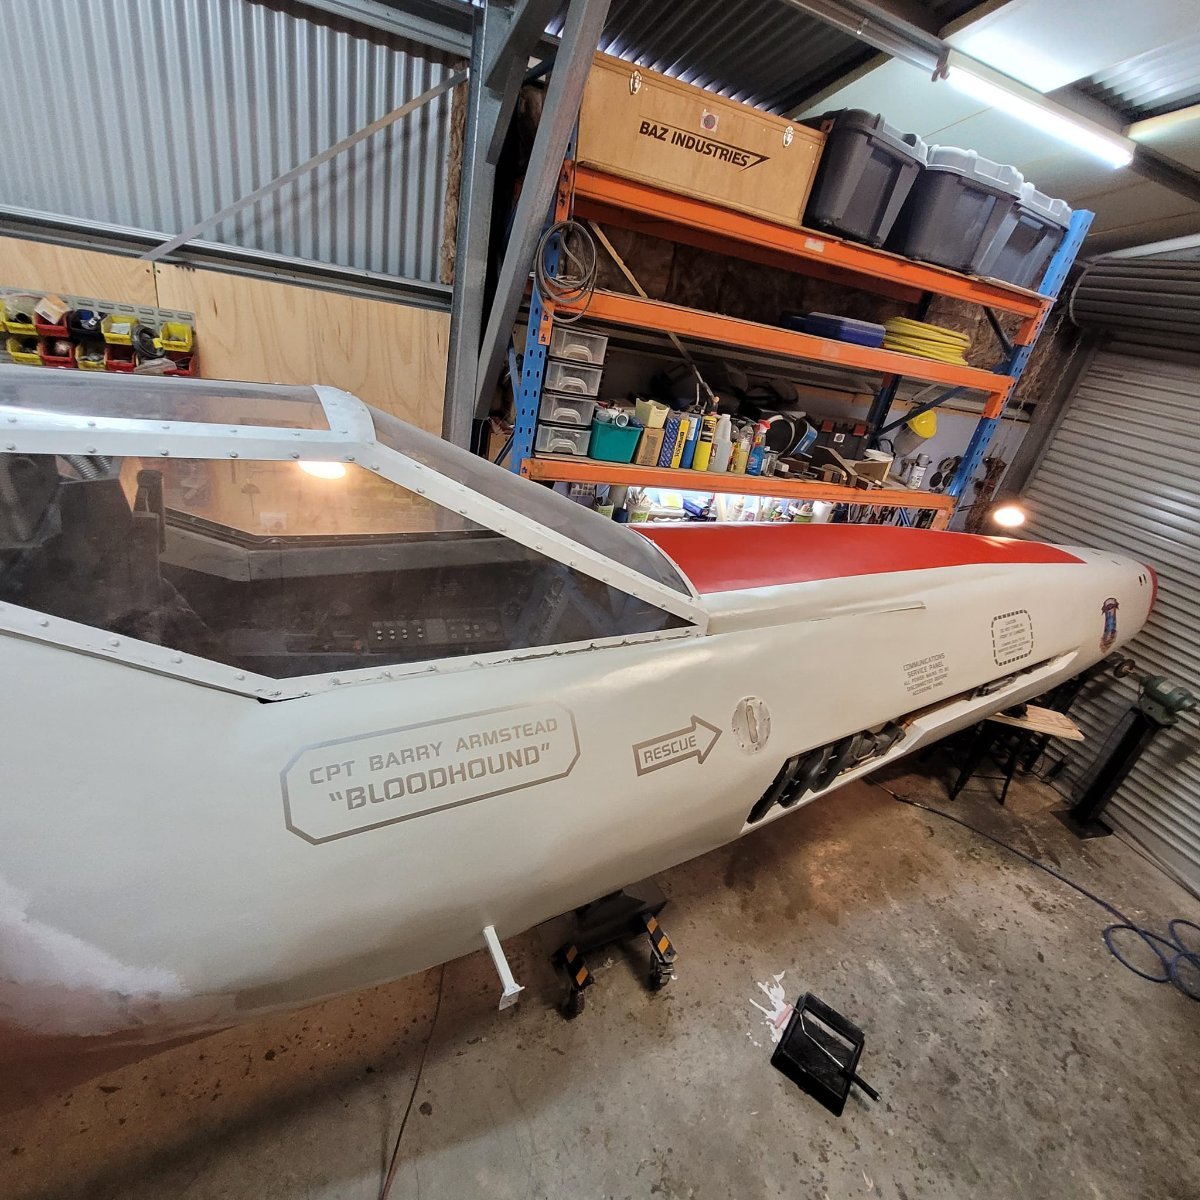
All the touch-ups and polish now. https://www.buildsbybaz.com/upgrading-the-cockpit/ https://www.buildsbybaz.com/weathering-the-hull/
-
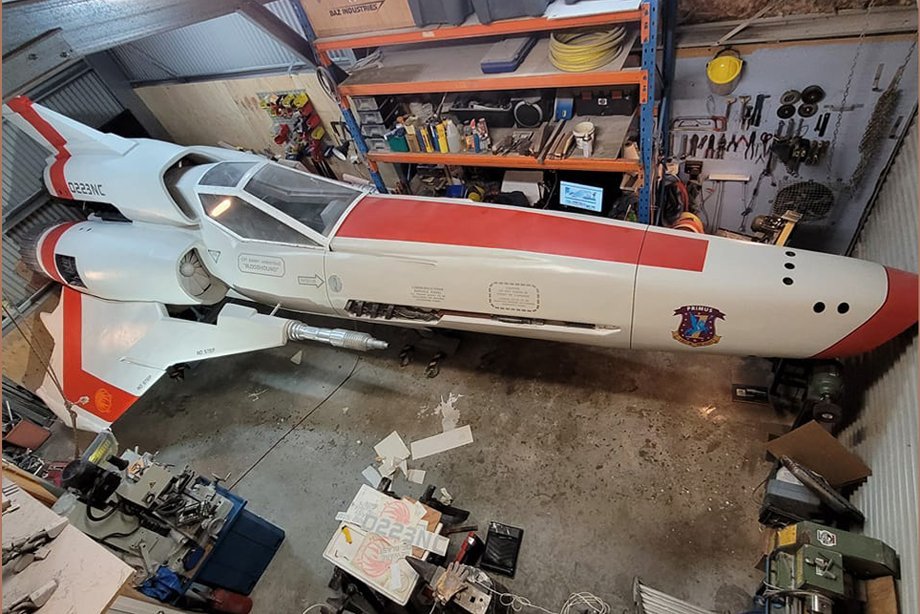
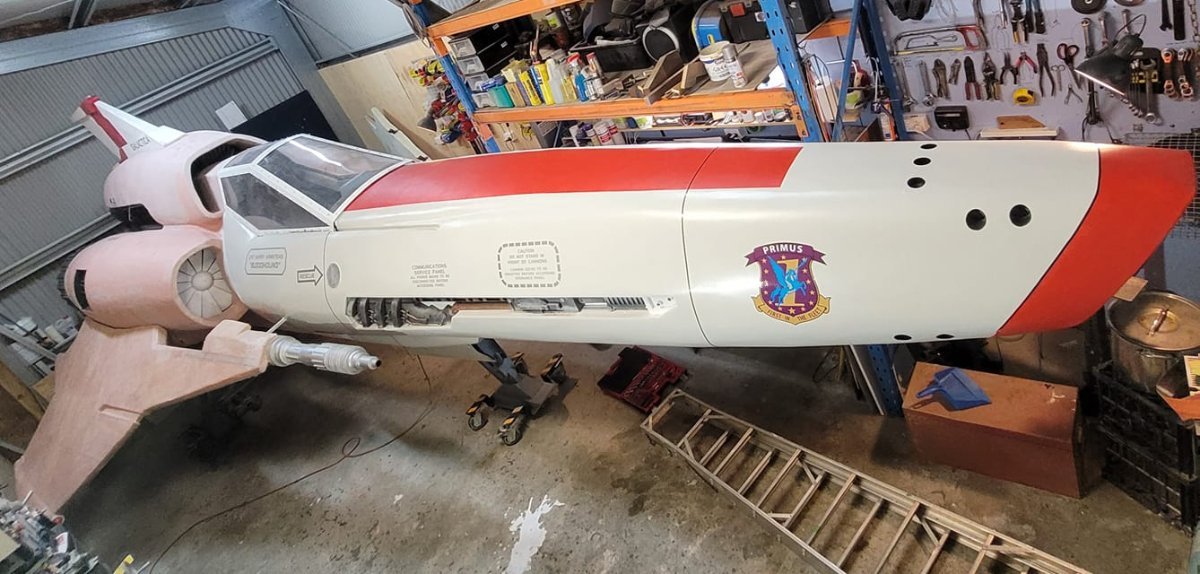
F I N I S H E D https://www.buildsbybaz.com/full-scale-mkii-colonial-viper-f-i-n-i-s-h-e-d/
-
Finishing up soon. Here's an update as to what's left. https://www.buildsbybaz.com/bogging-and-painting-the-viper/
-
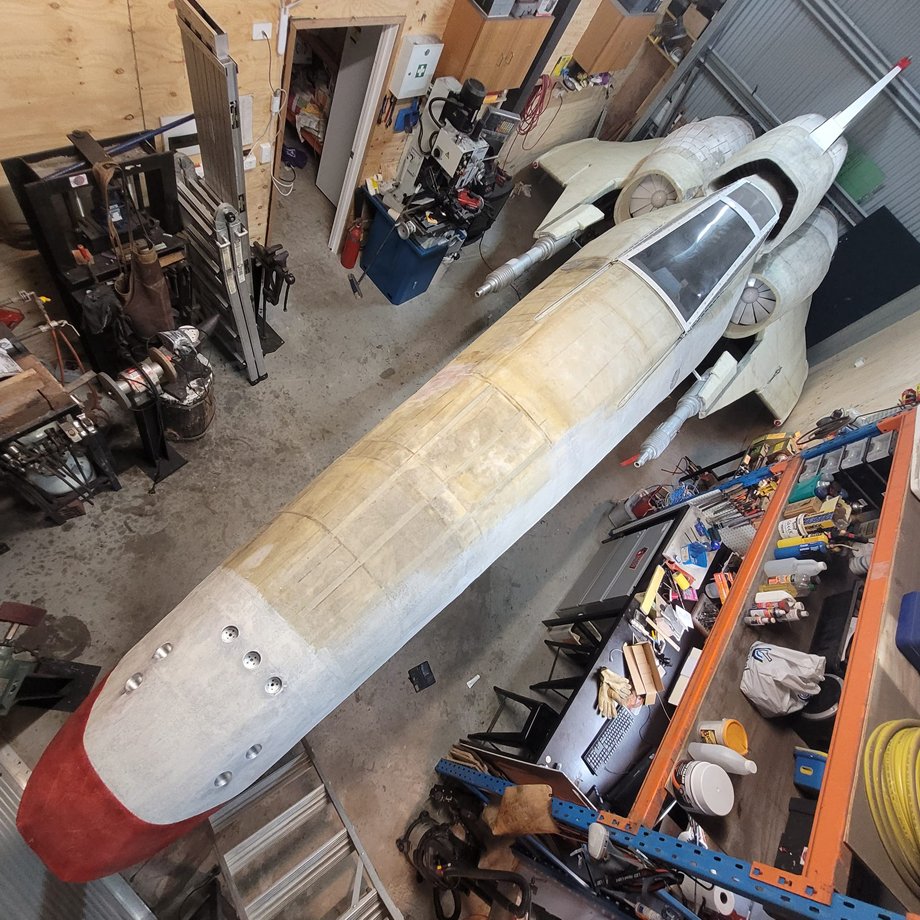
Nearly done. I'm just bogging the starboard wing, before final sanding on the back end and finishing the painting.
-
G'day all. For personal reasons, time, health and life priorities, I am going to start phasing out regular posting to forums and reduce to social media. Once the Viper is finished, I will cut back even more. For those who are interested in following progress on my work, you can find it on the platforms below. WEB https://www.buildsbybaz.com FACEBOOK https://www.facebook.com/groups/240486113096646/?ref=share YOUTUBE https://youtube.com/@BuildsByBaz INSTAGRAM https://instagram.com/bladesbybaz?igshid=MzNlNGNkZWQ4Mg==
-
Fibreglassing update.
-
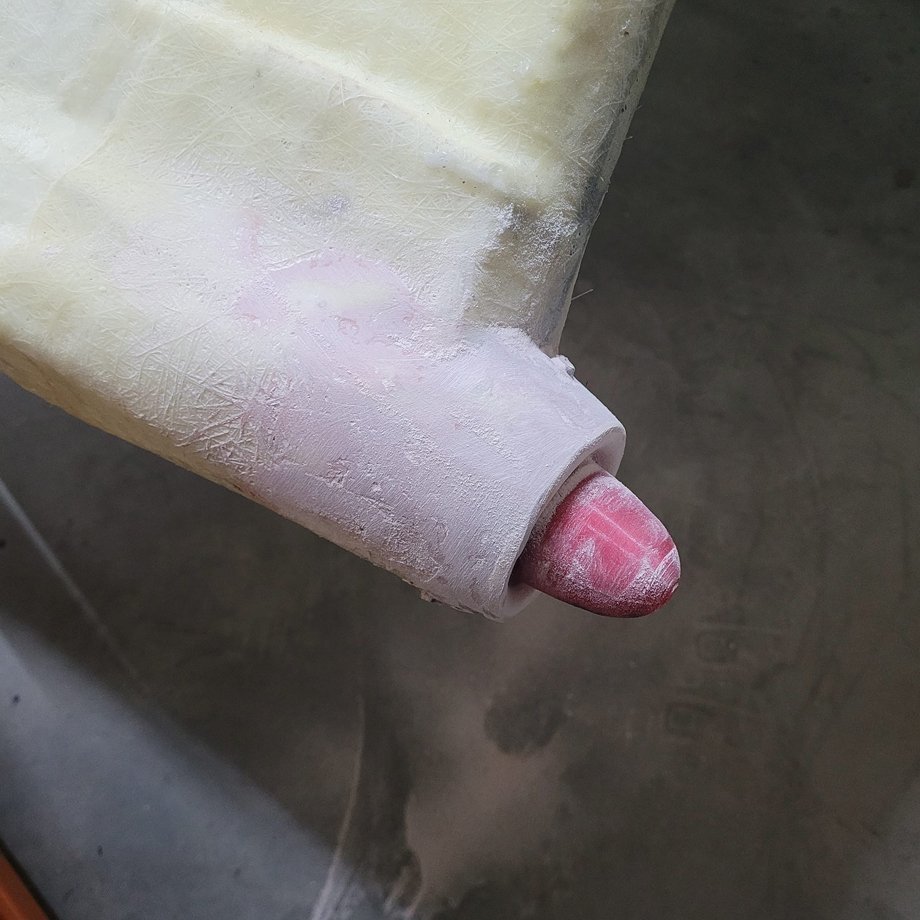
While I'm waiting to sell another blade so I can afford the resin to finish the hull - Did a bit of bog work to tidy the ends of the nav light housing. Ran power to nav lights on the port wing and the strobe on the tail. Re-organised the workshop so I can fit both wings on at once. Yes, they are removable so I can get the Viper out of the shed. (I can't believe the amount of people who ask, like I never thought of that.)
-
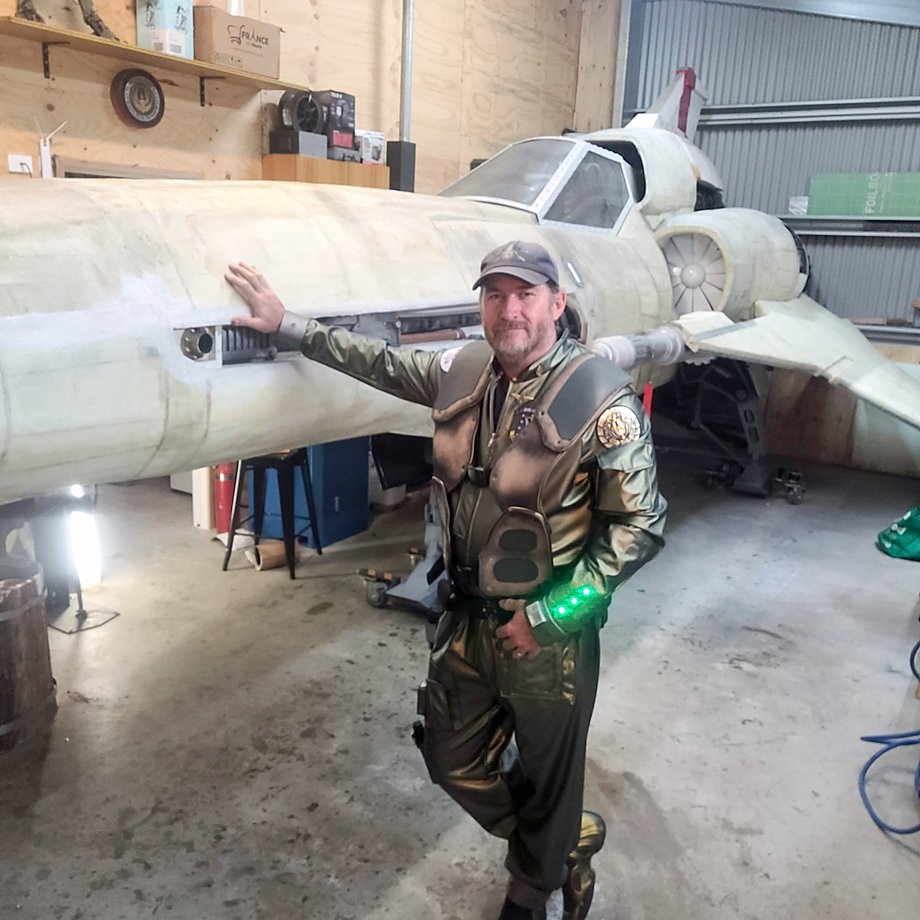
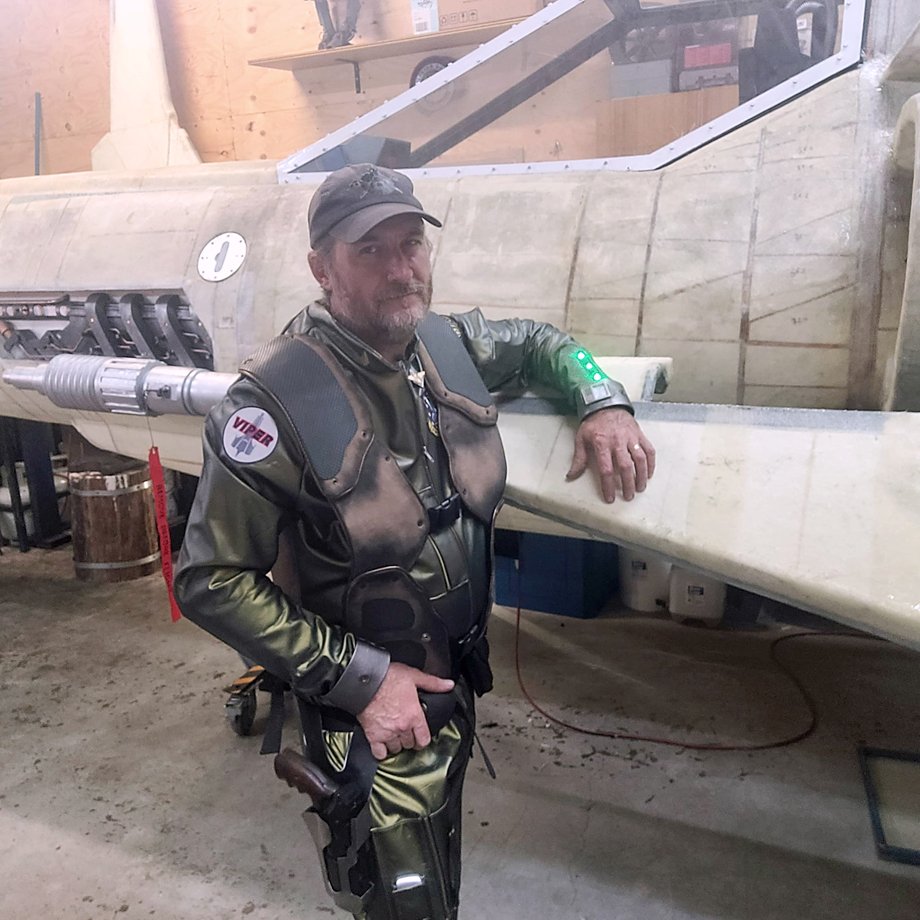
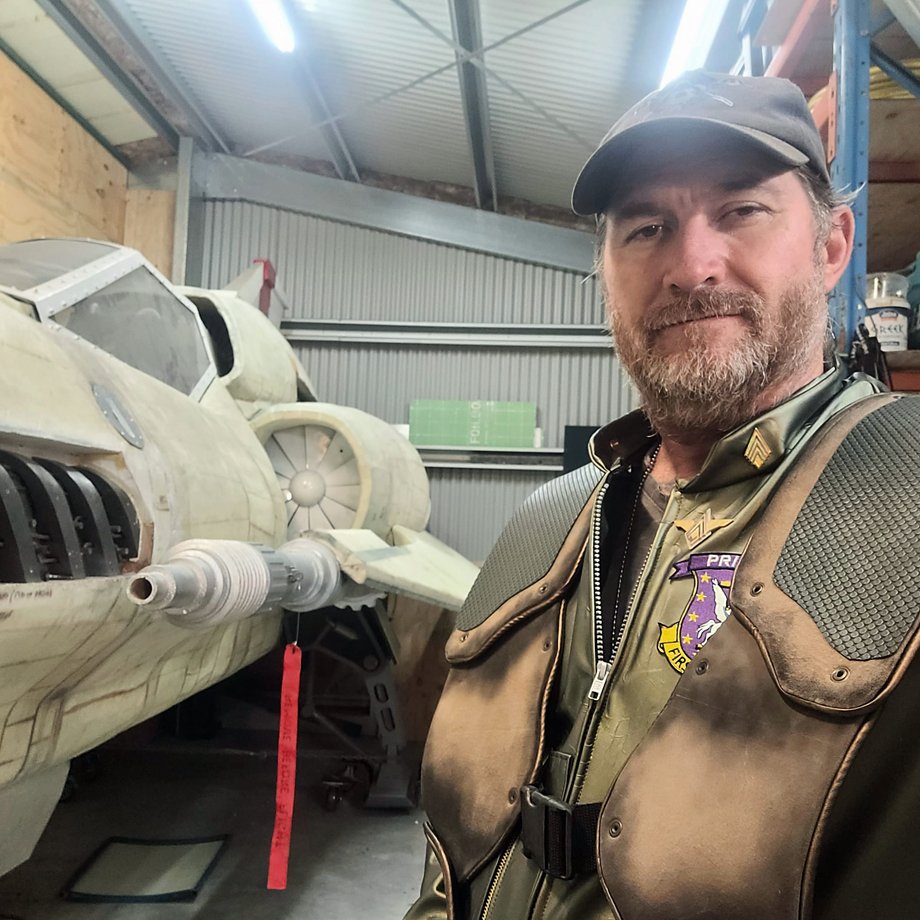
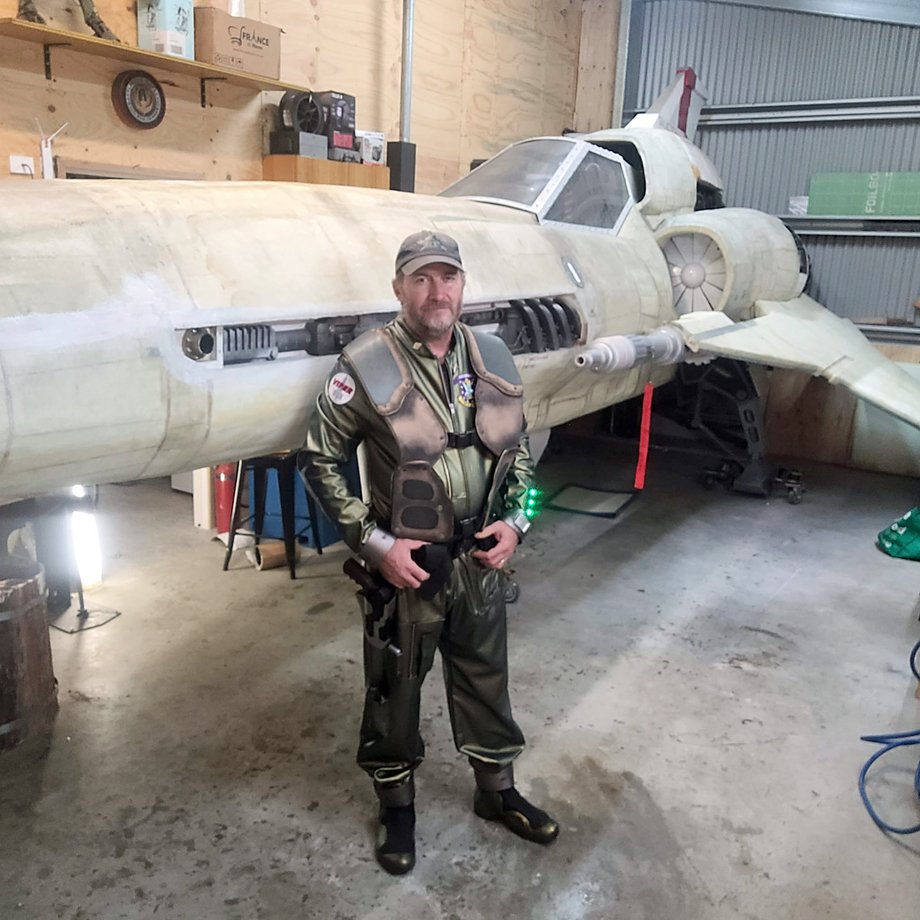
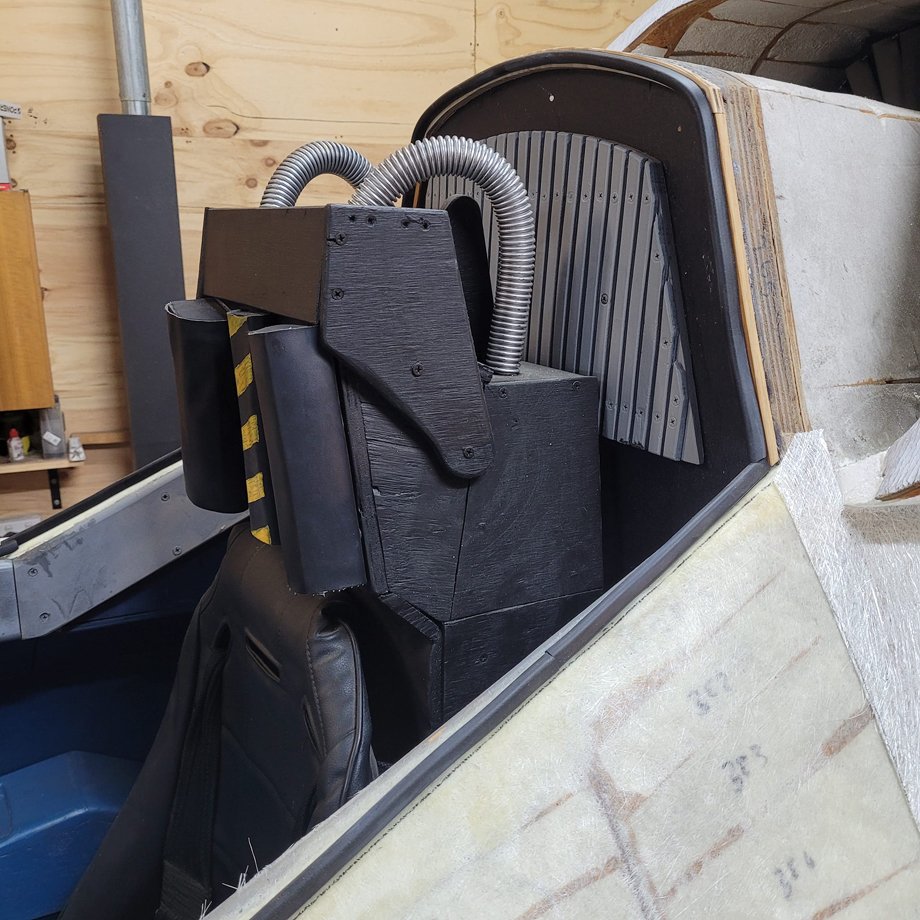
Started sanding the fibreglass. Port wing back on so I can do this as well as start hooking up the nav light electrics. The flight suit is all but finished. I brought it all home to put on the last couple of bits of the ensemble and to look for anything that needs adjusting. The pre-flight check list pocket somehow snuck up the leg too far and we didn't notice it until it was all on. I'll have to unpick it and move it down the leg so it's readable in the sitting position in the cockpit. My friend and tailor, Alistair, who has previously worked in the costume departments of quite a few blockbuster movies and TV series, was the man who did all the sewing machine work. I have him to thank for his patience and expertise. I just provided material, consultation and reference, plus a little bit of grunt work when it came to cutting, glueing and sourcing accessories. Sometimes I cringe at cosplay, especially when a grown adult is playing fantasy dress-ups. I have to remind myself that it's an art-form, requiring a mature approach, patience and skill, to achieve something special. The Viper itself has taught me so much and though I can't use a sewing machine, the opportunity to see what goes into a costume for a movie, was eye-opening.
-
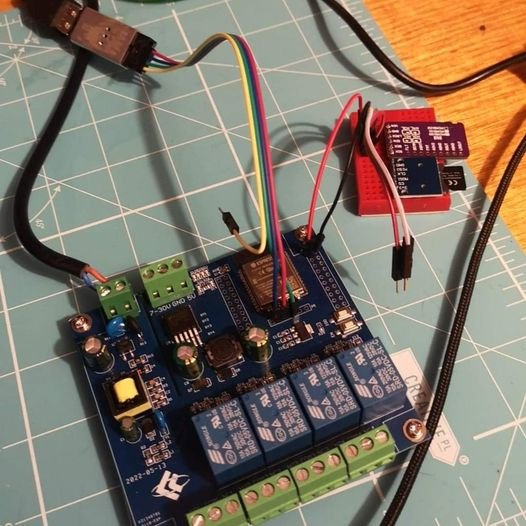
The brains of the Viper, steadily being worked on by brains smarter than mine. Thanks to my mate James, who you may remember helped me with the electronics suite in the steel Iron Man suit.
-
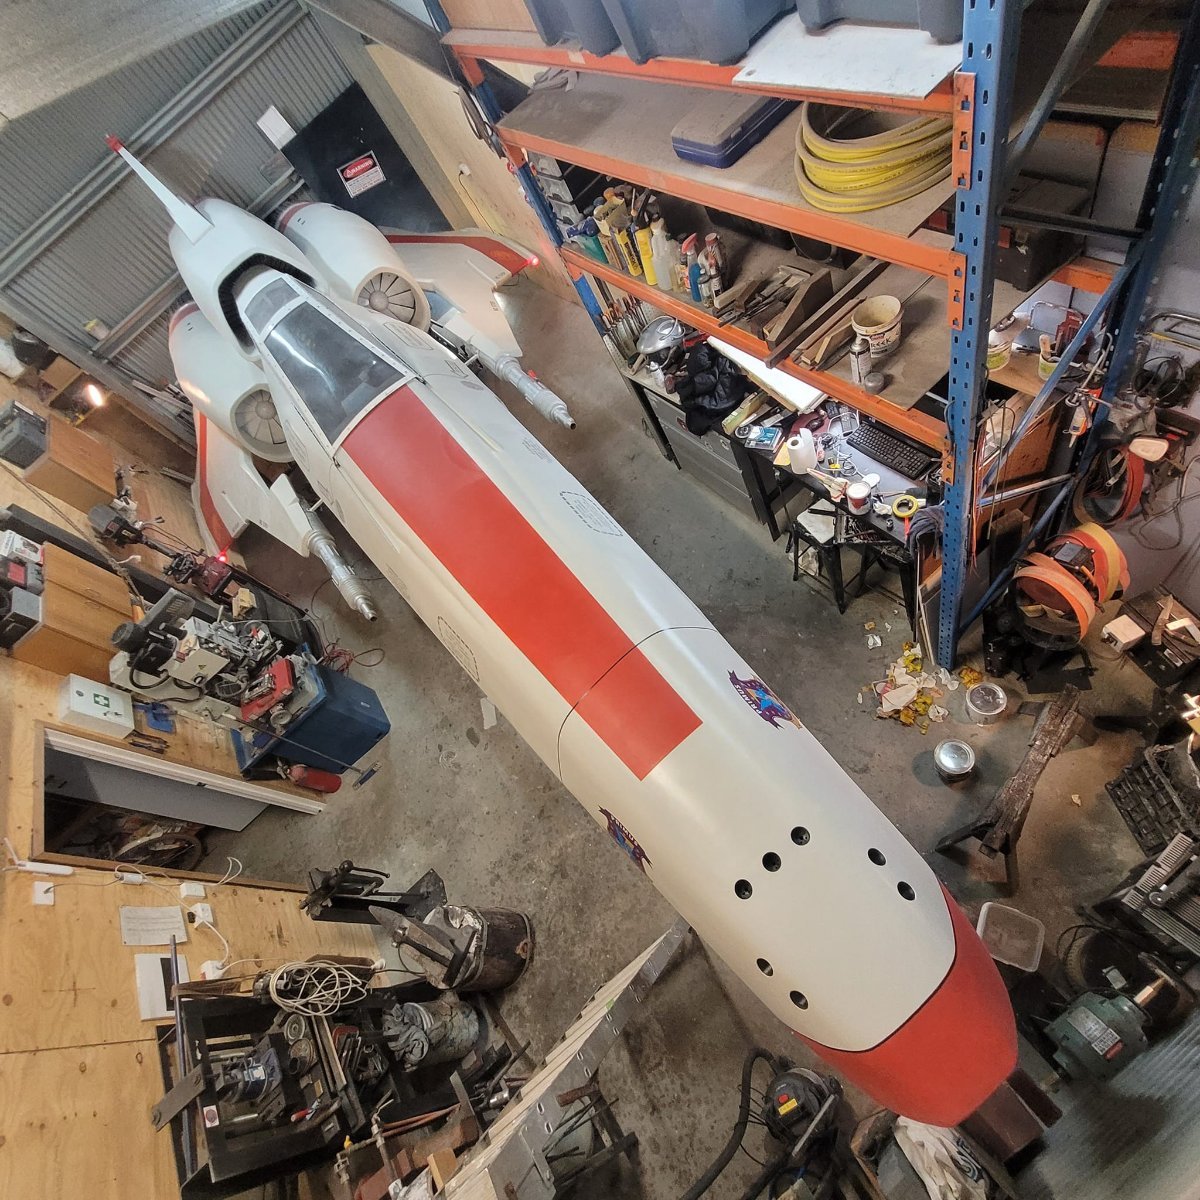
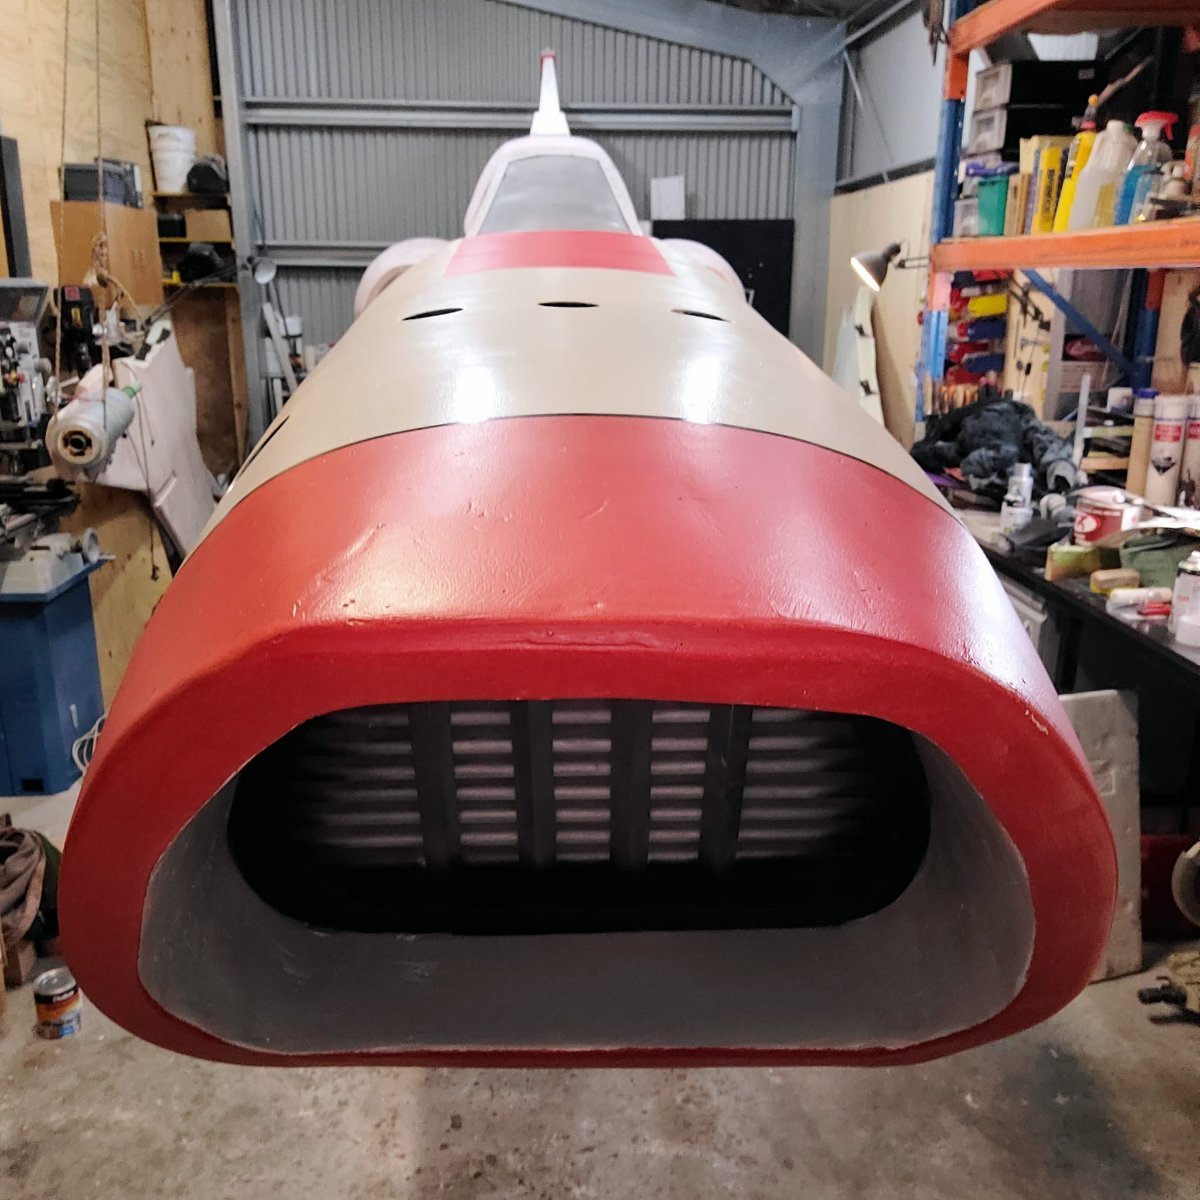
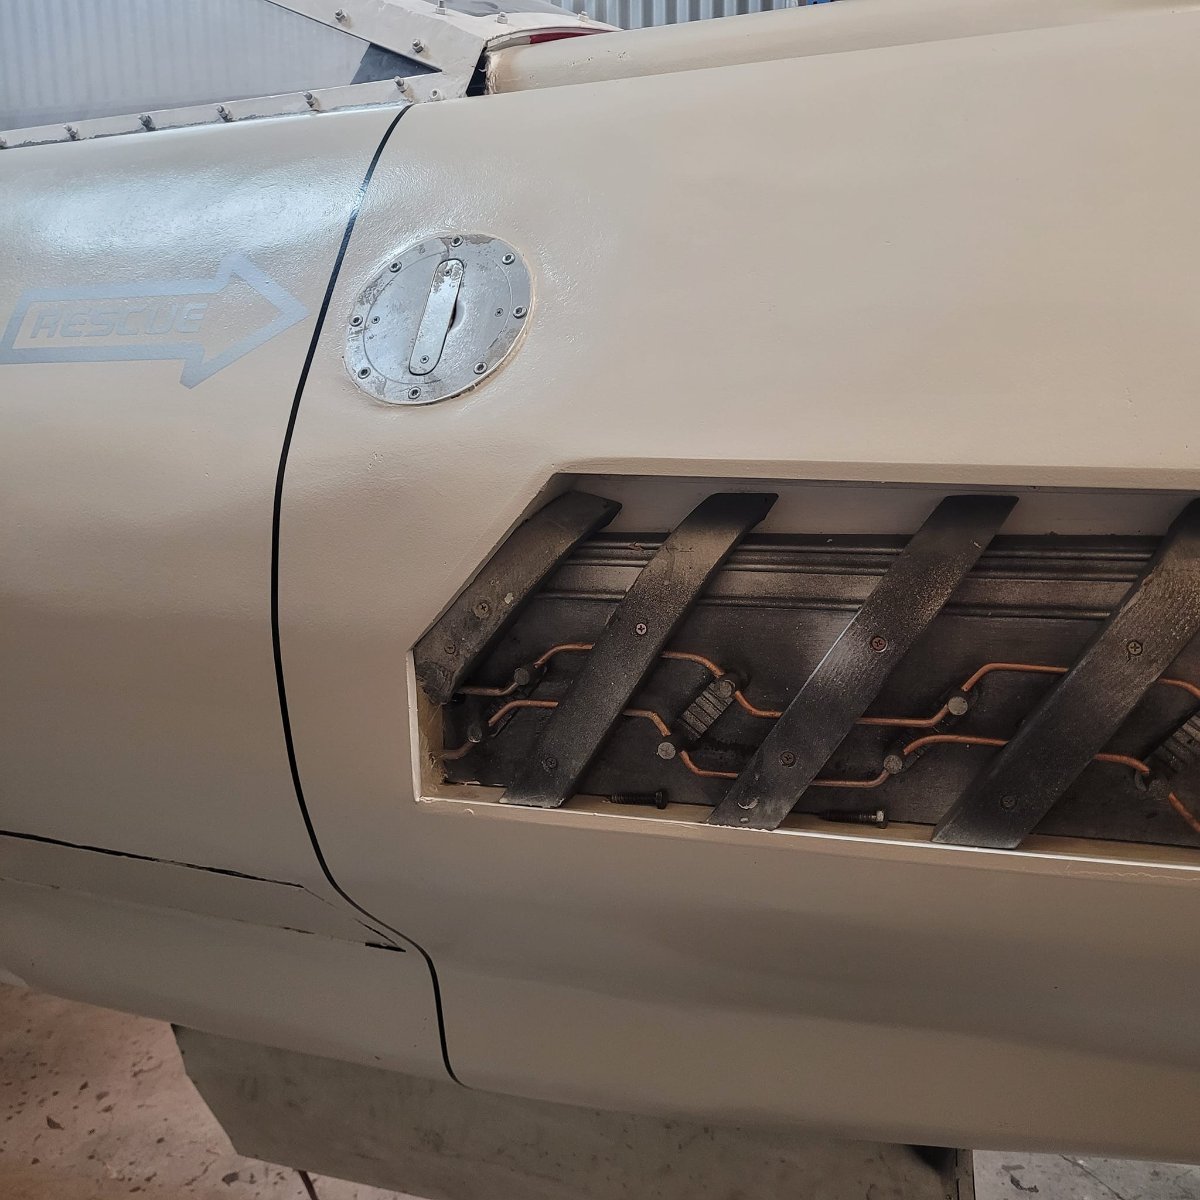
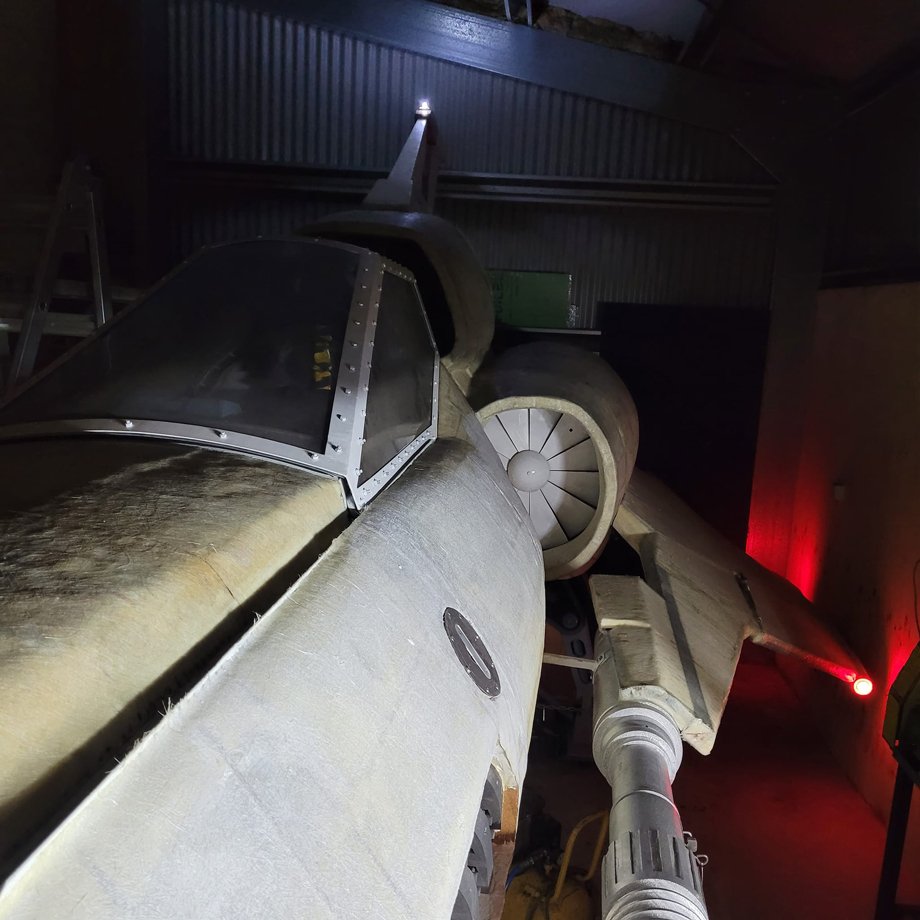
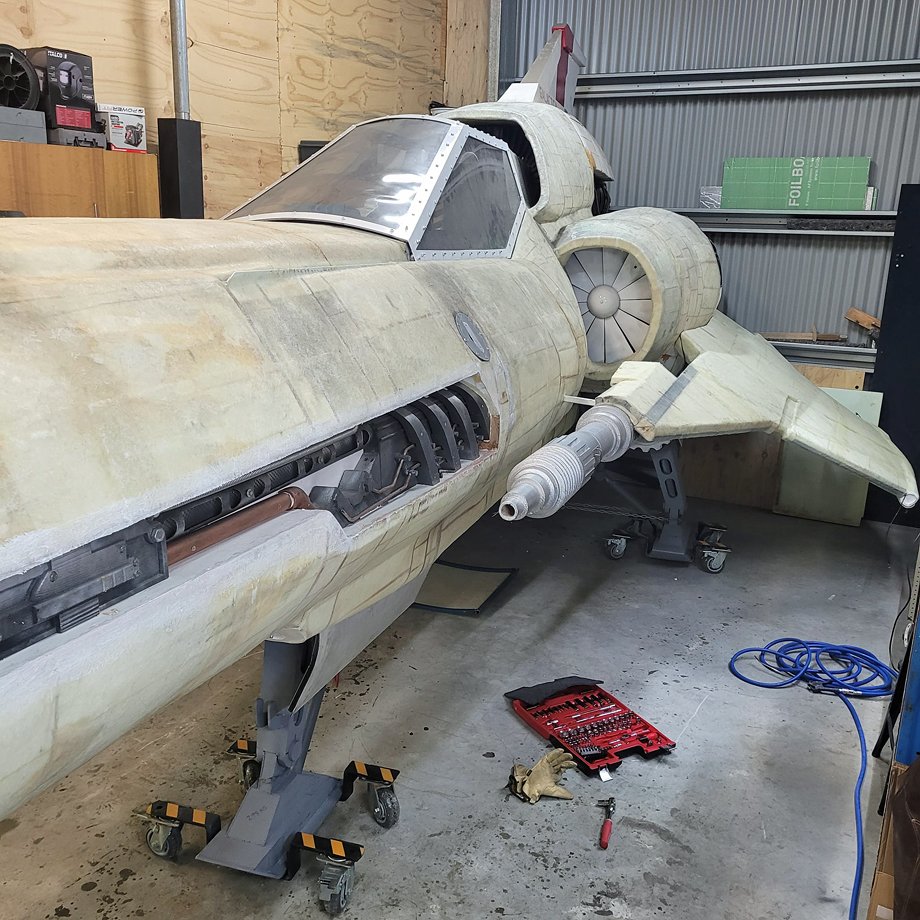
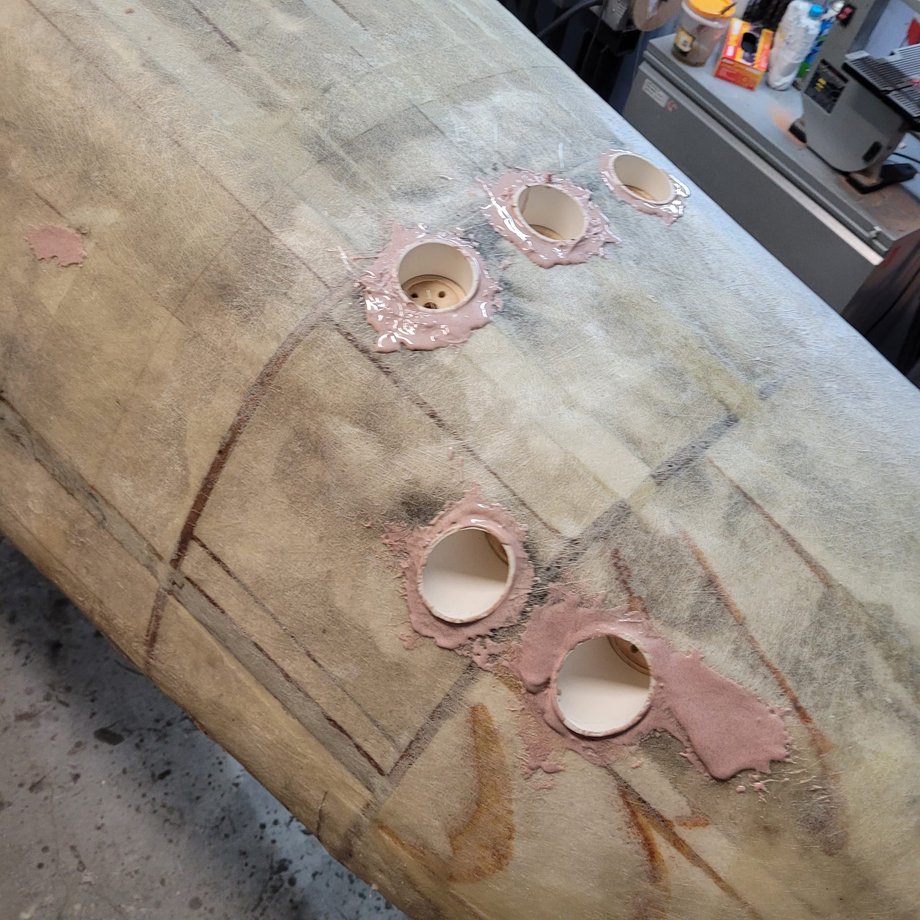
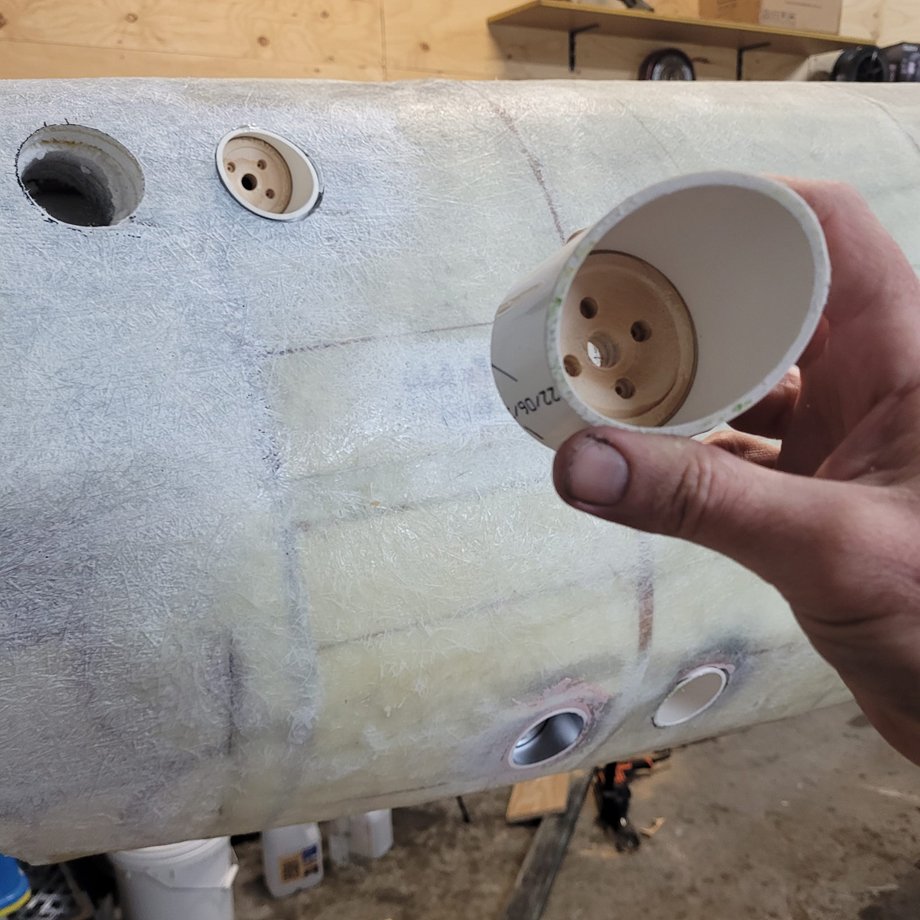
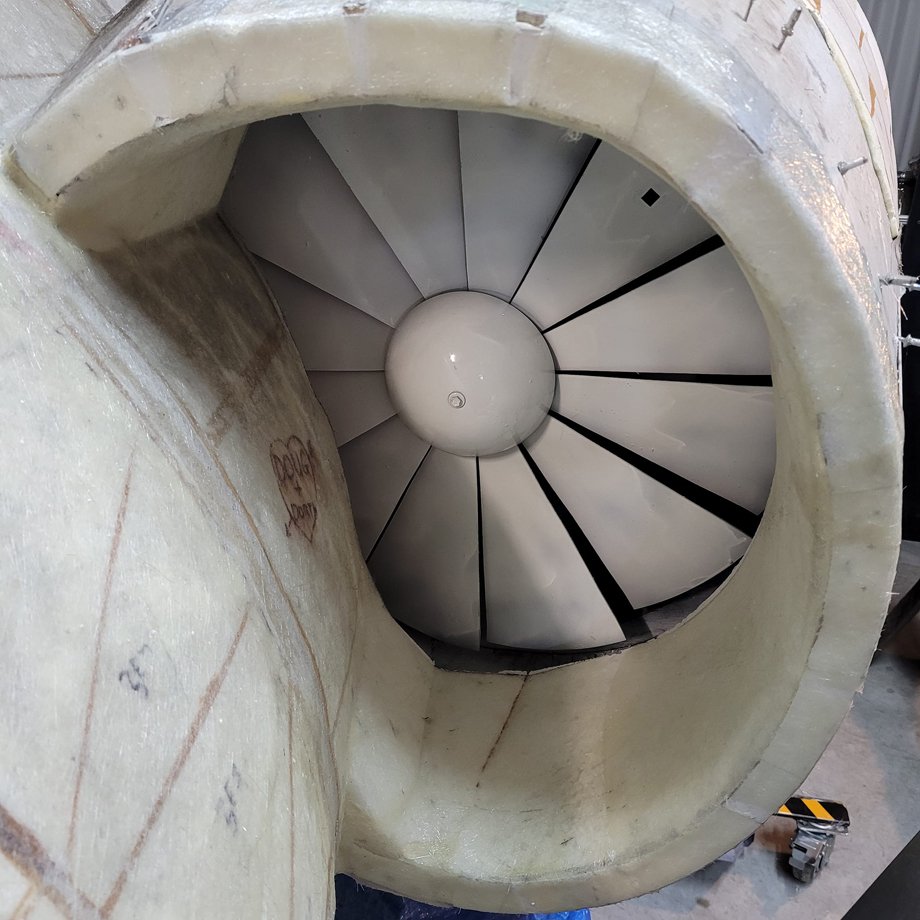
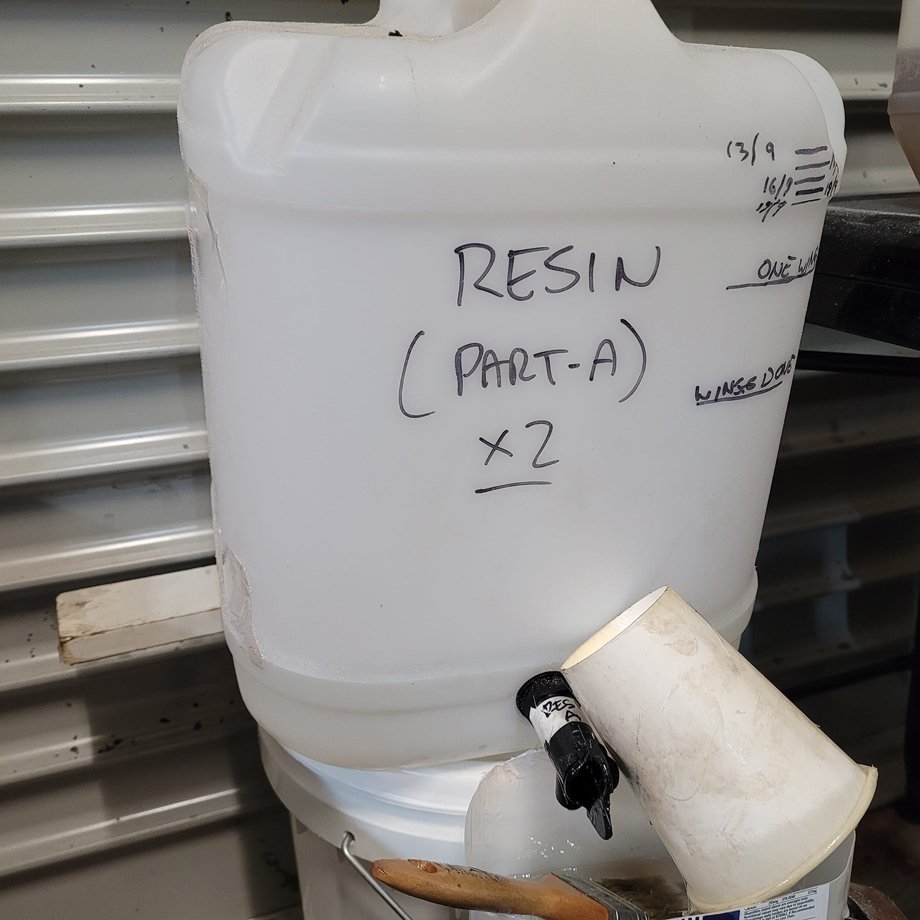
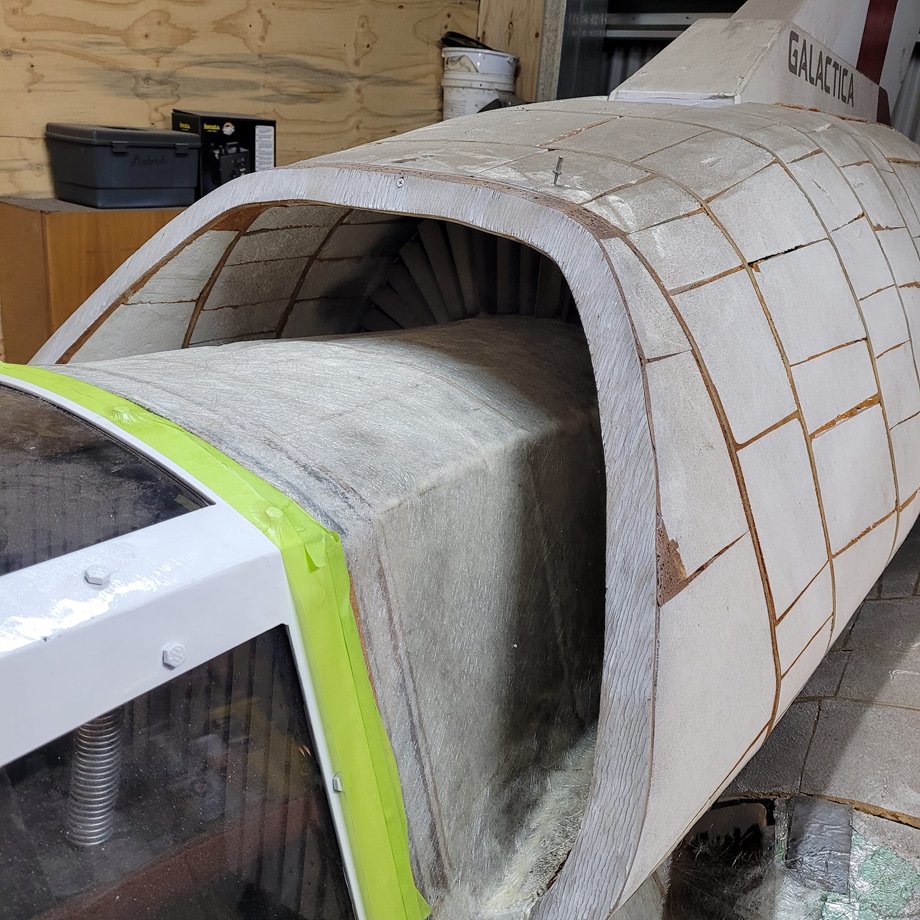
I got all the intakes done inside and out, plus about a metre of the top nacelle and the port nacelle. Now I'm out of resin, saving up for the next batch to finish it. There's still a top coat to go, some body-filler, and sanding with the big orbital, before a final paint. In the meantime, I thought I'd try to make the RCS ports look a little more technical with some detail in the holes.
-
Honestly, I was only watching the strobe and counting... 🤣
-
Thanks mate. 🙂 Baz.
-
Thanks again mate.
-
Awesome! Thanks for that. Double flash every second. Now to find a bike strobe that does the same. --- or someone's unwanted aricraft strobe. 😜
-
I've seen those. The challenge is the rate of firing. I believe aircraft strobes are once every 3 seconds or close? Bikes are more than one per second.
-
Would anyone happen to have an unwanted tail strobe? Something small. Baz.
-
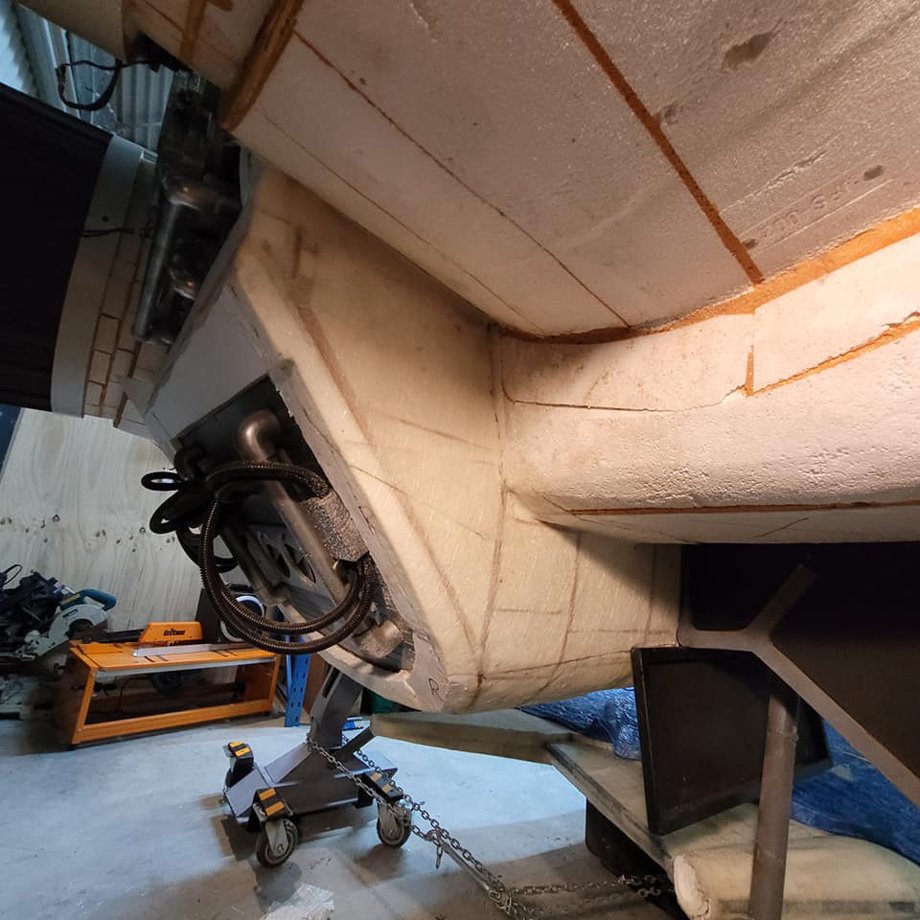
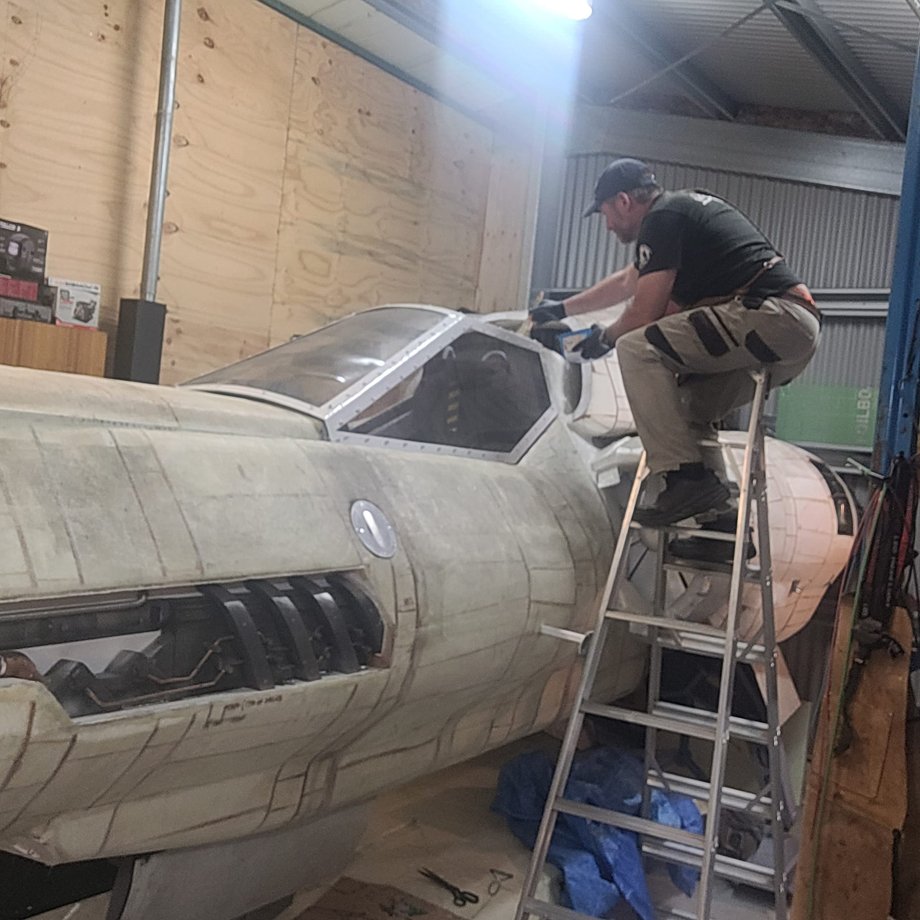
I finished glassing all the underside now, right to the rear. I've now put a new trim and some bulb seal around the cockpit edges and now the canopy slides back and seals on the rubber. Sounds heaps better too. Kinda like closing the door of a Rolls Royce. Glassing high tonight. Tell me it wasn't a mongrel job getting my hairy arm in the top intake without getting resin all over it! Port intake done as well. Unfortunately I've run out of resin Looks like I won't be able to finish the fibreglassing of the engines, until I can afford more. There's a thousand bucks worth, stretched out as far as I could. I'll get this last bit out, and see how far I get.