Teggles
-
Posts
41 -
Joined
-
Last visited
-
Days Won
2
Teggles's Achievements
Active member (2/3)
-
No washout on the wings, but being so short I don’t think it will be a problem.
-
Sorry, I am a little confused. The angle of incidence (according to the drawings) is set by positioning the main spar, temporarily fitting a wing rib and taking measurements from the horizontal datum. 3 degrees angle of incidence equates to a 2 1/2 inch difference between leading edge and trailing edge of the wing rib.
-
This will all be accomplished in the tent in the woods. I will drill the wing attachment fittings in the spar when the spars are out of the aeroplane to ensure they are drilled square. The 3 degrees angle of incidence - I can use the measurements on the drawing, I just might need so wood shims.
-
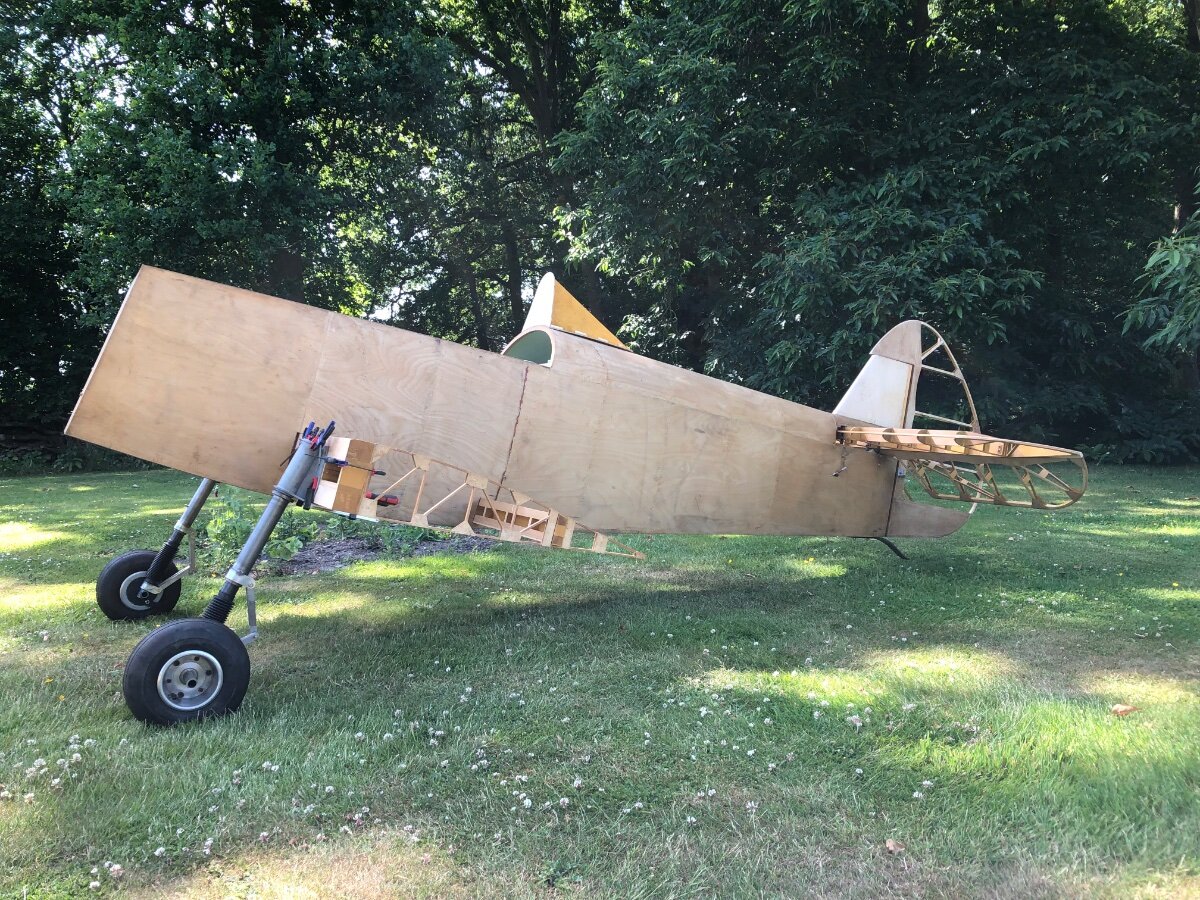
The fuselage has been varnished on the inside and Stewart’s sealant on the outside. I am covering with the Stewart system as I hope to do that this winter in my house. Next big job is to permanently fit the spars and get the angle of incidence right.
-
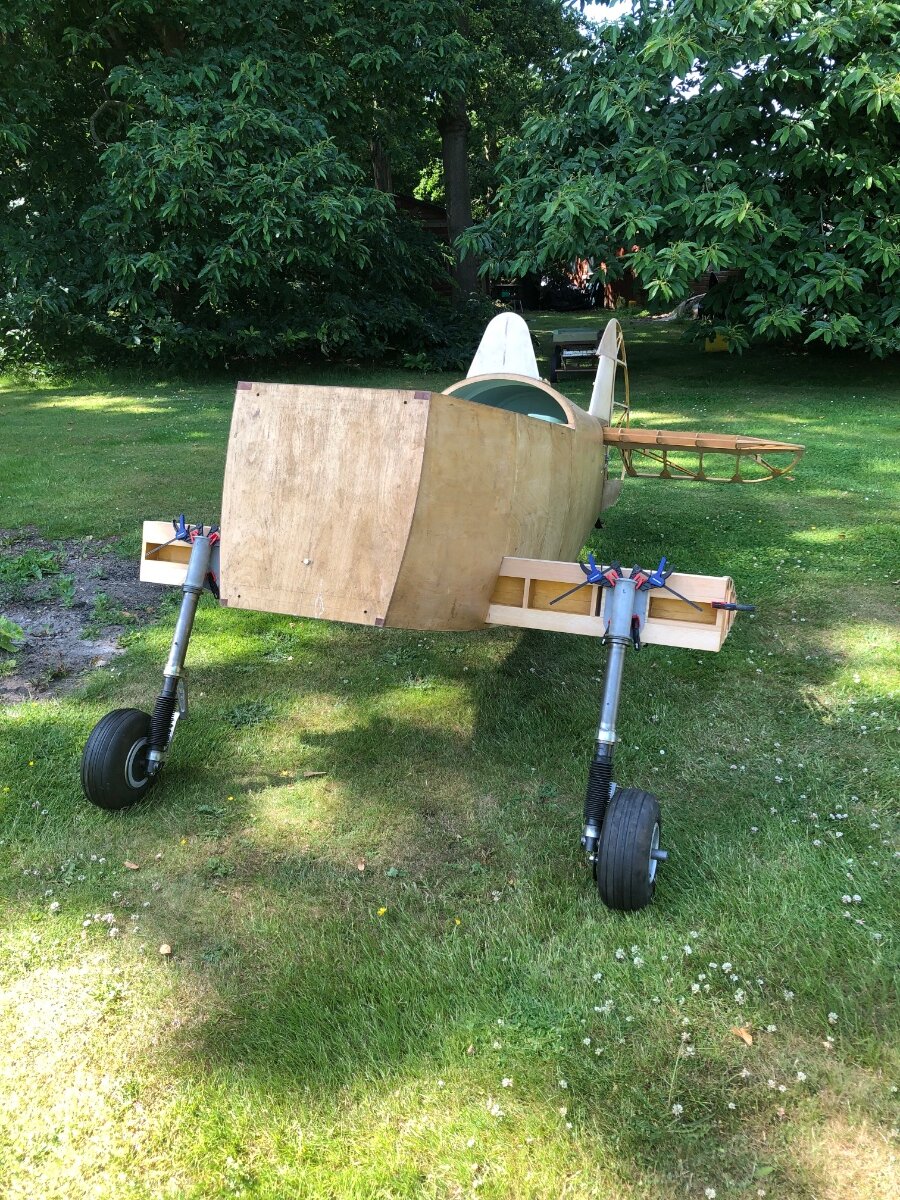
With spars and undercarriage, it doesn’t fit back in the workshop! Quick plan, erect a tent in the woods and see how it goes! Next major job is fitting the spars, making sure I get the correct angle of incidence. Trial fits so far show the slightest change makes a big change to the angle. No absolutely sure how I can get a consistent angle, take it apart, apply glue and get it back together again with the correct angle.

-
Looks great. Keep going and keep us updated.
-
She has wheels! Maybe held on with clamps, some bolts are the wrong length and I know it’s the wrong stub wing rib but….. she has wheels! Not long now before I can sit in her and make silly aeroplane sounds!
-
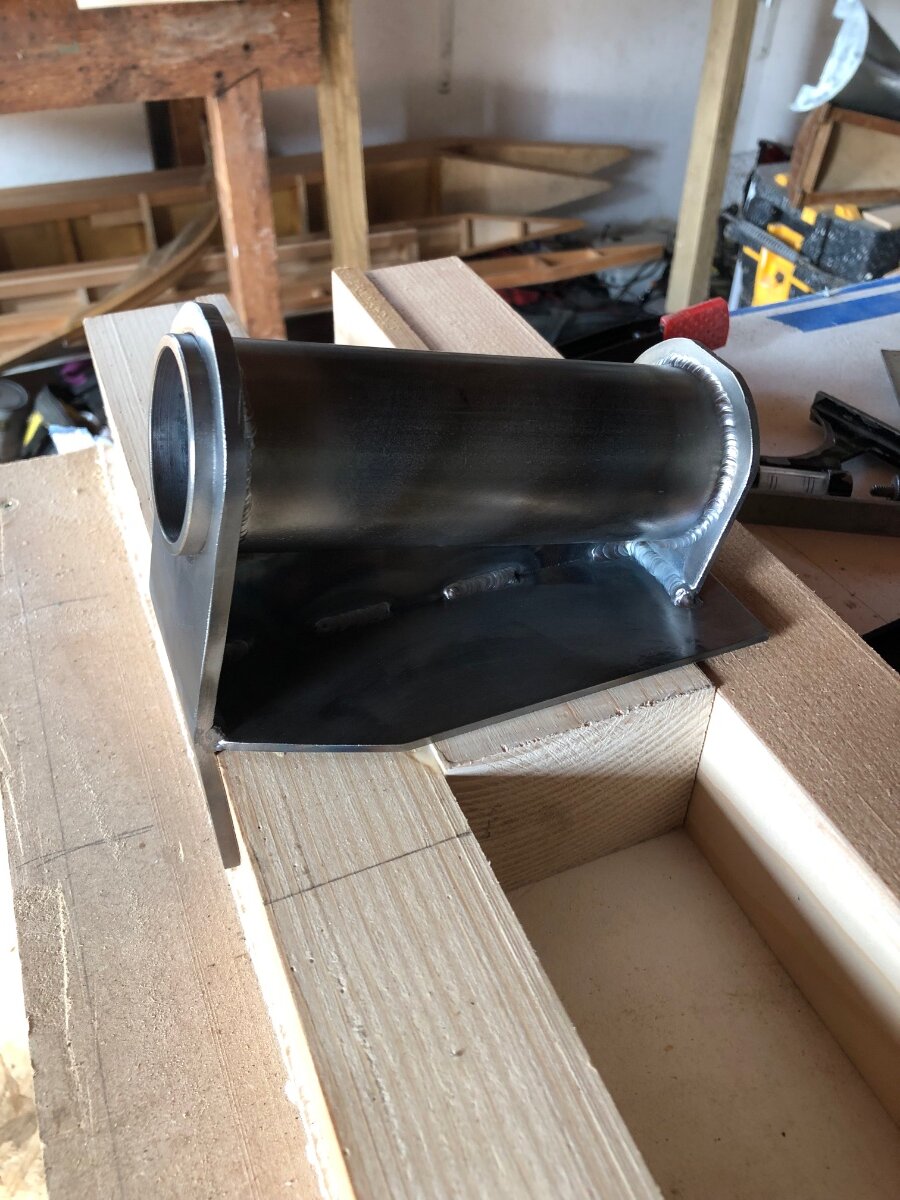
14 deg 30 min on my drawings. I get the undercarriage back from the welders in the next few days, I will post some photos.
-
Not by me! There is a company near me which makes replicas of historic cars, fantastic craftsmen and great welders.
-
Undercarriage mounting brackets. 14 deg +/- 30 mins! Just need to finish the centre spar. She will soon be on her legs.
-
I may have sourced some links which have been CNC’d from an aluminium block, they look nice - but they haven’t come back to me with the cost 😬
-
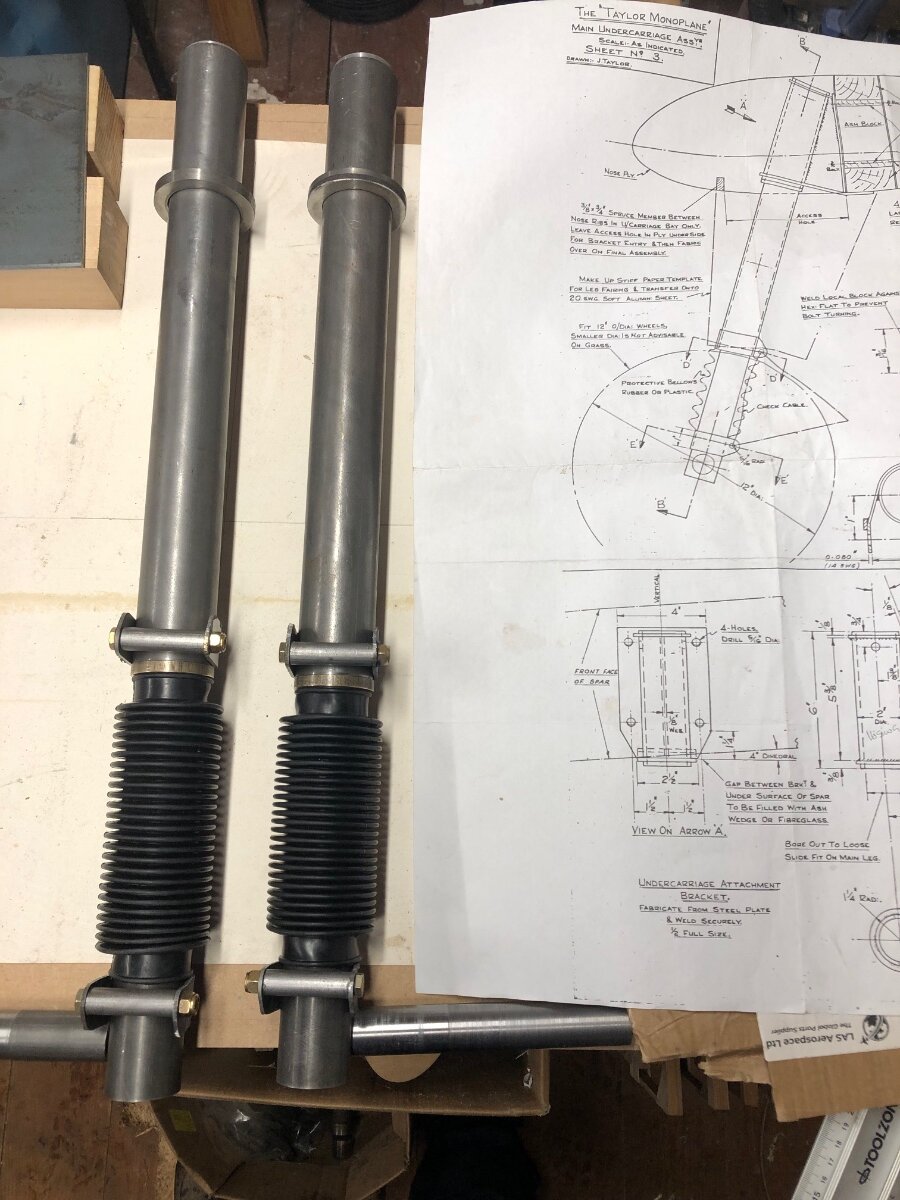
Productive couple of days in the workshop. Undercarriage stop rings, axles and torque link brackets all done. Soon it will be welding time. Just need to make the torque links. The brackets for the legs are with the welder now. After the torque links I need to assemble the centre spar and then I will have an aeroplane on its wheels 😁
-
Just collected my legs from a local engineering firm. They have done a great job. Axles and torque links next and I will have a pair of undercarriage legs 😁
-
Happy Christmas Don, every job is one less😃
-
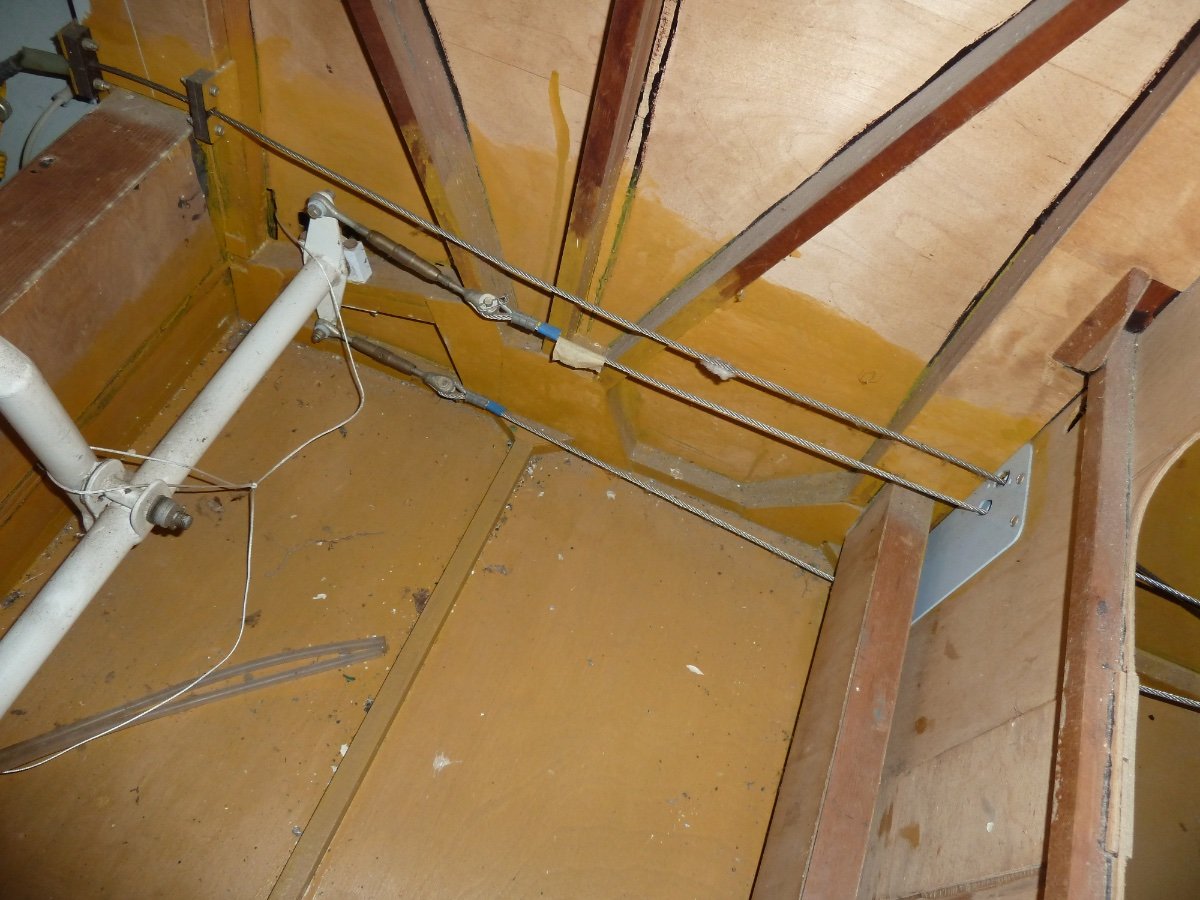
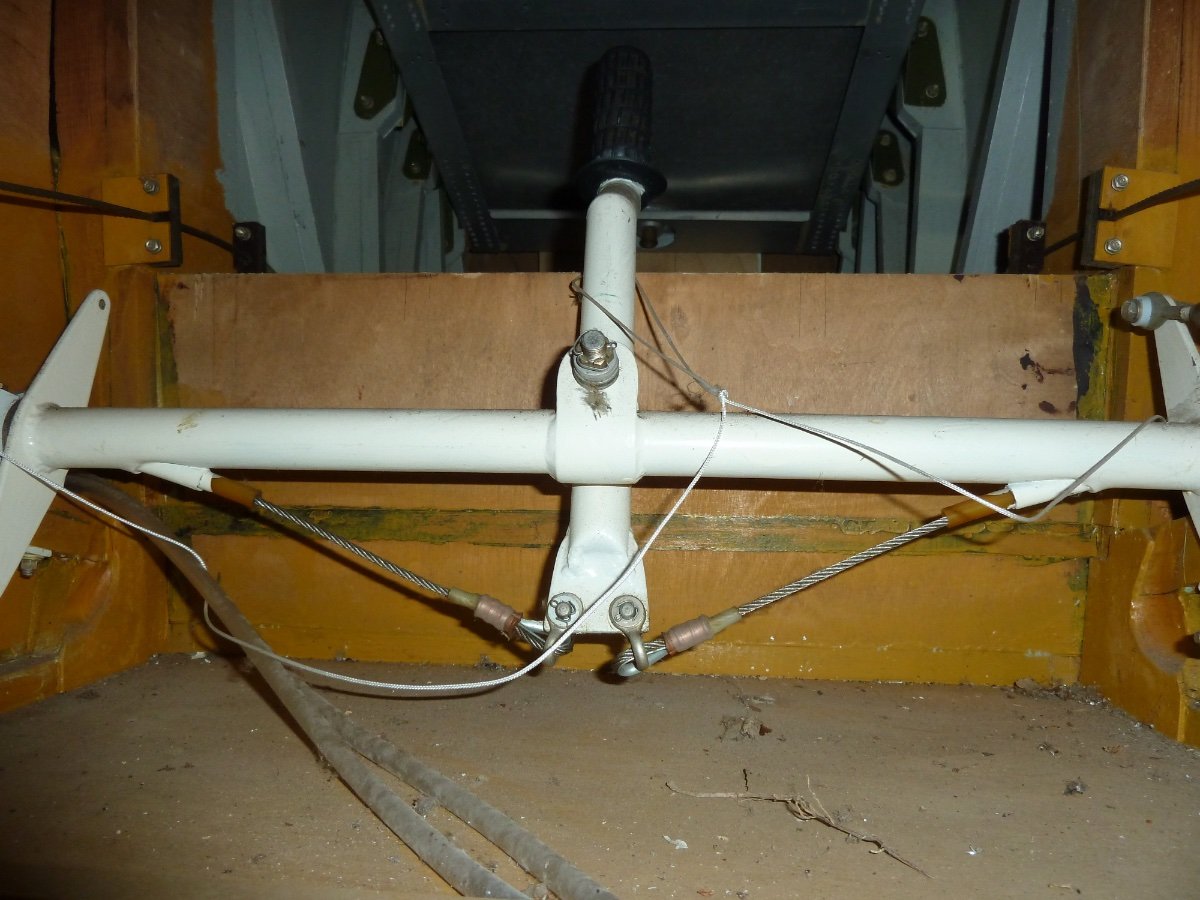
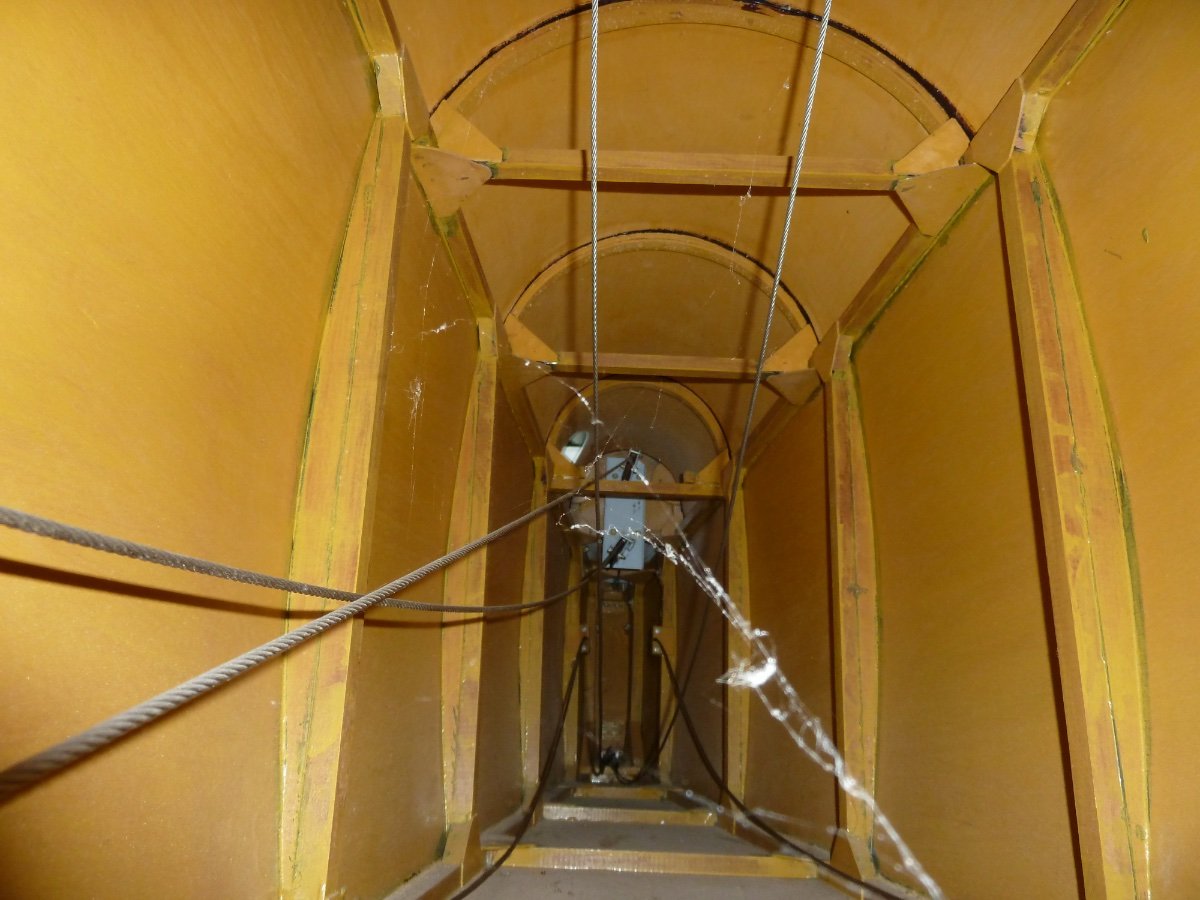
The rudder cables were - as you said straight forward. Elevator I am still working on, but I had a breakthrough when a friend sent me some pictures of the inside of his machine. Some angled pulleys has made for a neat system, so I will try to replicate that. He also had an issue with the aileron cables. As he moved the stick fore and aft the ailerons moved as the cable was tensioned. Both ailerons going up or down together. He has solved that by routing the cable from the bottom of the stick through the torque tube (picture attached). I am going for steam gauges, simple, reliable.