Don J
-
Posts
166 -
Joined
-
Last visited
-
Days Won
4
Content Type
Profiles
Forums
Gallery
Downloads
Blogs
Events
Store
Aircraft
Resources
Tutorials
Articles
Classifieds
Movies
Books
Community Map
Quizzes
Videos Directory
Everything posted by Don J
-
Teggs. What about those rudder and elevator cables any head way. Diehl wings from a KR-2 is the way to go. Nice taper and lots of aileron.
-
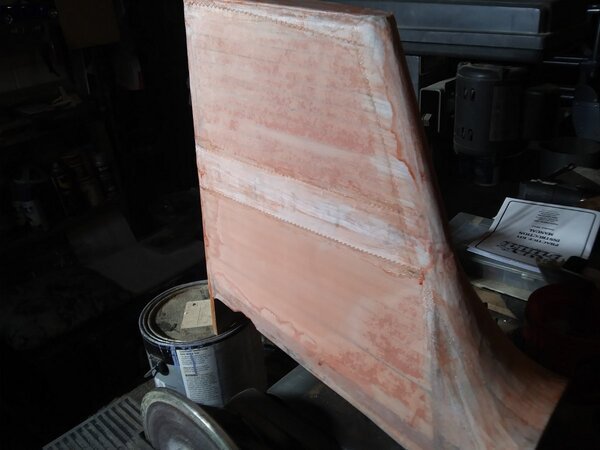
As you can see in the photo, I took high density foam and stacked glued it into the inside of fin with the hopes it will help keep the cockpit accessible if plane is on its back. I believe a roll bar just behind the head mounted in the hard point of seat belt will be incorporated in my build also. With these two added safety features in a nose over in dirt or mud your chances are 2-x better to get out of the plane. Plus, no need for ply covering the fin if made solid with foam and med fabric.

-
Good luck on the laser method. I found the best result was to use feel of hand after I got the hinges as close as laser would allow, and it seems every time I had to remove the pins to work on the controls after reinstalled things always needed readjusted in hinge alignment. In other words, Tegg the hinges are a pain in the ass to say it politely.🫢 Do you have your vertical Stabilizer built yet? The reason I ask is the VS can be built to help in roll over protection as I did mine. Don
-
Tegg. Sun does help💡 and I hope you have your hinges worked out. It took some time to get mine aligned. It helped having a 5 ft. long 3/16" metal dowl. I guess you are going per plans on hinges. I found it helps a lot to build a rotisserie to hold each end of the fuselage where you can rotate it 360 degrees especially during covering with fabric. Looking good friend keep at it. Don
-
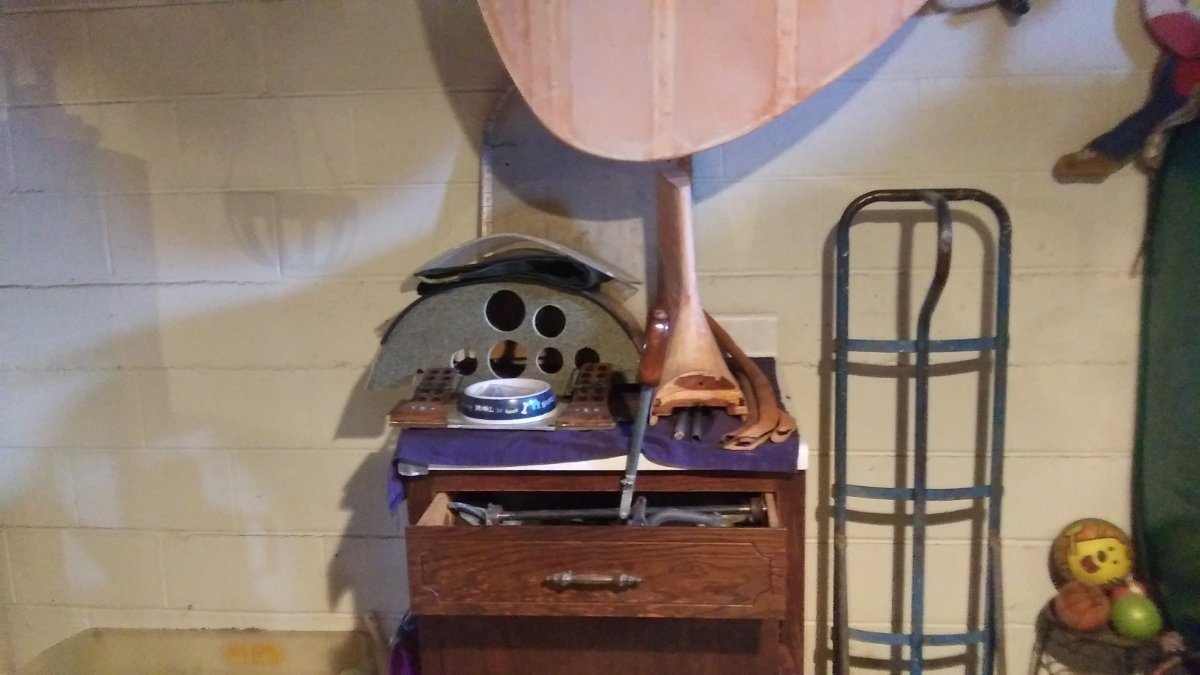
As always things are going slow, I look forward to winter because gives me more time to focus on the build. Undercarriage is a matter of money and finding the right deal on Grove type main gear because much lighter than stock I do have tires, wheels and brakes. I don't want to expose my fuselage to outside weather until body is completely covered in fabric and Poly spray has been done even sunlight can cause problems with the plywood and paint. I did manage too temporarily insert root spars to get the root fairings built and that was a technical mission of its own. I'm working on fuel primer location and a few other cockpit goodies needing mounting. A plasma cutter and good drill press will do a good job on fittings but there is always filing and sanding needed also. Don JOIP (1).jfif
-
Teggles I can relate to a small work area as you can see in my post. I was able to do all fuselage work in the basement but could not secure the root spars because of limited space to remove from basement. What metal parts are you in need of? I do have an extra set of wing attach fittings from a KR-2 and they are the same as a Taylor monoplane per prints. Let me know if I can assist in any way. Don
-
Not a kit-built plane. Every piece has to be built by the builder so takes very long time to get in the air. Nearing completion.
-
Teggles go to page one of this thread, and you can see picture of mounts dated April 11th 2018 and a few further down.
-
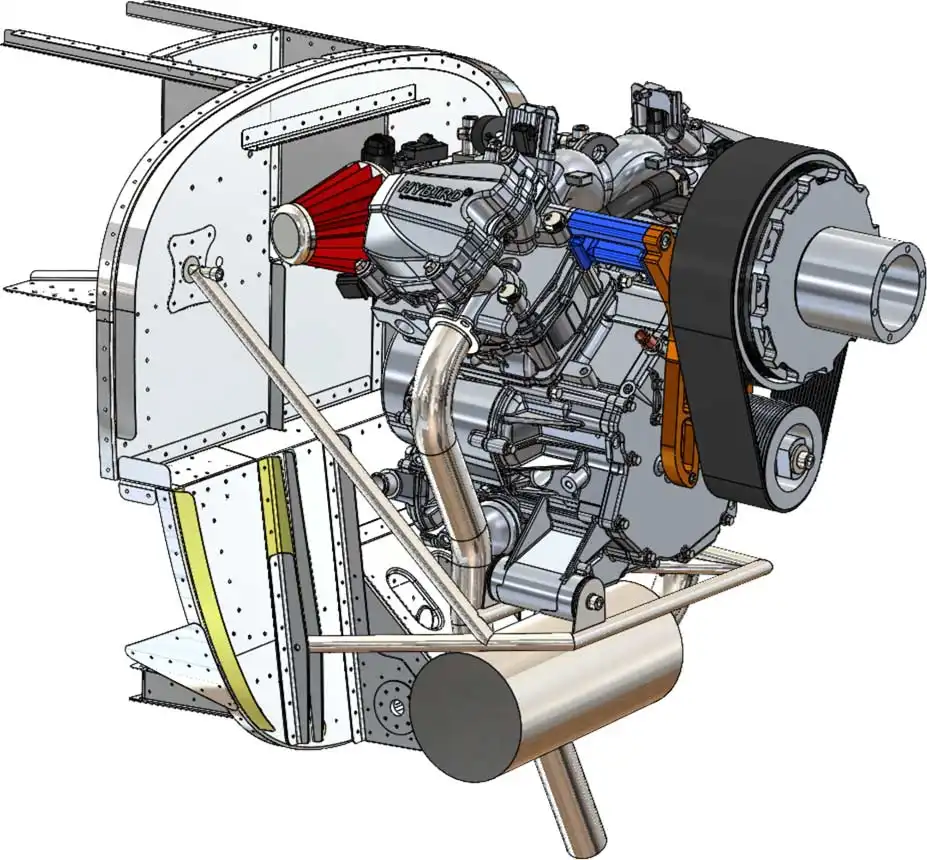
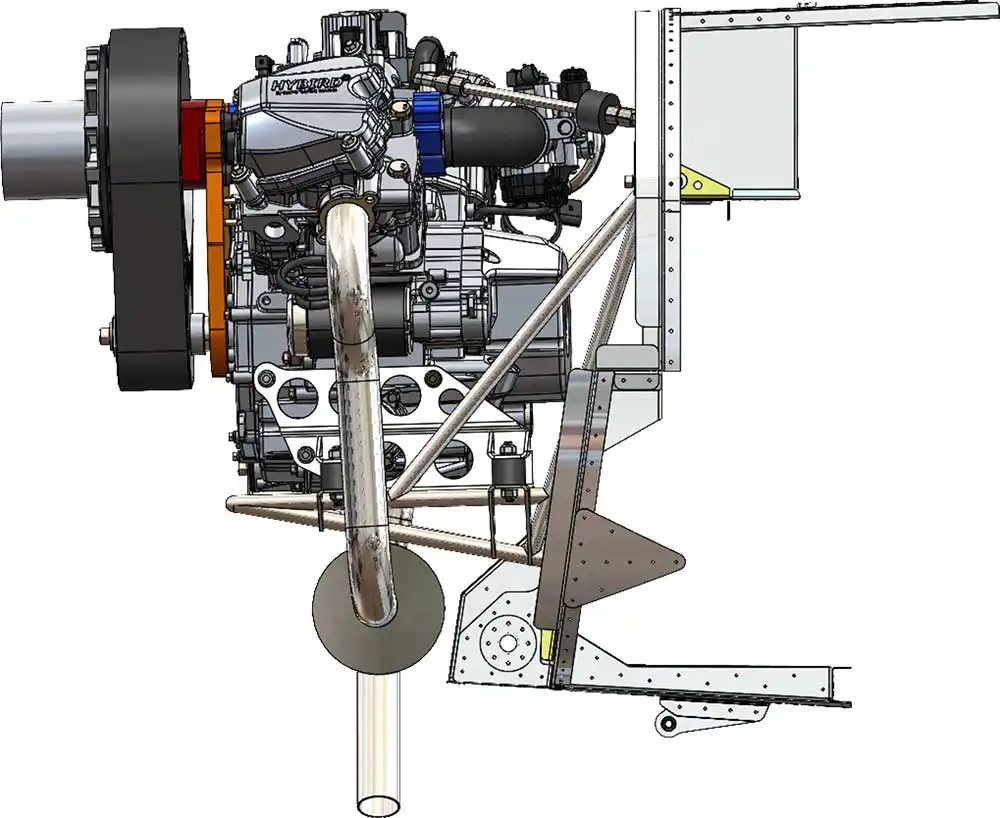
I did not like the way the mounting for the Hoz. stab is per plans. Doing it the way did I can adjust AOA incidence if desired. A 1600cc or 1835 cc Vw will get you about 50-55 hp and to run that RPM prolonged can and does ruin the heads near the valves. You could ask around and see if someone has some WAF(wing attach fittings) from a KR-2 for sale. There was a time you could buy WAF's from NVaero. th (1).jfif
-
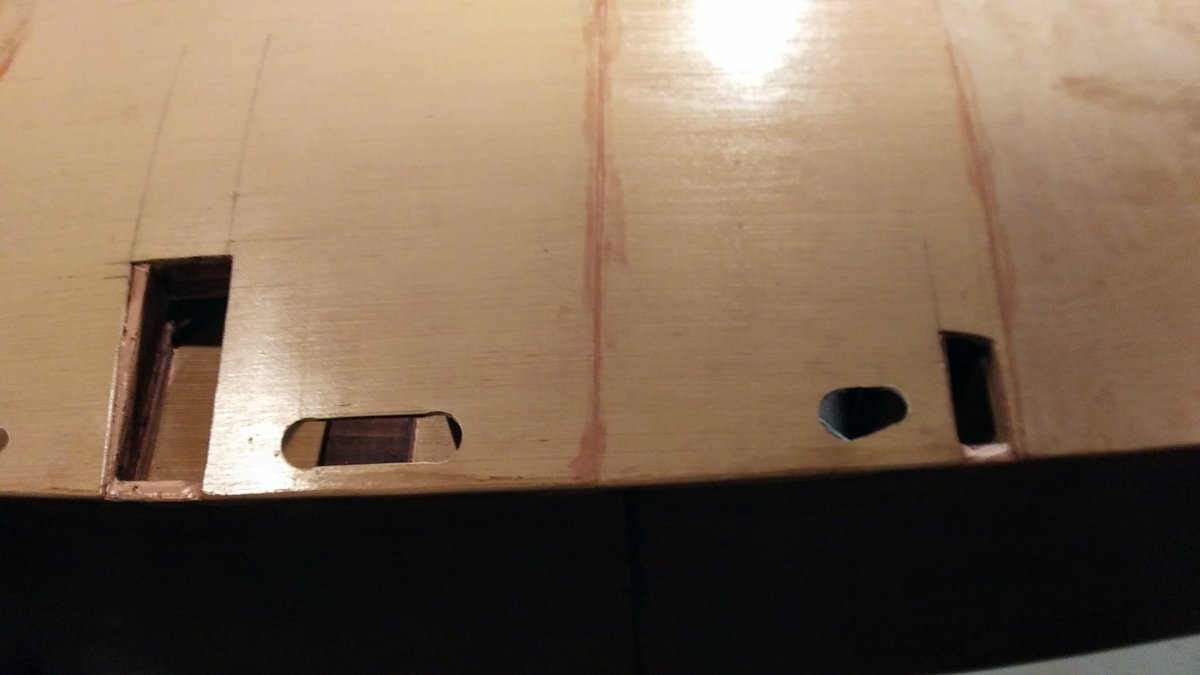
Just a short note on my build for future builders. After the ply is secured to the fuselage, I had inspection holes needed to be cut in for tail group access along with inspection openings for the fairleads about halfway from seat back to Virt. stab. Also don't forget access to rudder pedals if so desired. I did a couple test holes in scrap ply and got a good fit with covers. "BUT" I didn't think about the distance the fabric would take up once covered reaching all the way to the back side of the ply. A person probably wouldn't think it would matter but it does. Luckly, I caught it with my test piece and had to do some dermal sanding on 2 holes yet not covered. I wiped the relief from my brow thanking that I did not have to correct a mess. I used mainly recessed inspection plates with 2 domed inspection plates at 1/2-way point behind seat back because I was able to aid in securing with screw in the center to help from slippage. No inspection rings were needed as wing fabric will require. Off to work I go 🤪
-
Teggles. No mention on wings and landing gear? When you open root spar holes, I would pilot drill from inside the fuselage outward because it makes for much less sanding and fitting. Cable routing will be a challenge due to ply already added on turtle deck but is doable. I guess you're getting ready to cut in inspection plate holes before covering with fabric ? What engine are you going to mount ? Post progress when you can I'd like to see how things are coming along. Don
-
That would not be a problem. I have a stock Cassette cowling to be fitted and has plenty of eyebrow openings much like the rudder, rather large😄Also I think their engine is a water-cooled Can Am
-
I contacted Chip with Aeromarine and he informs me that shipping and suppling to builders in Australia is no problem and has been done before.
-
BrendAn. Not sure of dealer in Australia but here is some info that may help. Email- INFO@AEROMARINE,COM or better yet call Chip Erwin at 262-408-0124 or email him directly at [email protected]. and if all else fails mail the company a letter at Aeromarine-LSA 1960 Fruitridge St. Brandon, FL. 33510 Here is a few pictures from the web site. I believe price for complete firewall forward package is around $7,600 US dollars includes prop.
-
I agree with you Marty-d and have no plans on doing mine that way but had to ask. 🛩️
-
One last thought and question for you guys. I have the ability to build the first tri gear (nose gear) T-mono plane with V-twin engine ever. would that be too much of an eye sore or the cat's meow for low time pilot's and first-time home builders??
-
No pictures Jon other than what is in the build log. Its Poly spray silver from firewall back and wings are in build stage. I found Blogging every day on my build with pictures really cut into my build progress and I don't have any help other than my wife when I need four hands. At this moment all the tail feathers are off, and the airframe is stripped of all accessories from dash to interior even the tail wheel is unbolted for painting so not much to see other than a pile of parts. I will post finished pictures' hopefully by mid-winter. Don
-

Help me decide what to put in a pilot shop?
Don J replied to partsguy99's topic in US/Canada General Discussion
I think a phone card would be helpful along with toilet paper and some ear plugs. Anything to help the pilot and friends to get through the day such as hats and warm hoodies. -
It's been a year since I've posted on my project and I'm in the engine stage of the build. I have been researching the V-Twin engine of 60 hp instead of the heavy VW. The Aeromarine V-twin has fuel injection and electric start and may be a good first time for the Taylor mono with this type of engine. Not too much done and much more to complete but I have been having a great time building this tiny little bird. Smooth air everyone. Don J
-
I'm looking for a set of mains for my build. If you have a set and will part with them, please let me know. Thanks Don at [email protected]
-
If anyone has a set of landing gear for a Taylor-monoplane and would like to sell please give me a message. Thanks Don
-
Just started on this step of the build and need to do a test block of balsa to see how the Aeropoxy glue is going to sand. T-88 epoxy is a bear to shape when connecting balsa together.
-
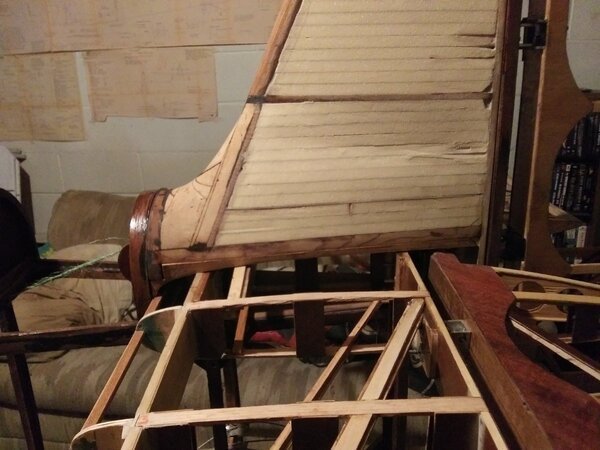
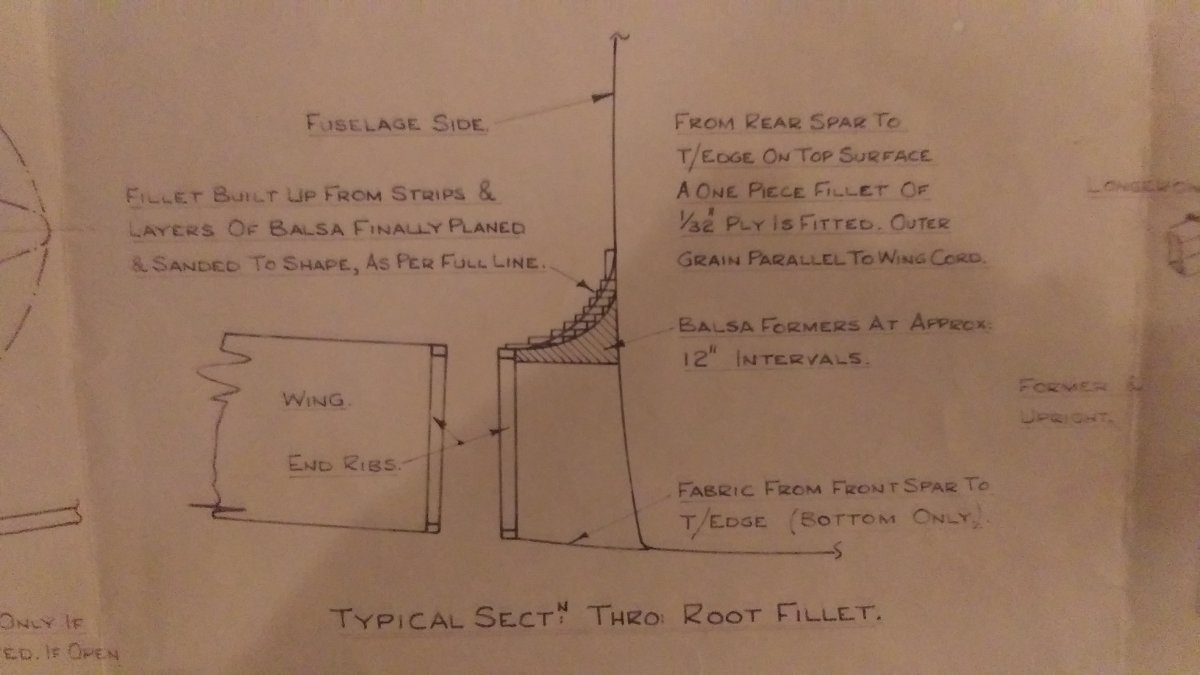
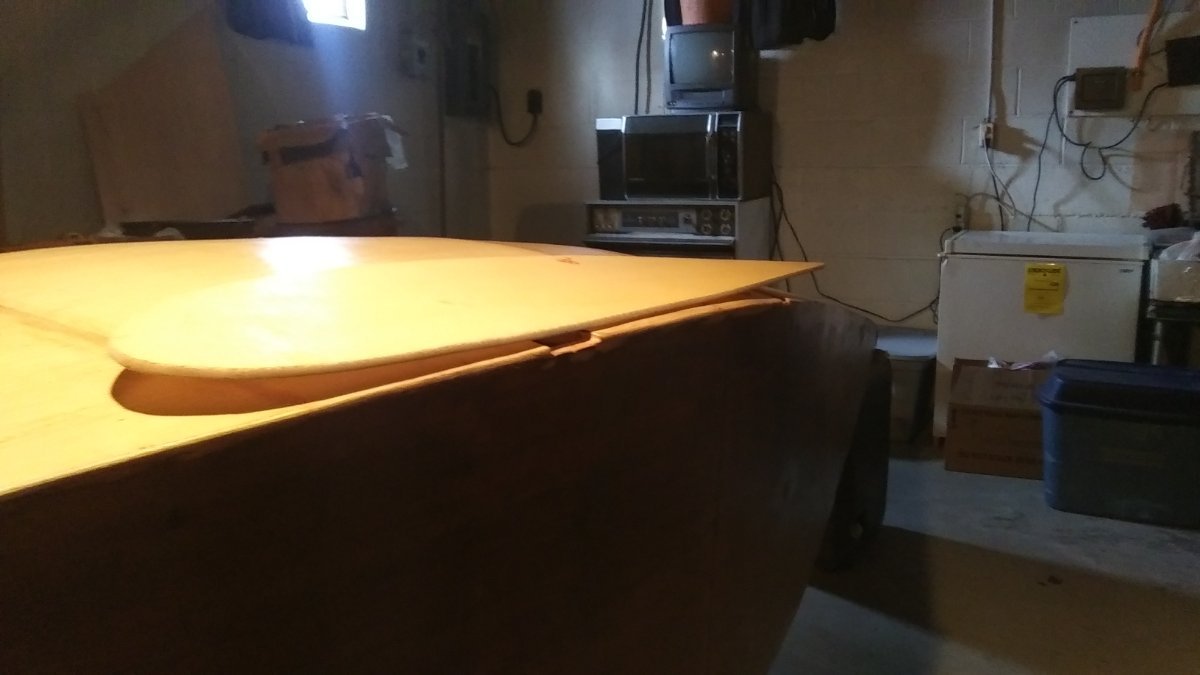
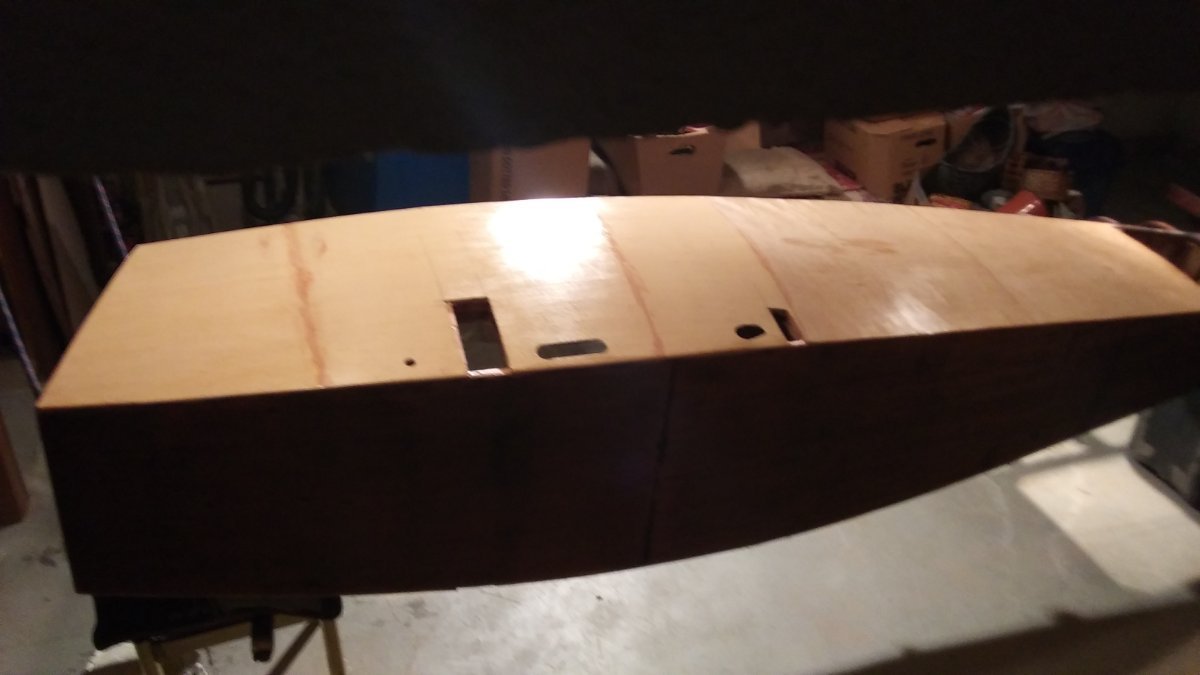
I want to point out a couple of steps and items I believe will help others on their build. As you can see from pictures of last post that the fuselage ply at the base of the spars is missing, and this could be avoided by not trying to cut openings before gluing the ply down. Better to pilot drill four small holes from inside of cockpit spar opening then connecting the lines and cut out with Dremel tool and block sand until satisfied with opening fit of spar. As you can see in the picture the fairing needed between the root rib and fuselage side which will cover the area of spar base missing ply, but I will have an extra amount of unwanted glue and weight that could have been avoided. The pile of hardware and parts is a photo of the many things you will have to install and then remove usually many times before your mission is complete.
-
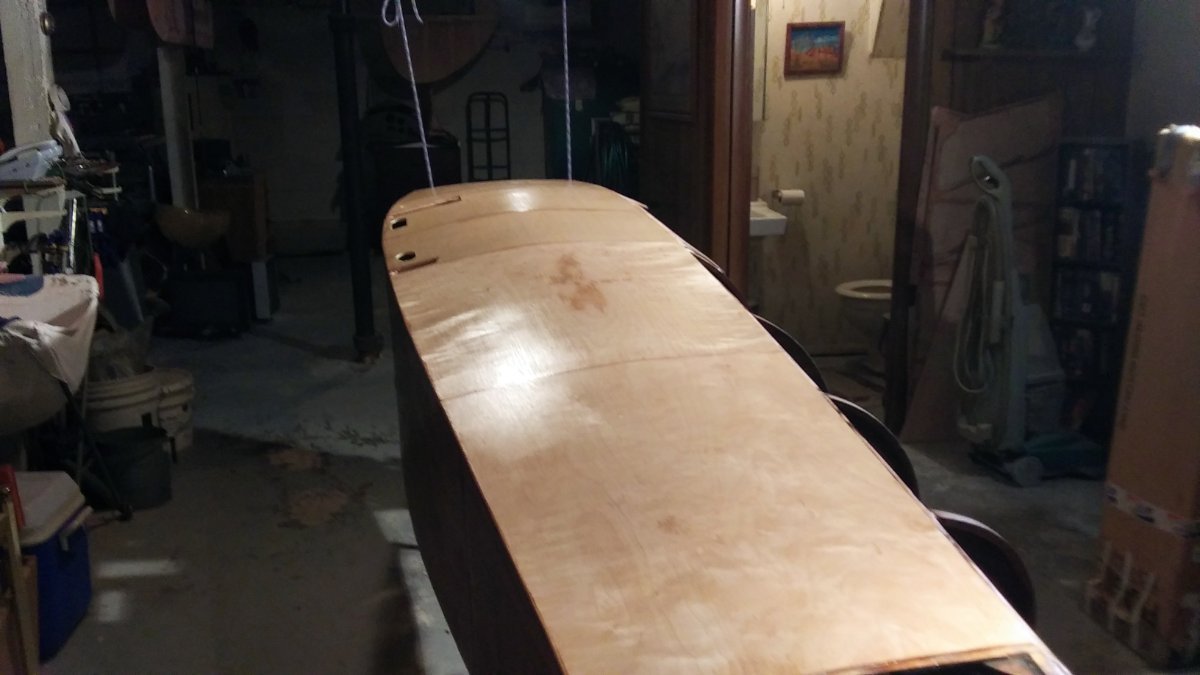
Testing photo. Here is some pictures of fuselage work just before root ply rib being worked on and cable routing being cut out. There is a total of 14 separate ply panels 7 down each side once total fuselage is sheeted. As the thickness of the ply digresses filler base strip must be glued on to area were ply panel gets glued down to assure fuselage side has the same plain and no noticeable steps are seen. the final ply at trailing end will have inspection doors installed.
-
Hi guys I have been without a good computer for a while but finally upgraded my equipment so soon I will get some new pictures posted. I would like to share the news that trying to glue on a full piece of ply on side of fuselage from fire wall to seat back was not doable for me. I ended up mounting 6 separate ply panels to each side of fuselage to hold good shape and have the strength I felt needed for the plane. I did increase ply thickness from fire wall to seat back from 2 mm to 5 mm then reduced thickness as I moved towards the tail. Like I say as soon as I figure out my new computer and how to enclose pictures, I will post some photos. Sad to say the bird isn't flying yet but I will say I'm still enjoying the build very much and it is very hard for me to keep a true accurate account of total time on build. Hope to see and hear from you all soon. Don