Skee
-
Posts
352 -
Joined
-
Last visited
Content Type
Profiles
Forums
Gallery
Downloads
Blogs
Events
Store
Aircraft
Resources
Tutorials
Articles
Classifieds
Movies
Books
Community Map
Quizzes
Videos Directory
Everything posted by Skee
-
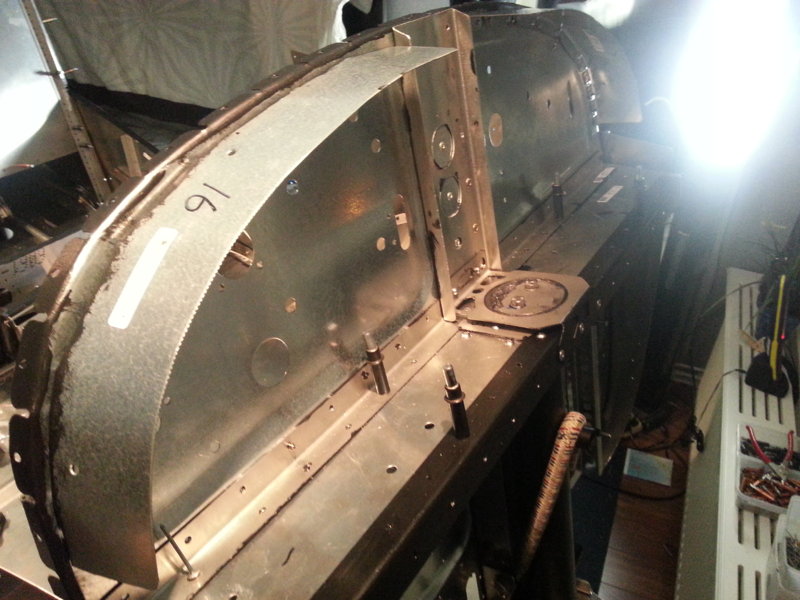
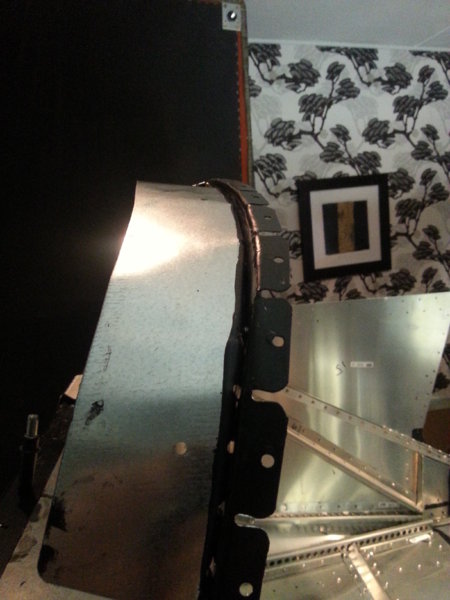
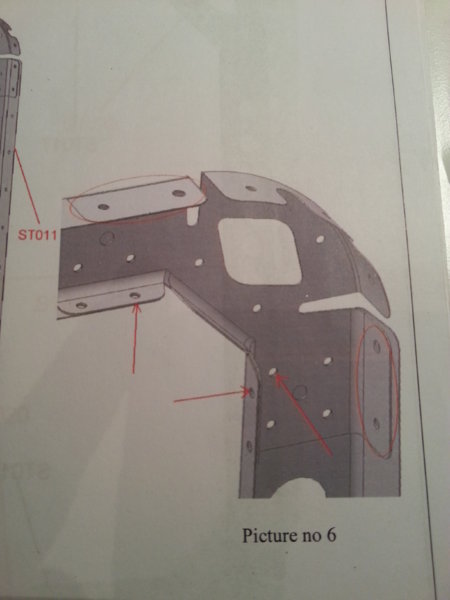
Thing is that i have a friend that bought his kit about the same time as you did last year, and his cowl support angles allot more upwards and needs to be wrinkled so it can angle downwards, so it can look like mine, it does not say in manual that you need to wrinkle it. Chapter 16, pic 11, its wrinkled and comes plain from factory, mine had diff design i think since holes didn't match up when i worked from outside inwards. Friends version, he needs to modify/wrinkle it to get the cowling inbetween.

-
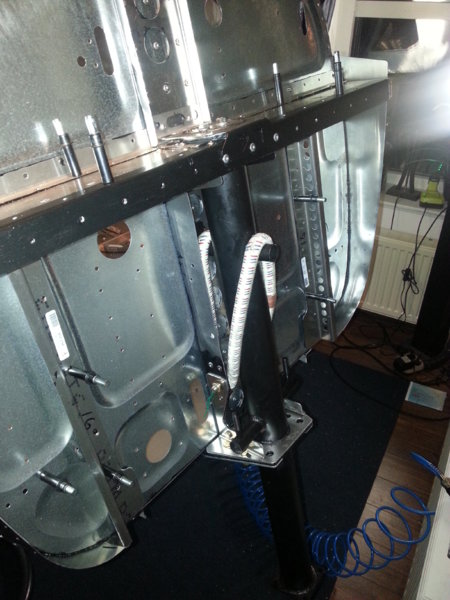
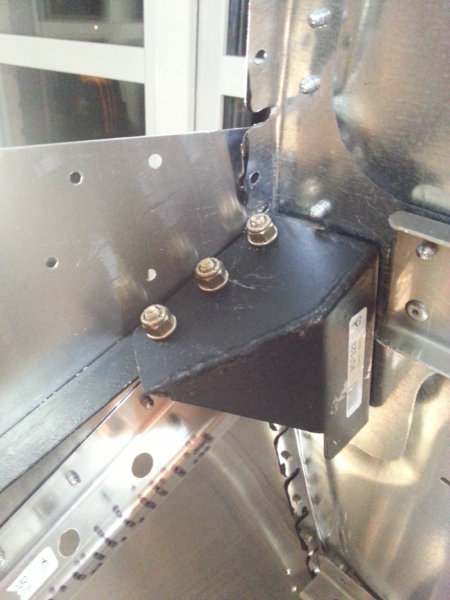
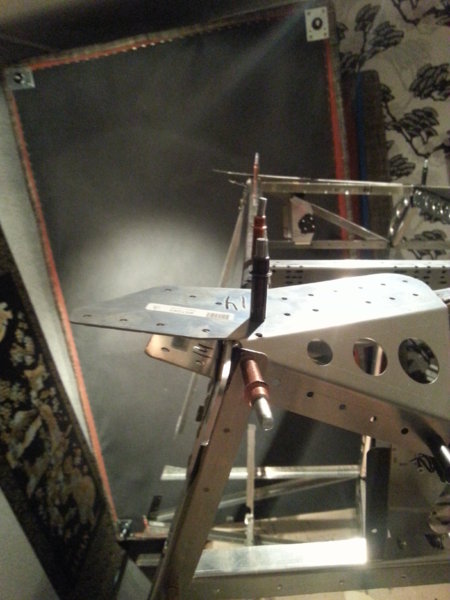
Steering colomn mounted, here i found a good place to use the leftover stainless steel rivets, between steering console and firewall. There seems to be an update to the cowling support, it does not need to be wrinkled, but holes did not fit on the firewall, had to drill my own. And how the F**k does this work out? it out of alignment ~40mm And cabin frame with jig is up, rear fuselage is out in the hallway. Engine mount console, put screws other way around, does this really matters? couldn't figure out how to use the torque wrench the other way around.
-
Slowly and steady =) Now of to bed
-
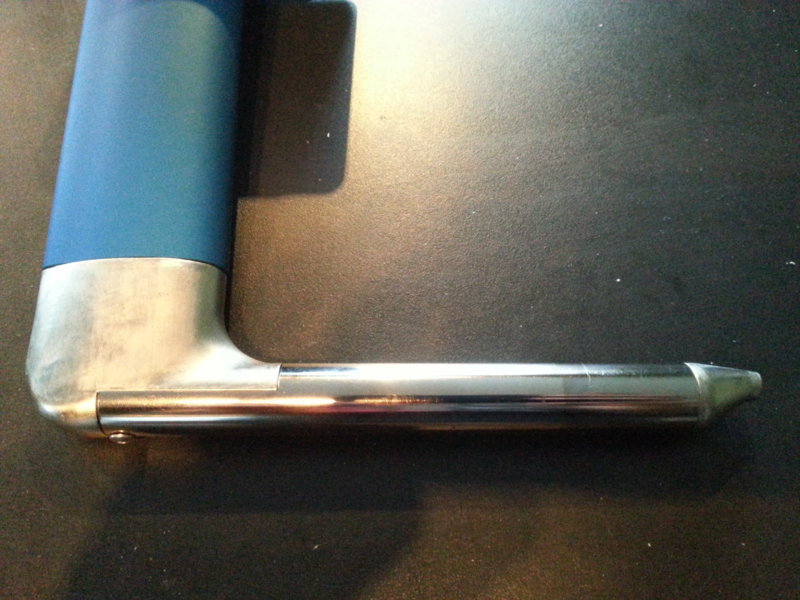
Santa was here again.. This is a tiny powerful Lithium battery =) (20 amps, 410 cranking, 1,1kg) And the Dynon Pitot with AOA(Angle of attack) Even got the static port installed. And top wall up.
-
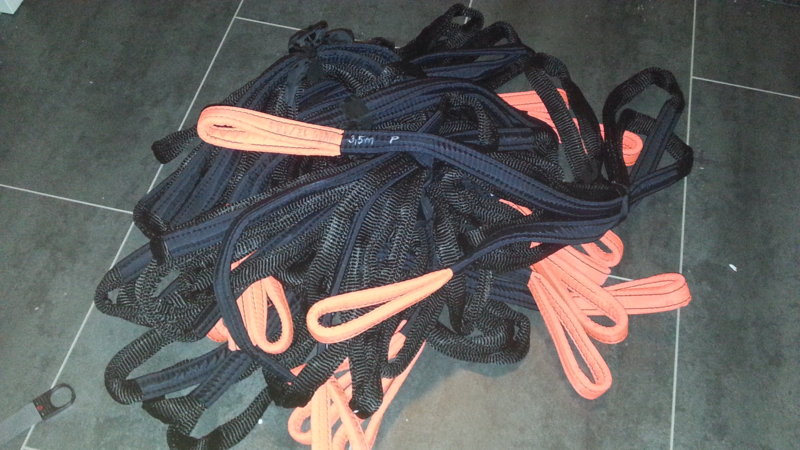
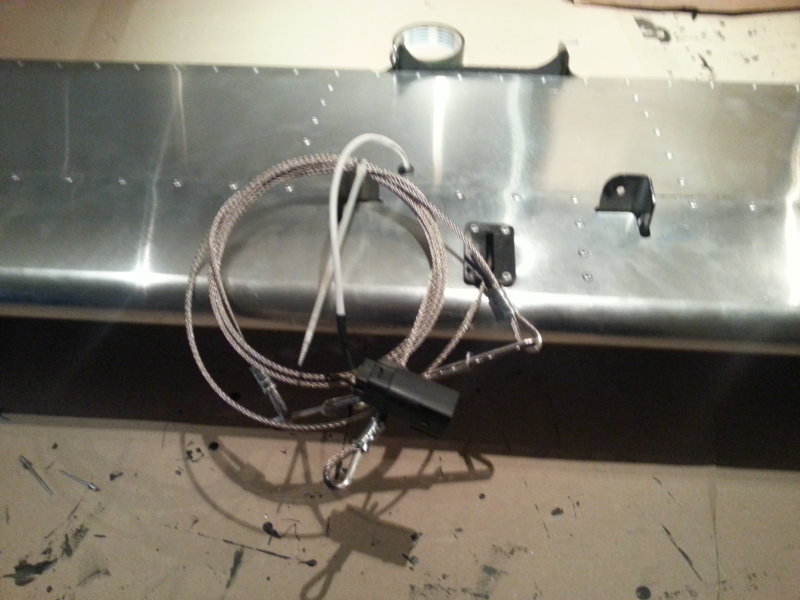
i got eleven that is 3,5 meter each, i need a total of five 2x1,5m 2x1,7m and one 2,4m, hehe.. bought my chute from other source than icp.
-
why did the manufacturer of parachute send me eleven 3,5m bridles? i need. NOTE: lunghezza delle briglie / length of bridles A = posteriori (rear bridles) = 5 ft = 1.5 m (2 pieces) B = frontali (forward bridles) = 5.5 ft = 1.7 m (2 pieces) C = centrale / principale (central bridle) = 8 ft = 2.4 m (1 piece) thats just 5 of them.. sigh:loopy:
-
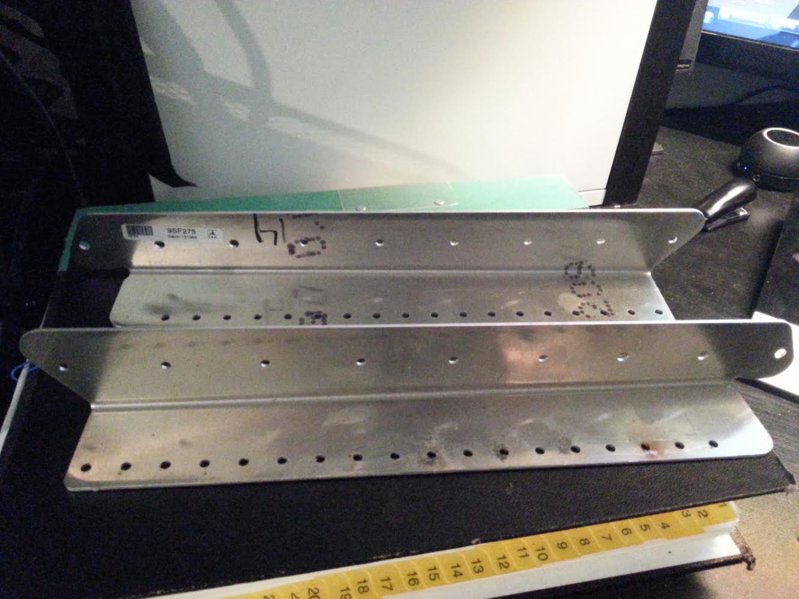
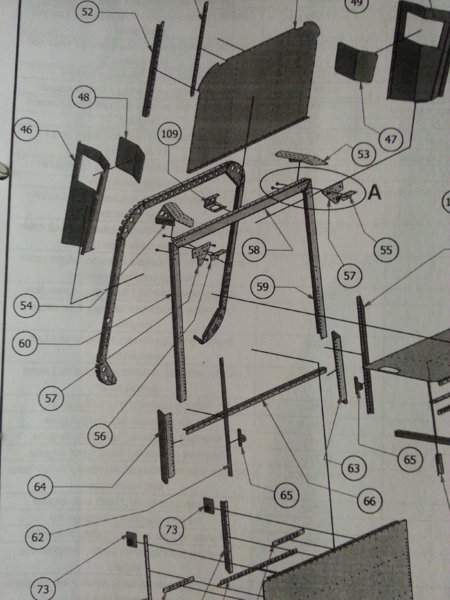
Sf275 and 276, cant find in drawing but in spareparts list i can see where they should go, but not accurantly enough, anyone? 63 & 64
-
What chapter? roughly what size is it? isnt it in the manuals photos? Im going with a lithium battery, dont need battery drain..
-
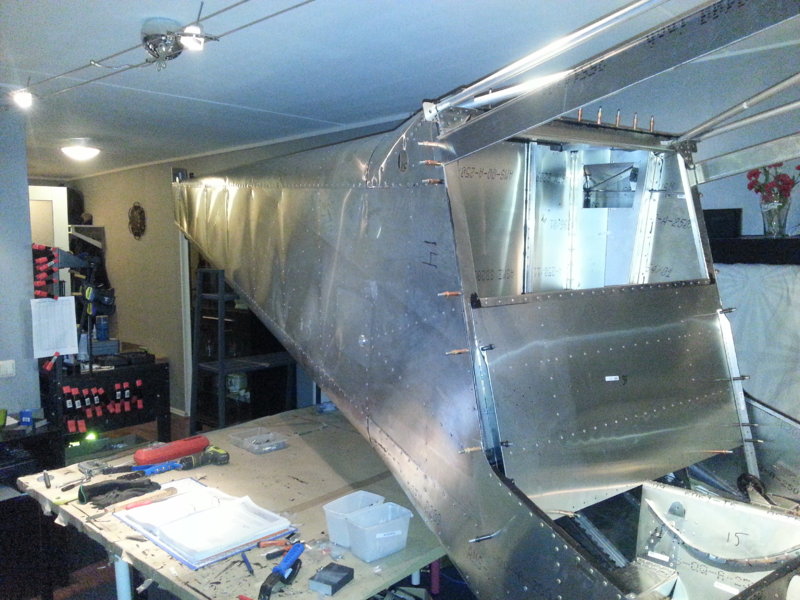
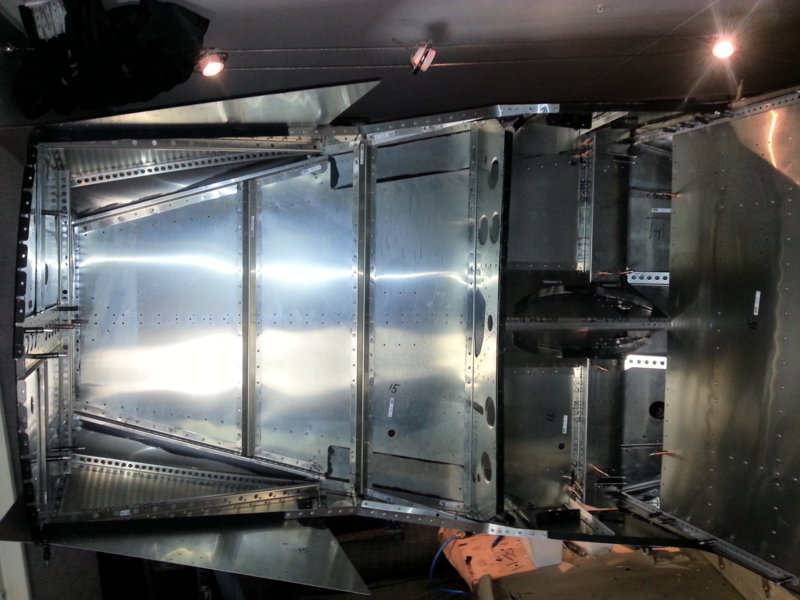
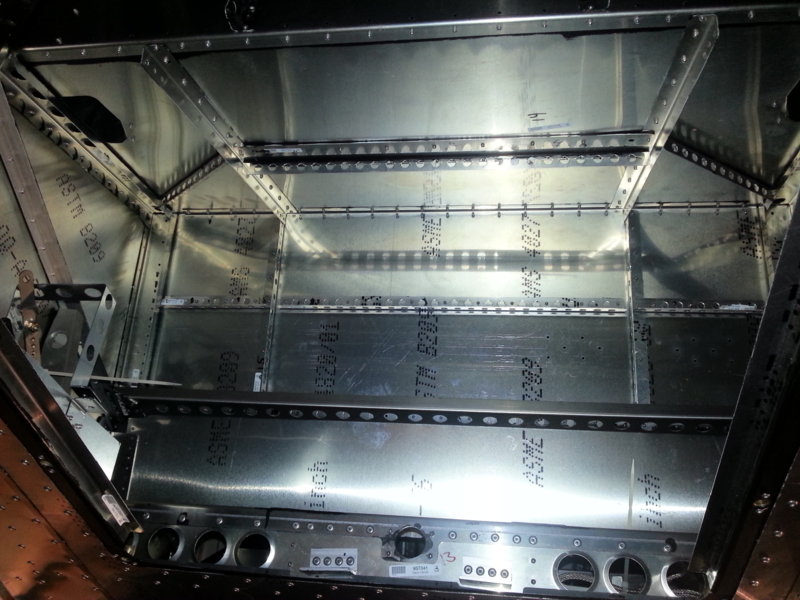
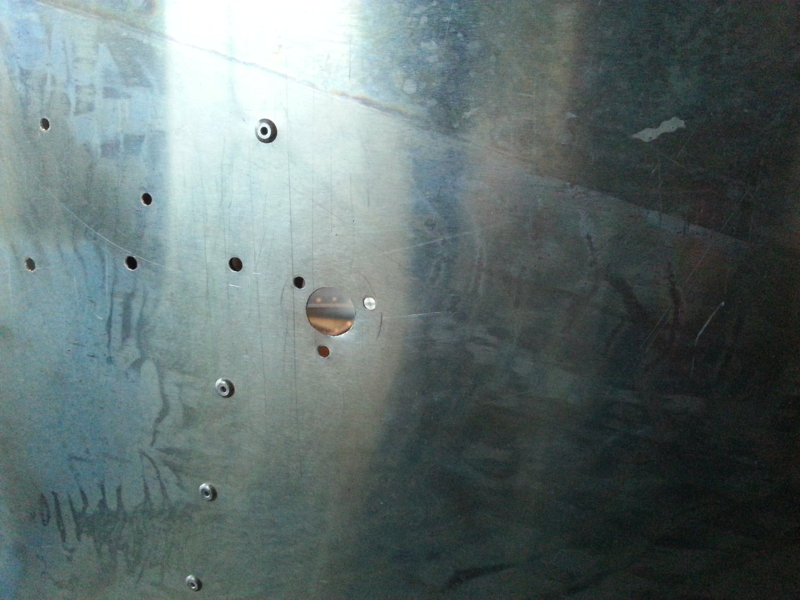
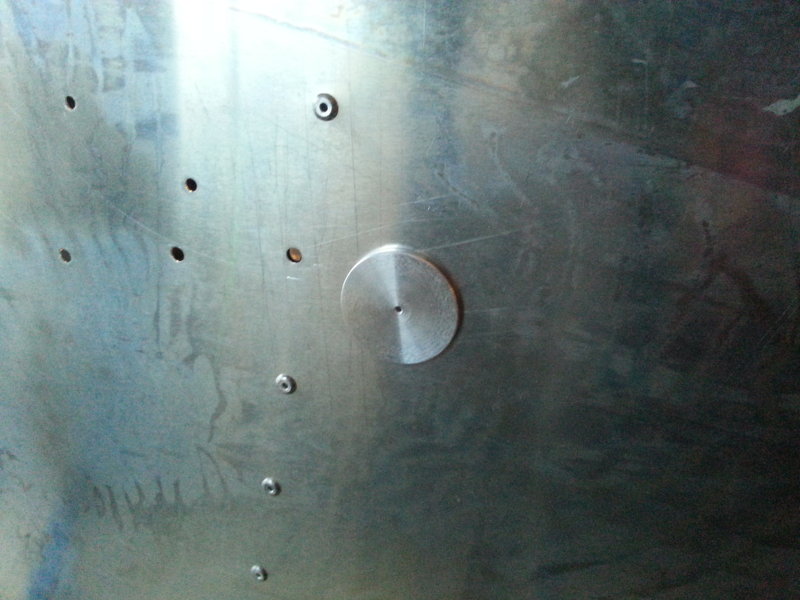
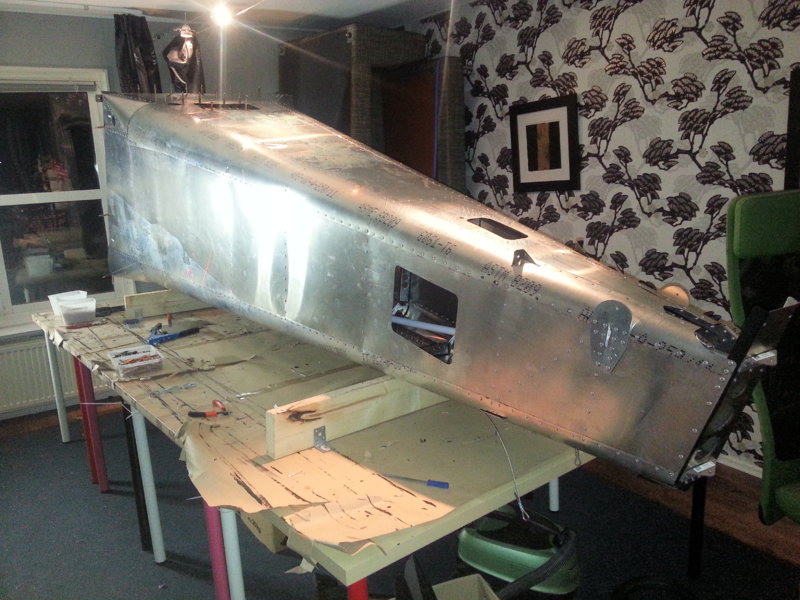
So i skinned the whole fuselage, that took some time yes, so tedious when you needed to get the rivets in the corners soft flanges, loved it when you missed it and had to drill a rivet in the middle of the fuselage, bending :( and when finally done i discover that the reservoir hole is on the wrong side , i was so sure i had it correct, well, late night builds:sleep: Ill just close that hole up and make a new one on the other side if its not possible to put it on this side? Grommet or make a plate on the inside and rivet?
-
Precisely, holes wouldn't line up, so this was the only way to do it. I'm about to skin the fuselage =)
-
APRS? is it like using a cellphone with gps tracker app?
-
on the rear antenna console or under cabin? UHF radio? you need that? I agree. my Fk 9 at the club uses the VHf on top, works well with atc, estetics may play a role for me when mounting antenna ;)
-
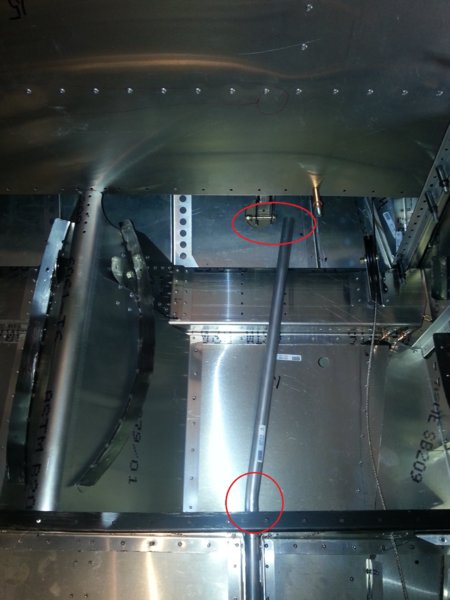
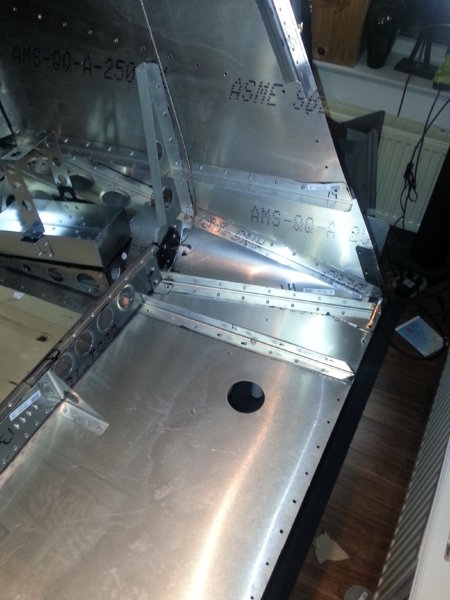
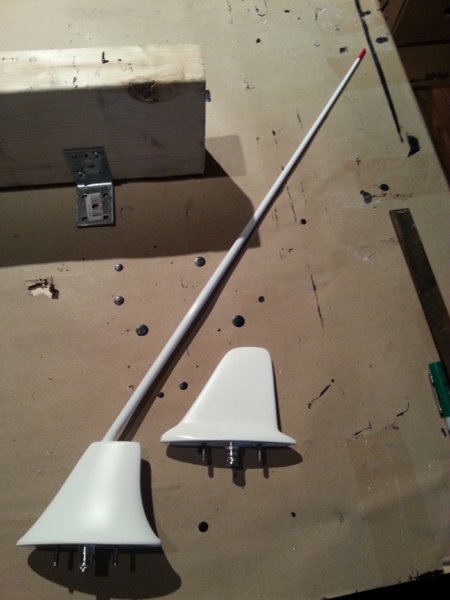
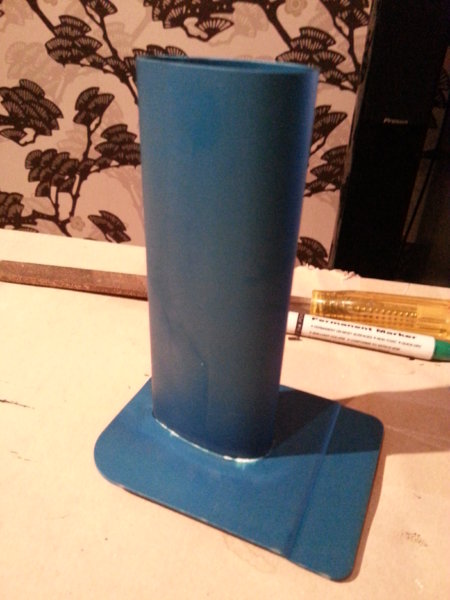
Ok so i got my antennas delivered today, and now where to put them, i got two antenna support consoles, one on top for the VHF antenna, and another one, that i think is for the Transponder antenna, now drawing shows to mount the console on top of fuselage(i think?) but the console also fits on bottom, is there anything wrong on mounting the xpnder antenna underneath on this console? level flight will it work? Some people put it far forward under the cabin and when using this console its placed middle back? how does this work with distance from other antennas? Other wise i now got my Pitot console, thanks for the idea Mark. This was a hard nut to crack until i found the combination in what order. And rudder cables.
-
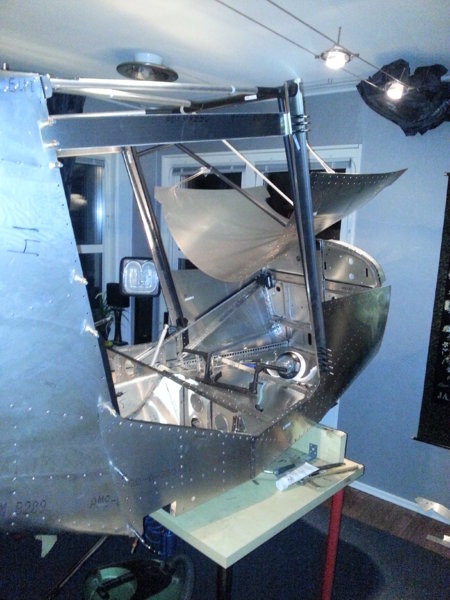
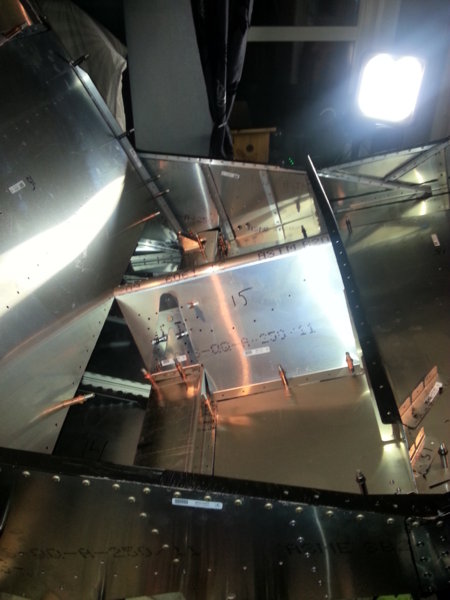
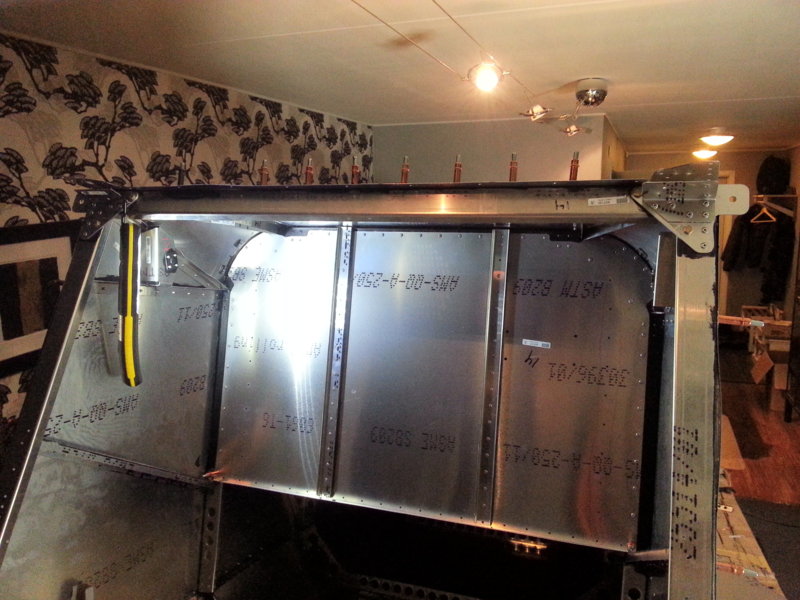
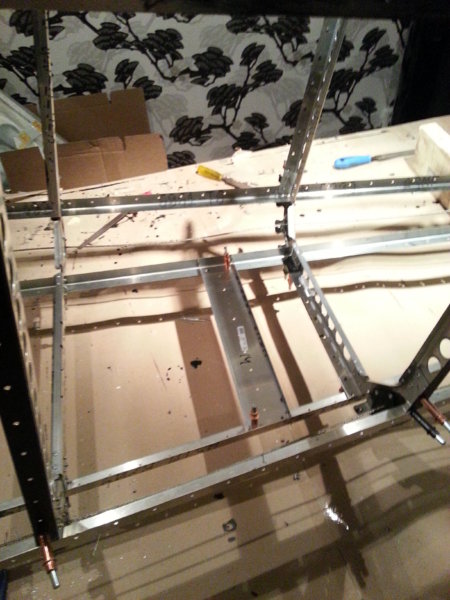
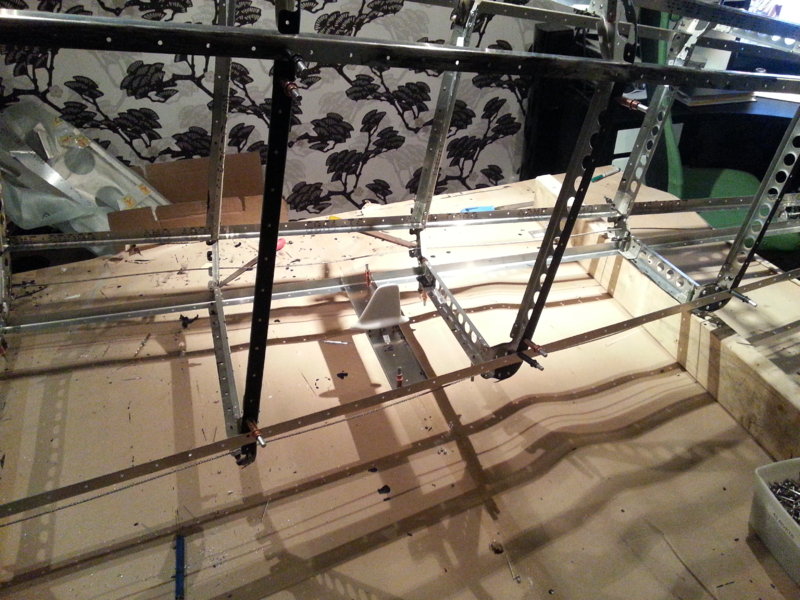
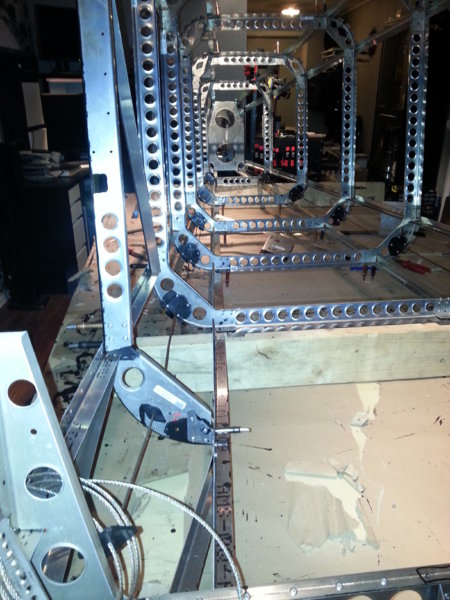
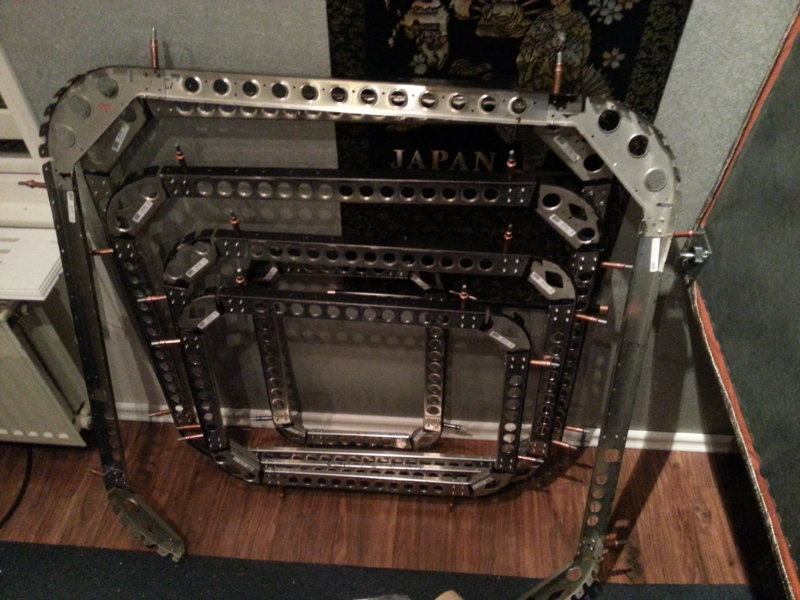
According to a friend of mine, frame is ~120cm from bottom to top frame, im pretty shure it will come out. So the ordinary, Grind, de burr, paint and assemble. but the thing that confused me a bit today is the riveting of the corners, its described in the manual, riv from inside to outside, i checked a few other builds and no one had done this way. Arrows clearly indicate what direction to rivet.
-
window is ~155*155 cm, it should fit out,
-
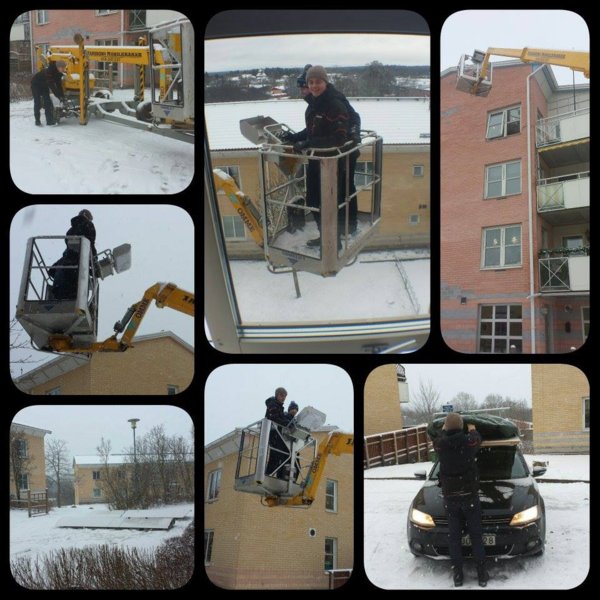
Its will be a tad more expensive with the fuselage, thinking of building scaffolding where i will roll it out and asking someone with a crane to come and hoise it down.
-
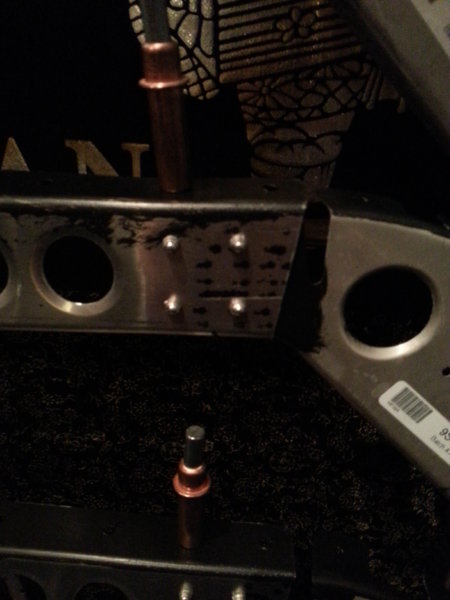
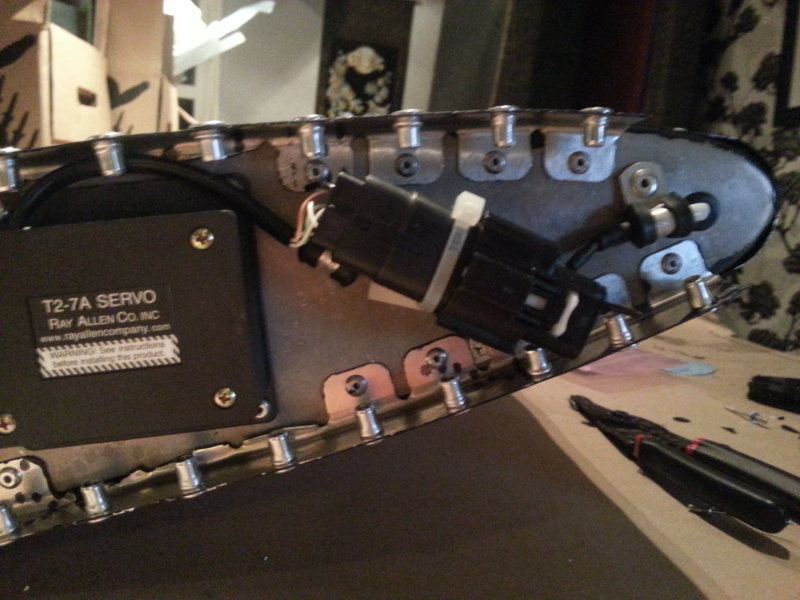
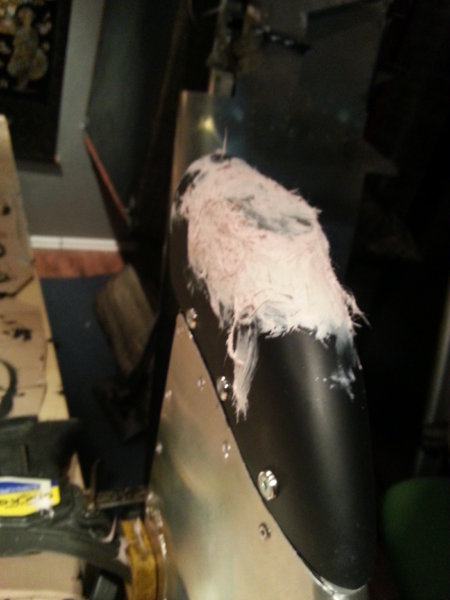
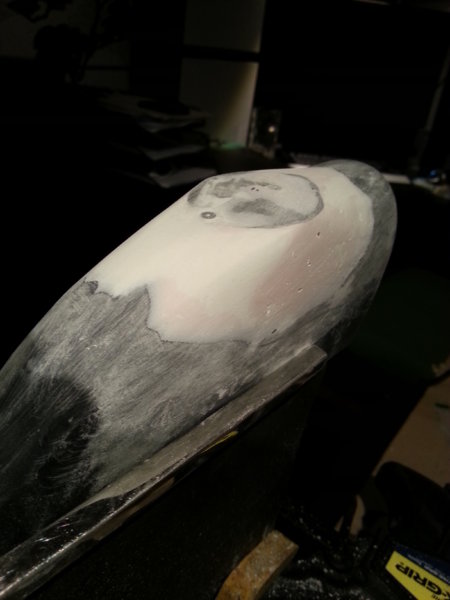
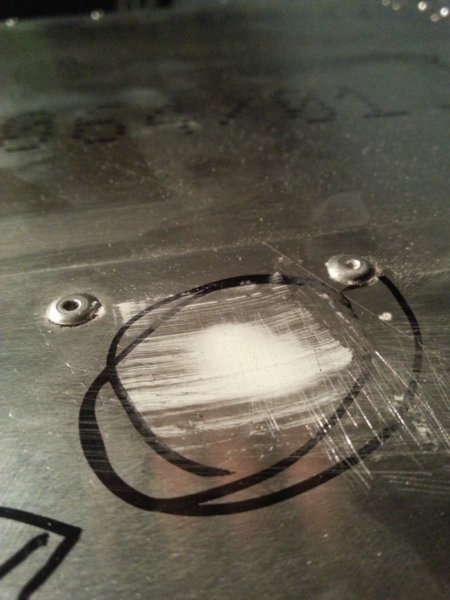
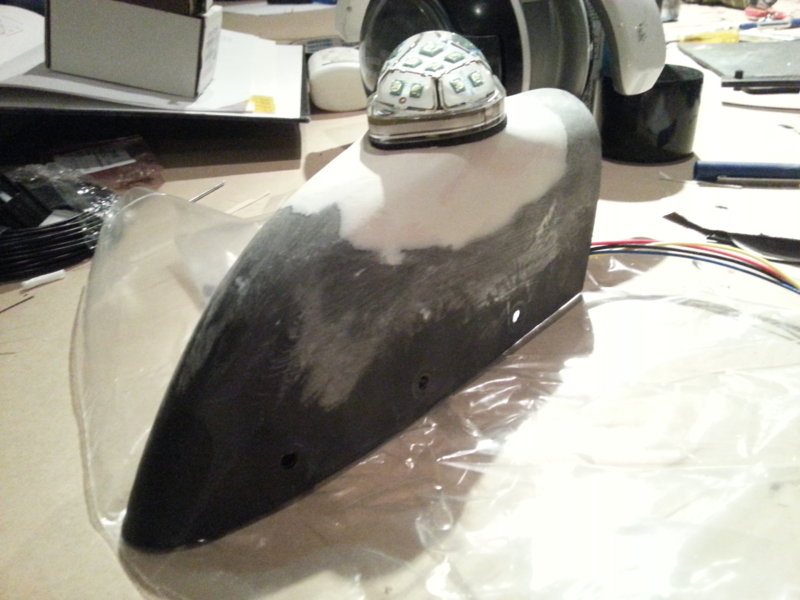
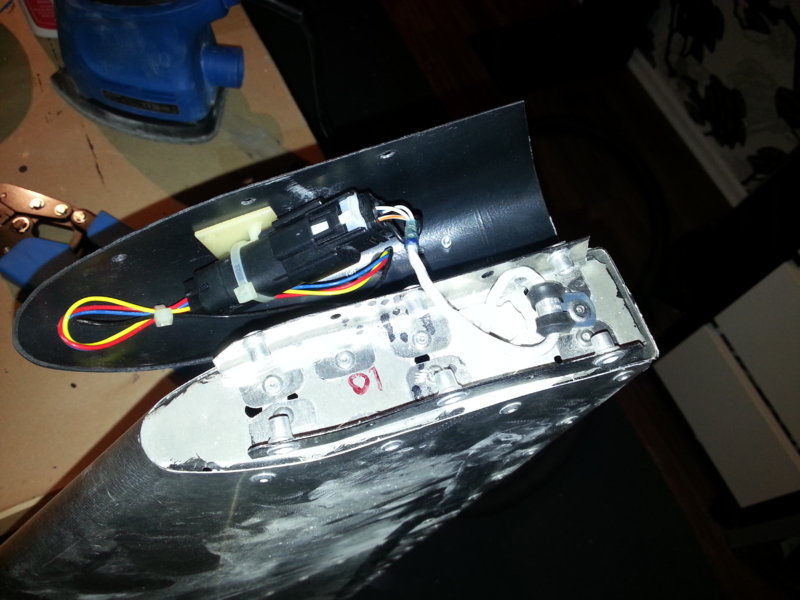
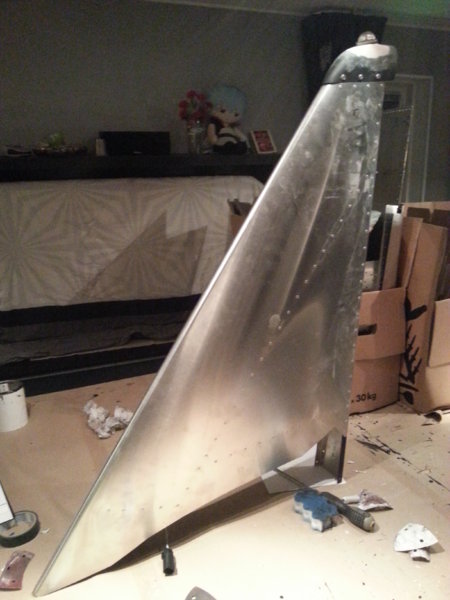
So been away at work for a week, nothing really done. I had time to install IP67 class connectors on trim. And made the adjustments so the top fin strobe would look good, some fibreglass, filler and polishing until i was happy, sometimes the parts from ICP isn't a perfect fit i may say either. And as im at it, why not fill in a dent. Have a great weekend, i know i am gonna have, prep for parts, rear fuselage
-
w What about it? that you have to bend the control rod yourself?
-
It was outmost intresting getting the wings down,and it just had to snow on the night too. '
-
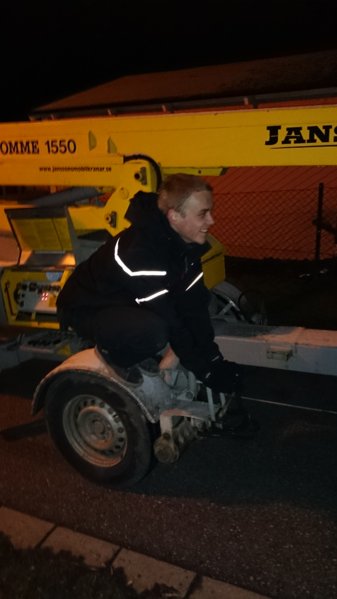
hoho, its time!!!
-
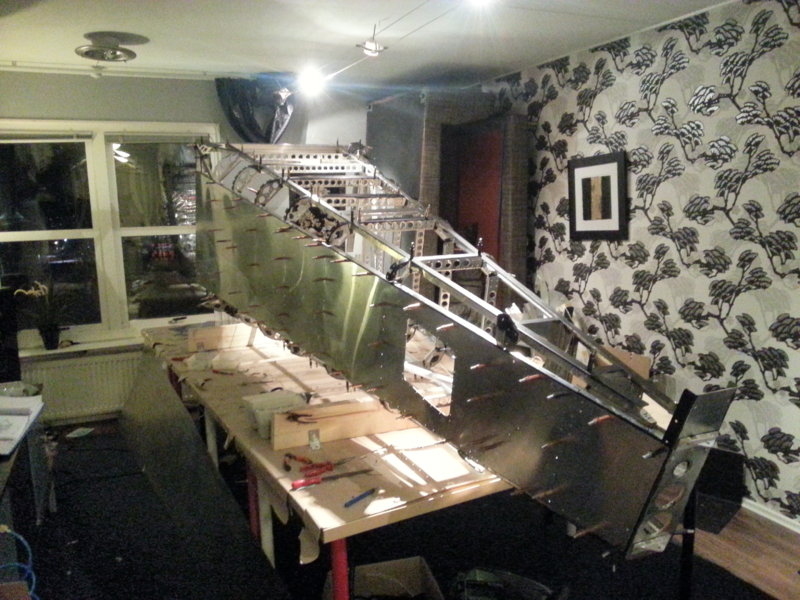
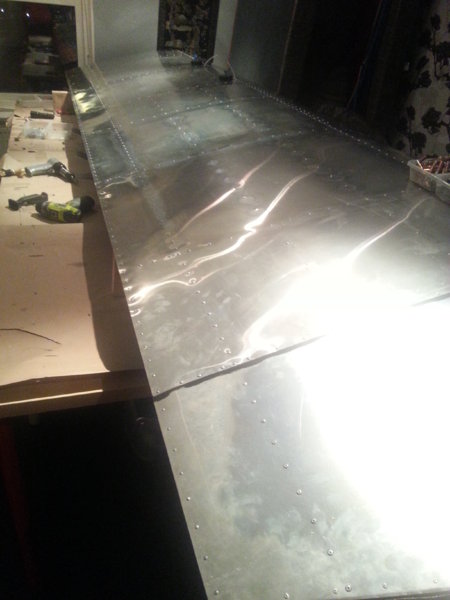
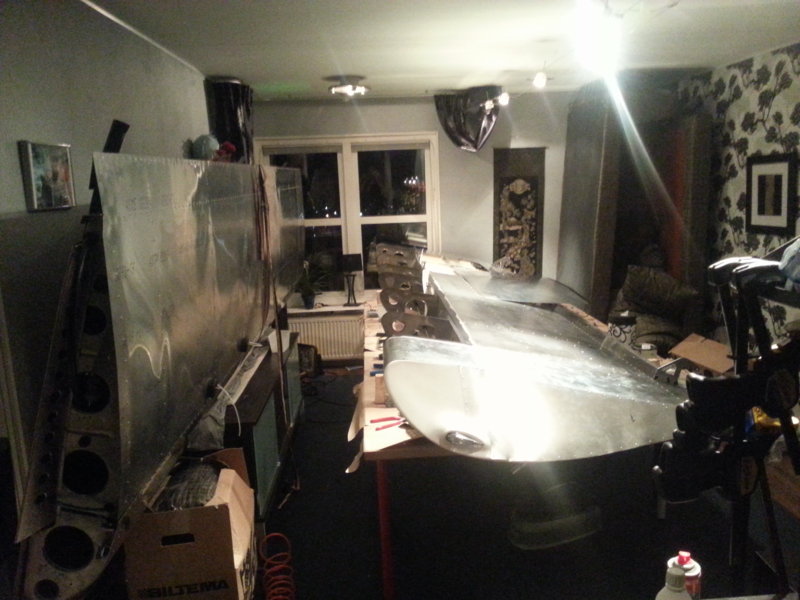
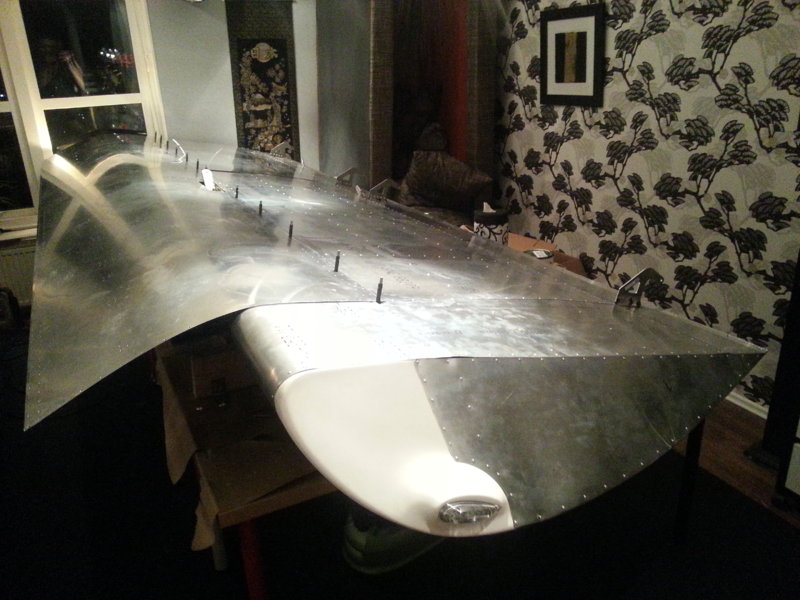
Last wing finally done, now i need ideas how to get them 3 floors down thrue the window, anyone?
-
Yup, im doin the same. This clip is of a good friend of me, hes also building a Sav S but is way ahead of me. Left wing hooked up by the Tv. And Right front skin on.
-
Incident section of the forum http://www.recreationalflying.com/threads/savannah-incident-at-caboolture.67974/
-
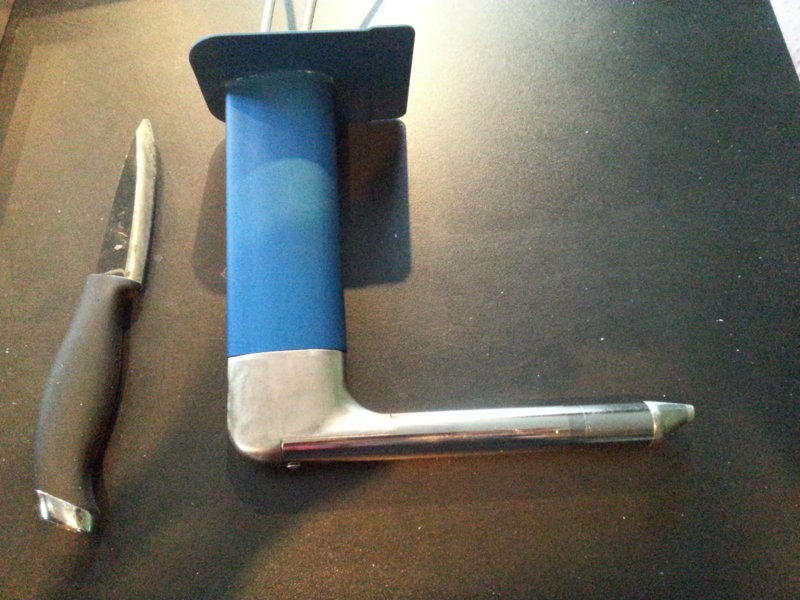
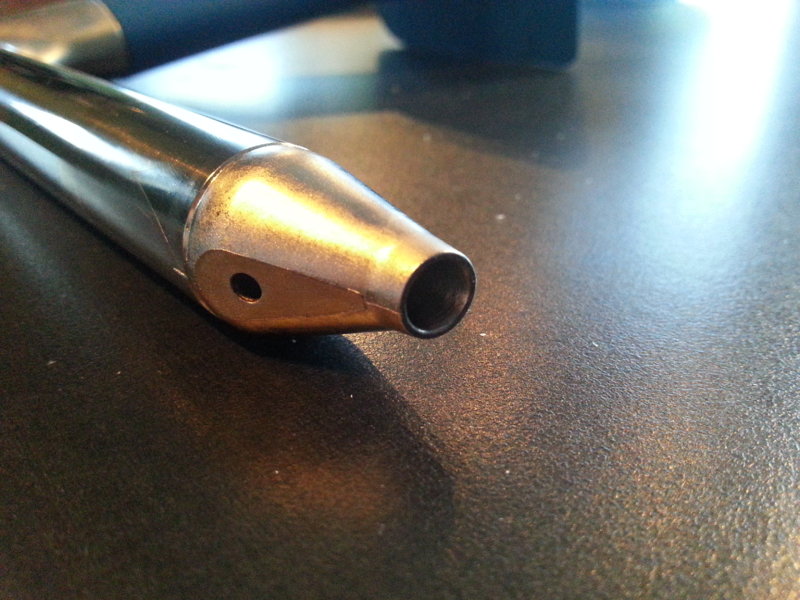
Rivet gun for solid rivets ;) It hammers.