

Don J
-
Posts
123 -
Joined
-
Last visited
-
Days Won
3
Content Type
Profiles
Forums
Gallery
Downloads
Blogs
Events
Store
Aircraft
Resources
Tutorials
Articles
Classifieds
Movies
Books
Community Map
Quizzes
Posts posted by Don J
-
-
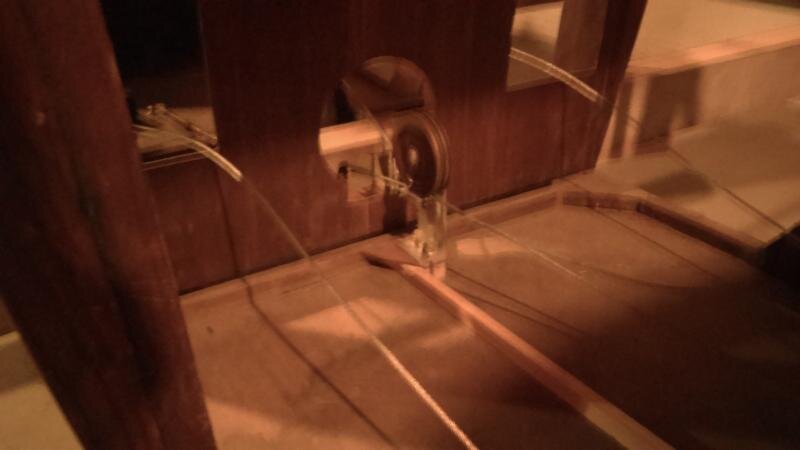
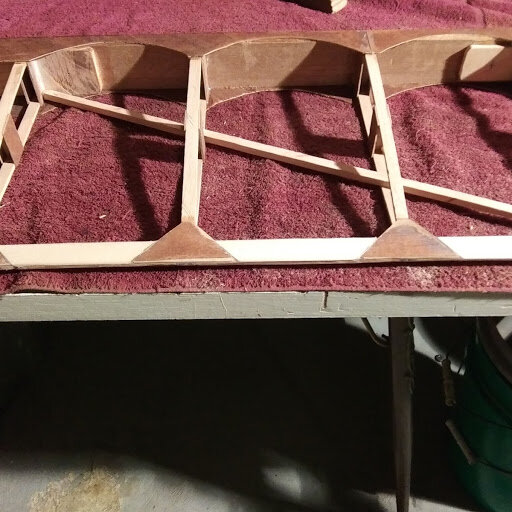
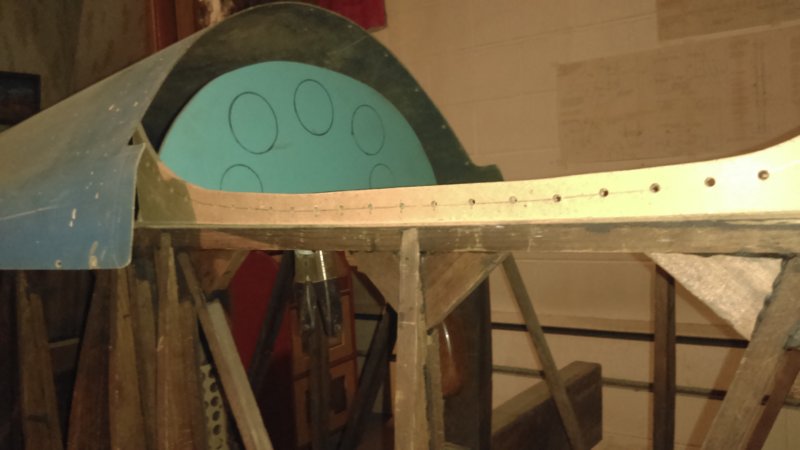
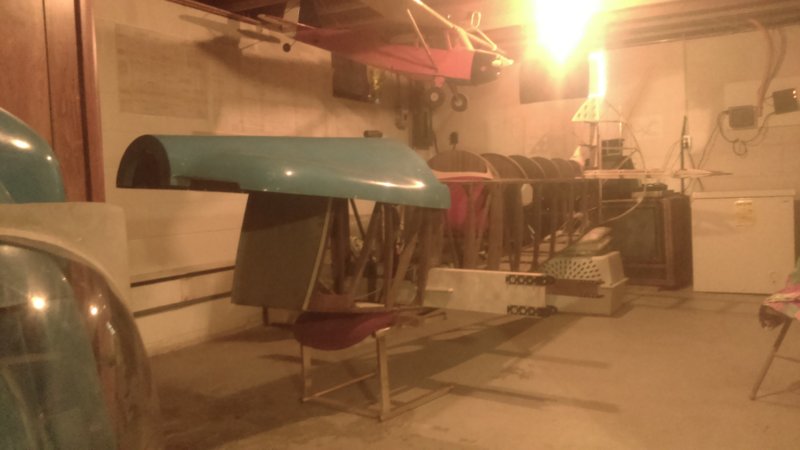
Nev. I've been researching a way to get trim for the elevator beings there is no trim on any of the controls. The rudder I can add a external hand adjustable tab but the elevator is another matter especially with CG issues with fuel burn off. I have a duel pulley behind the rear root spar as poor picture shows and kicking around an idea by using a cam type system or jack screw to get at least up trim or possibly both on elevator. the print call for two sets of cables for elevator one set running internally down each side of Fus. Besides if I loose elevator control I'll just roll it on it's side and land with the rudder.
 JK JK
JK JK -
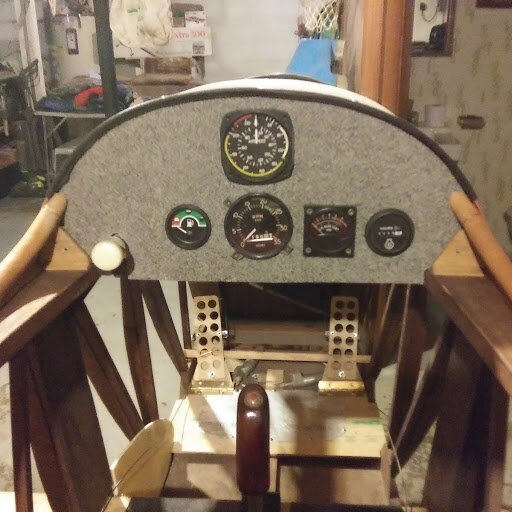
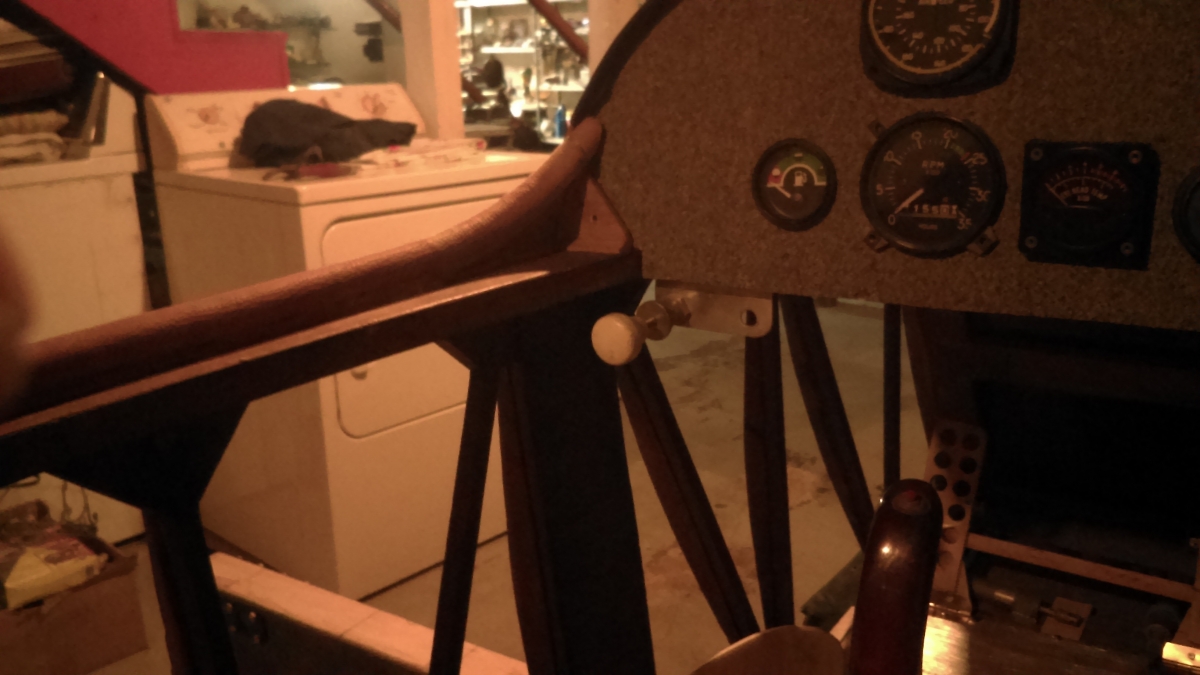
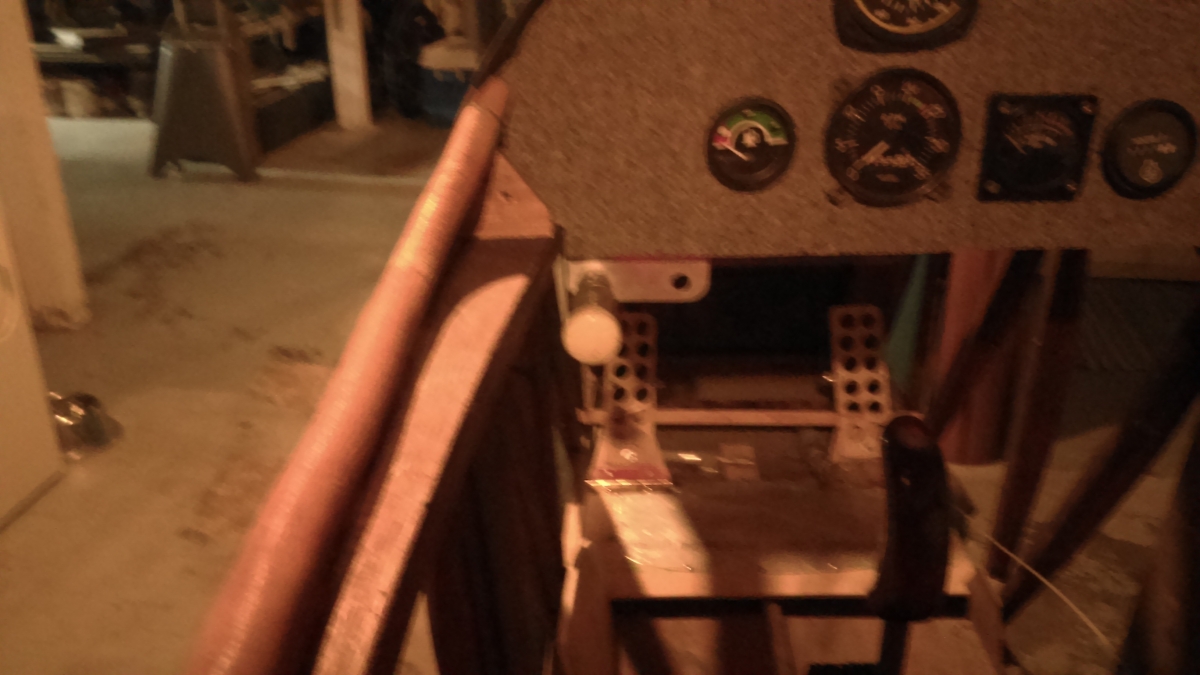
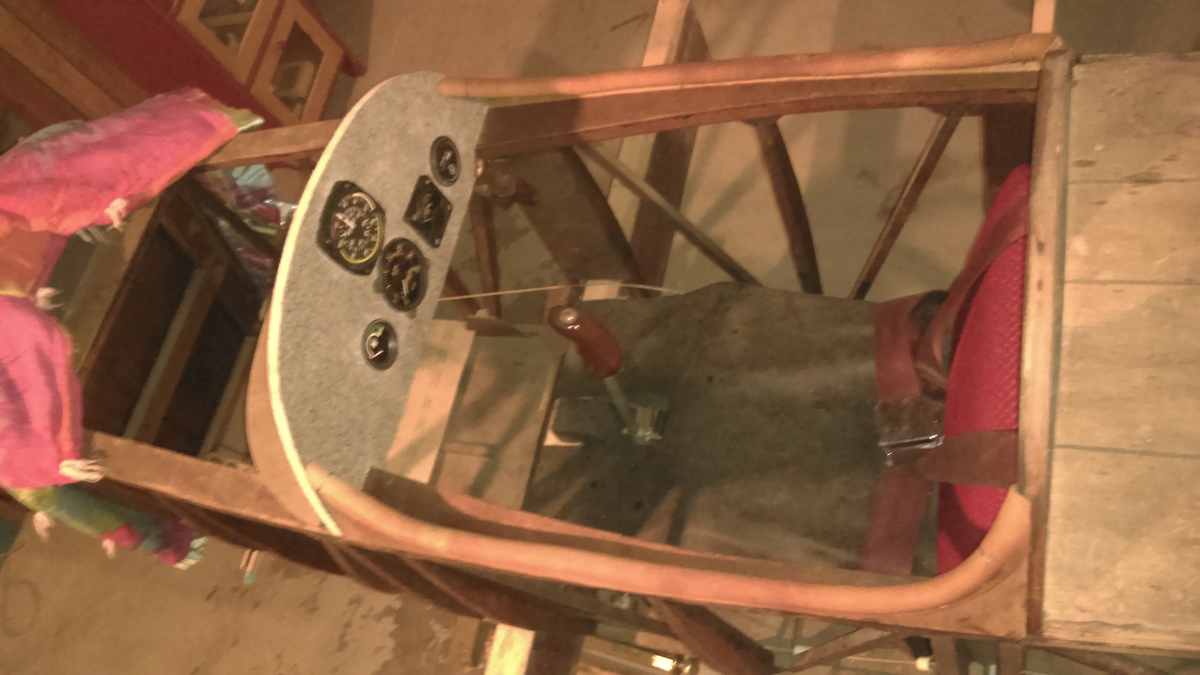
I believe your absolutely correct Nev. first was the Taylor-mono then the Taylor-Titch. Tho they are common across the pond but here in the states there rather rare . I would love to post all my project pictures here but I imagine the forum has limits? I try and post pictures of any changes I made concerning the Technic of the build and how I changed some of the cable routing for elevator. One thing I did lately was to move my throttle knob up in the bottom left corner of dash to allow clearance of the back of header tank. It was a easy fix because I was able to use the same holes for Alum angle that is used for the throttle cable mount. As any builder knows a person must be patient when building a plane. Pictures are of the throttle position change and the other hole in Alum angle mount will be for Carb heat control. I have plenty room left in instrument panel for other planned items yet to be installed.
-
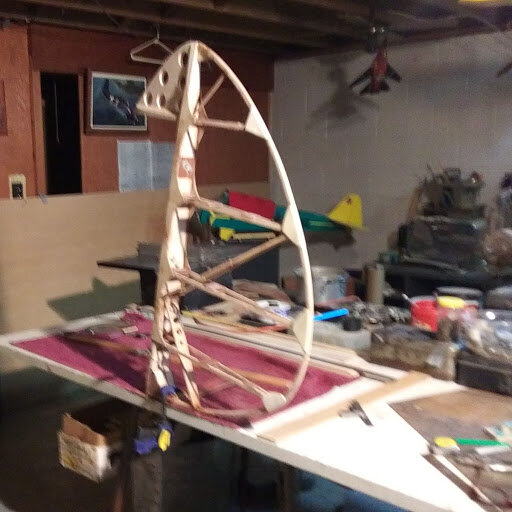
Thanks to all that have followed the thread and facthunter your right it has been a rather challenging plane to get built but I do so like the smell of cut wood. The rudder is of good size when your sanding and handling through out the day.
-
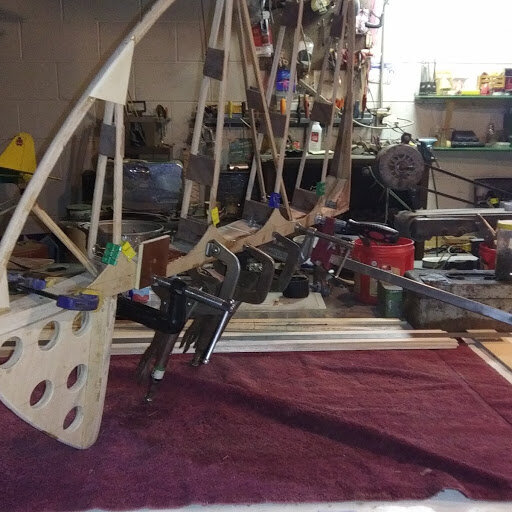
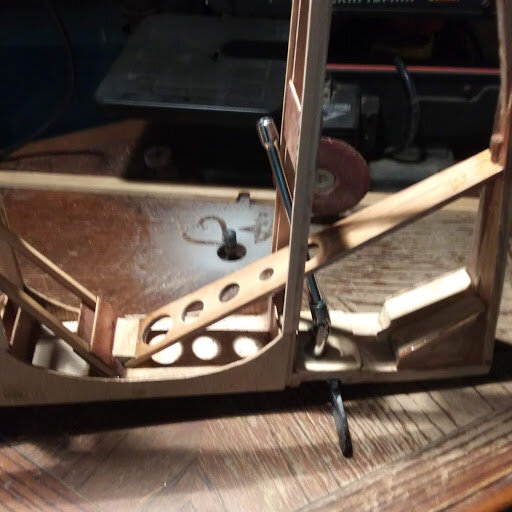
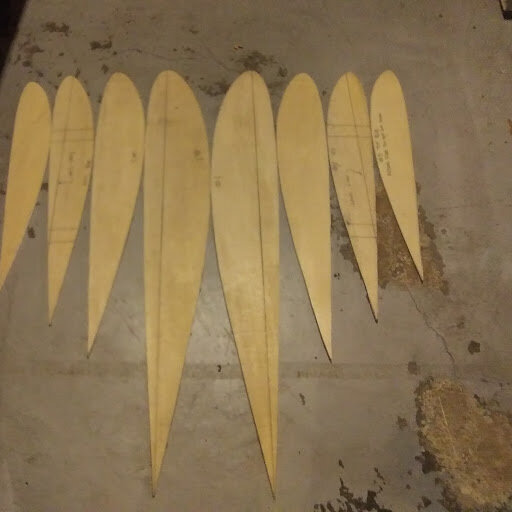
I have gained ground in the tail feather part of the build by detailing the rudder and elevator by adding balsa and getting the surface flat on the same plain as the fabric will lay. The one picture that has a socket extension is to show how I drilled a access hole to get to bolt heads once the bottom part of rudder is covered with ply. Build has still remained a enjoyment and plenty work left to have fun.
-
 4
4
-
-
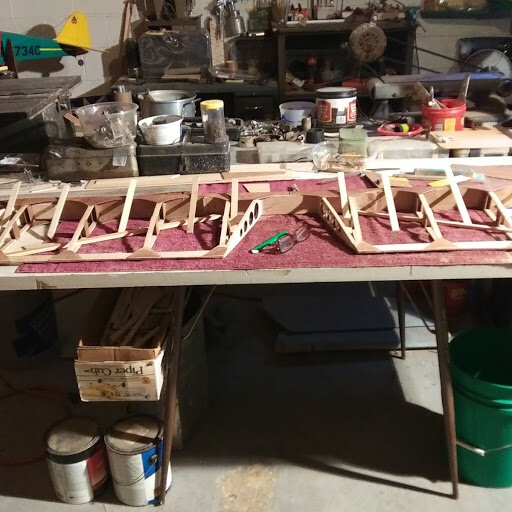
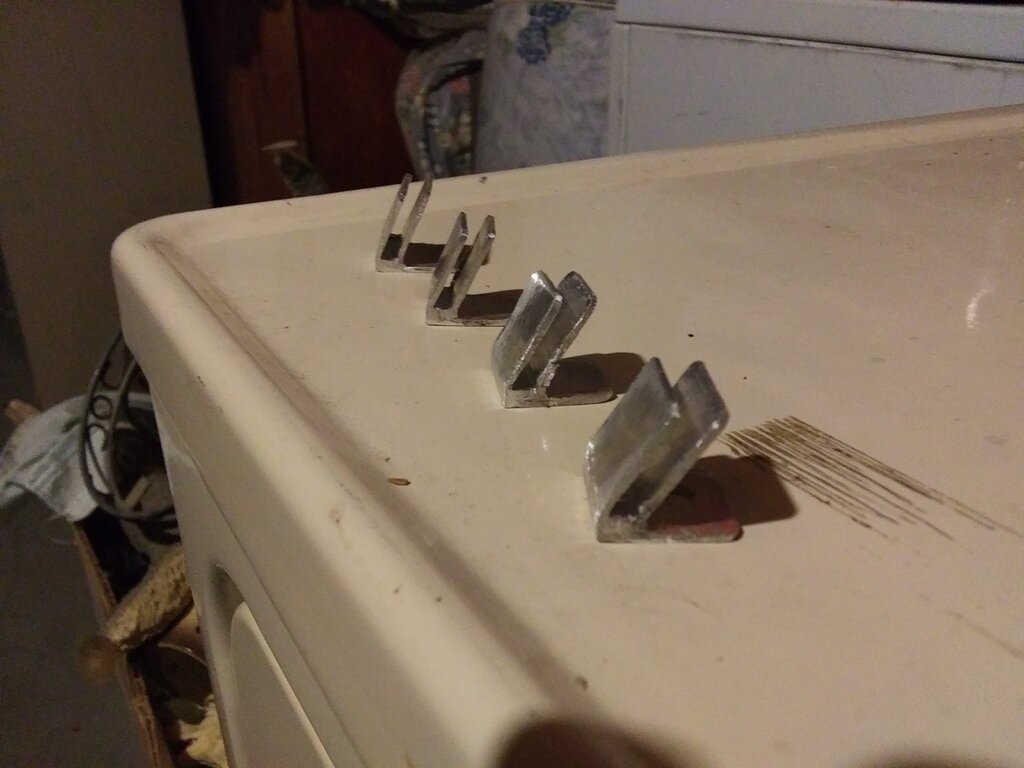
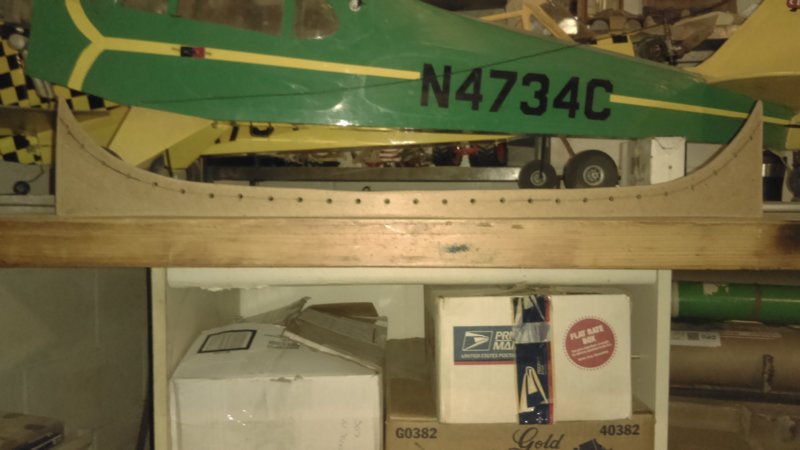
Still working away on the t-mono started to tackle the wings and fuel tank and the 1000 other things yet to come. came up with some tabs for mounting wind screen from an old bug deflector from my truck. Fuel tank is twice of what I need but a fellow T-mono builder in Florida will use the other half. I trying to shift the tank back towards the main spar closer to CG mounting just under the upper longerons front of tank will be about 8" from fire wall and run back to instrument panel. Talk about having the fuel sitting on your lap
I may drop from 10.5' DEPTH TO 7.5 or tapper from 10.5" back to 3" aft. I think that would fit the mission better. One thing fella's I'm still having fun just hoping I don't mess up those Diehl wing skins for one the cost and second I don't think they can be bought any more. -
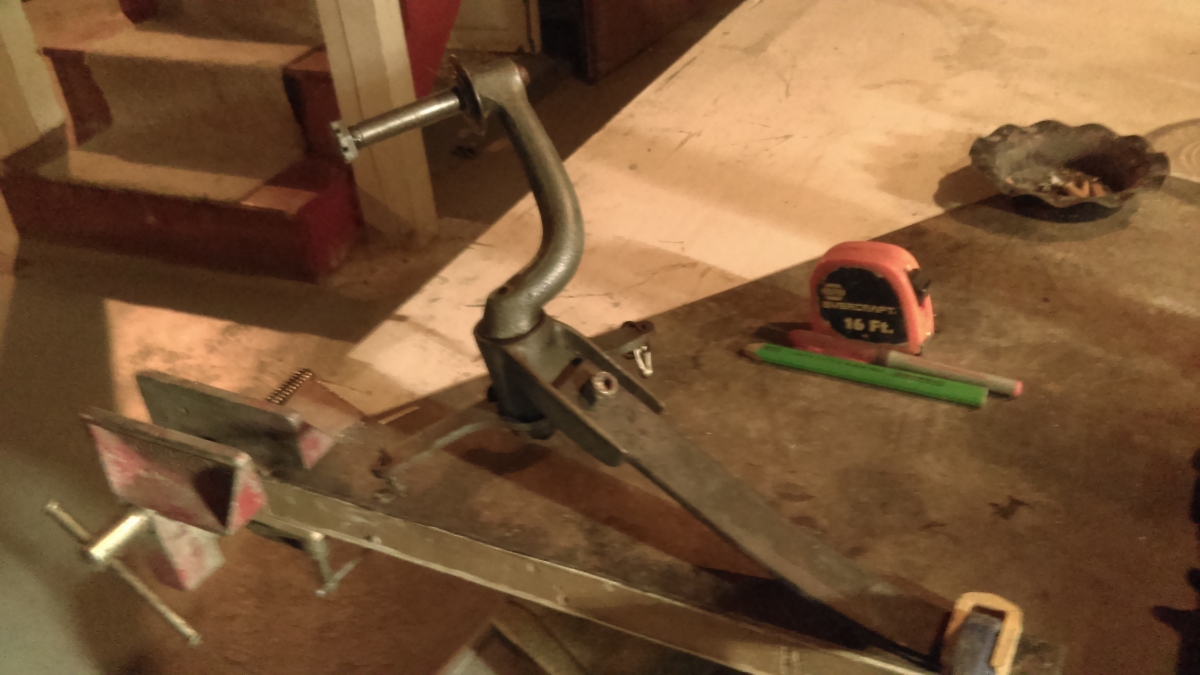
Well got the tail wheel mounted and picked up some tires and brake shoes and hubs. Will order Azusa rims soon and get busy on the mains. I came up with my own tail wheel mount and it really works good and found no need for a added shock and weight. I'm plugging along on a very fun build.
-
1
-
-
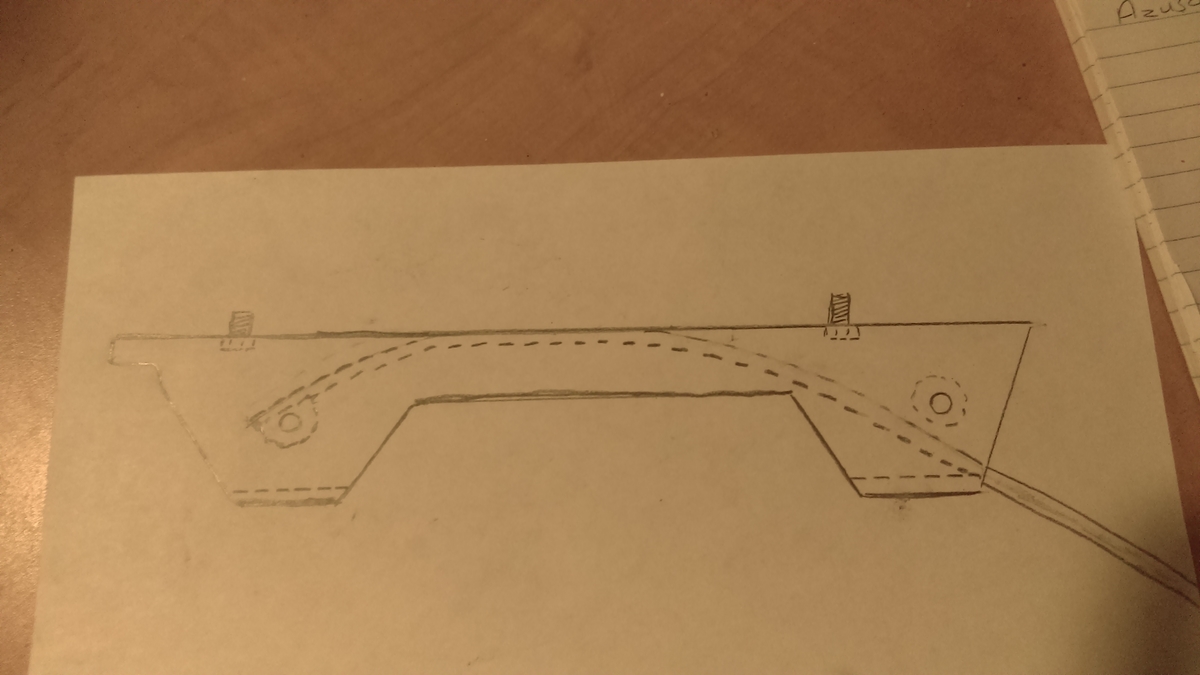
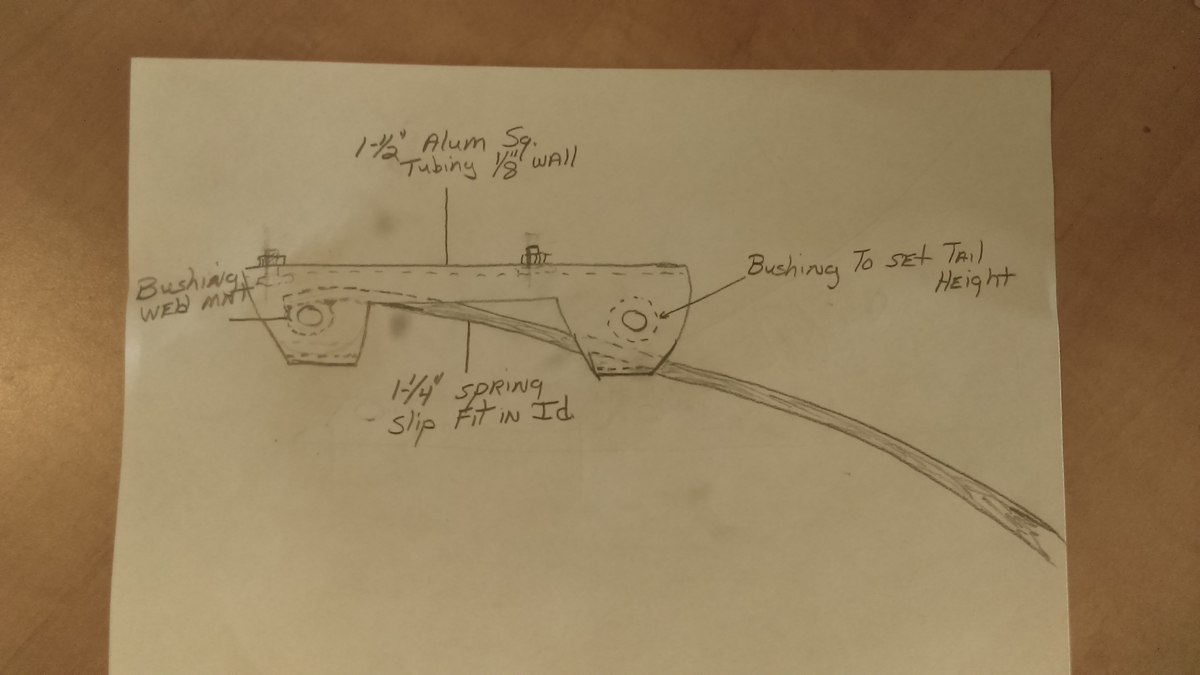
end design and getting it mounted. Stayed with something light and simple and with bushing thickness I can gain or lose height from rudder base to ground by nearly 2 inches.
-
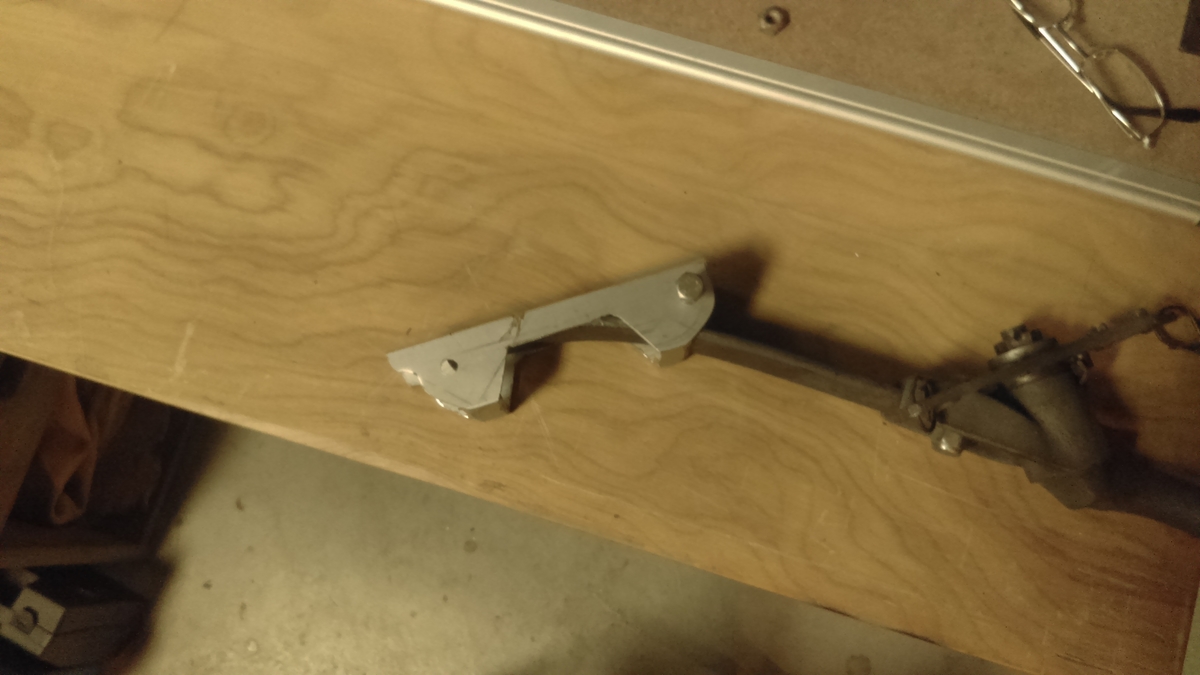
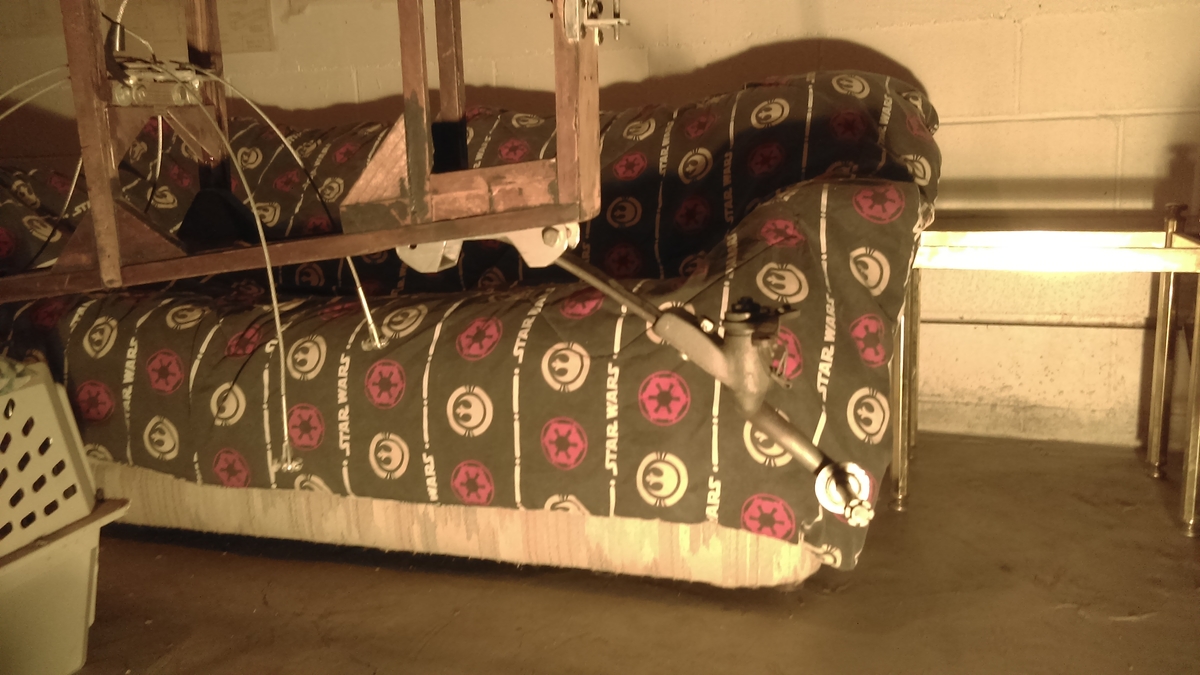
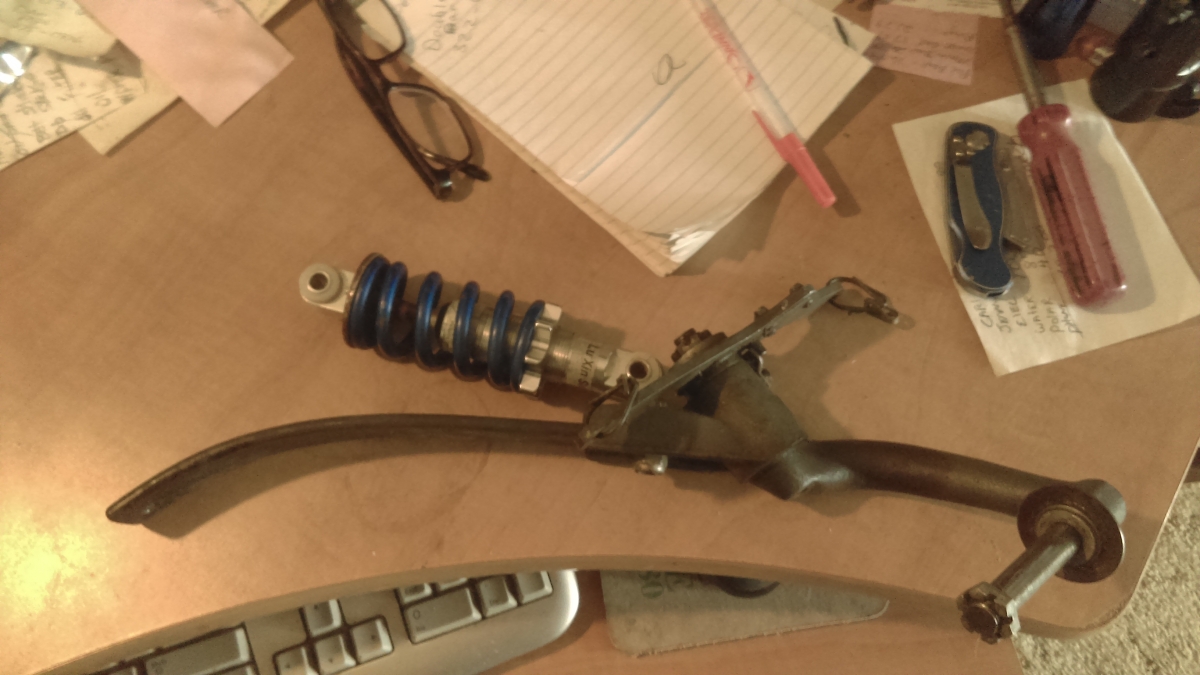
Been working on the tail wheel and have found this to be an interesting set up. So I gathered up some parts that I may be able to get to work and have some dampening adjustment on the tail spring
-
A fello builder donated a Maule tail wheel to me and with luck I can find a 4"- 5"
wheel to fit axle and if my drill bits hold up I can get a couple holes drilled into the KR-2 spring and have a Tail wheel on the Taylor-m. I'm contemplating on how a couple of nose wheel main strut off a Cessna 150 would work with the right spar plate welded to them for main gear?? -
got the throttle bolted in place. Soon will start the final covering of ply on Fuselage
-
2
-
-
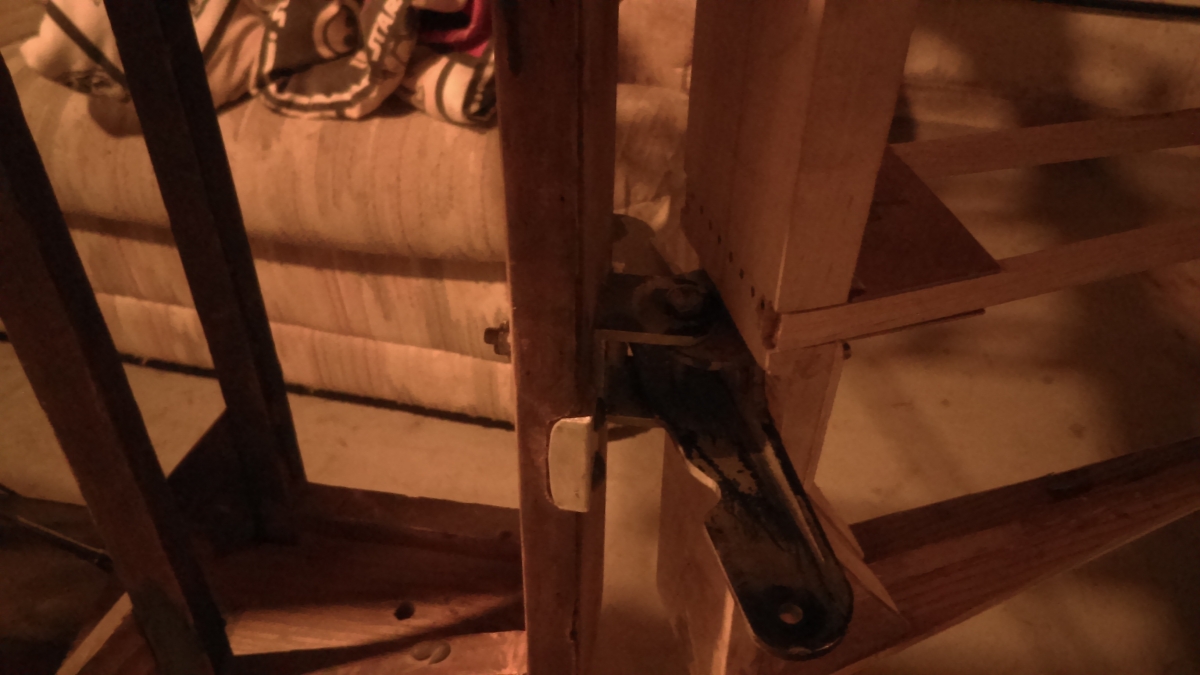
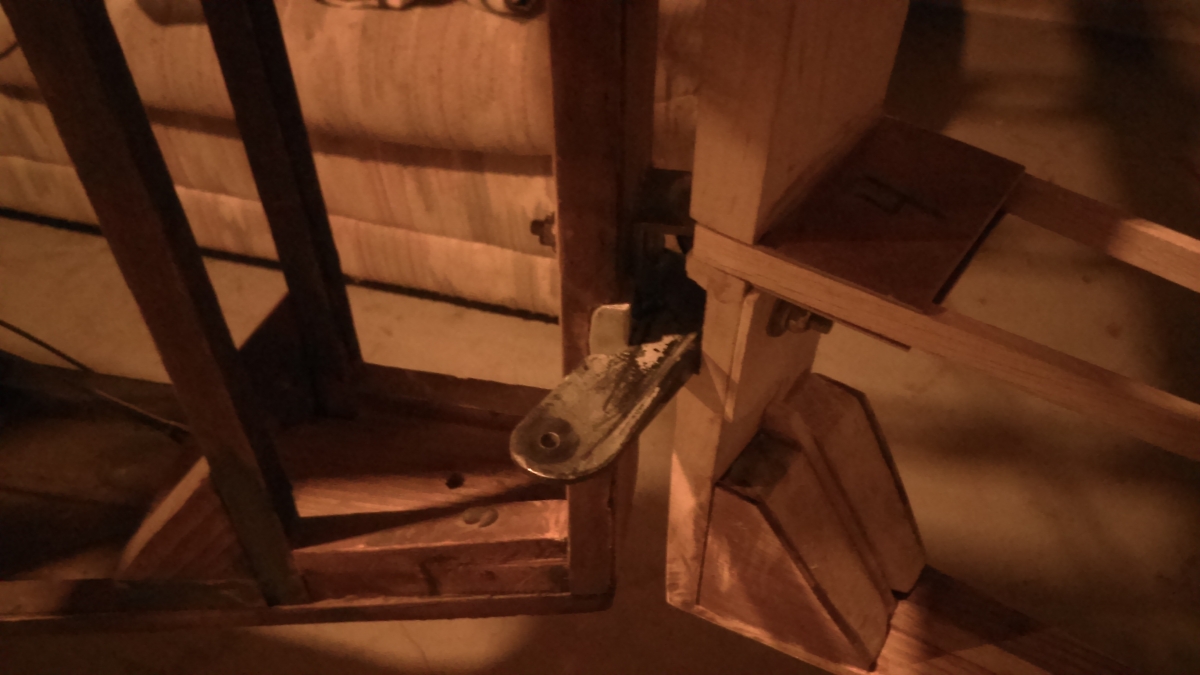
worked on rudder horn and rudder pedal stops. and working on getting the full throw stop timed were there will be no stress on pedals at either end of the system. Also added a T-6 Alum plate on my rudder base plate to help with wear from heel movement from brakes. I'm just plugging along and making a lot of plane noises in my head.
-
 1
1
-
-
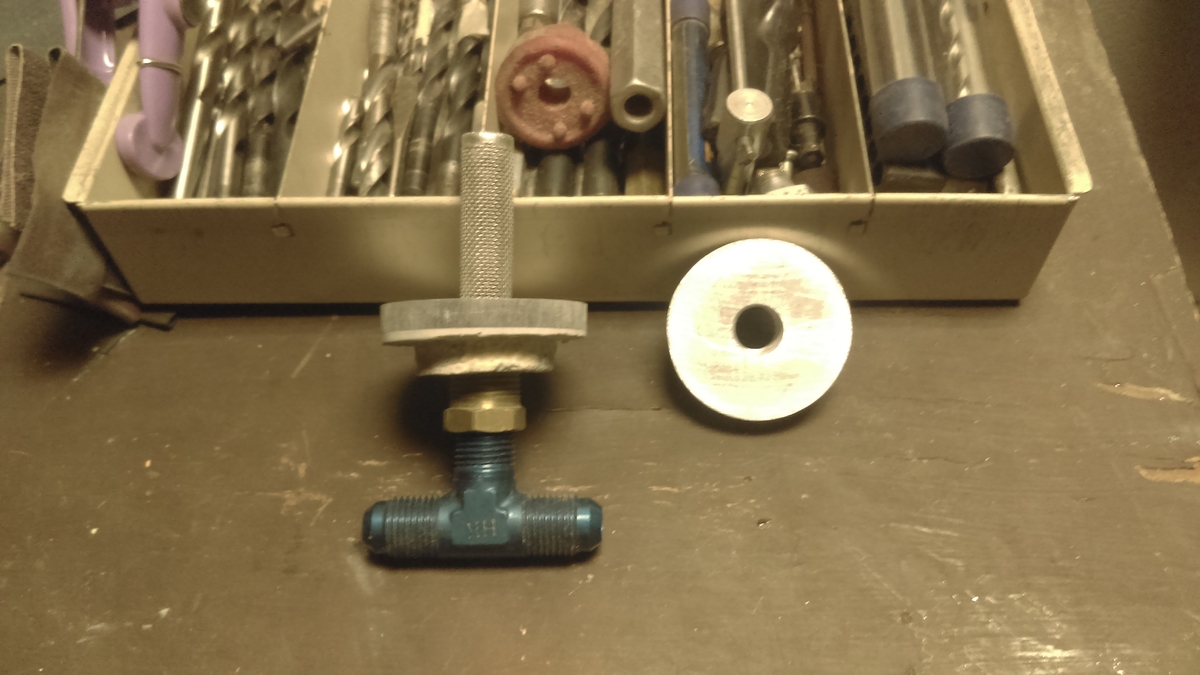
With measurements needed from firewall and instrument panel I have came up with patterns to build a Alum fuel tank consisting of 4 main components. I also saved some Alum fittings from my KR-2 fuel tank and can incorporate them into the tank. Will get total amount of fuel tank will hold after it's welded and tested. I will make a guess at about 7.2 gallons
-
1
-
-
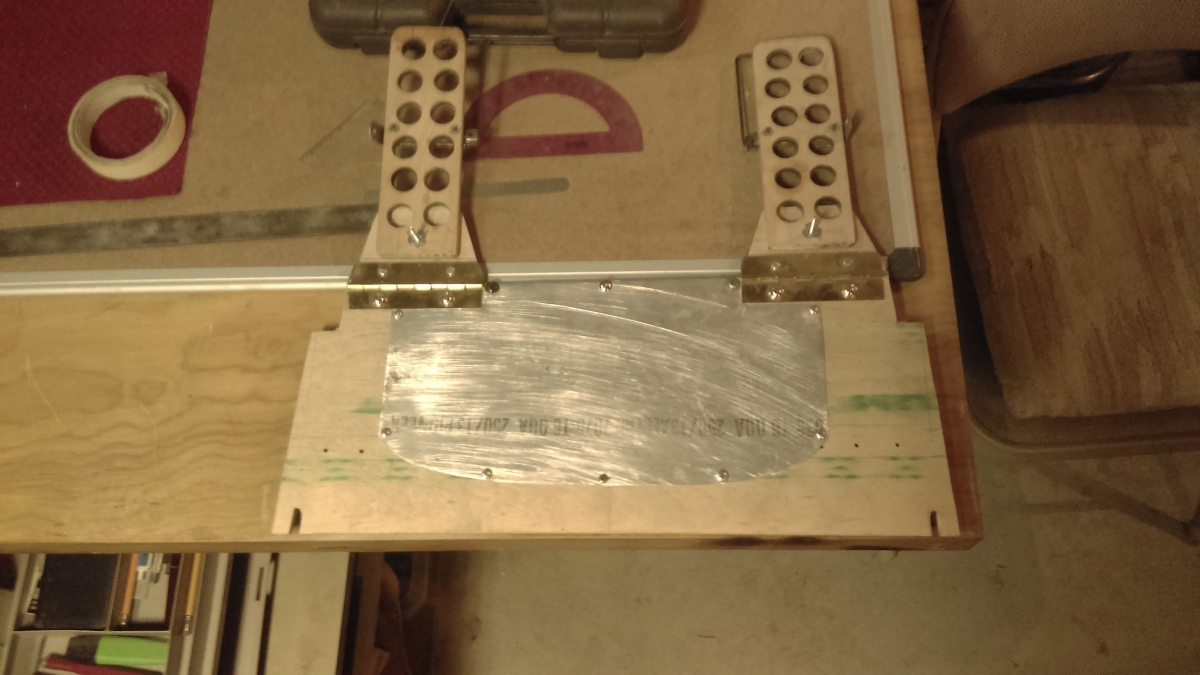
Thanks planedriver. I almost forgot to add a picture of the underside of my dash box. I ran strips of ply 90* to the other and epoxied. This gives me 7 hard points to mount wind screen and the whole box weighs about the same as a beer.☺️ A pounder that is
-
1
-
-
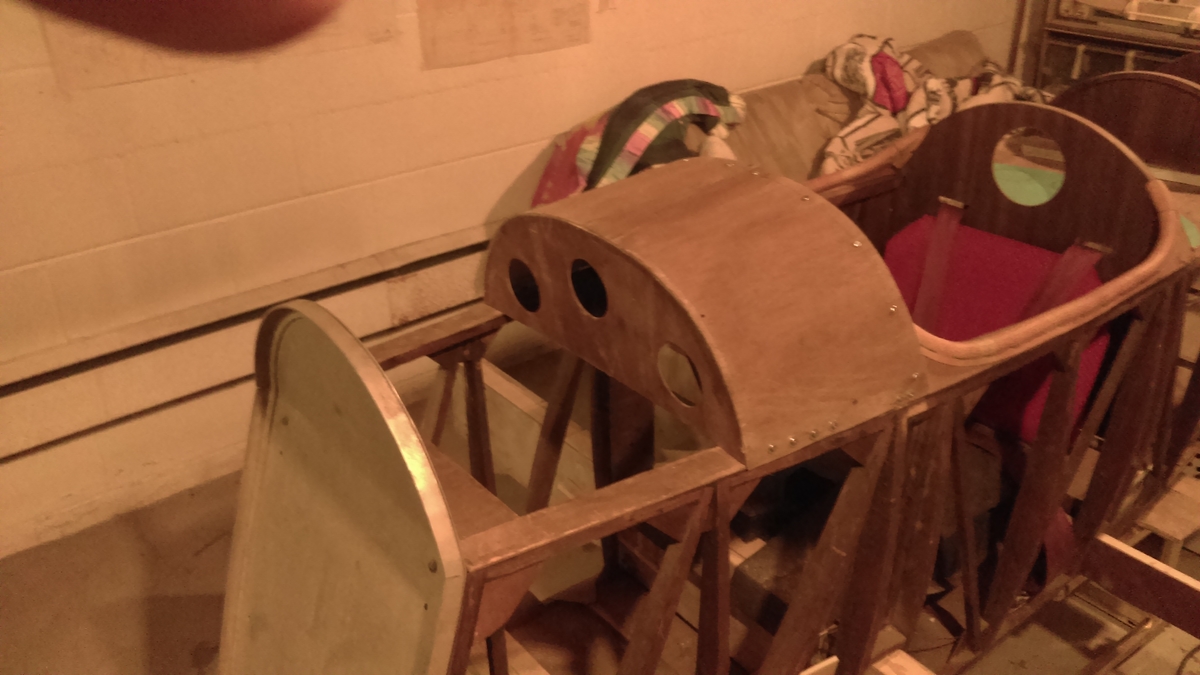
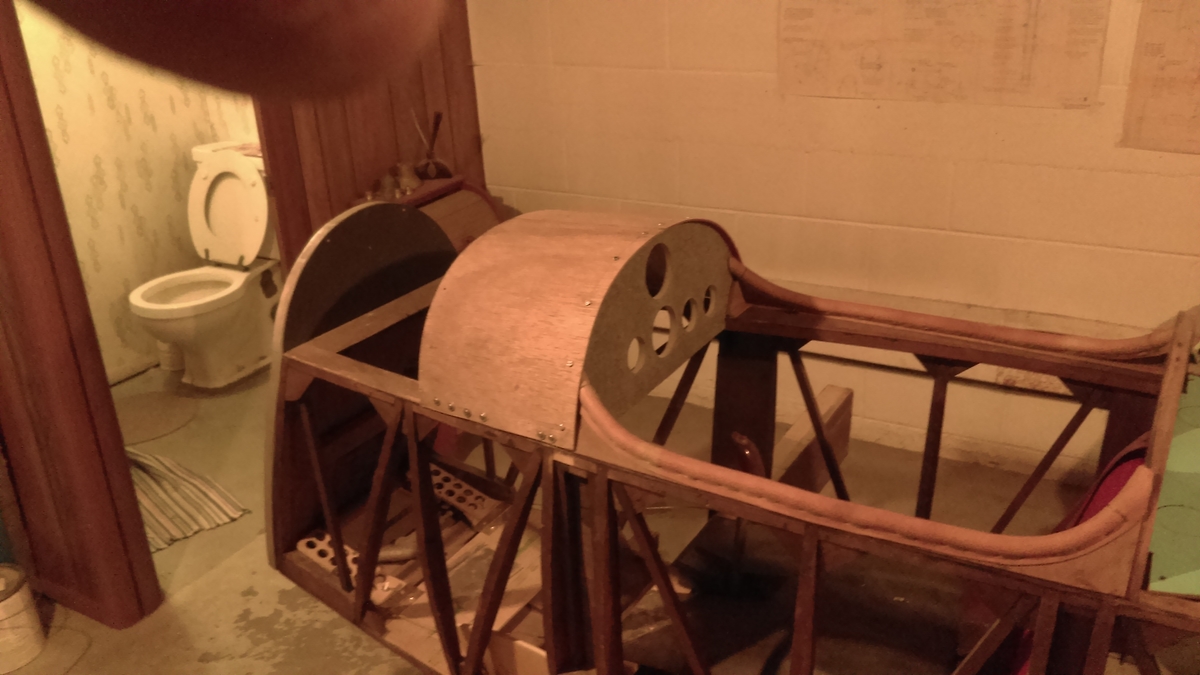
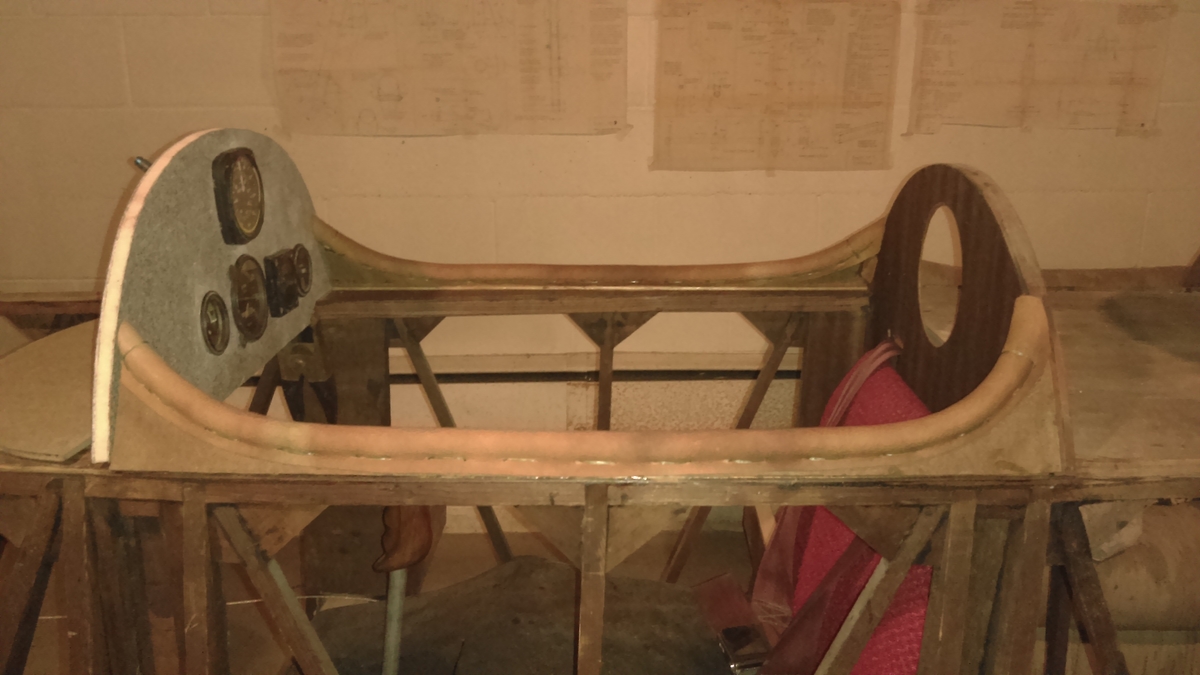
Instrument Dash box finished. Man what a job to get that ply to form curves in such a short distance. Will be nice to pull Dash out and service and replace instruments. It's very light and strong. will be adding padded leather to top of panel for safety so I left 5/8" overhang above instruments. 14 SS screws required to remove and top cowling. Fuel tank and wind screen is next. When taking a straight edge laying on top of the box to the firewall I landed within a 1/16 of an inch. A bit closer every day
-
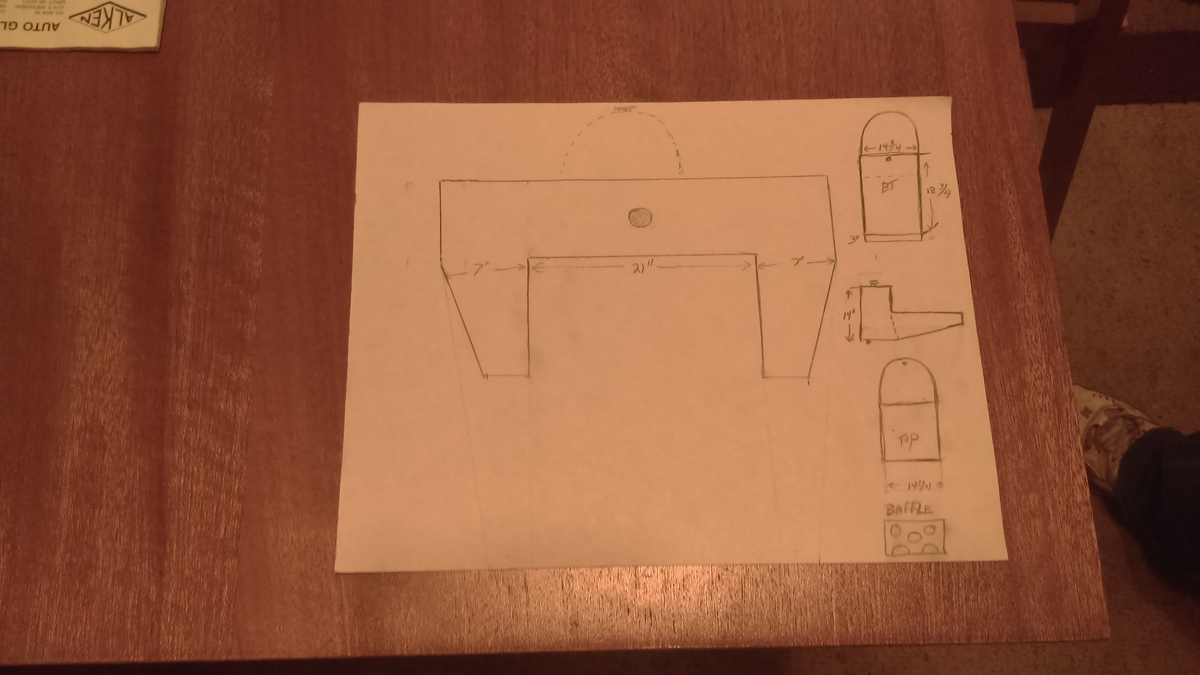
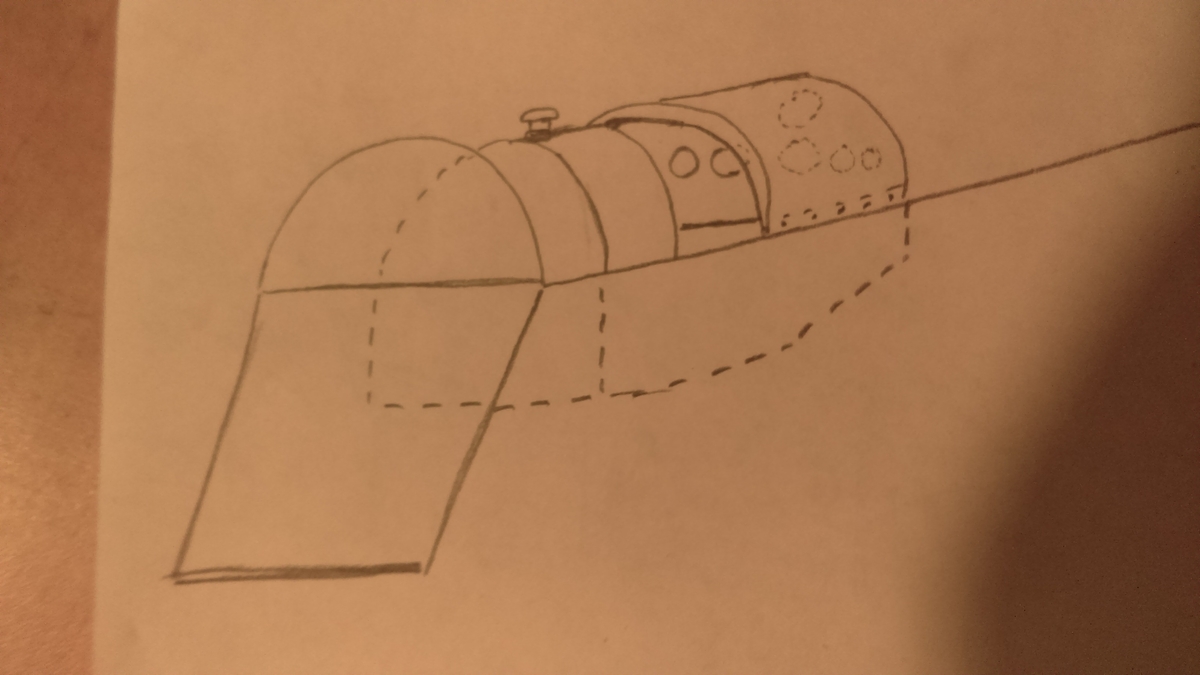
I have been working on fuel tank position along with making my instrument panel removable after top cowling is removed this is a bad sketch of what I have in mind. Top Cowling will end just in front of wind screen. Appears I will need to remove 2 inches off the width of upper and lower cowling and I believe a piano hinge down the center at top with cam locks along the cheeks will do a good job. Plenty of room for a 1835 VW engine under the cowling with exhaust running out under firewall. A little every day.
-
2
-
1
-
-
cockpit skirts are done and heading for fuel tank next.
-
2
-
-
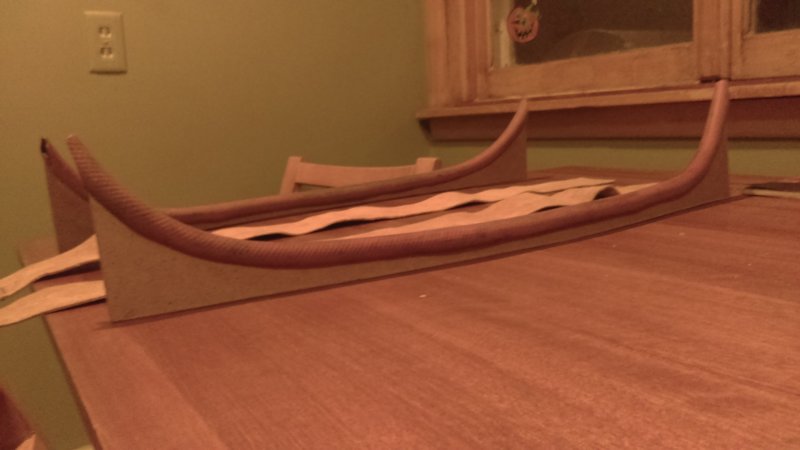
got a little closer to the cockpit opening. I found 1/2" air hose worked well for the filler pad and a soft leather to cap off with once the skirts are glued in place. I think this tan color leather will go good with the aircraft.
-
1
-
-
It sure wouldn't hurt to check on the Taylor hiding in the hanger. May be a great project for someone near you to complete. I'm always looking for parts such as gear or engine.
-
Thank you planedriver. I intend to power mine with a 1835 VW. Winter has settled in our area so gives me more time to work on the plane. When I get frustrated with the build I fire up one of the models and drill a few holes in the sky and hope I don't drill the plane into the ground.:crying:I hope to gain some ground this winter on the T-mono
-
1
-
-
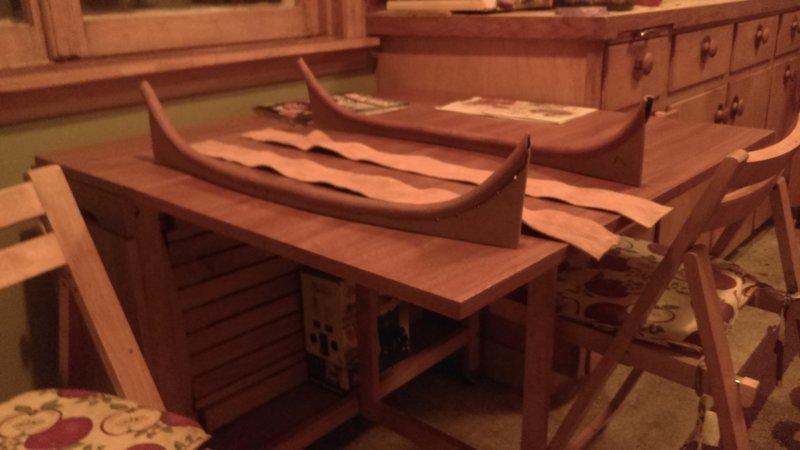
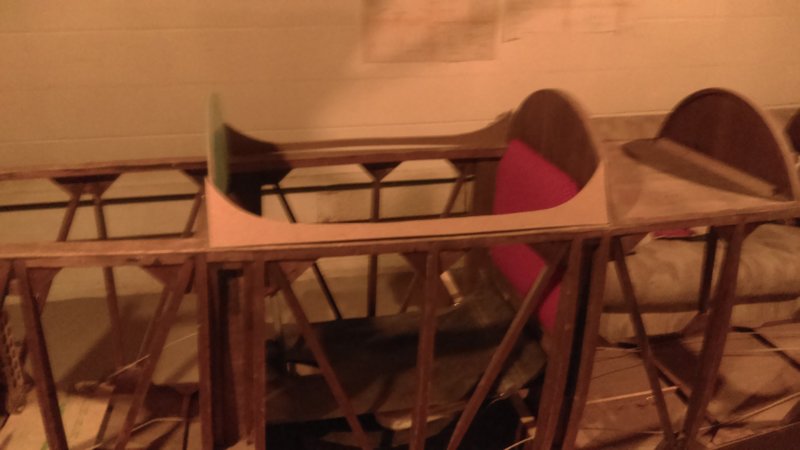
Been working slowly on the trim of the cockpit I made these what I call cockpit side skirts and will sew on with leather foam inner and leather capped. Also a shot of tail area.
-
4
-
-
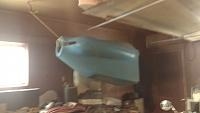
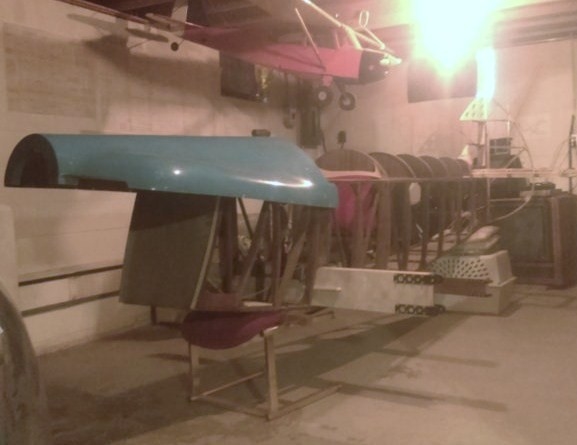
Working on getting a Midget Mustang cowling to fit the T-mono. Looks like I will be able to cover dash and header tank.
-
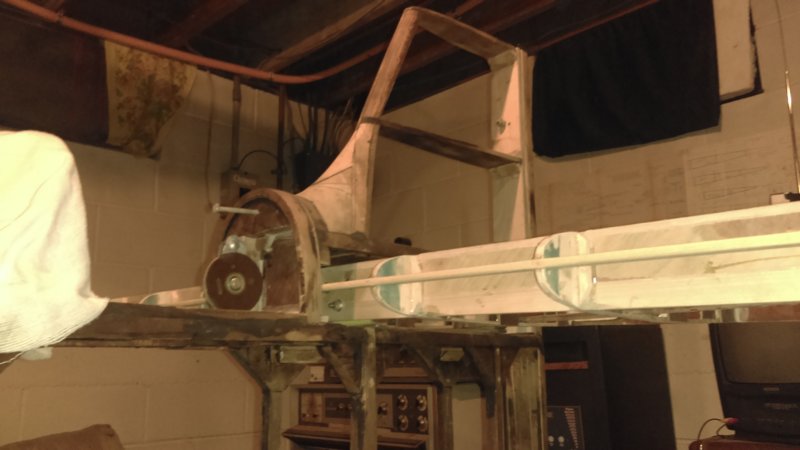
Getting a bit closer every day. I started to form in the cockpit skirting and got the Horz,Stab bolted on. Soon I'll sheet the Horz with ply and focus on elevator hinges
-
1
-
-
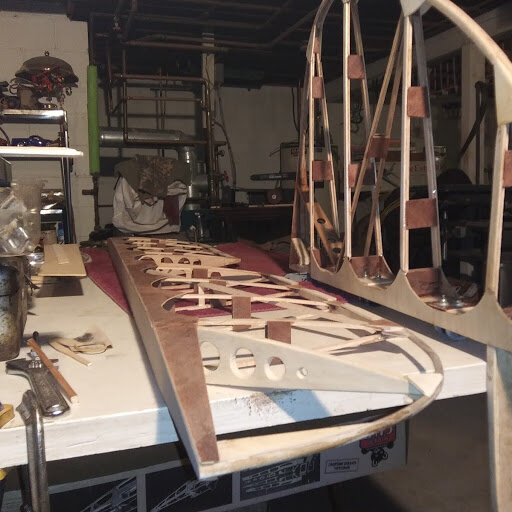
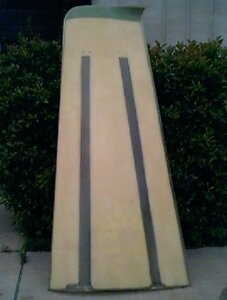
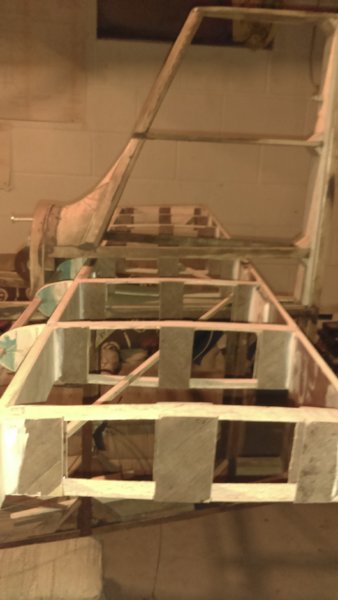
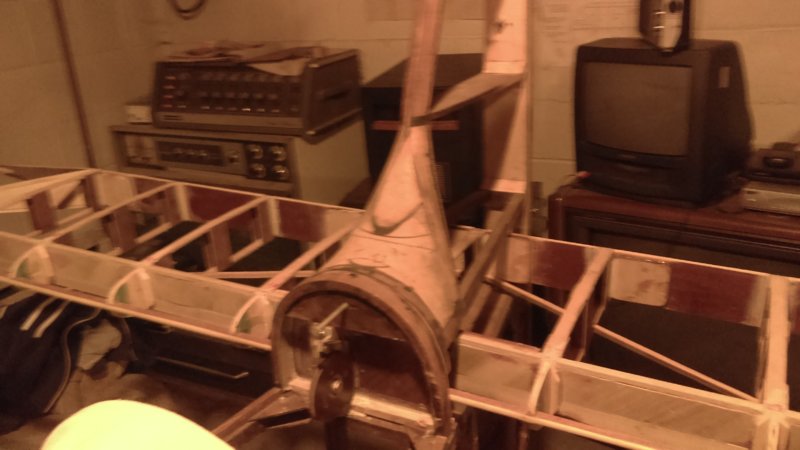
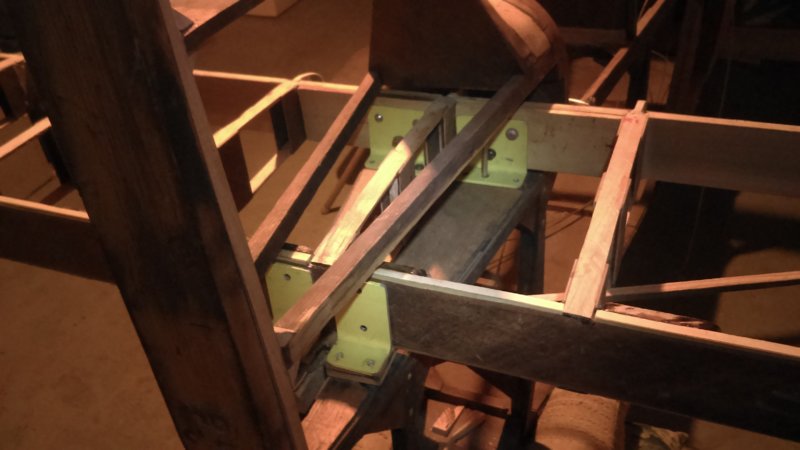
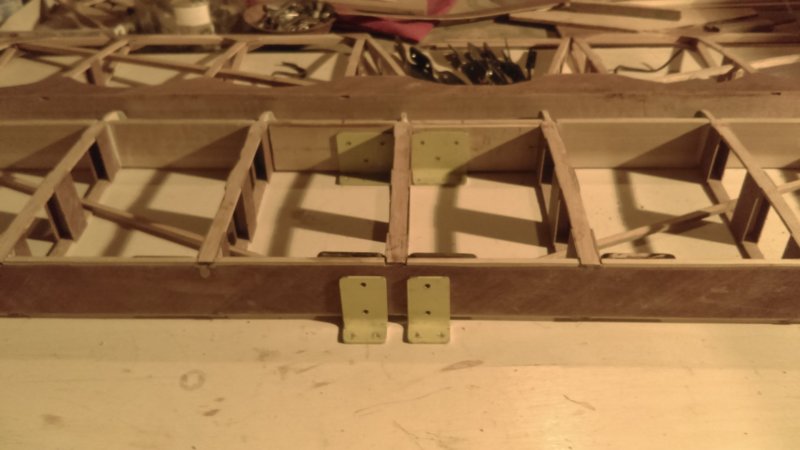
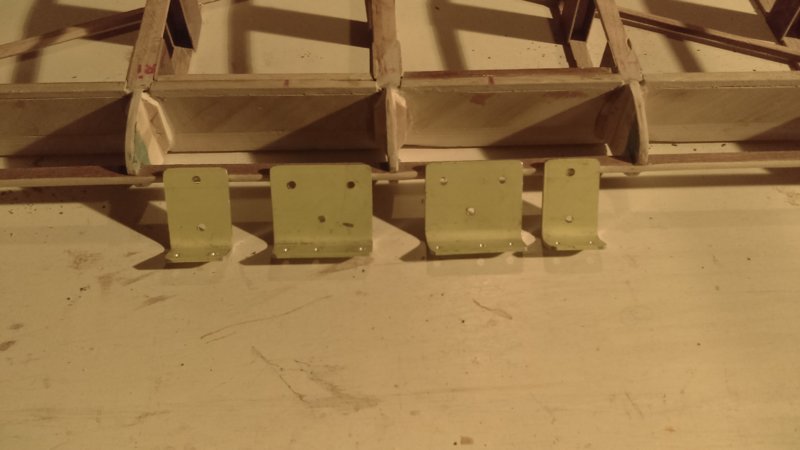
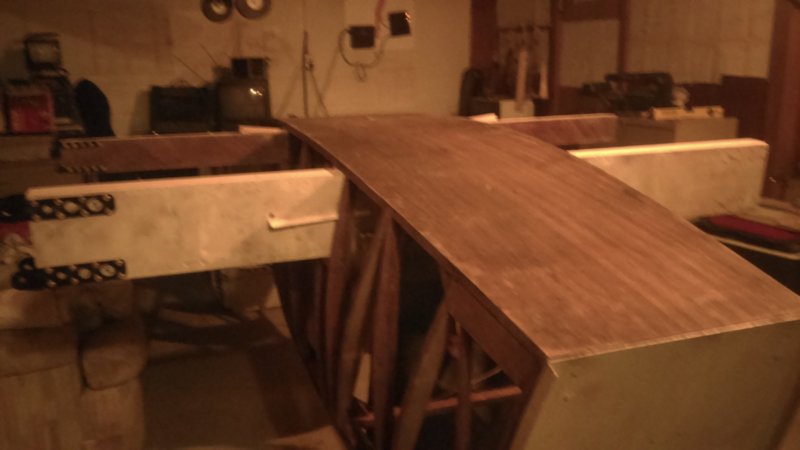
In my last post I spoke of changing mounts for the Horz. Stab and I made up 4- 6061 T-6 Alum brackets from a wrecked Ag Cat near my home. Also while the Fuselage was inverted I wanted to get a picture of those pretty lines the T-mono has on its under side.
-
I got my Horz,Stab mounts bolted on and I must say what a pain in the a$$. I immediately changed to a way that I fill is much stronger and of near the same weight. I inverted my fuselage and glued in Maple hardwood blocks under the ply that is bellow the Horz. stab. I added 45 degree strips to strengthen and put 3 each side on each blocks 2 inch Stainless steel screws horizontally into the upper longeron and up right. I then made Alum angle mounts with the option to set incidence +/- if desired.
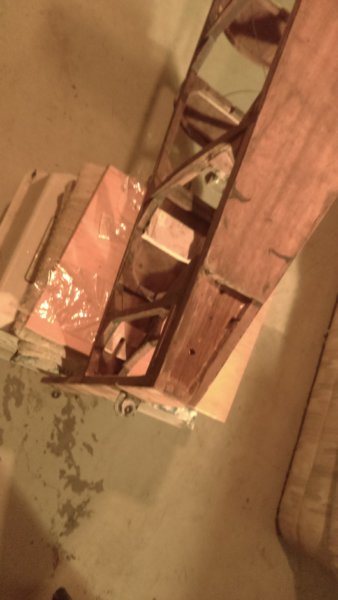
Also gets the tail wheel in a good work position.
 JK JK
JK JK 


Taylor-Monoplane
in Other Rec Aircraft
Posted
Nev. I was thinking beings my elevator is still uncovered I think a sub trim spar can be added on either side and a cable activated trim could be included. I can fit a 39 square (13" x 3") inch trim tab with very little work at this stage. Some people speak of a servo activated trim much like the KR-2S has but I think cable would be less head ache and less to fail. My KR-2 had a cable activated trim for elevator and it worked well.