

Don J
-
Posts
166 -
Joined
-
Last visited
-
Days Won
4
Content Type
Profiles
Forums
Gallery
Downloads
Blogs
Events
Store
Aircraft
Resources
Tutorials
Articles
Classifieds
Movies
Books
Community Map
Quizzes
Videos Directory
Posts posted by Don J
-
-
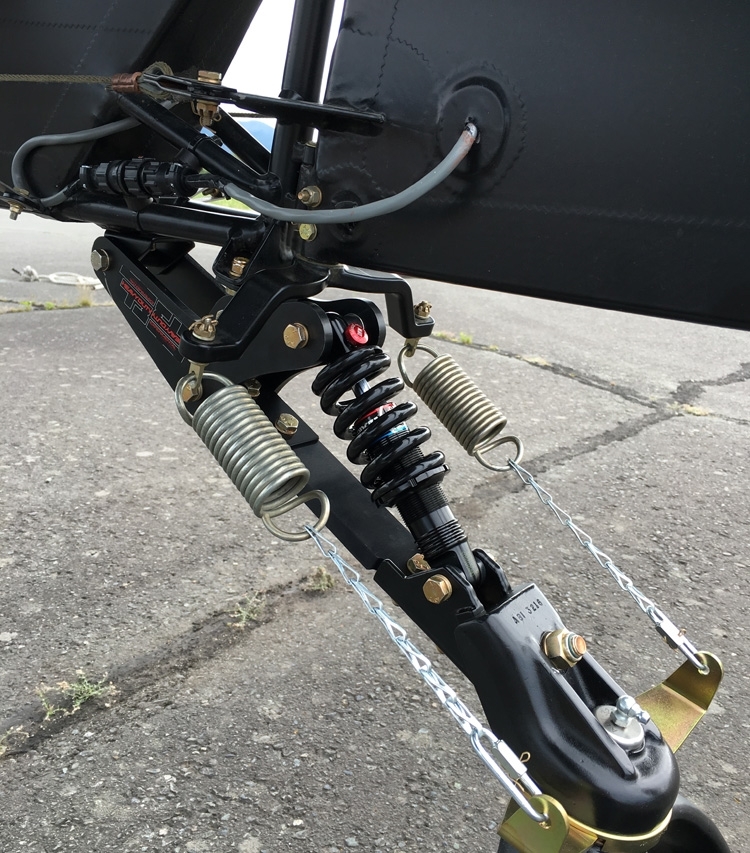
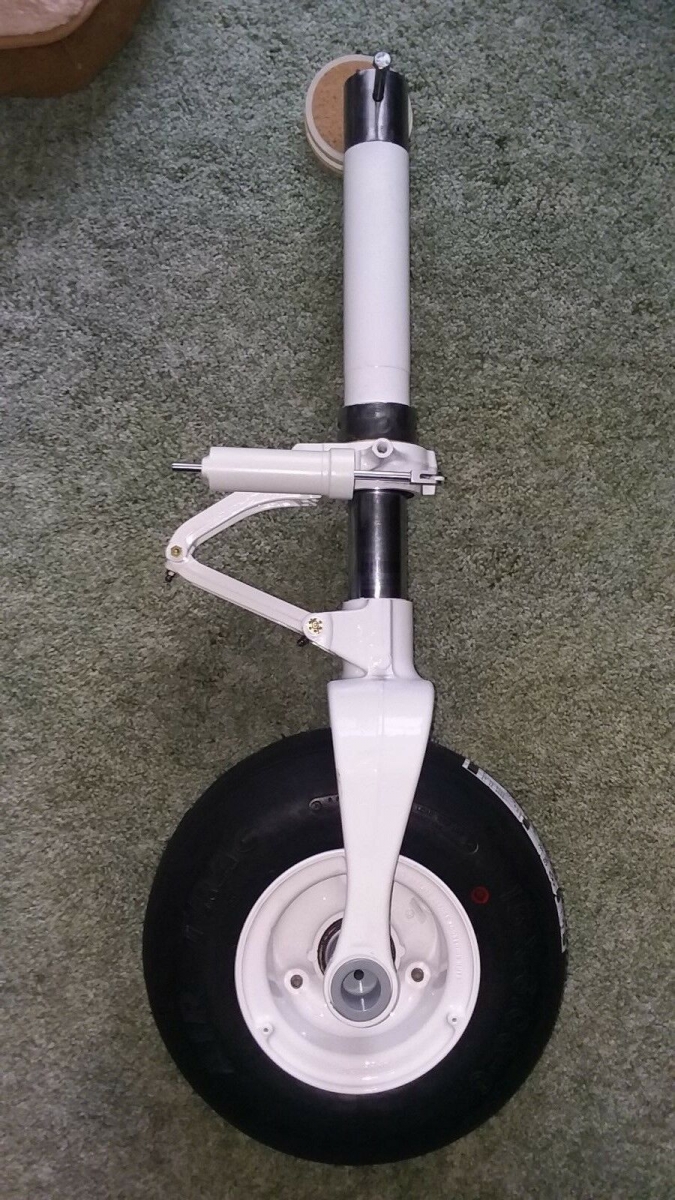
Been working on the tail wheel and have found this to be an interesting set up. So I gathered up some parts that I may be able to get to work and have some dampening adjustment on the tail spring

-
A fello builder donated a Maule tail wheel to me and with luck I can find a 4"- 5"
wheel to fit axle and if my drill bits hold up I can get a couple holes drilled into the KR-2 spring and have a Tail wheel on the Taylor-m. I'm contemplating on how a couple of nose wheel main strut off a Cessna 150 would work with the right spar plate welded to them for main gear?? -
got the throttle bolted in place. Soon will start the final covering of ply on Fuselage
-
 2
2
-
-
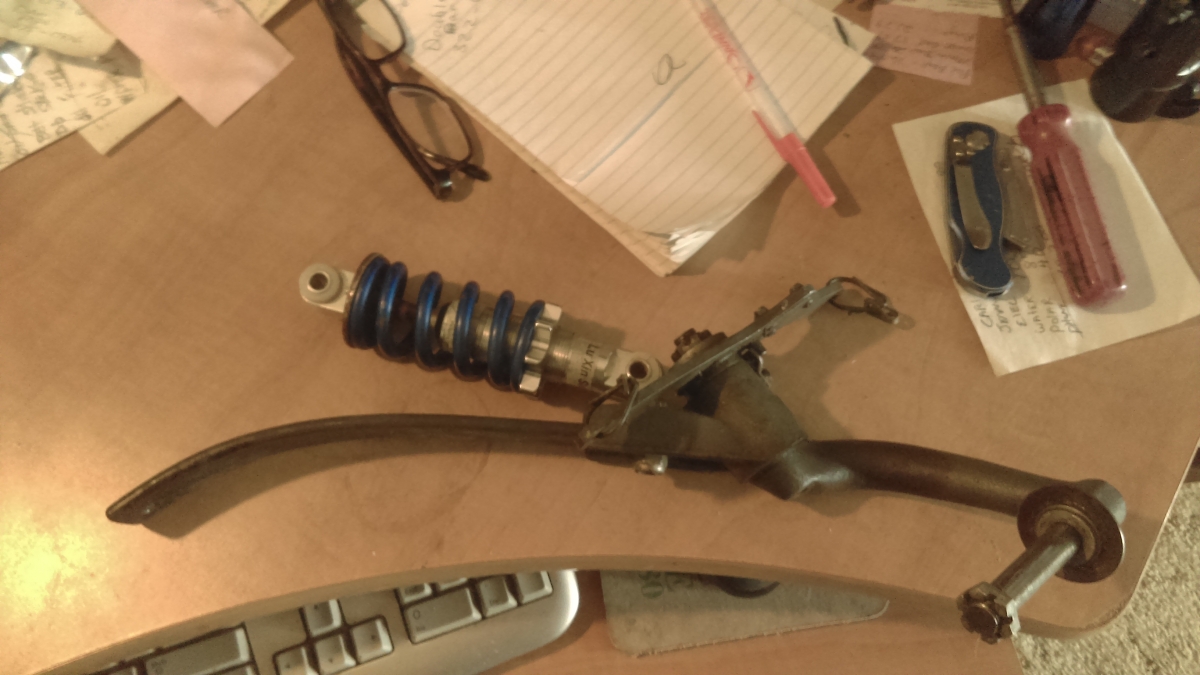
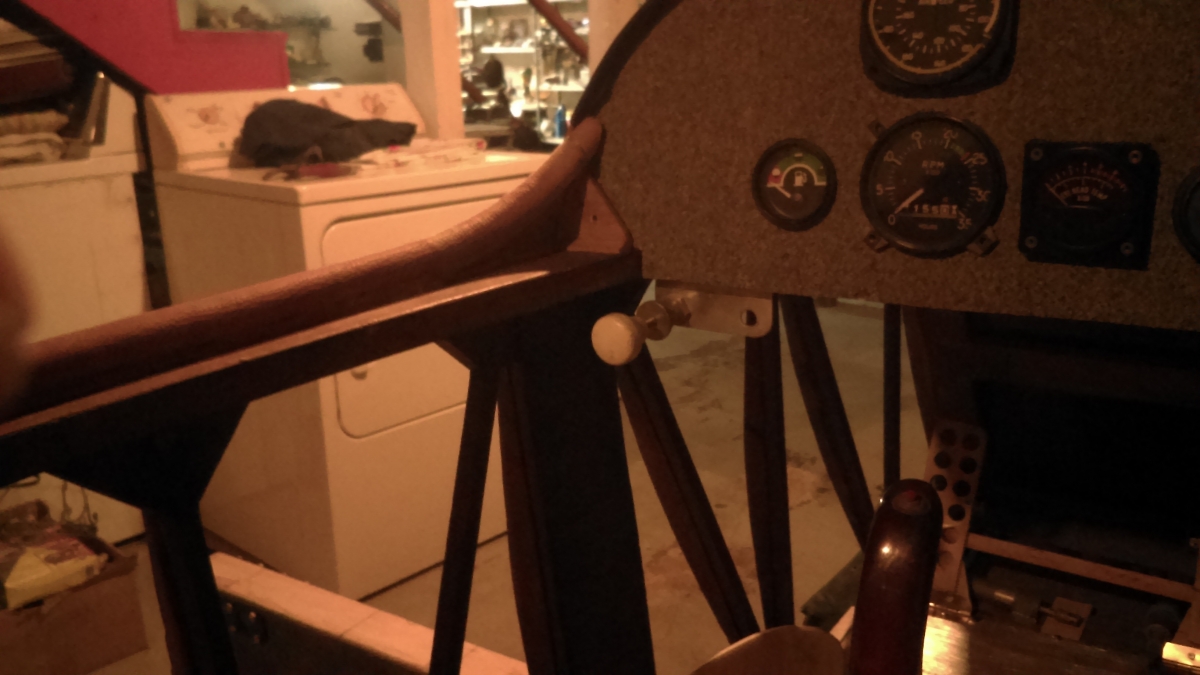
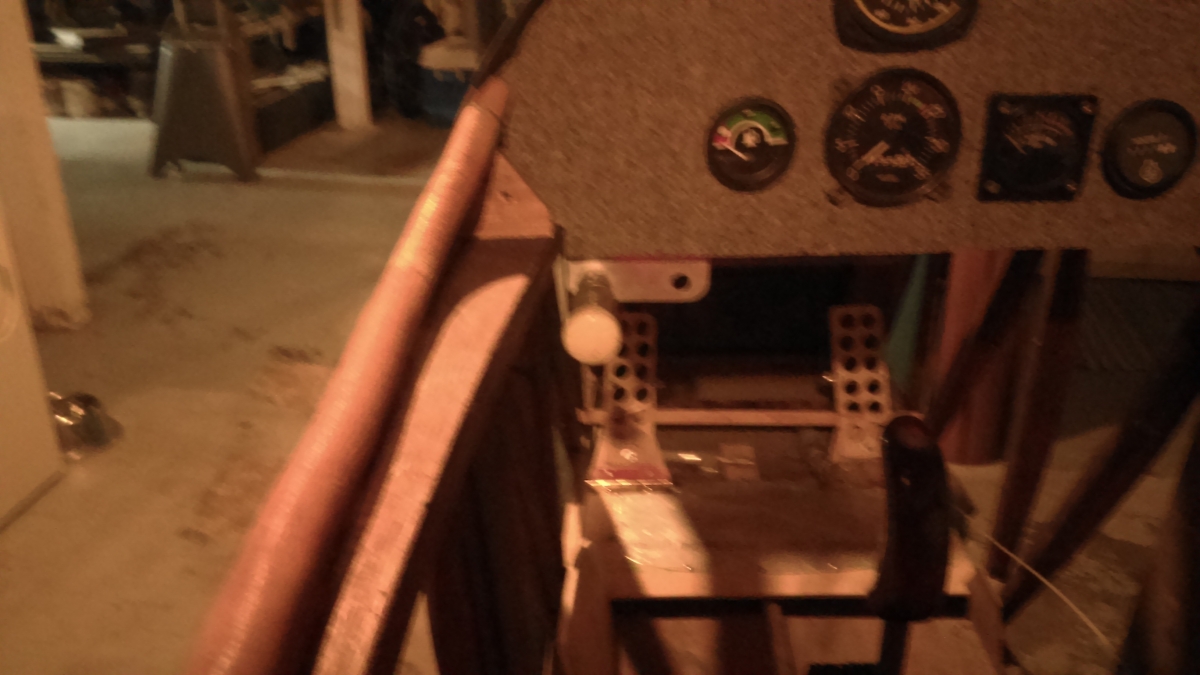
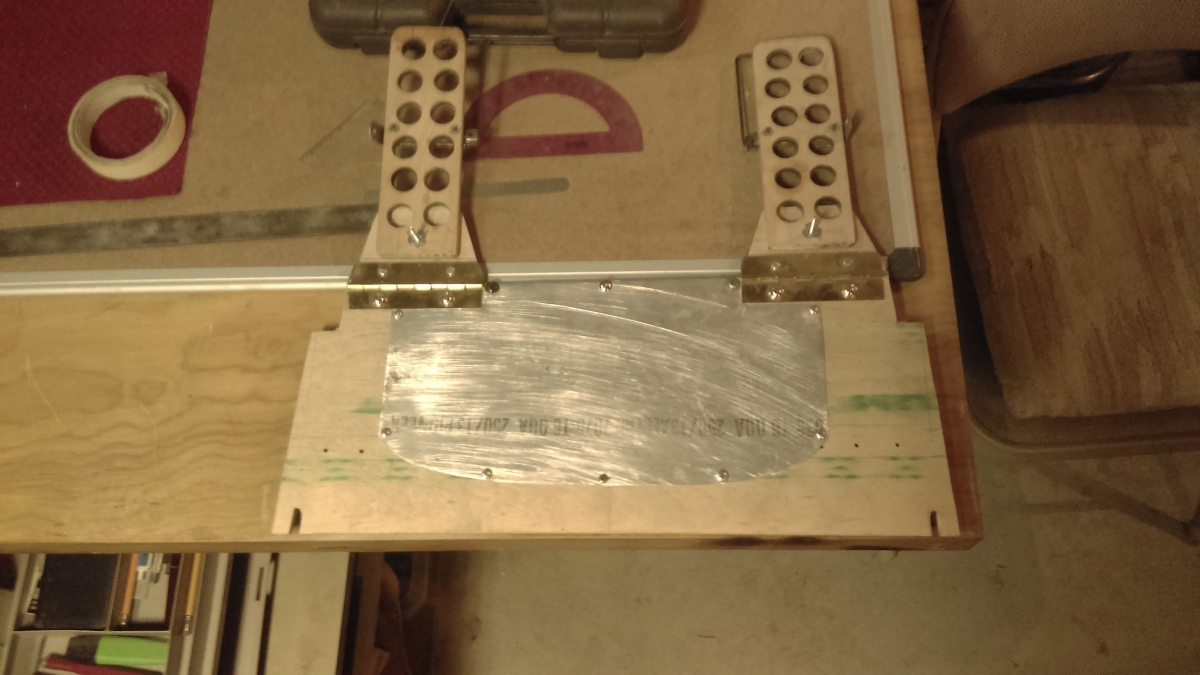
worked on rudder horn and rudder pedal stops. and working on getting the full throw stop timed were there will be no stress on pedals at either end of the system. Also added a T-6 Alum plate on my rudder base plate to help with wear from heel movement from brakes. I'm just plugging along and making a lot of plane noises in my head.
-
 1
1
-
-
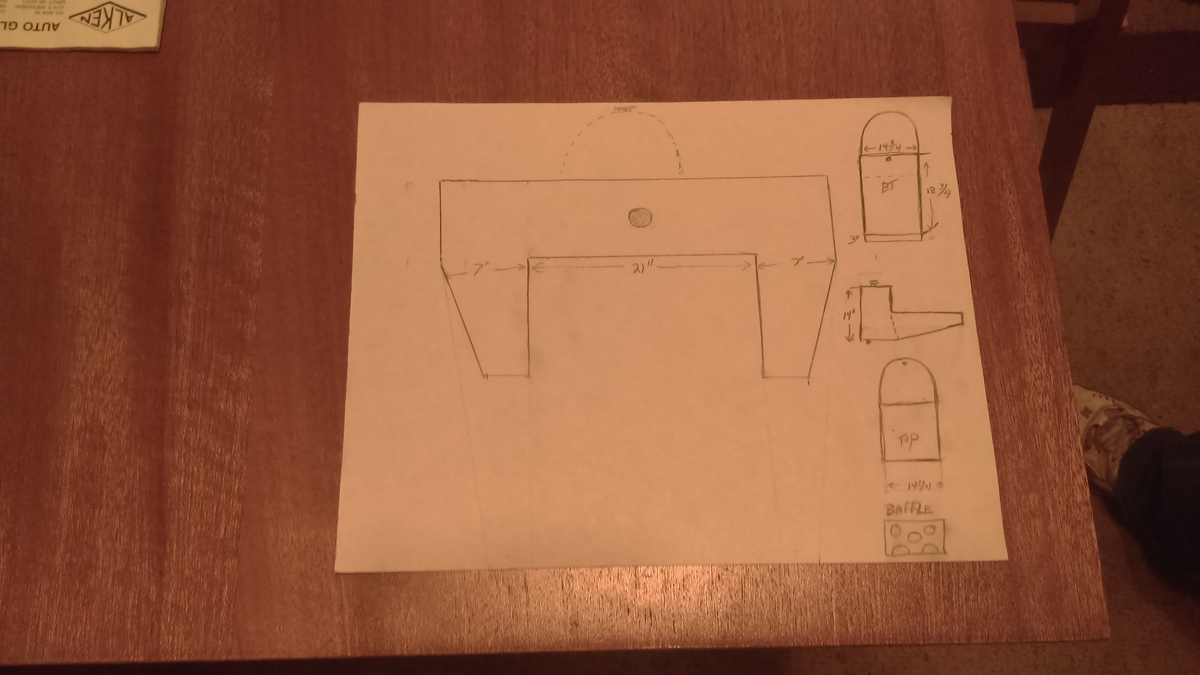
With measurements needed from firewall and instrument panel I have came up with patterns to build a Alum fuel tank consisting of 4 main components. I also saved some Alum fittings from my KR-2 fuel tank and can incorporate them into the tank. Will get total amount of fuel tank will hold after it's welded and tested. I will make a guess at about 7.2 gallons
-
1
-
-
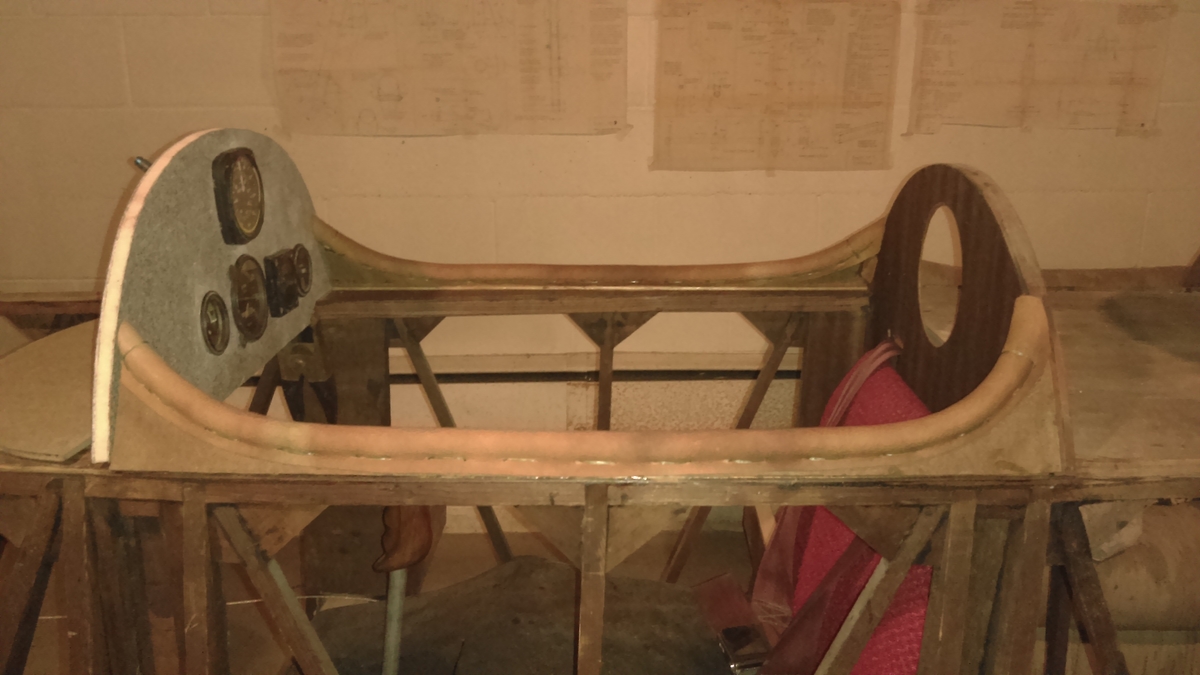
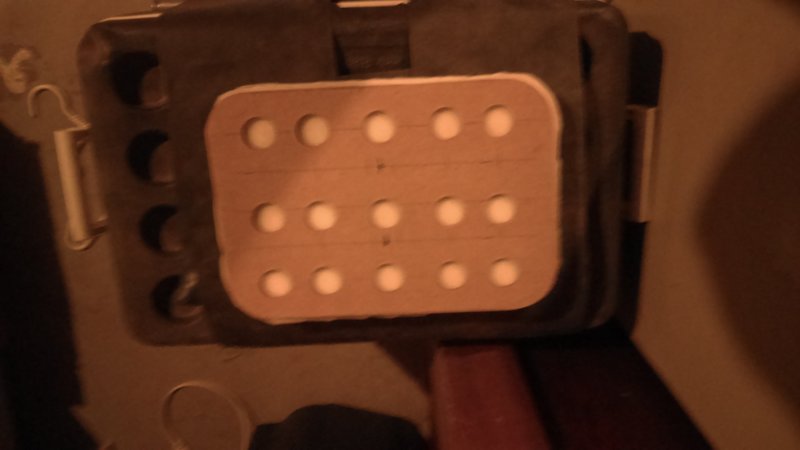
Thanks planedriver. I almost forgot to add a picture of the underside of my dash box. I ran strips of ply 90* to the other and epoxied. This gives me 7 hard points to mount wind screen and the whole box weighs about the same as a beer.☺️ A pounder that is
-
1
-
-
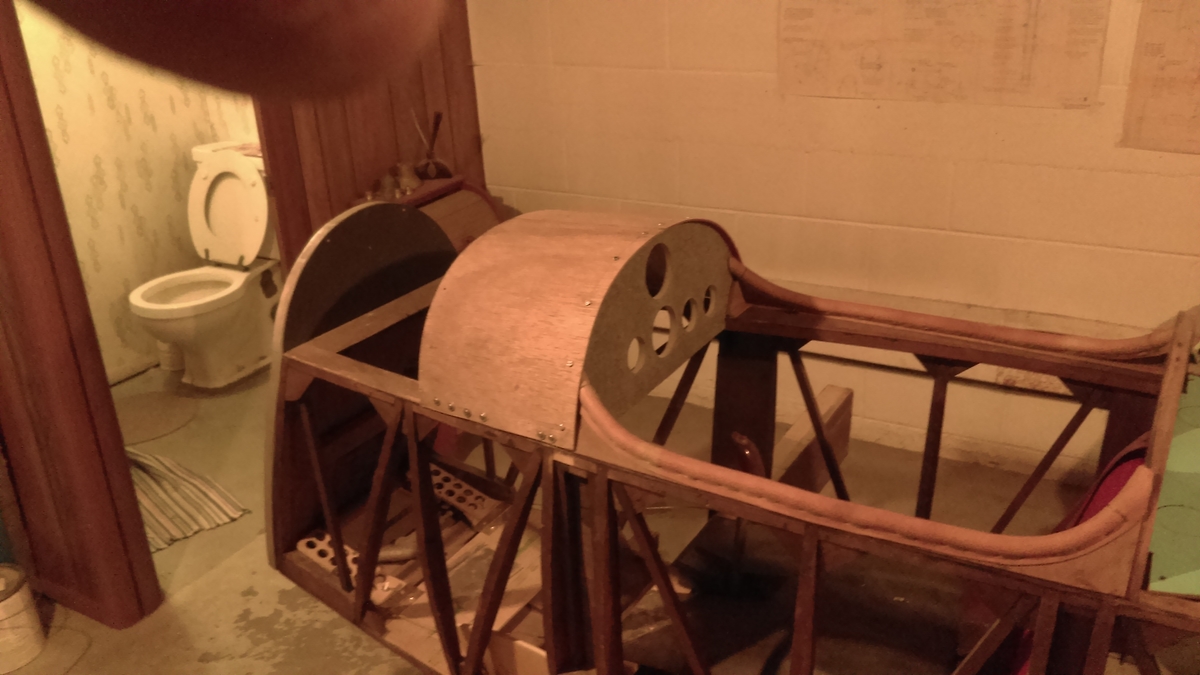
Instrument Dash box finished. Man what a job to get that ply to form curves in such a short distance. Will be nice to pull Dash out and service and replace instruments. It's very light and strong. will be adding padded leather to top of panel for safety so I left 5/8" overhang above instruments. 14 SS screws required to remove and top cowling. Fuel tank and wind screen is next. When taking a straight edge laying on top of the box to the firewall I landed within a 1/16 of an inch. A bit closer every day
-
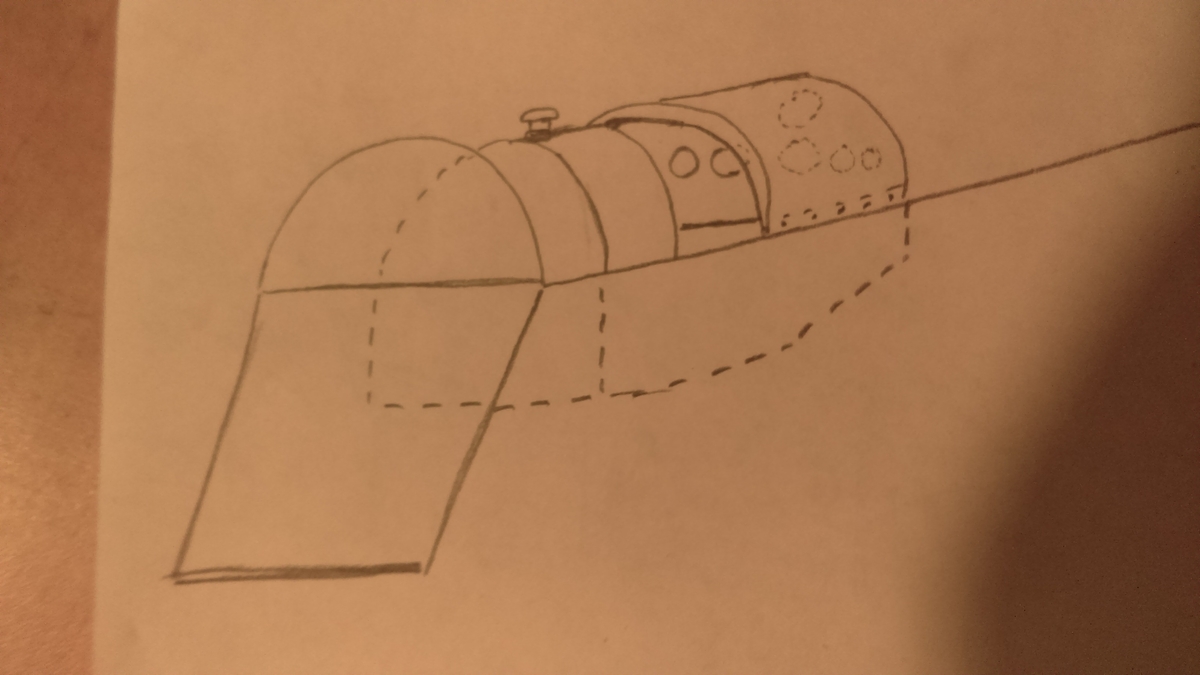
I have been working on fuel tank position along with making my instrument panel removable after top cowling is removed this is a bad sketch of what I have in mind. Top Cowling will end just in front of wind screen. Appears I will need to remove 2 inches off the width of upper and lower cowling and I believe a piano hinge down the center at top with cam locks along the cheeks will do a good job. Plenty of room for a 1835 VW engine under the cowling with exhaust running out under firewall. A little every day.
-
2
-
1
-
-
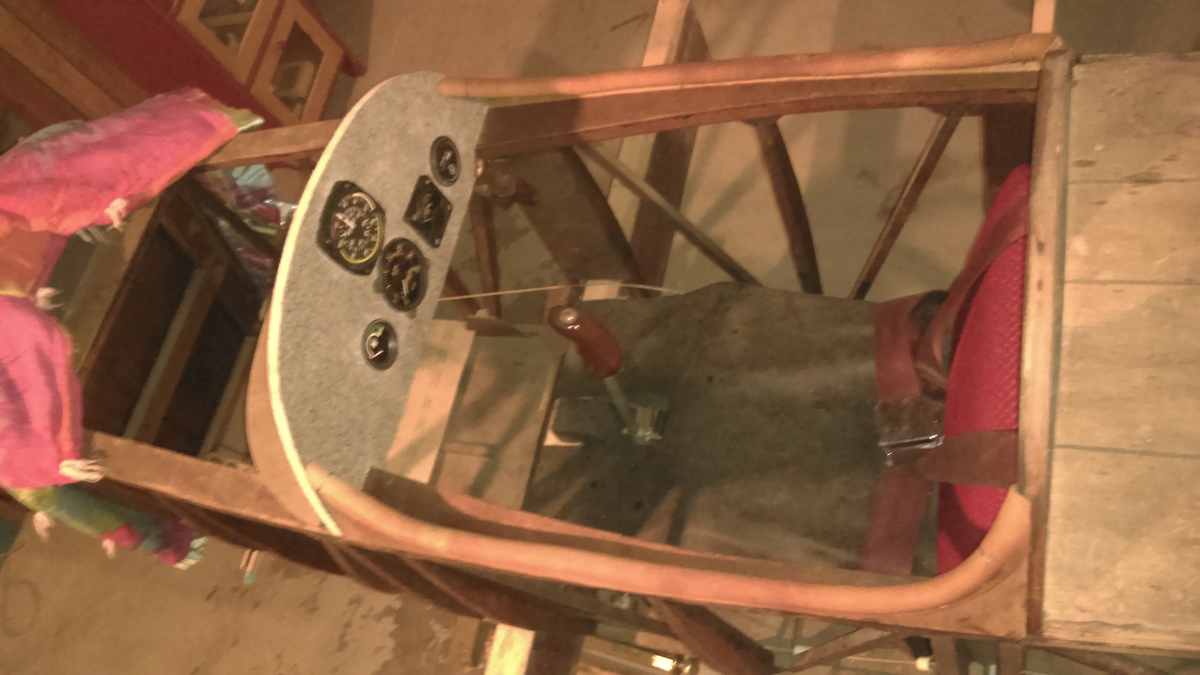
cockpit skirts are done and heading for fuel tank next.
-
2
-
-
got a little closer to the cockpit opening. I found 1/2" air hose worked well for the filler pad and a soft leather to cap off with once the skirts are glued in place. I think this tan color leather will go good with the aircraft.
-
1
-
-
It sure wouldn't hurt to check on the Taylor hiding in the hanger. May be a great project for someone near you to complete. I'm always looking for parts such as gear or engine.
-
Thank you planedriver. I intend to power mine with a 1835 VW. Winter has settled in our area so gives me more time to work on the plane. When I get frustrated with the build I fire up one of the models and drill a few holes in the sky and hope I don't drill the plane into the ground.:crying:I hope to gain some ground this winter on the T-mono
-
1
-
-
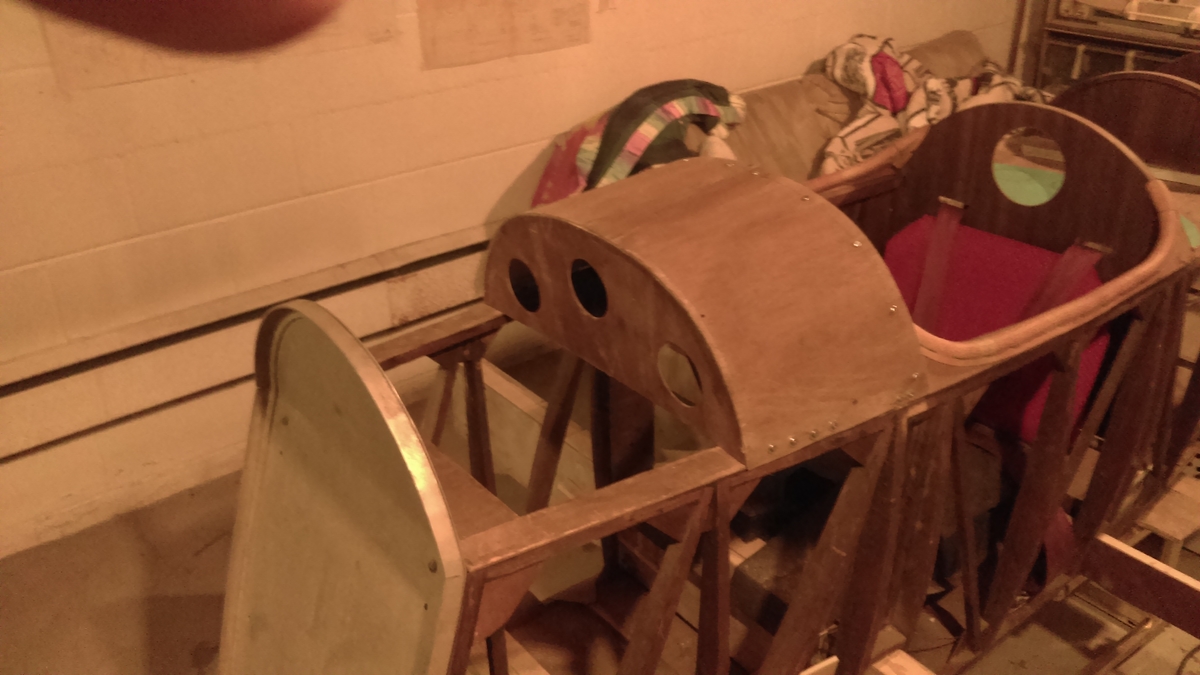
Been working slowly on the trim of the cockpit I made these what I call cockpit side skirts and will sew on with leather foam inner and leather capped. Also a shot of tail area.
-
4
-
-
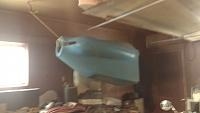
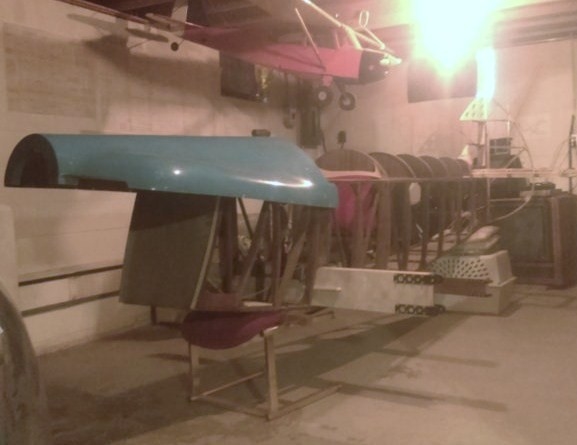
Working on getting a Midget Mustang cowling to fit the T-mono. Looks like I will be able to cover dash and header tank.
-
Getting a bit closer every day. I started to form in the cockpit skirting and got the Horz,Stab bolted on. Soon I'll sheet the Horz with ply and focus on elevator hinges
-
1
-
-
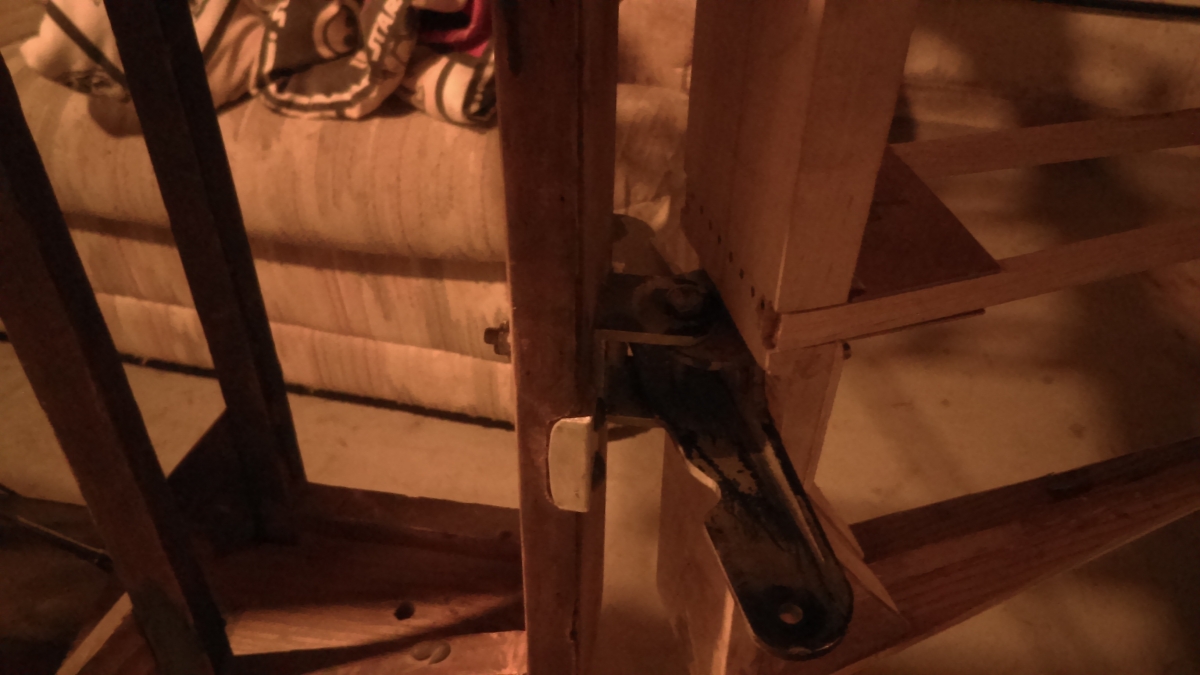
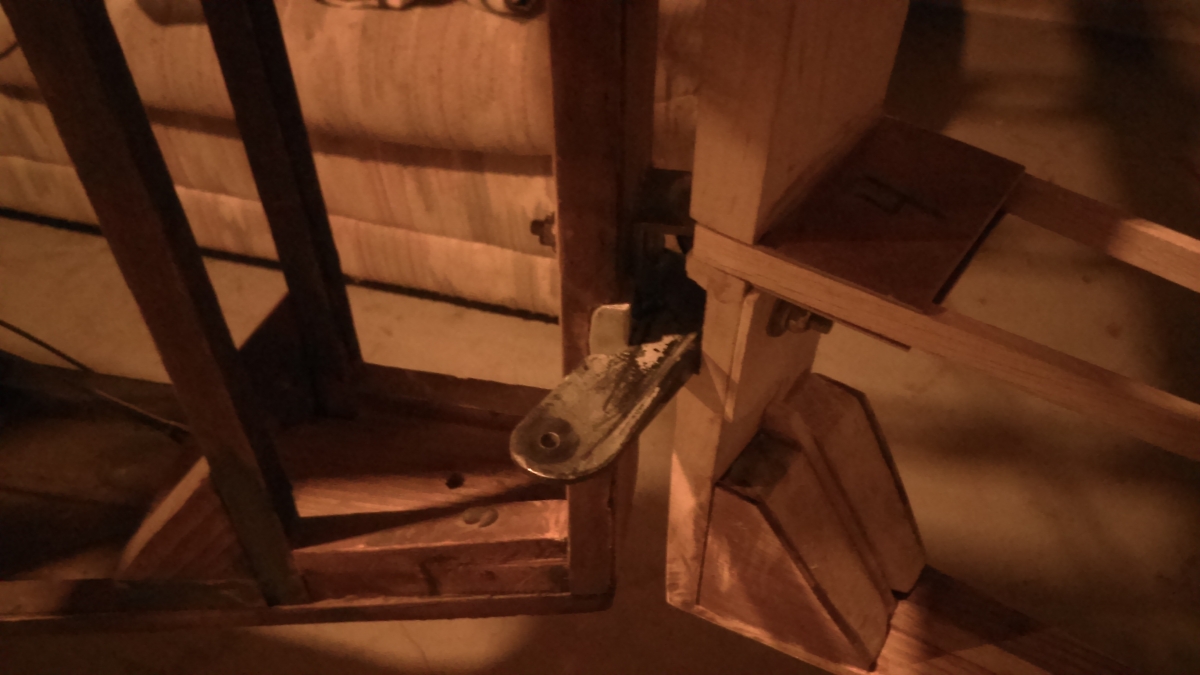
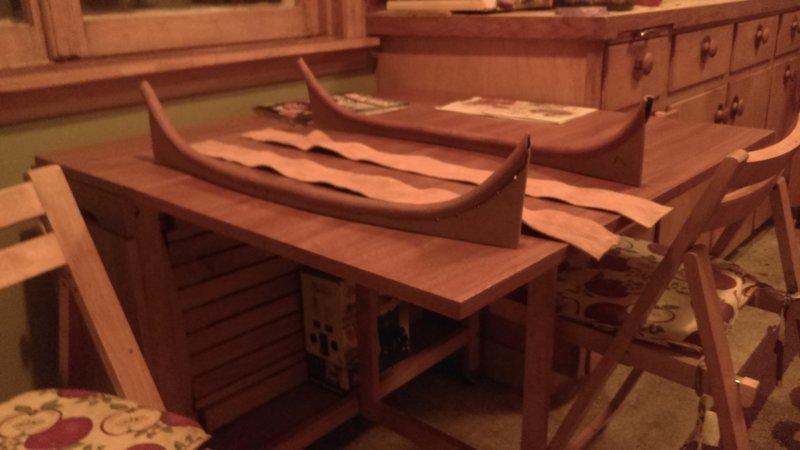
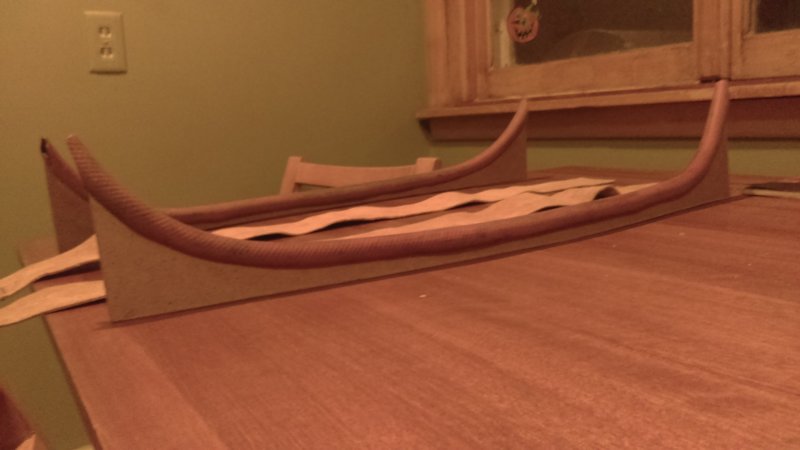
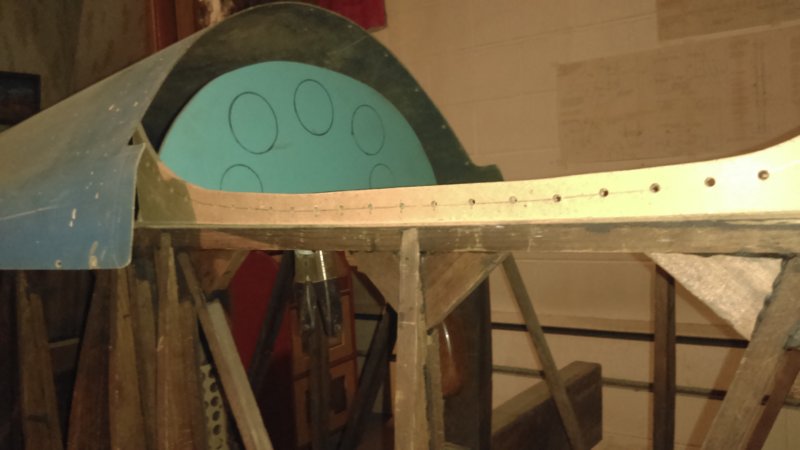
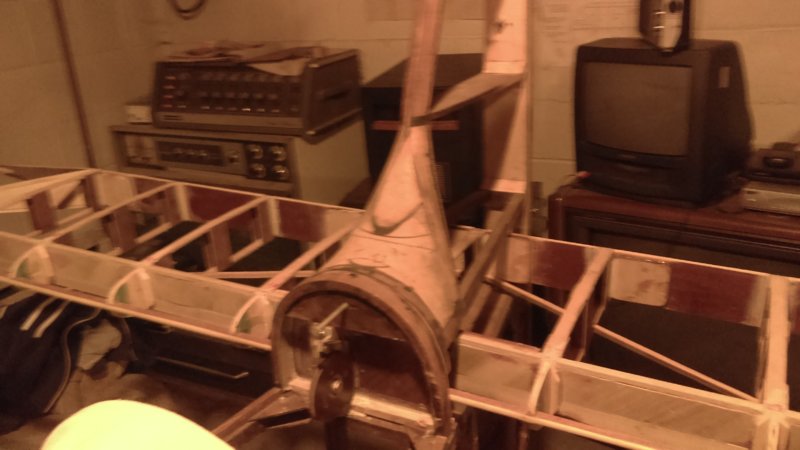
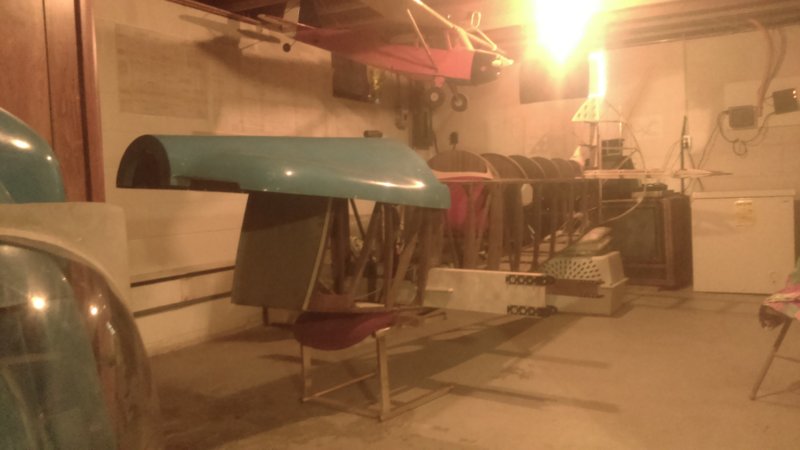
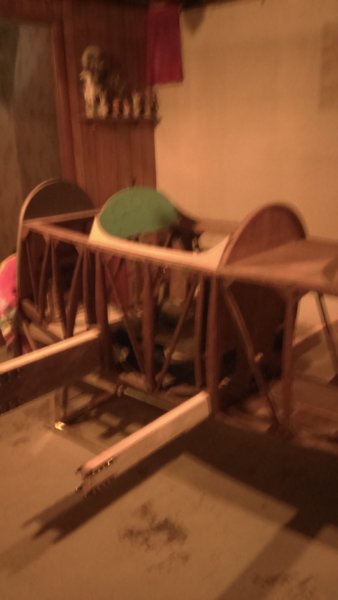
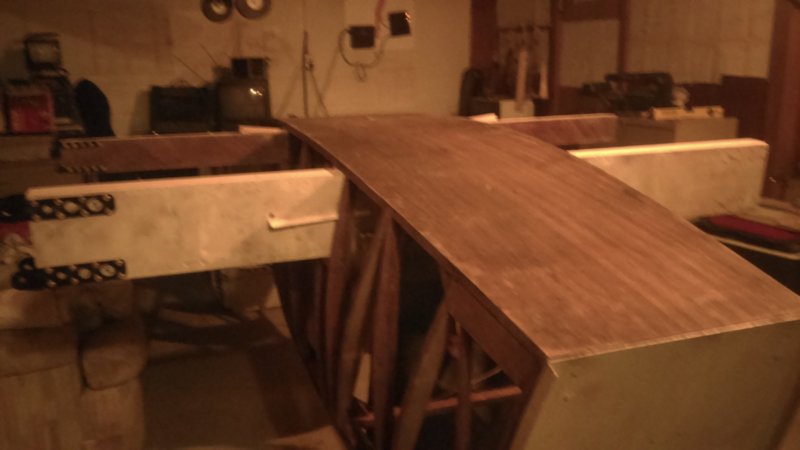
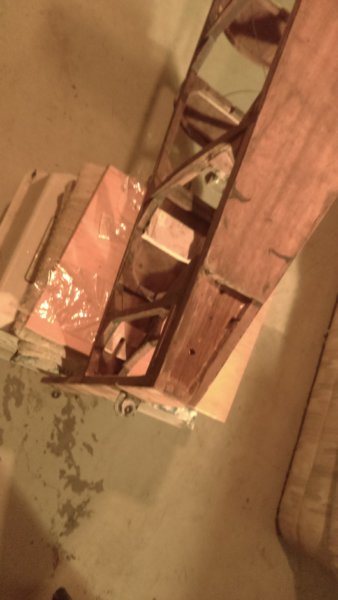
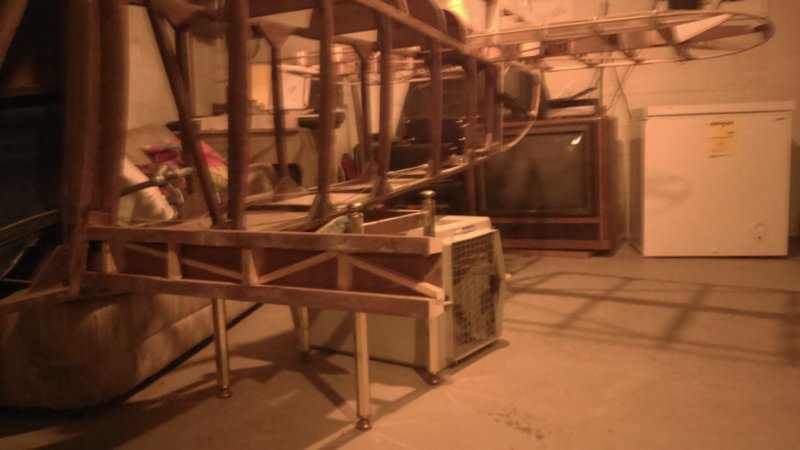
In my last post I spoke of changing mounts for the Horz. Stab and I made up 4- 6061 T-6 Alum brackets from a wrecked Ag Cat near my home. Also while the Fuselage was inverted I wanted to get a picture of those pretty lines the T-mono has on its under side.
-
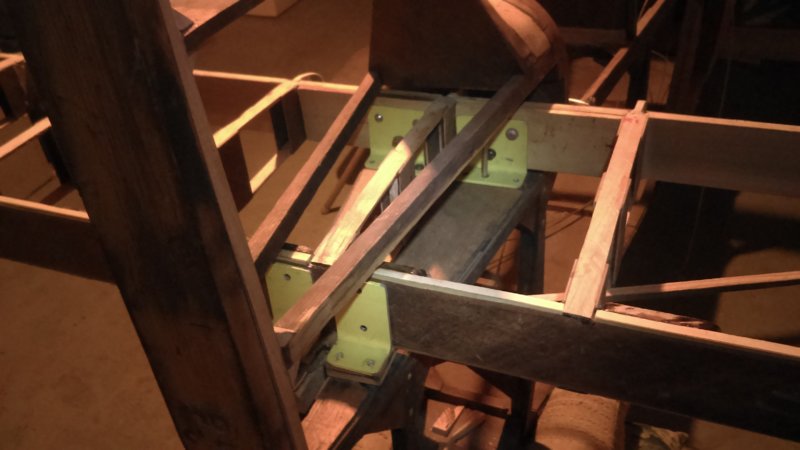
I got my Horz,Stab mounts bolted on and I must say what a pain in the a$$. I immediately changed to a way that I fill is much stronger and of near the same weight. I inverted my fuselage and glued in Maple hardwood blocks under the ply that is bellow the Horz. stab. I added 45 degree strips to strengthen and put 3 each side on each blocks 2 inch Stainless steel screws horizontally into the upper longeron and up right. I then made Alum angle mounts with the option to set incidence +/- if desired.
Also gets the tail wheel in a good work position. -
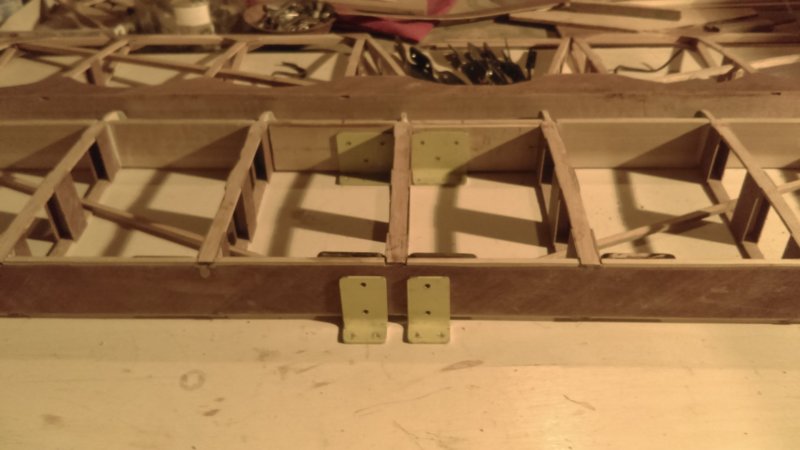
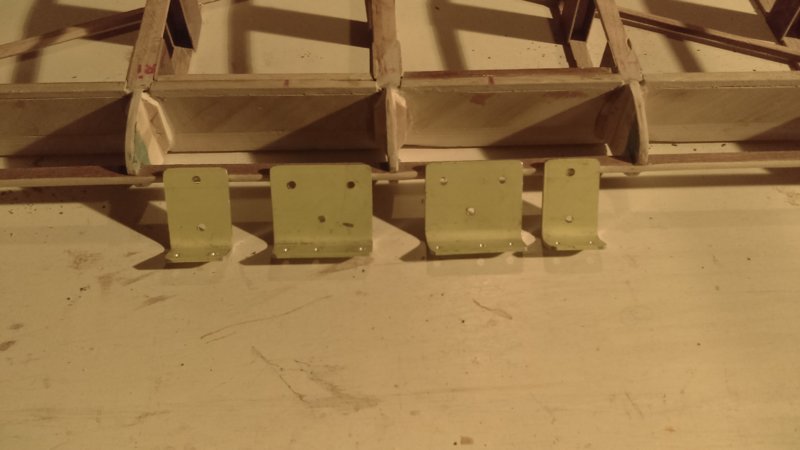
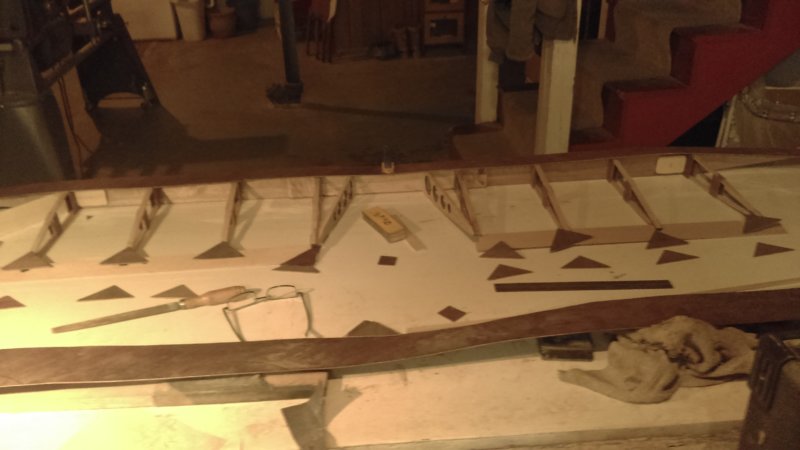
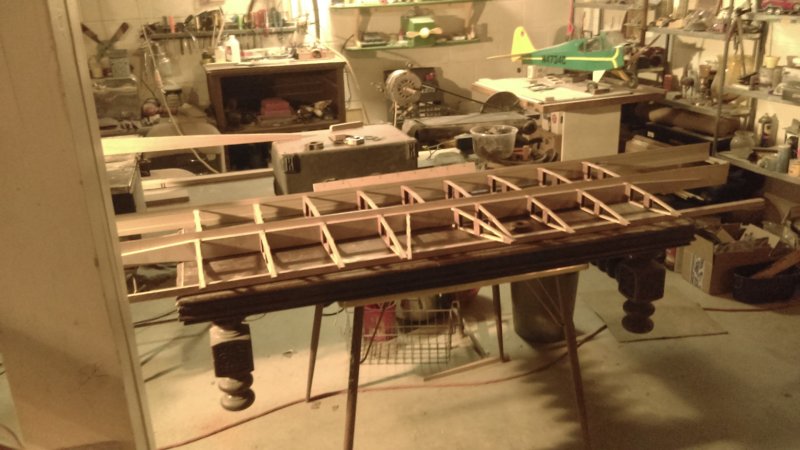
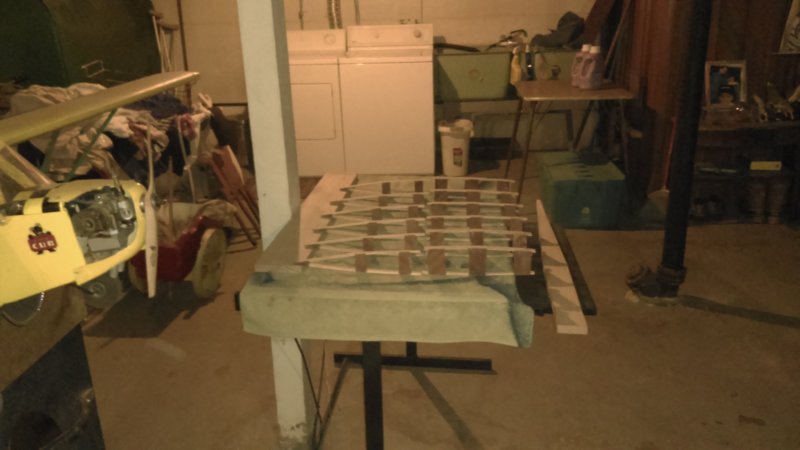
Getting the WAF and root spars ready to mount
-
1
-
-
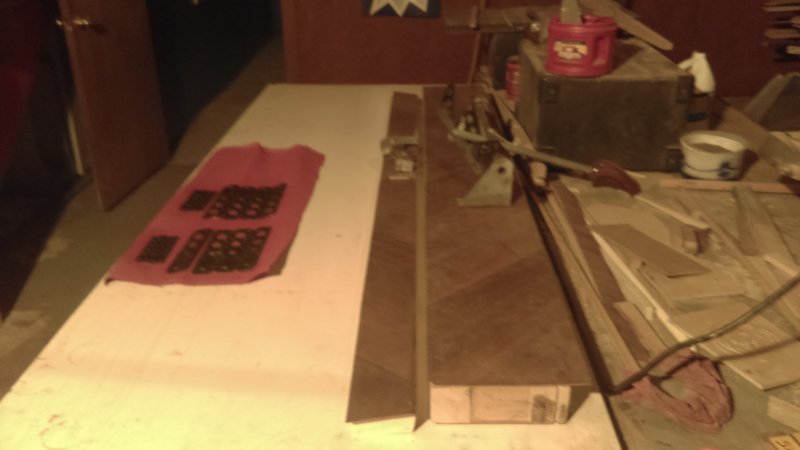
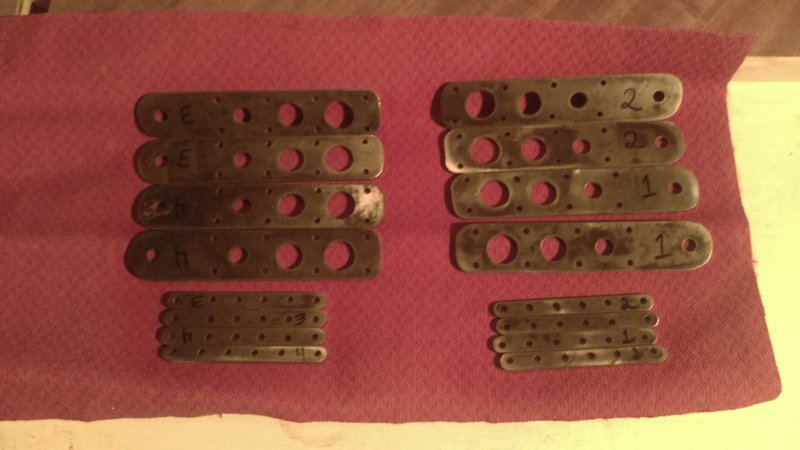
I cleaned up some WAF I had off my KR-2 looking for flaws and mainly just to get a good look at the metal and they seem to be fine. I also cut the Mahogany ply to plate the root spars for I can get the spars onto the drill press and get the control stick mounted and WAF along with the front seat mounting brackets.
-
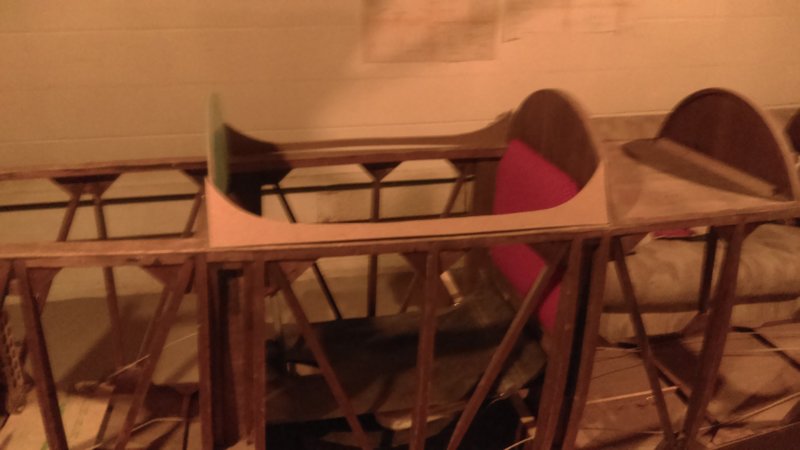
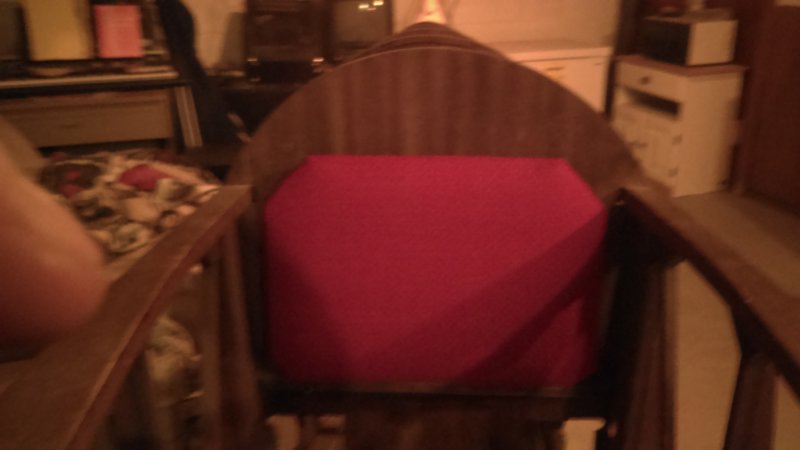
Padded my seat back rest and made seat base cushion. a little every day and you builders will be flying. I guess I'll add some red in my paint design.
. -
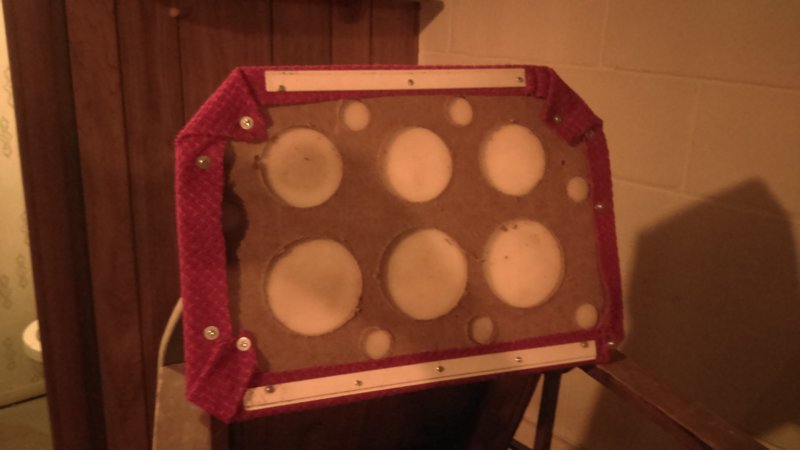
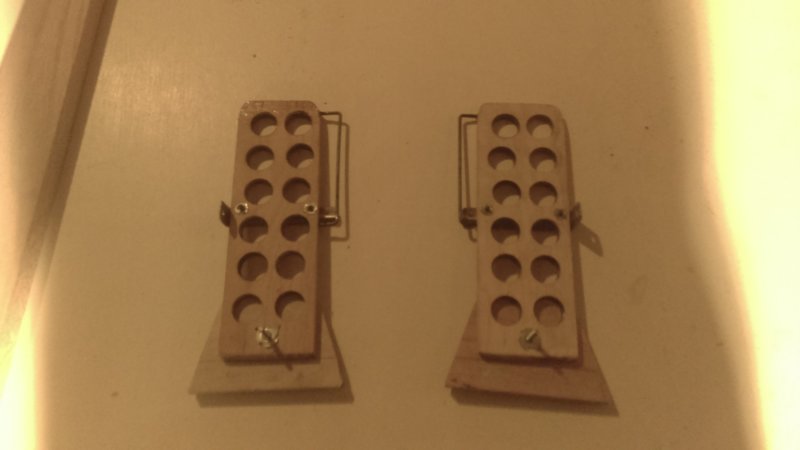
tried my luck at some seat and back rest. Drilled lightening holes to save weight I used the floor out of a child day pen and man what strong stuff. not touch it my hans
-
1
-
-
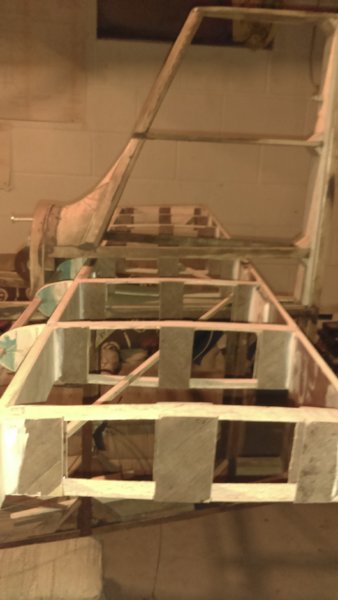
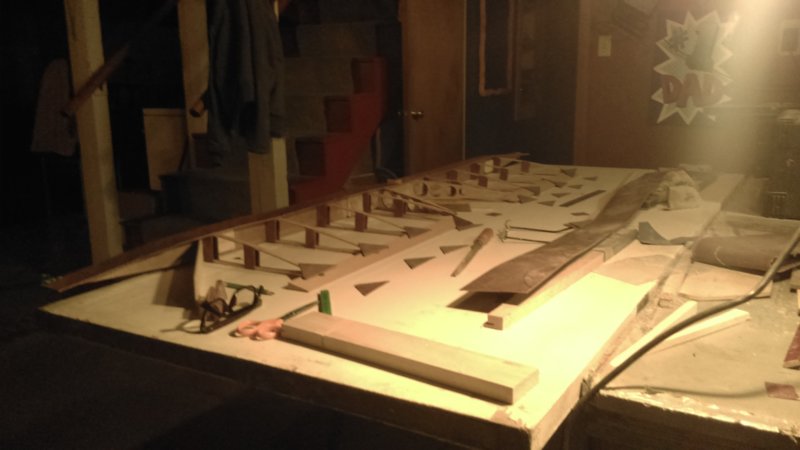
I hate to use up Forum space but thought it would be nice to show some build pictures of my Taylor- Mono for future builders can see. I will start with some of my first Pictures.
-
2
-
-
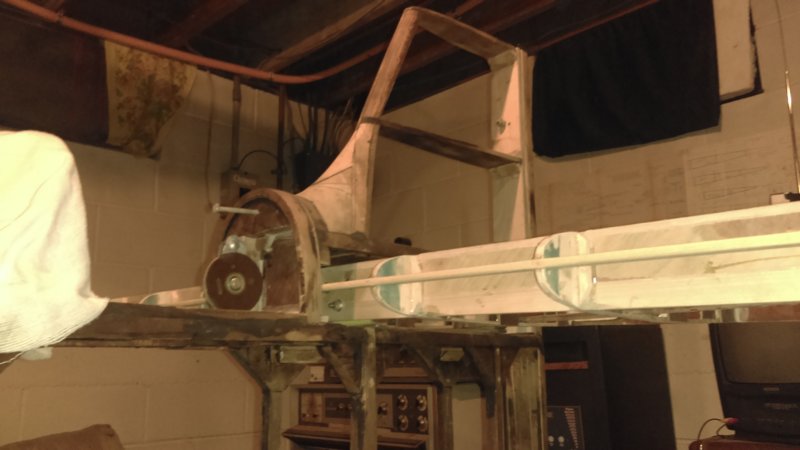
Hello fella's. I did get the KR-2 root spars cut down to fit and opened one side to put in bridge bracing. Probably just added weight but more strength the better I guess.
Gives me a chance to put new ply on one side. -
Thank you guys. I have discovered that my Taylor monoplane is the only one being built in the US as far as I know at this time. Would love to see some new ones roll out.


Taylor-Monoplane
in Other Rec Aircraft
Posted
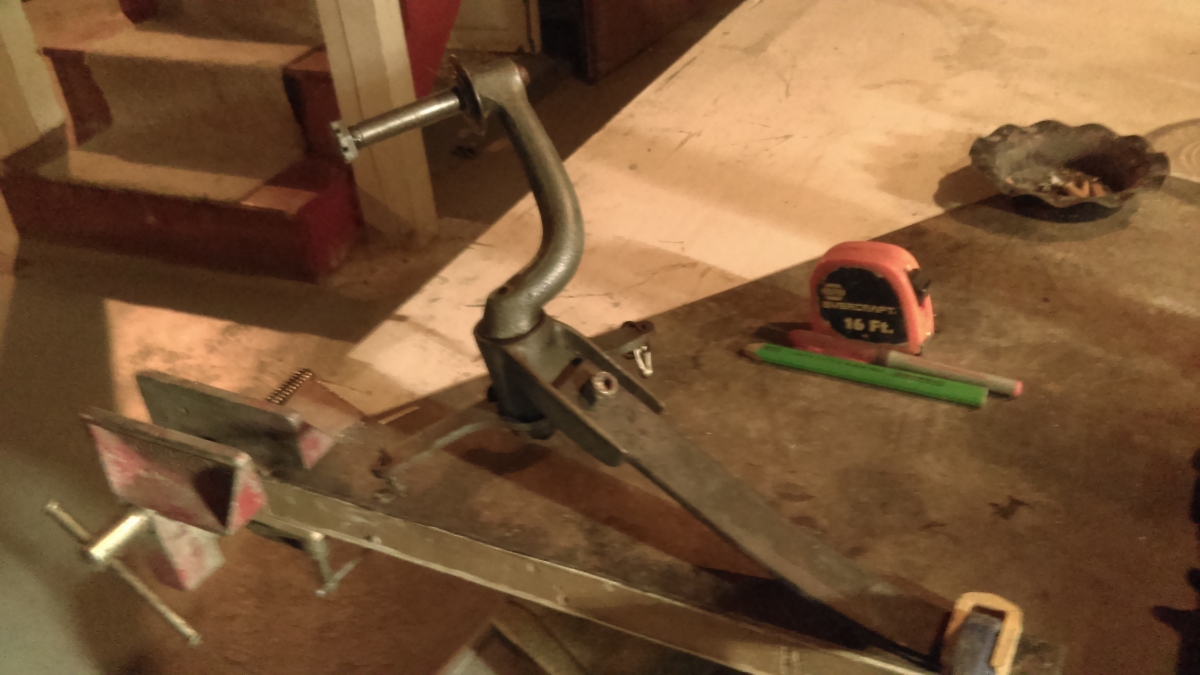
end design and getting it mounted. Stayed with something light and simple and with bushing thickness I can gain or lose height from rudder base to ground by nearly 2 inches.