Kyle Communications
-
Posts
6,593 -
Joined
-
Last visited
-
Days Won
95
Content Type
Profiles
Forums
Gallery
Downloads
Blogs
Events
Store
Aircraft
Resources
Tutorials
Articles
Classifieds
Movies
Books
Community Map
Quizzes
Everything posted by Kyle Communications
-

New engine design to keep an eye on
Kyle Communications replied to Kyle Communications's topic in AUS/NZ General Discussion
well maybe I hadnt seen it before Nev -
-
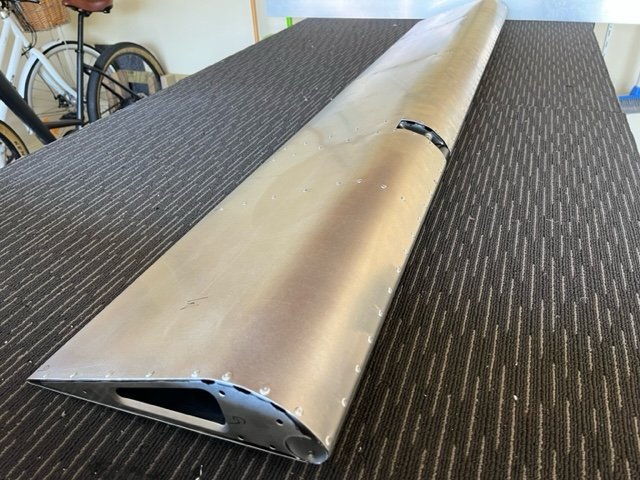
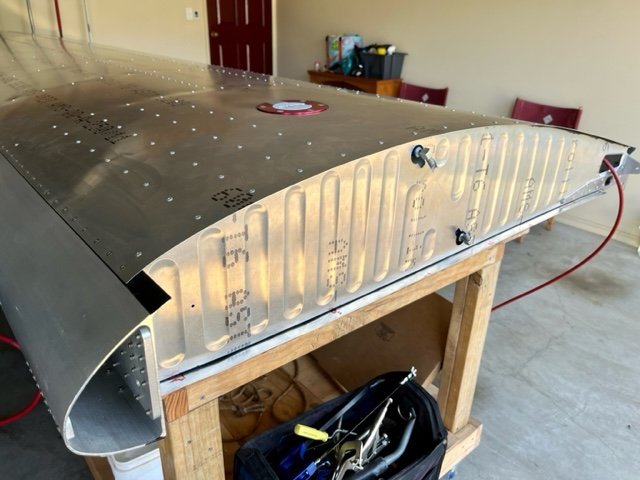
25/10/23 Riveted RH flap skin to spar and ribs. Both wing flaps and ailerons complete. 1.7 h

-
New throttle system for Rotax
Kyle Communications replied to Kyle Communications's topic in Savannah
Sorry LowSlow I have been really busy and it hasnt been on my huge priority list of things to get done. As I said not enough hours in a day. I just have to get the bars welded . I am away at my farm trying to get this house finished so it can be lived in until next week. I will make it my mission to get some made in that week when I get back. Mark -
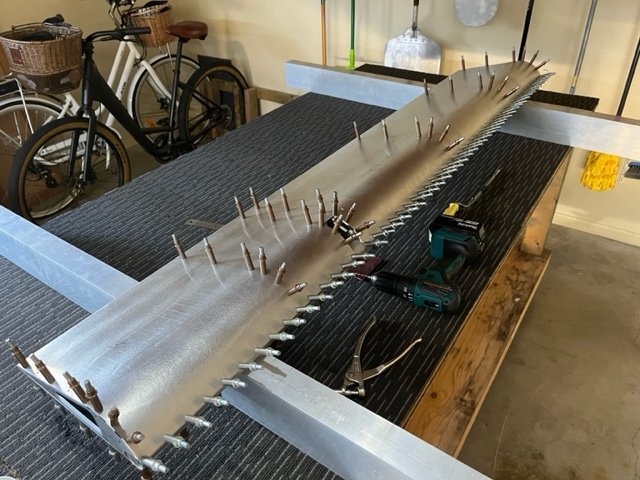
23/10/23 Centreline marked ribs. Squared and levelled RH flap. Match drilled to #40 all ribs and spars, then clecoed RH flap assembly to skin. Updrilled all holes to #30. Disassembled flap and deburred all holes. Bush applied two coats of anti corrosion paint to contact surfaces of ribs and spars. Reassembled RH flap. 5.5 h
-
looks like polished concrete..or a clear coat
-
always wipe the window up and down...never sideways or circular
-
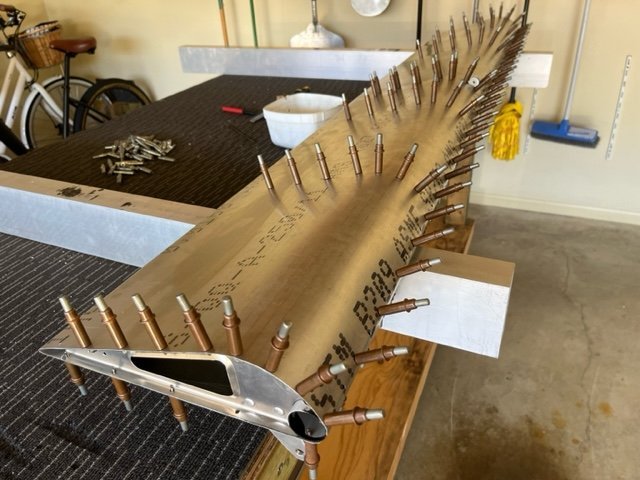
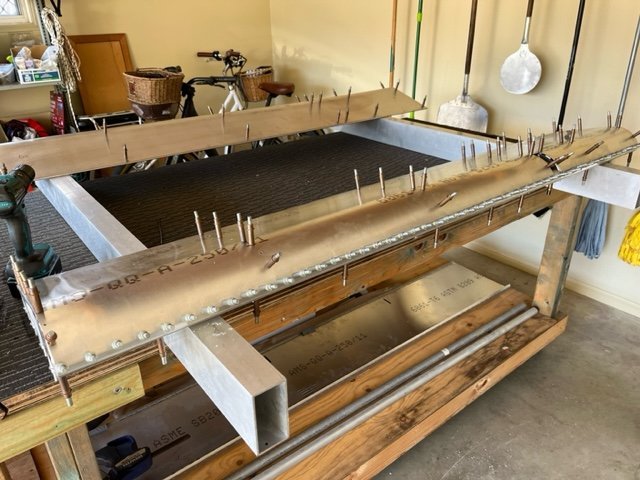
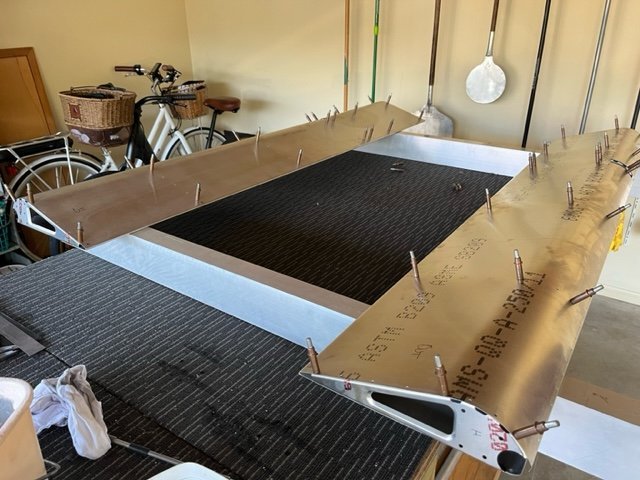
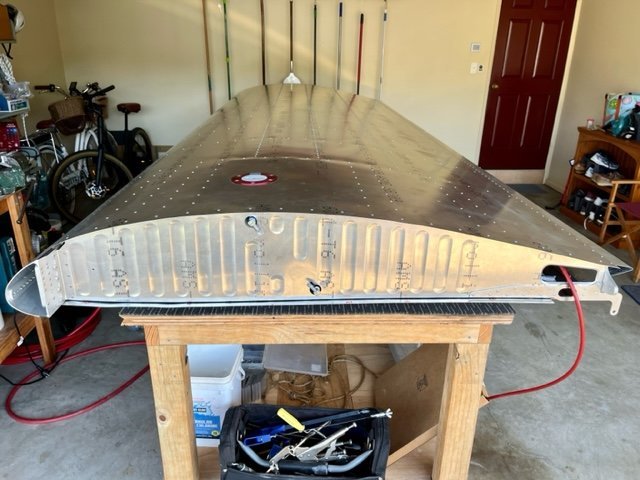
20/10/23 Disassembled and deburred LH flap ribs, spar and skin. Bush applied two coats of anti corrosion paint to all internal contact surfaces. Reassembled, clecoed and resquared LH flap. Riveted all components. LH flap complete. 3.8h
-
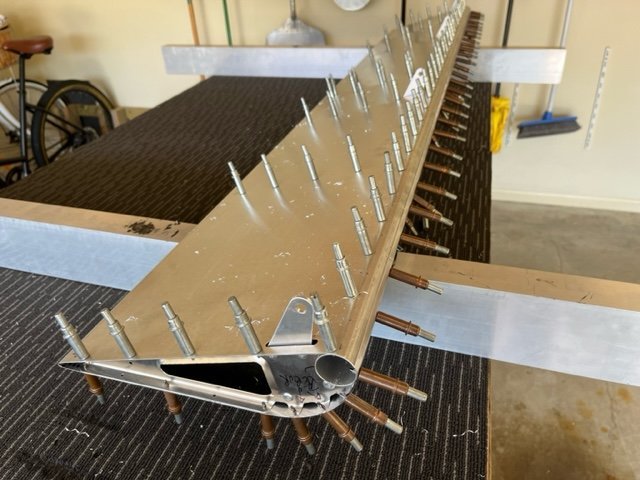
19/10/23 Separated, trimmed, drilled and deburred flap hinges and push-pull tube attach plates. Fluted flap ribs and riveted hinge and push-pull plates to ribs. Deburred RH flap skin Centreline marked ribs and pilot drilled to skins and spar. Updrilled to #30 all fastener points in skin, ribs and spar of RH flap. 4.7h
-
17/10/23 Updrilled all rivet holes in LH aileron to #30. Disassembled and deburred ribs and skin. Brush applied 2 coats of anti corrosion paint to spar and rib contact surfaces. Reassembled and riveted spar and ribs to aileron skins. LH aileron complete. 4.0h
-
15/10/23 Leveled and squared LH aileron. Match drilled skin to ribs. Match drilled spar. 1.7h
-
Installing BRS parachute on second-hand SavXL
Kyle Communications replied to TangoDelta's topic in Savannah
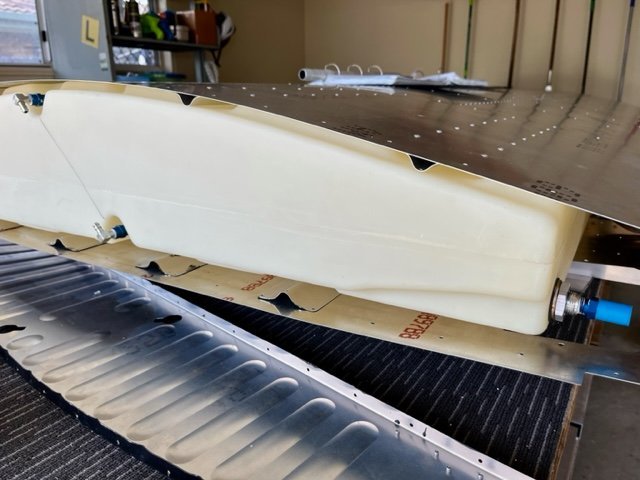
In Australia we have the extended cargo area so it makes it a bit eaasier in one regard but thats why I had to build a box around it. The chute normally sits on the std cargo area back wall so I had to do similar. There is about 100mm behind the box to the extended cargo area back wall so its literally a box in the arrea I had to make so I dont get hit with the rocket blast. In a std cargo area the rocket is behind the wall -
14/10/23 Match drilled RH aileron lower skin to ribs. Match drilled RH upper skin to spar. Updrilled all holes to #30. Disassembled, deburred all holes. Brush applied 2 coats of anti corrosion paint to rub and spar contact surfaces of RH aileron. Reassembled and riveted skins to ribs and spars. RH aileron complete. 4.6h
-
13/10/23 Trimmed and deburred aileron skins and placed on levelled support. Straightened and deburred aileron ribs. Drilled, deburred and riveted hinge doublers and push-pull attached plates to appropriate ribs. Centre line marked ribs, drilled and clecoed upper aileron skins to ribs. 3.1h
-
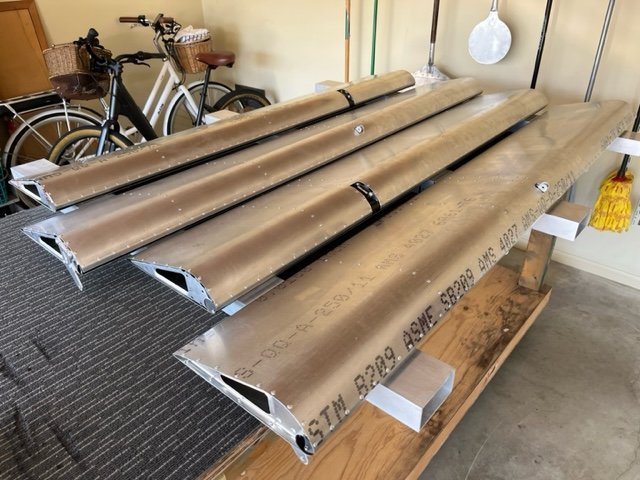
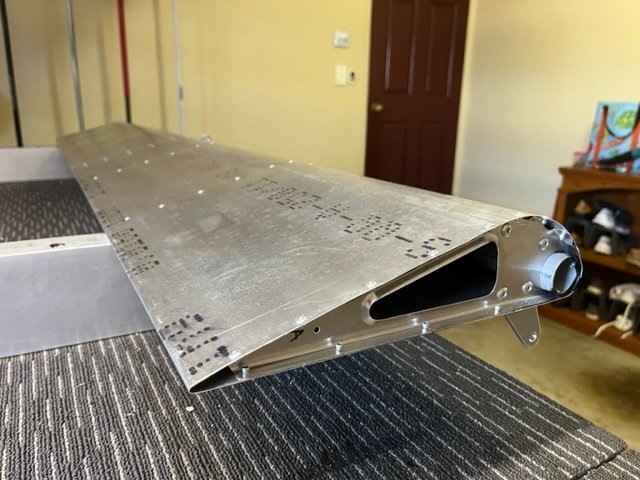
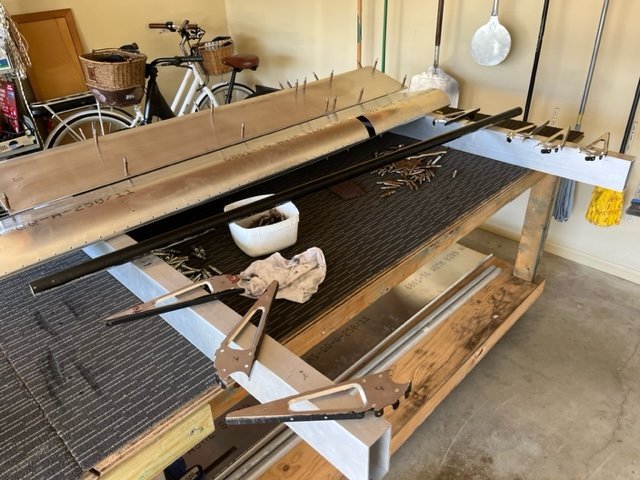
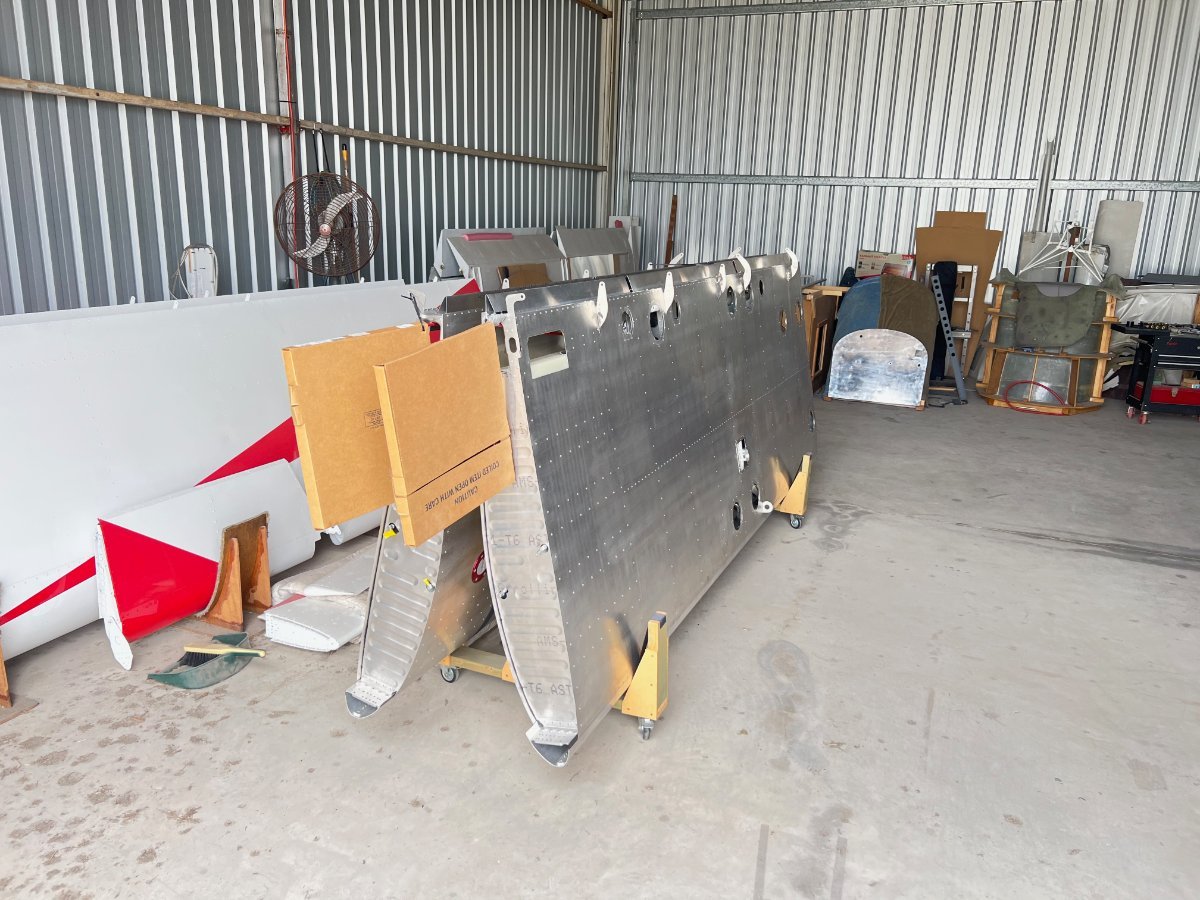
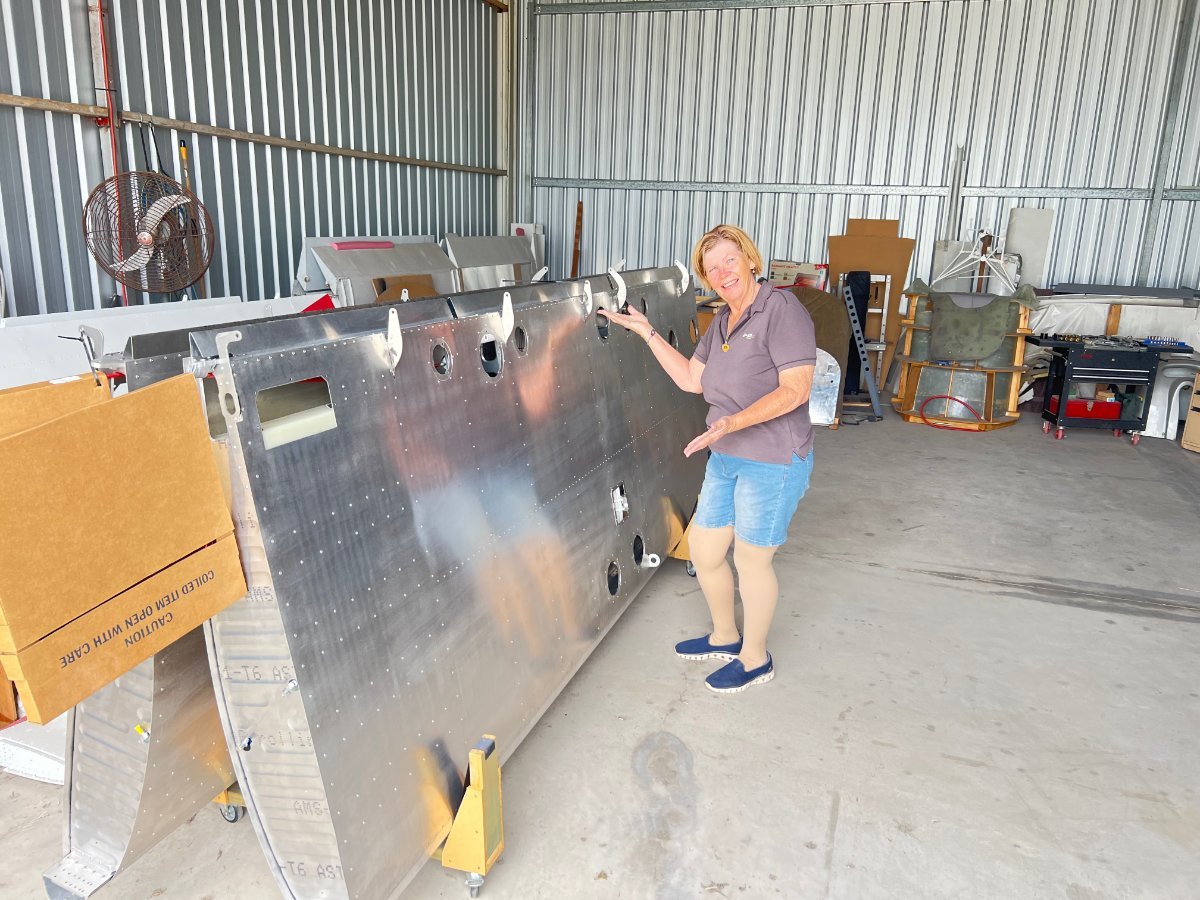
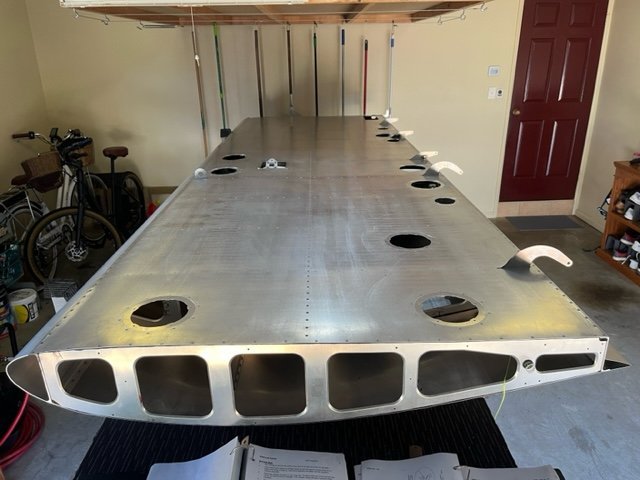
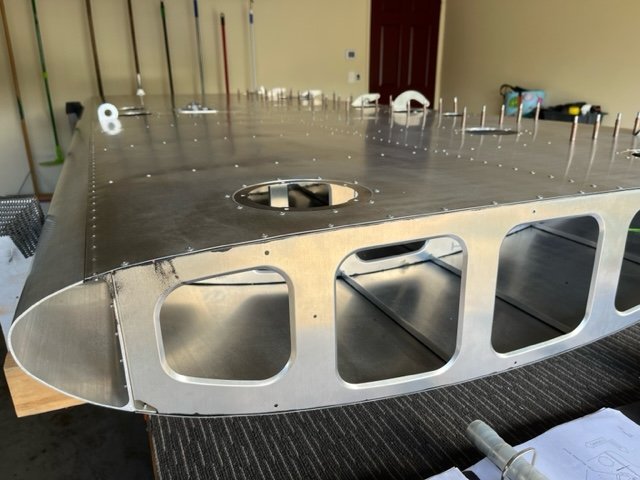
Well the Mistress left wing now has some company..The right wing is done and in the rack. I have my hangar space with only parts sitting in there. 4 wings and one set of tailfeathers for a savannah. Soon the savannah bits will be joined by the fuselage.
-
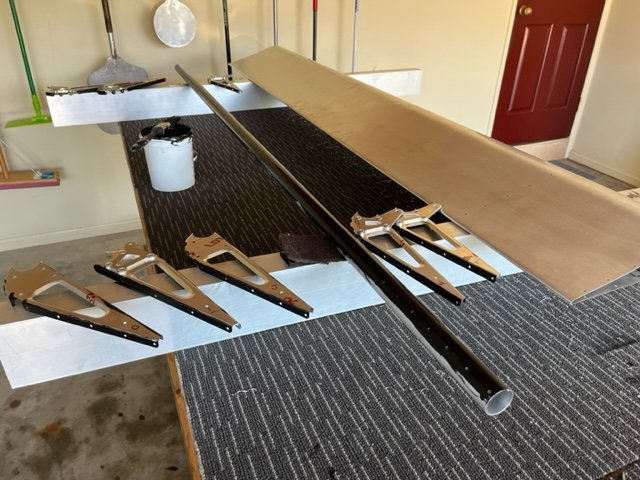
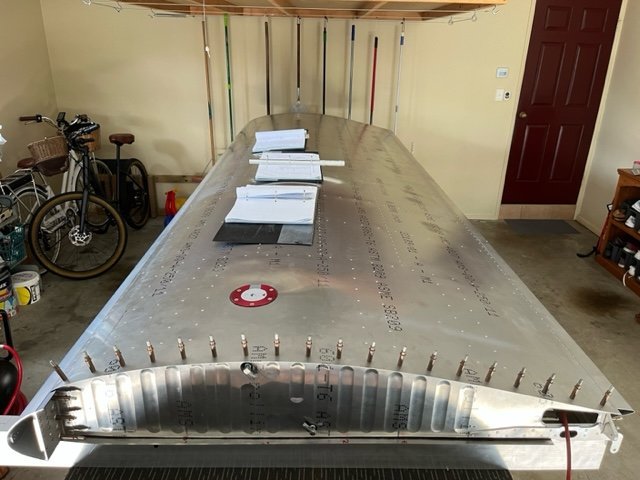
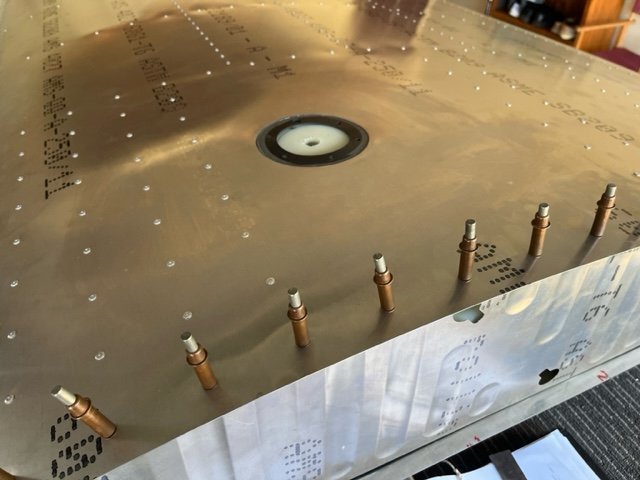
06/10/23 Installed RH wing fuel tank retention brackets. Bolted and riveted root rib to front and rear spars. Riveted upper and lower wing skins to root ribs and fuel tank supports. Second (RH) wing complete. 2.9h
-
My Savannah S model rebuild Blog
Kyle Communications replied to Kyle Communications's topic in Savannah
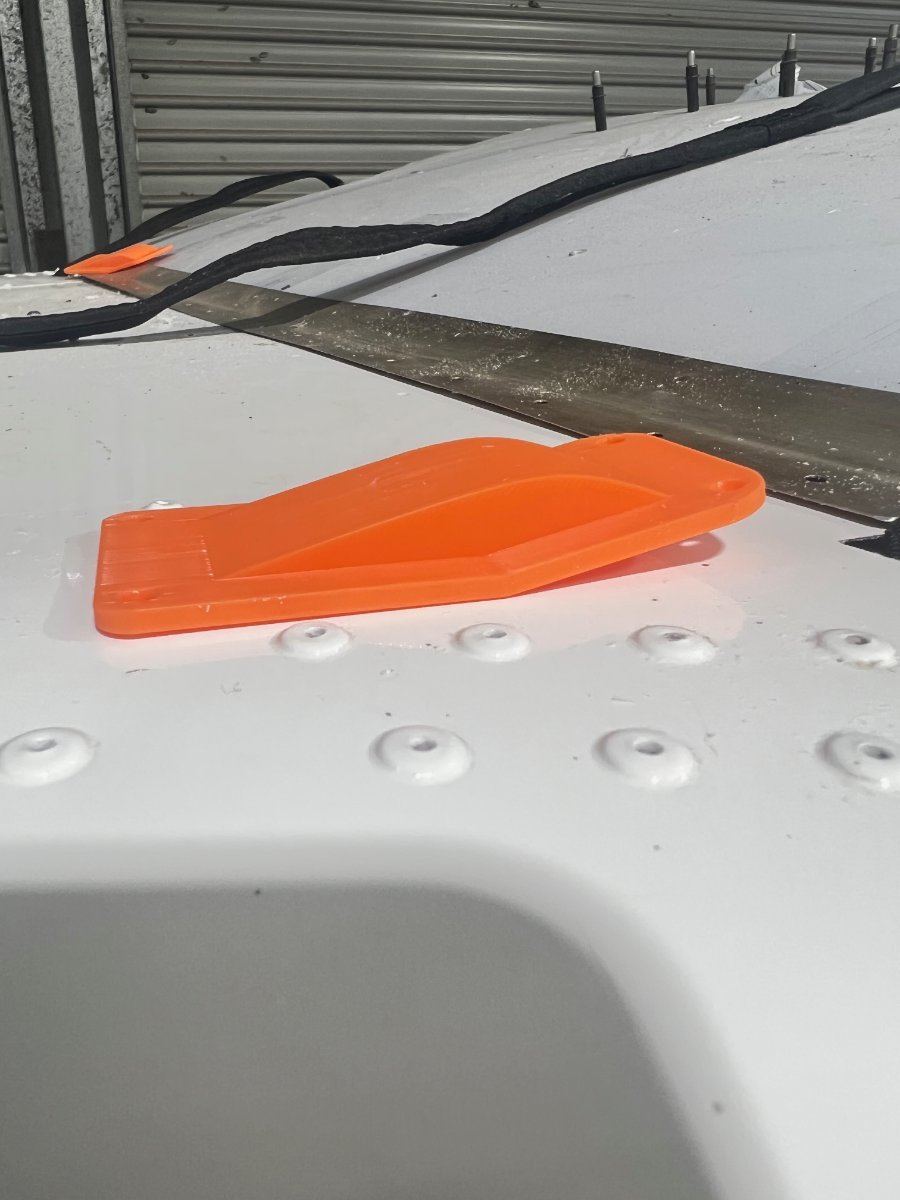
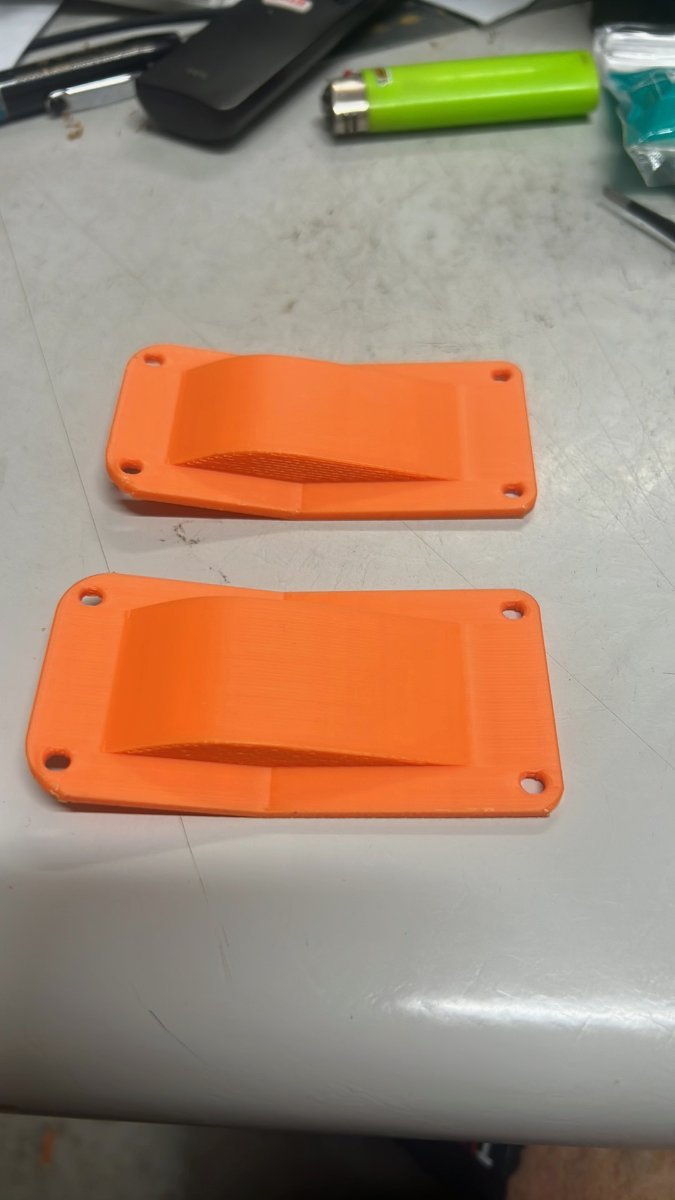
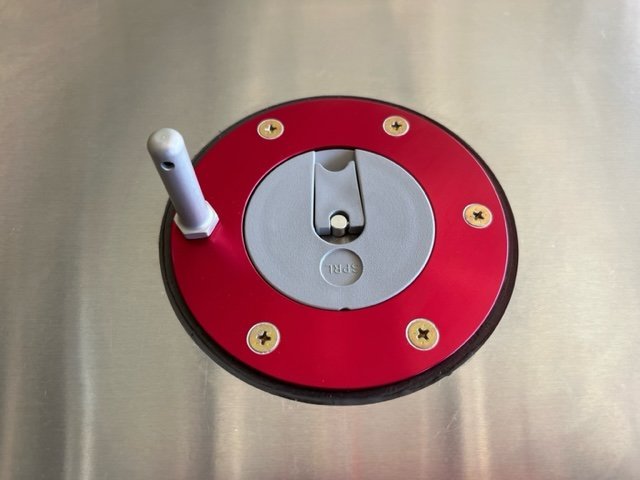
The Bambu Labs unit really prints the layers super accurately and they seem to bond exceptionally well. These ones are just PLA but I may print a set in ABS as the Bambu has a heated chamber and apparently does very well. I tested to breakage one the the PLA first ones at 15% infill and it was pretty good. At 60% infill its really strong..there isnt any stress on it where it is. The rivets will pull through the covers if the chute is deployed -
My Savannah S model rebuild Blog
Kyle Communications replied to Kyle Communications's topic in Savannah
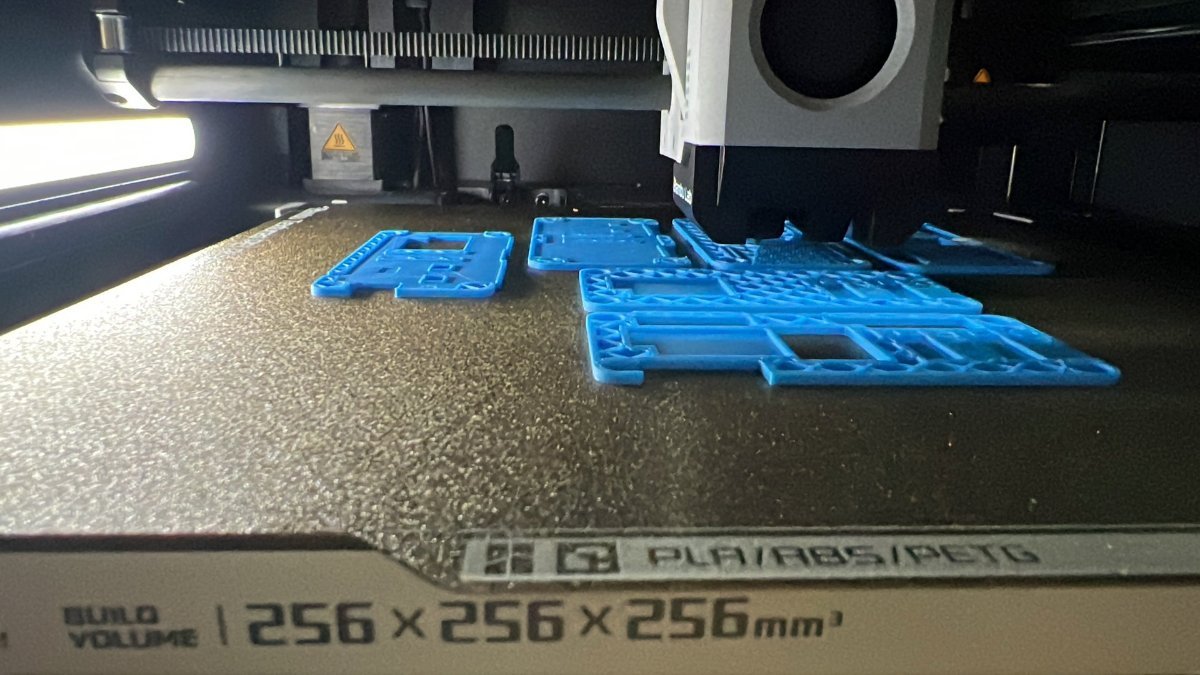
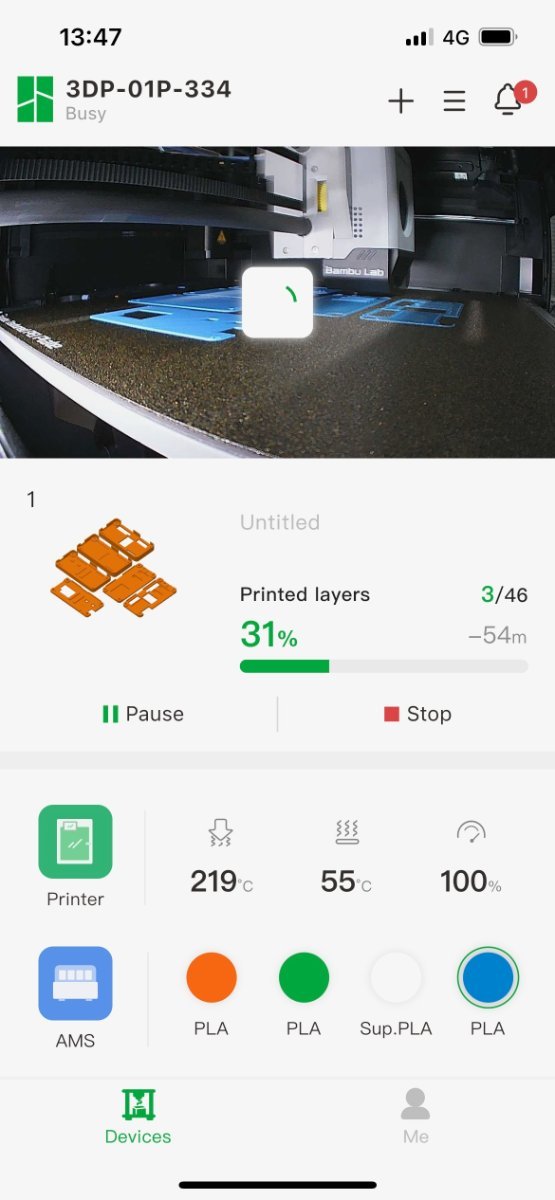
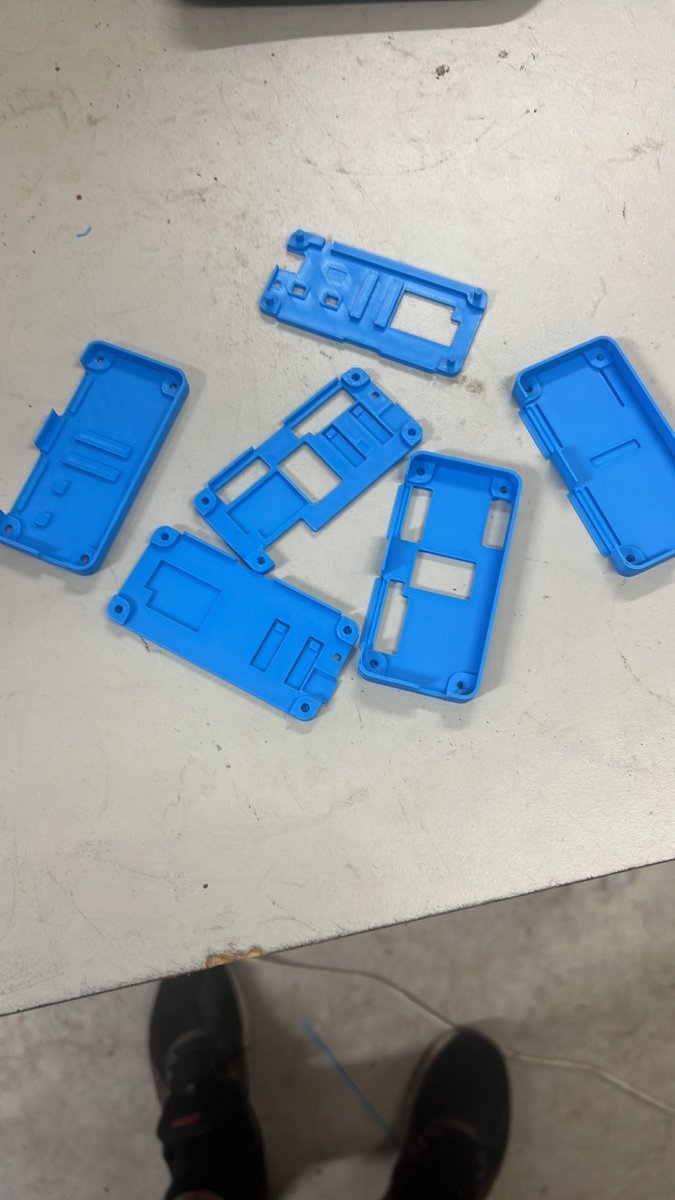
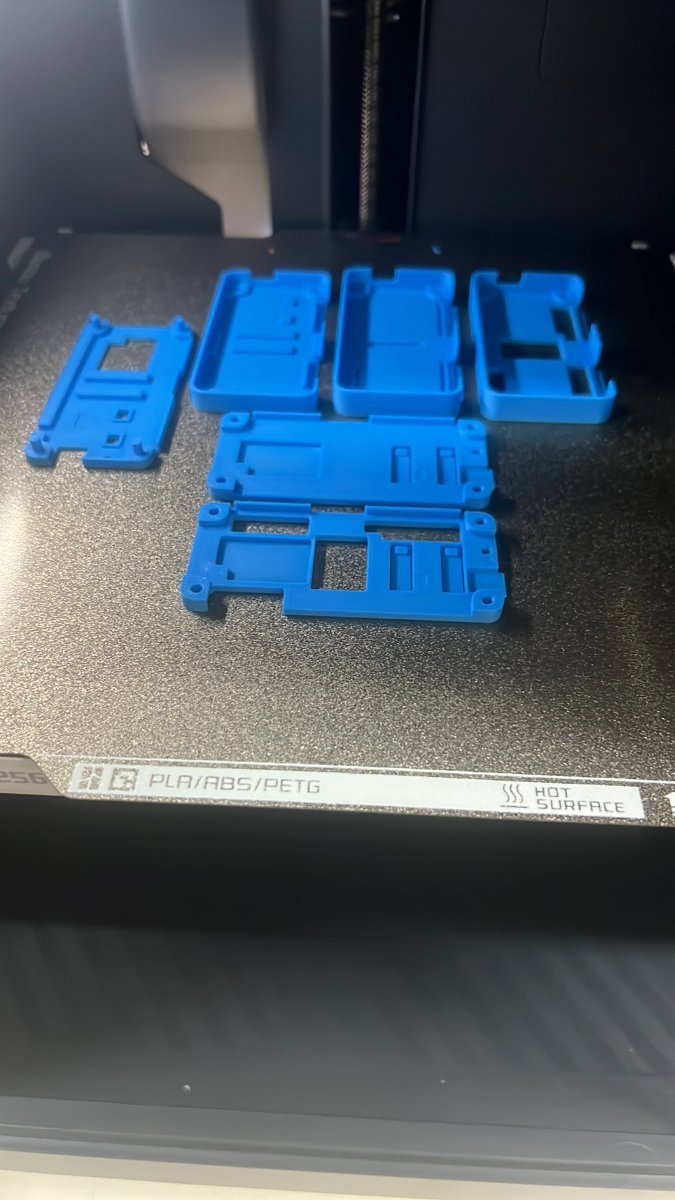
Marty I have had several bed slingers and fixed or modified a few of my mates ones as well. Always some sort of dicking around with settings or whatever and changing filament can be a real PIA at times. Also the quality of the printing can be a little "rough" at times too depending on how well you tune your slicer software. My BIQU crapped itself a few months ago but I do have a RatRig Vcore3 here that I got about 12 months ago but havent had the time to put it together but I had been keeping an eye on what was out there. Core XY is really the way to go for a 3D printer as you dont have the momentum of the bed to worry about. Thats why I got the RatRig and with the accelerometer you can get rid of most of the ringing on your prints. Bambu Labs came out with a rush with the X1 Carbon but its the top end one but really the extra 800 bucks really isnt worth it. The screen is nice sure but the Lidar they use seems a bit hit and miss. I went with the middle one with the 4 rack AMS cost about $1600 bucks..hedged at the price but was seeing too many good things about it. It arrived a week after ordering...holy crap the easiest thing to get going ..the speed is unbeliveable and the quality is beyond anything I have ever seen in real life come off a 3D printer. The engineers that founded Bambu are all ex DJI drone guys so you know the electronics and software is pretty slick..and it is. The automatic material system is just so good.No feeding filament anymore it does the intial loading automatically and changing when you select which one you want to print. I use the Bambu App on the computer and its connected to wifi and it just all works not to mention I can start a print and then go out the I can be anywhere and oen the app on my phone and look at the camera thats in there to make sure its all printing ok. To date touch wood I have not had one failure print. Everyone is just fantastic so much better than I am used to. Some examples I printed below
-
Installing BRS parachute on second-hand SavXL
Kyle Communications replied to TangoDelta's topic in Savannah
Time flies the older you get..I cant belive its been that long myself. It went along pretty well for a year or two then life pretty much got in the way and the speed of the project dropped off dramatically. Looking after 2 oldies here and building houses 300km away from here etc etc..but now I am retired.......hahahah I still have lots of things I am trying to get done but at least I have 3 more 24hr days to use.....By the way our house at the farm we started 3 years ago has finally got council approval last friday...so thats a big load off. -
Installing BRS parachute on second-hand SavXL
Kyle Communications replied to TangoDelta's topic in Savannah
Check my blog. just fitting a after market parachute to my Savannah S -
My Savannah S model rebuild Blog
Kyle Communications replied to Kyle Communications's topic in Savannah
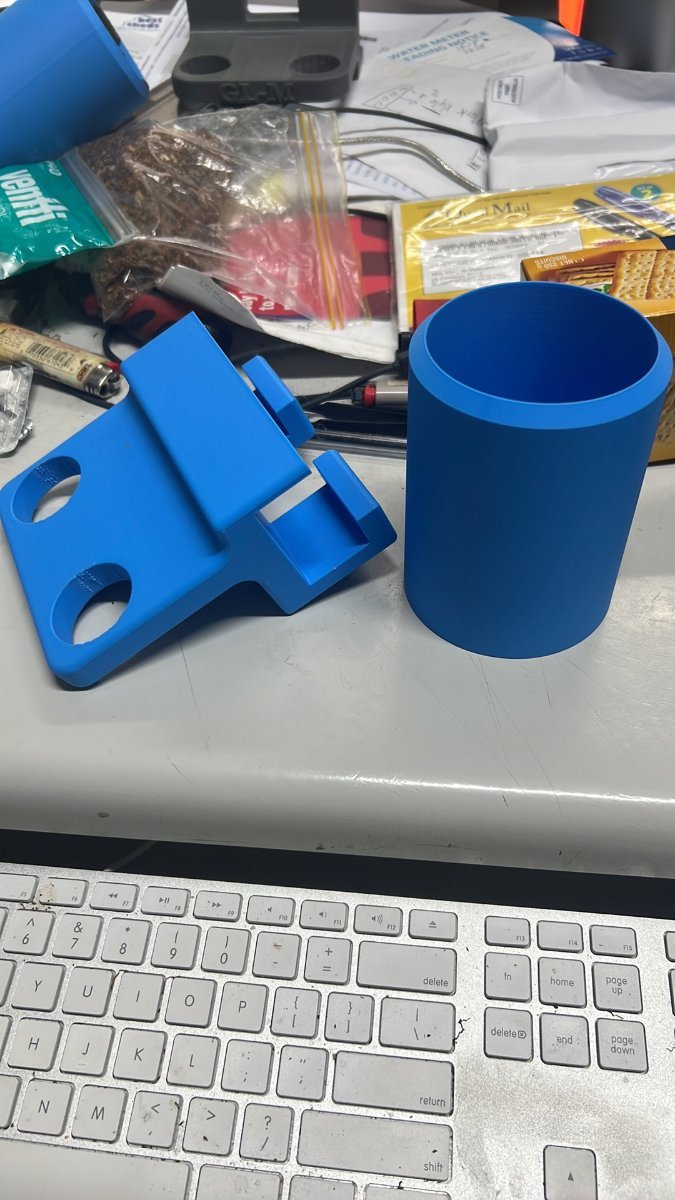
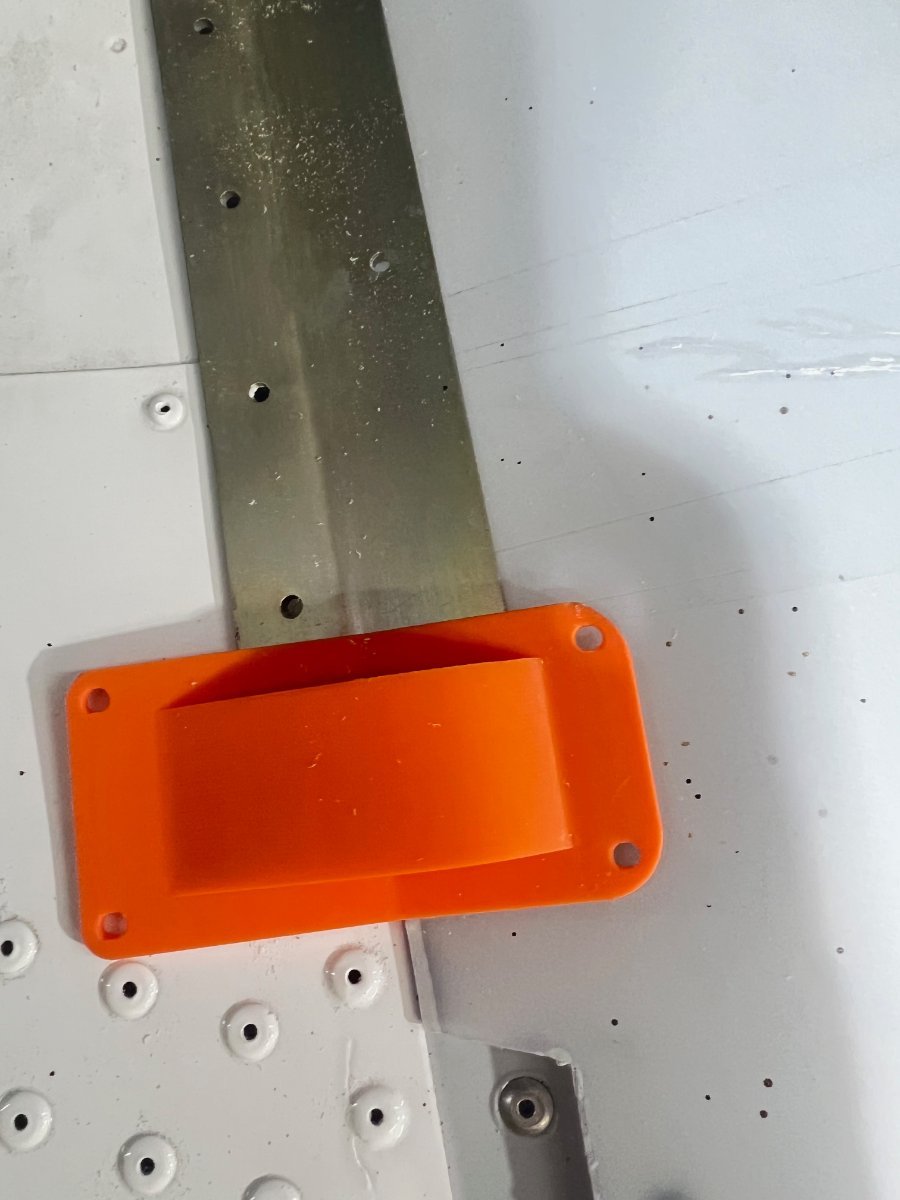
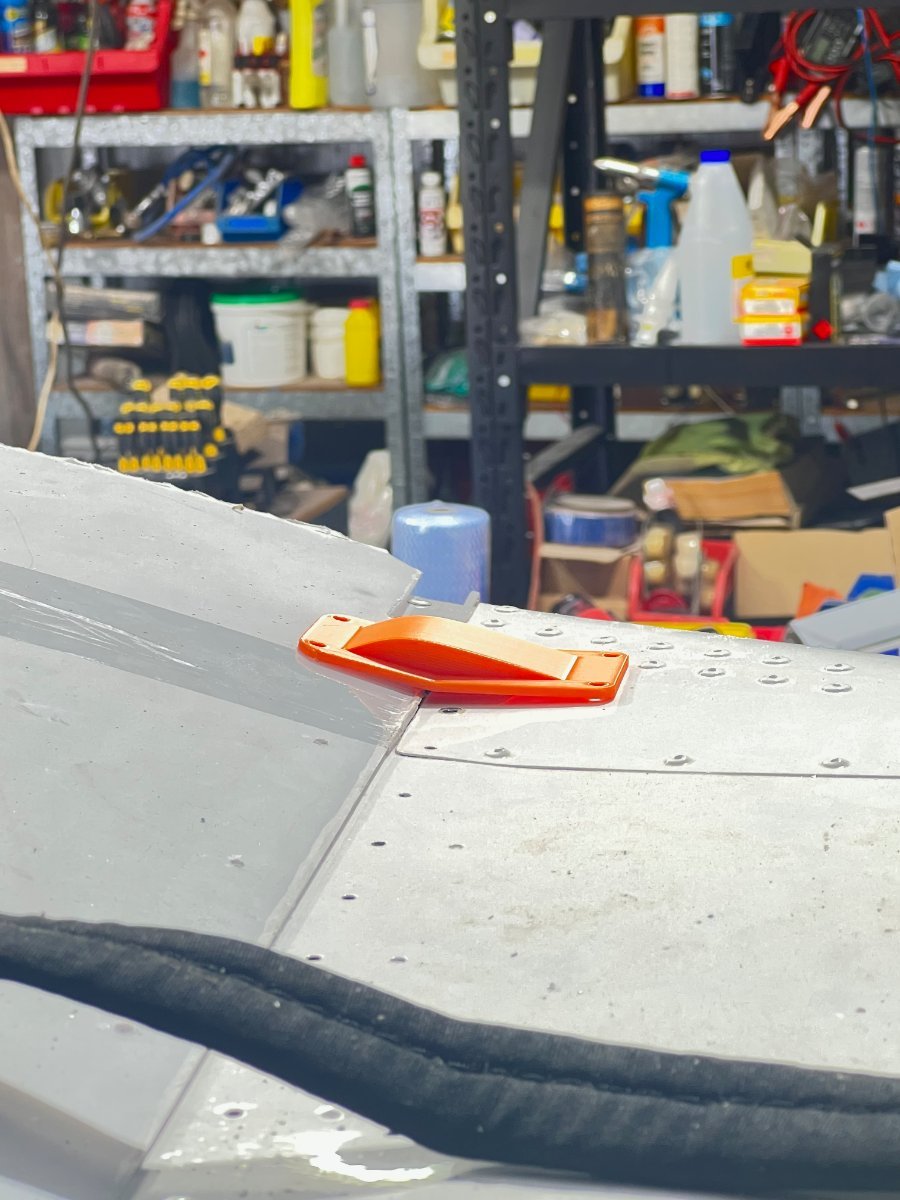
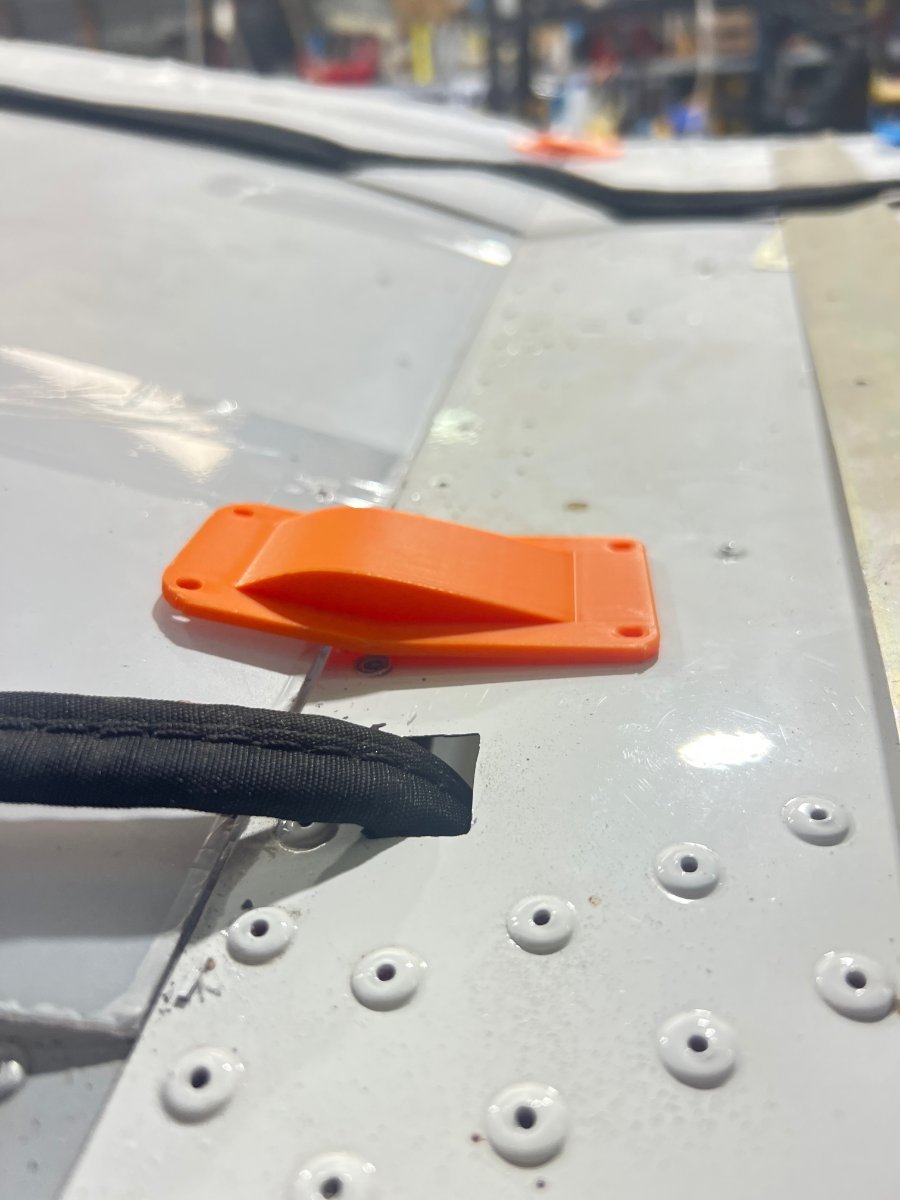
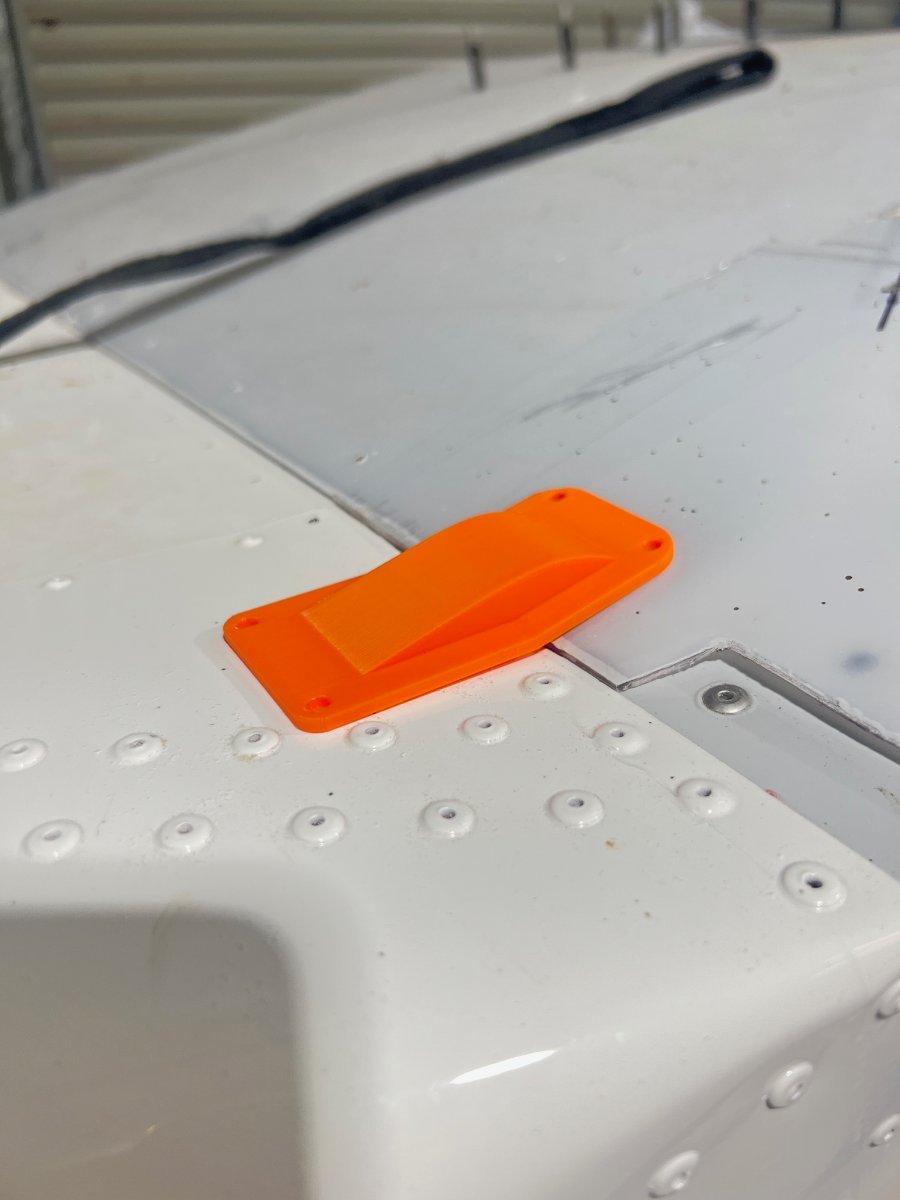
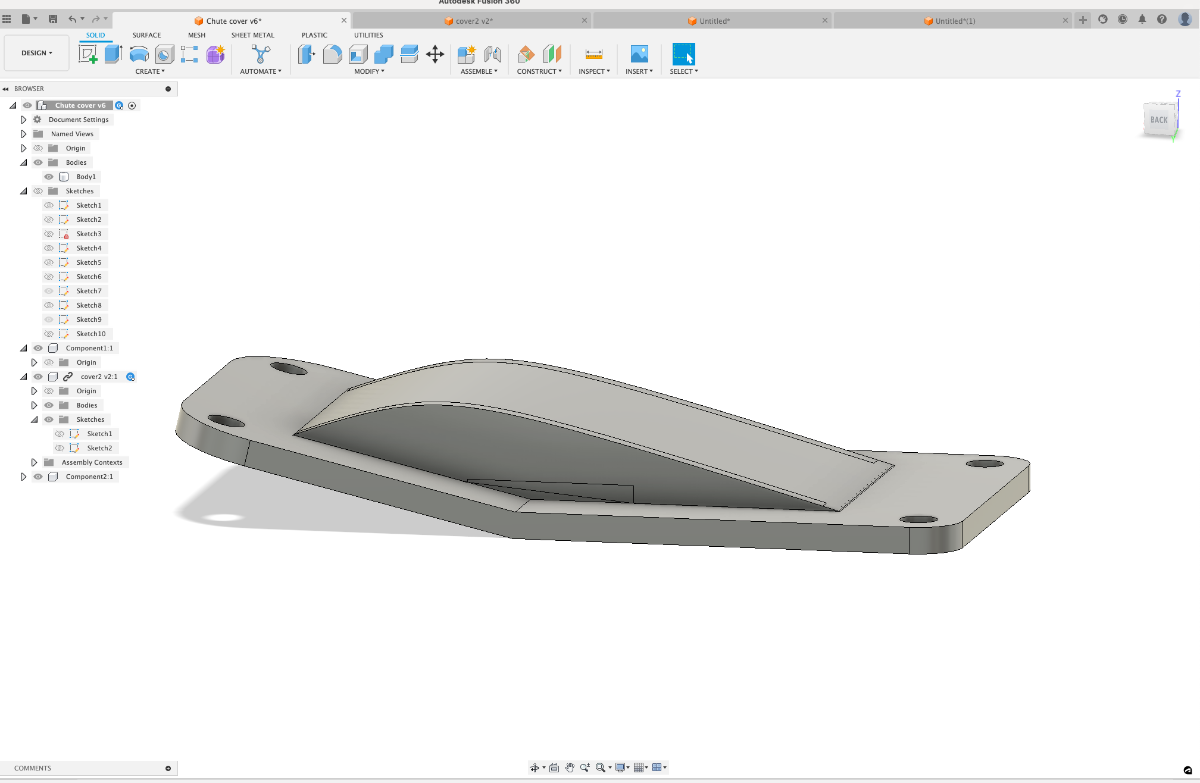
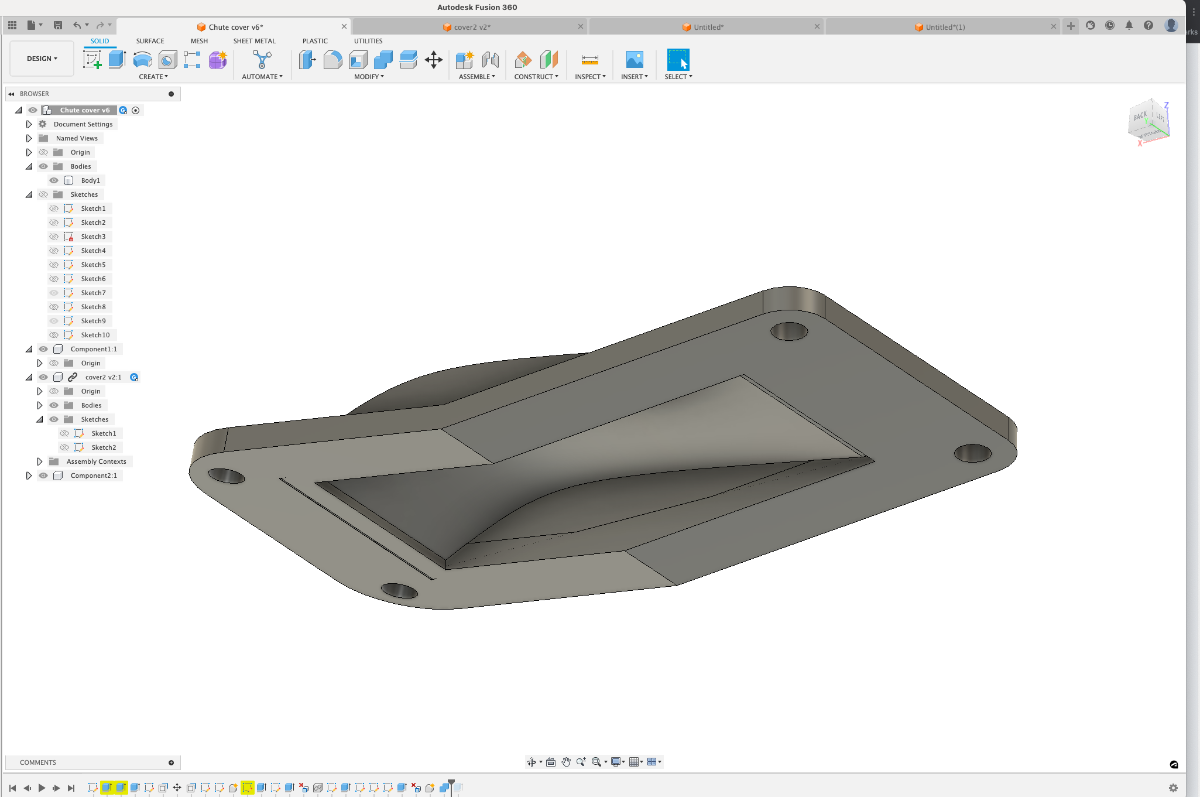
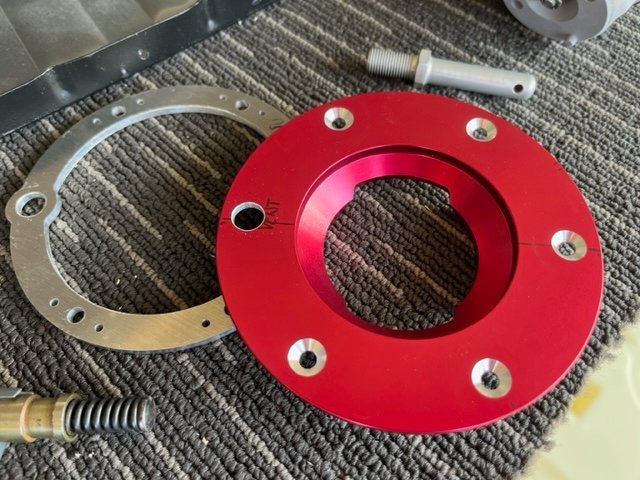
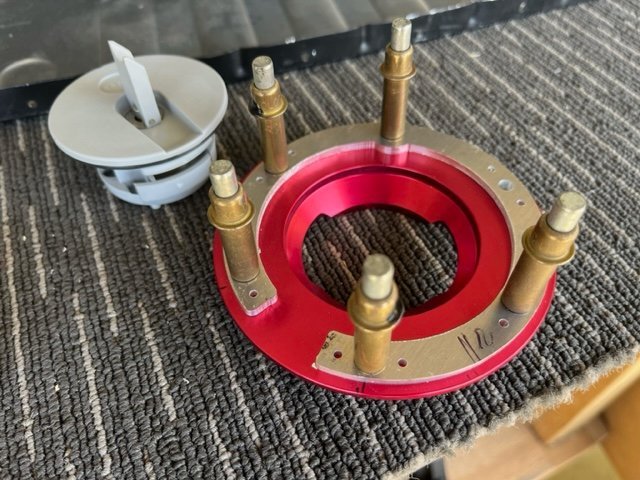
Hey its been a while since I have been able to get back to work on Mabel. I really have to finsih some stuff on her so I can get her down to the hamgar. I need the build shed for storage for a big redevelopment project here at Burpengary then the build shed will also be pulled down and the new shed to be put up will be the new build shed. The straps for the parachute are different to what are supplied by ICP and their parachutes so had to make some mods. The rear straps go around the undercarriage then come up the back but this version they come out of the upper fuselage skin using the rear overhead bar as the backstop if deployed. The kevlar straps are then exposed to the outside so I wanted to have them covered. I got on my Fusion 360 and designed up a cover then 3D printed a couple of versions and settled on this one that fits really nicely and should work well. I have a new Bambu Labs P1Ps printer..what a cracker..just a incredibly accurate and super fast printer. Once finished I can get the polycarb roof down to get film applied. I just need to fit the tray for the straps in the roof area and also sort out a cover for the main strap from the parachute that goes from the alu cover and under the polycarb in the middle at the back then onto the tray.
-
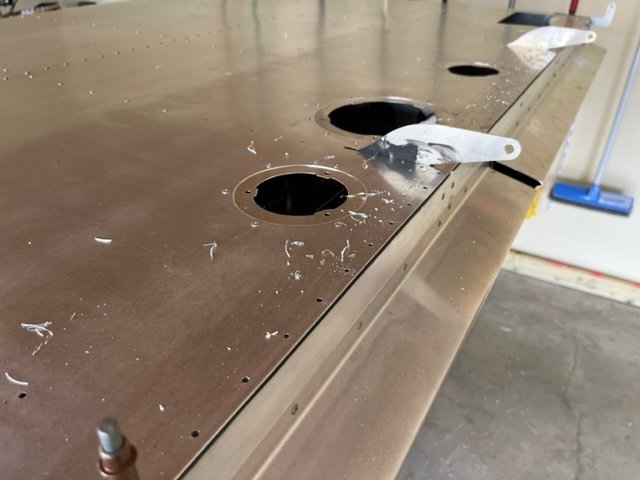
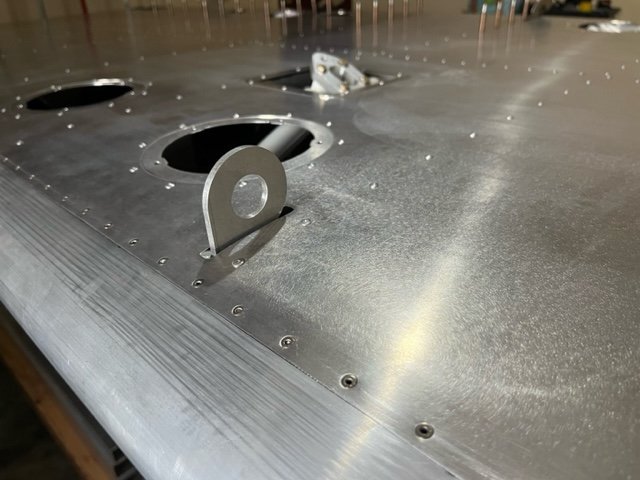
04/10/23 Drilled pilot holes for fuel tank retainer bracket in lower wing skin. Trial fitted fuel tank and root rib, mark filler cap opening. Cut filler cap and sight gauge holes, vacuumed and flushed swarf from fuel tank. Drilled and countersunk fuel cap flange holes. Fabricated fuel flange retainer. Installed fuel tank take-off fittings, reinstalled fuel tank with internal fuel tank support and installed filler flange and cap. 5.1h
-
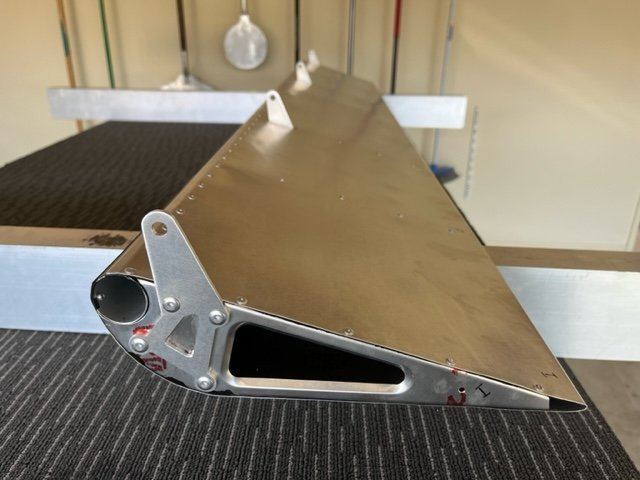
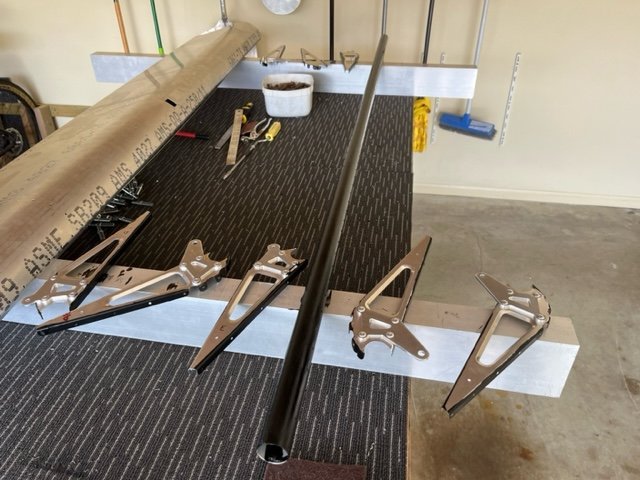
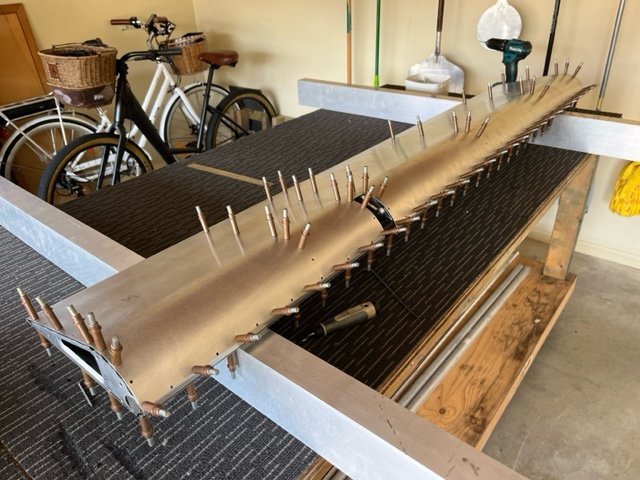
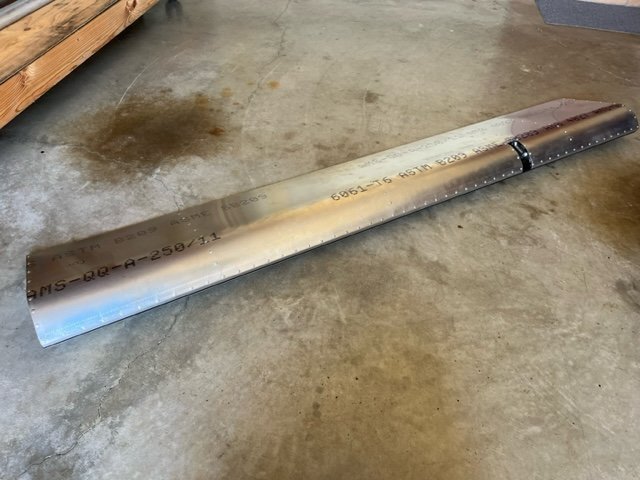
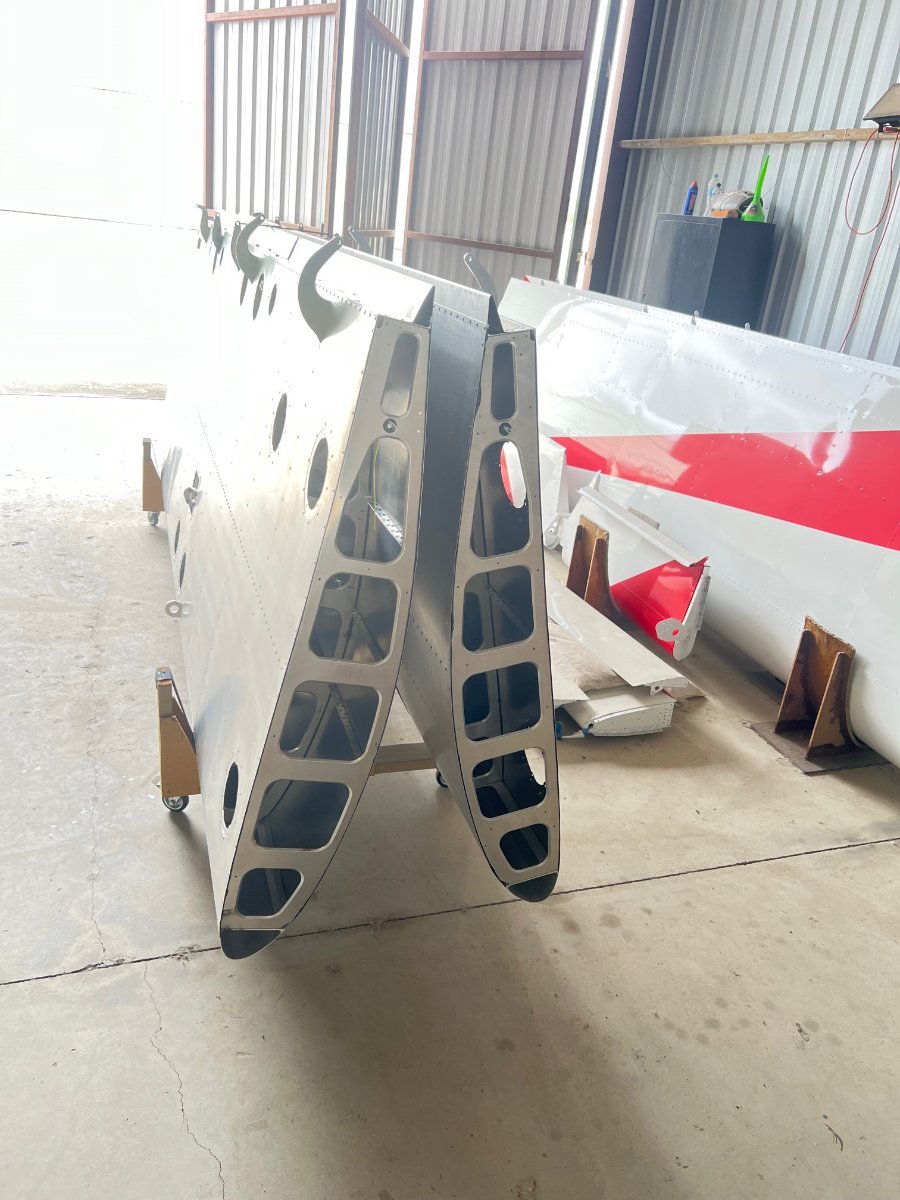
Yes the LE is a extruded section basically a LE spar and so is the trailing edge or rear spar and the lot is held together with a truss in the centre
-
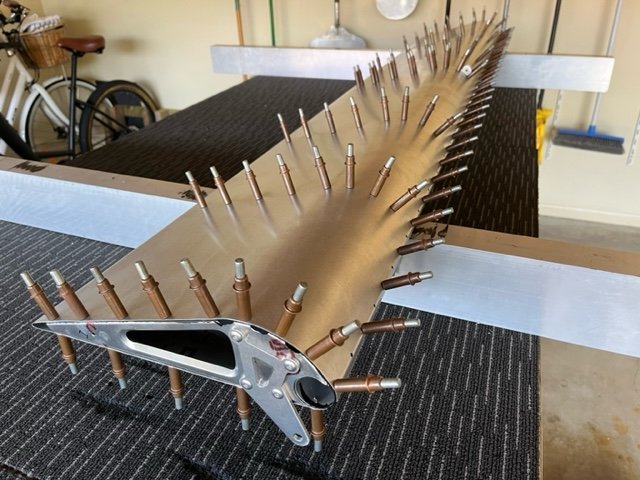
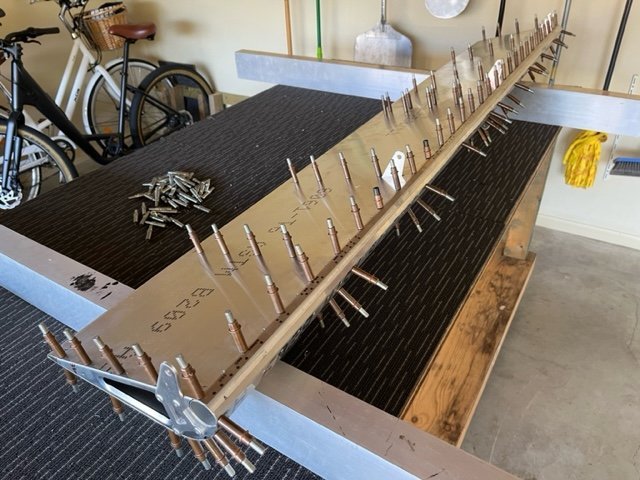
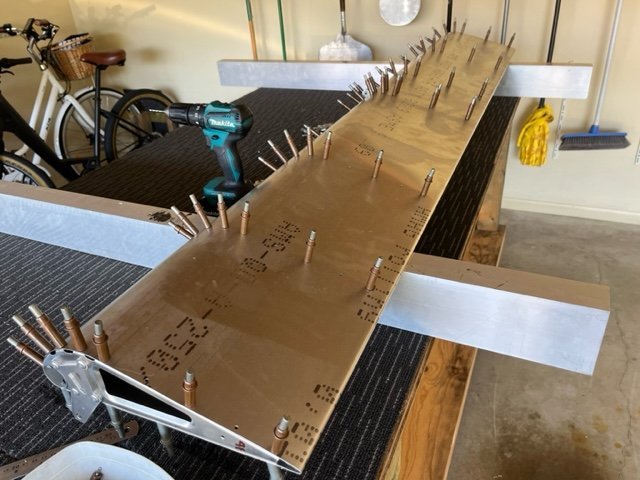
25/09/23 Matched drilled skin to rear spar. Removed all clecoes, deburred skin and spar, vacuumed wing cavity to remove swarf. Clecoed skin back in position, re-squared and levelled wing and completed riveting bottom RH wing skin. 4.4h
-
23/09/23 Riveted RH wing bottom wing skin to forward spar, stringer and ribs from leading edge to 5 rows forward of rear spar. 3.6h