Kyle Communications
-
Posts
6,674 -
Joined
-
Last visited
-
Days Won
101
Content Type
Profiles
Forums
Gallery
Downloads
Blogs
Events
Store
Aircraft
Resources
Tutorials
Articles
Classifieds
Movies
Books
Community Map
Quizzes
Videos Directory
Everything posted by Kyle Communications
-
 No its not a red herring it is the start of the distaster..its the bit that triggered it. The pawnee may have called he was going to stop short but it looked like he was going to land a bit further than what he had planned. You MUST STOP at the crossover regardless It is in the ops manual and also just common sense. I have the benefit of seeing all the video and reviewing it many times as I had to recover it and send it to the coroners evidence folder and the ATSB.
 -
When in doubt go around
-
No he didnt stop and just went straight across as the pawnee was touching down. The Pawnee would have expected him to stop so elected to do a go around after just touching down..which is what I would have done I think..as usually thats what I was taught .
-
Regardless of what runway was being used. Crossing 06/24 to get to 11/29 you are required to STOP before the crossover and look. Not necessary for any radio call of crossing but the requirement like any runway crossing anywhere is to STOP and look. The radio is a secondary input
-
I hve never heard of lapping lifters ever..only valves of course
-
The lifters are HT900 and ones NOT made in China. I have never heard of lapping in lifters as the surface of the lifters is extremely hard.
-
The S-21 flys well with a 100hp..infact a video just posted today of a first flight in NZ with a 100hp 912ULS its a TD version. The one I flew twice in the USA was a 912 std and with 2 up and half fuel it was fine so a 915 would be awesome
-
The 915 IS has way enough power at 141 hp max The extra cost for the 916 for the hp is no value in my opinion. The aircraft will fly far better with a 915 up the front than any old dinosaur
-
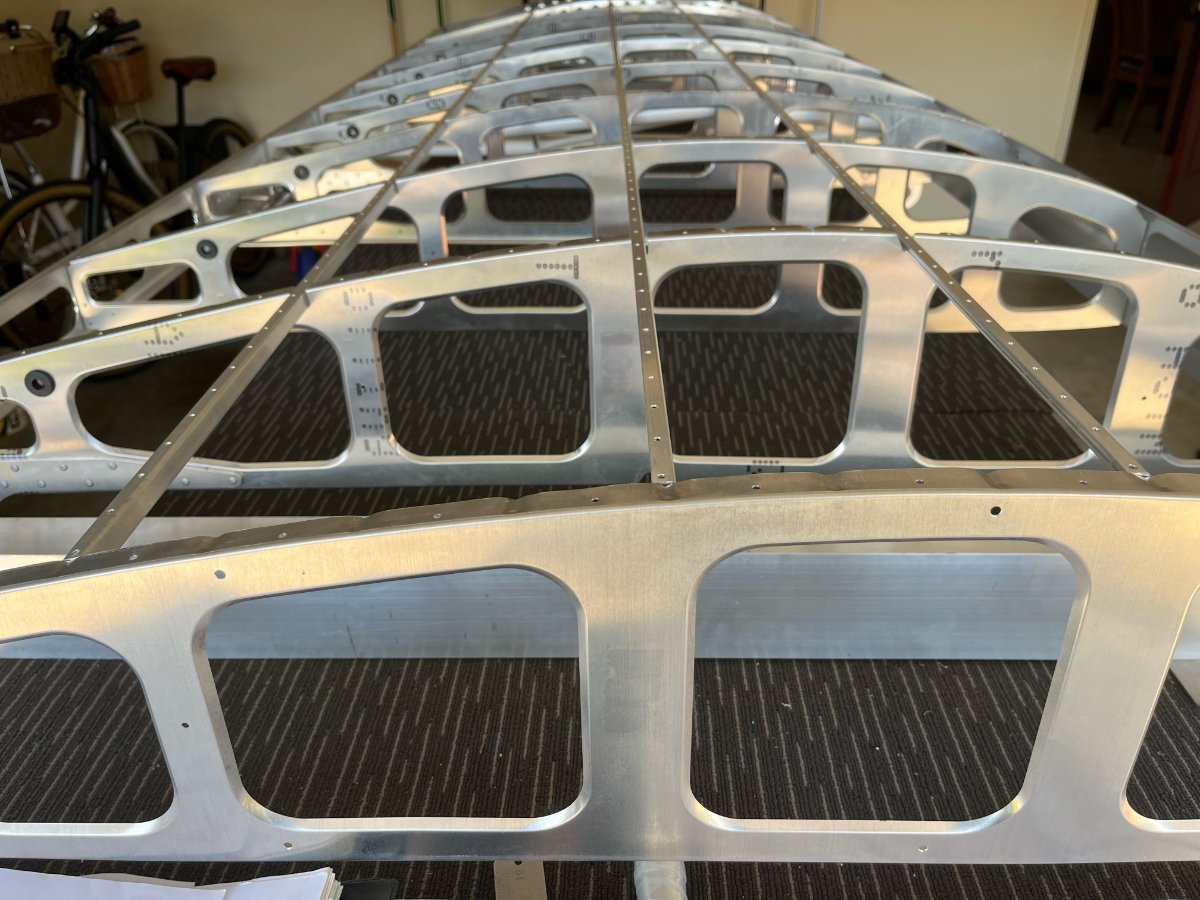
27/08/23 Trimmed and deburred stringers to RH upper wing skin. Installed aileron control and Teleflex flap cables to RH wing. Proseal bonded fuel tank scupper seal to upper RH wing skin. 2.8h

-
The 916 IS will be about $90k. !!!!!!!!!
-
For the Rotax version practical Empty weights from ones constructed so far are 380 to 410kg the MTOW with a 100hp Rotax is 727kg The Titans seem to be somewhere around 430 to 460kg with a MTOW of 820kg
-
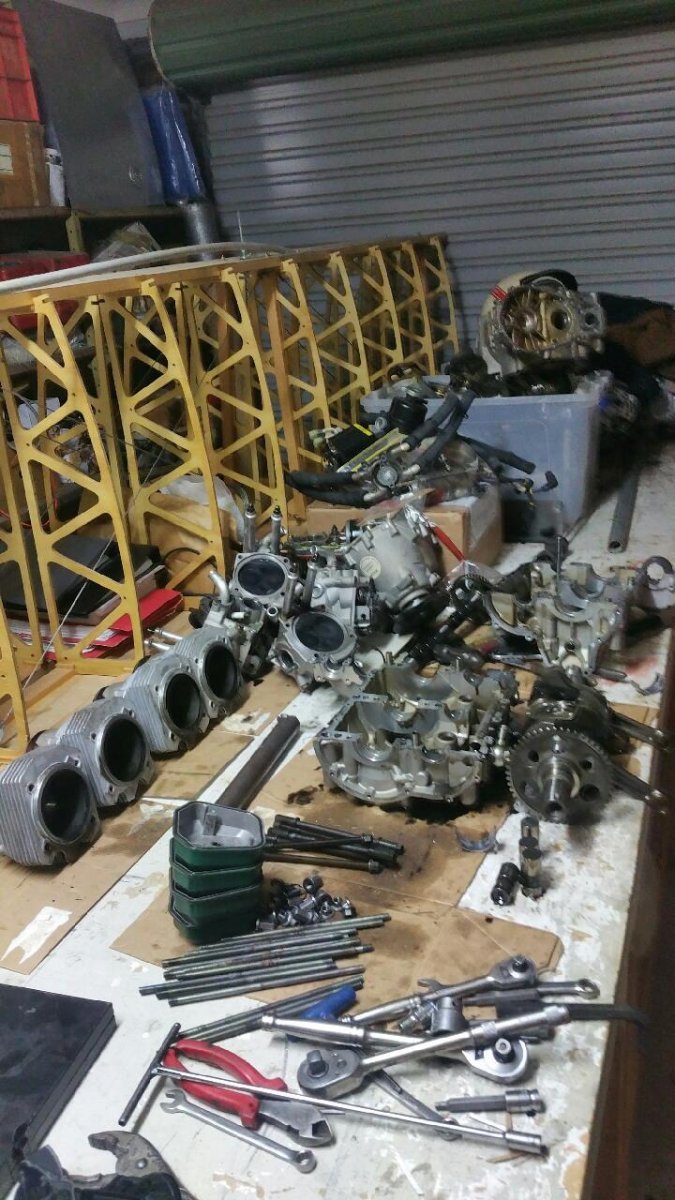
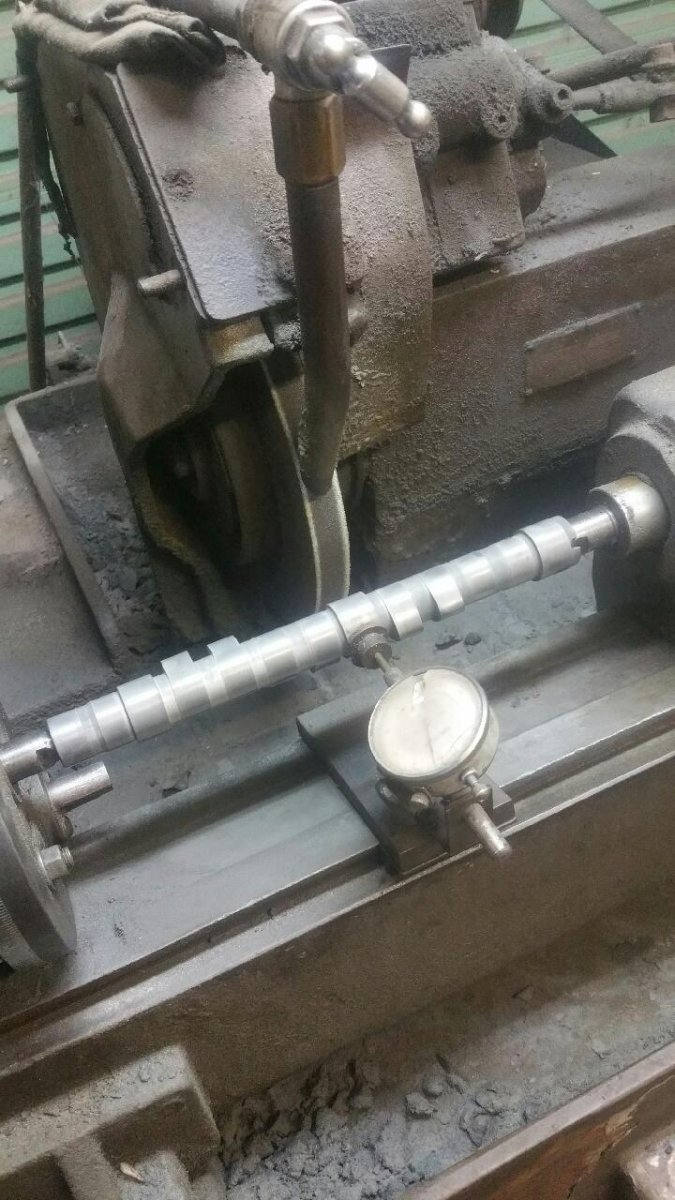
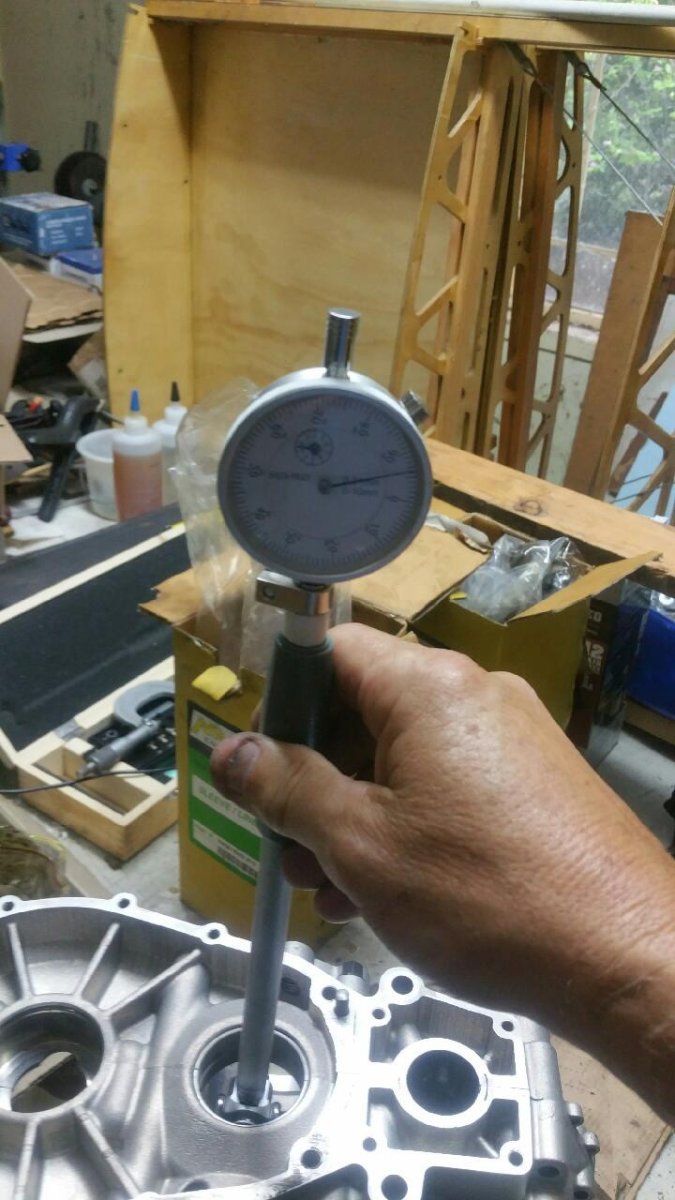
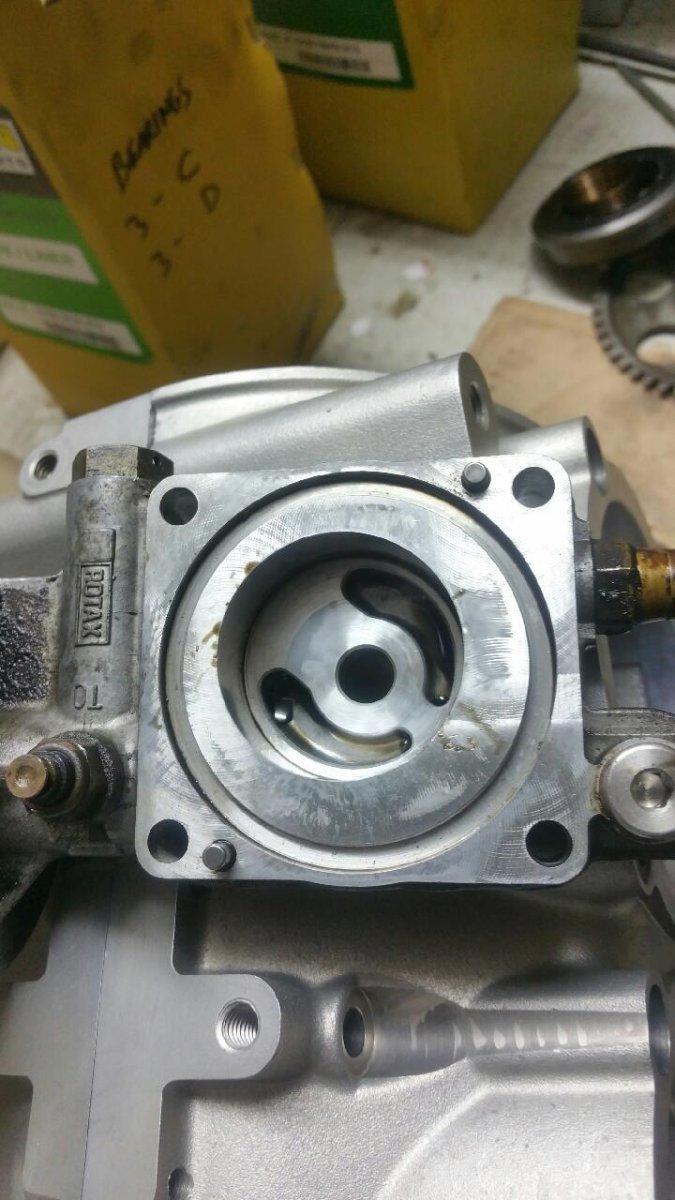
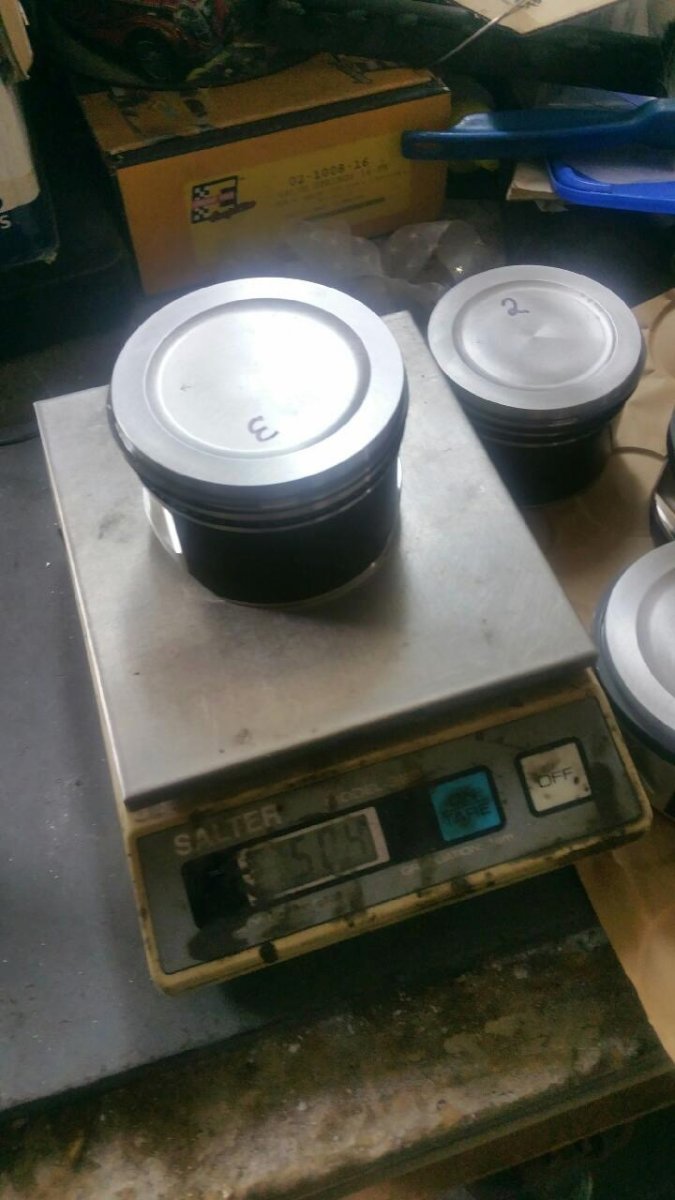
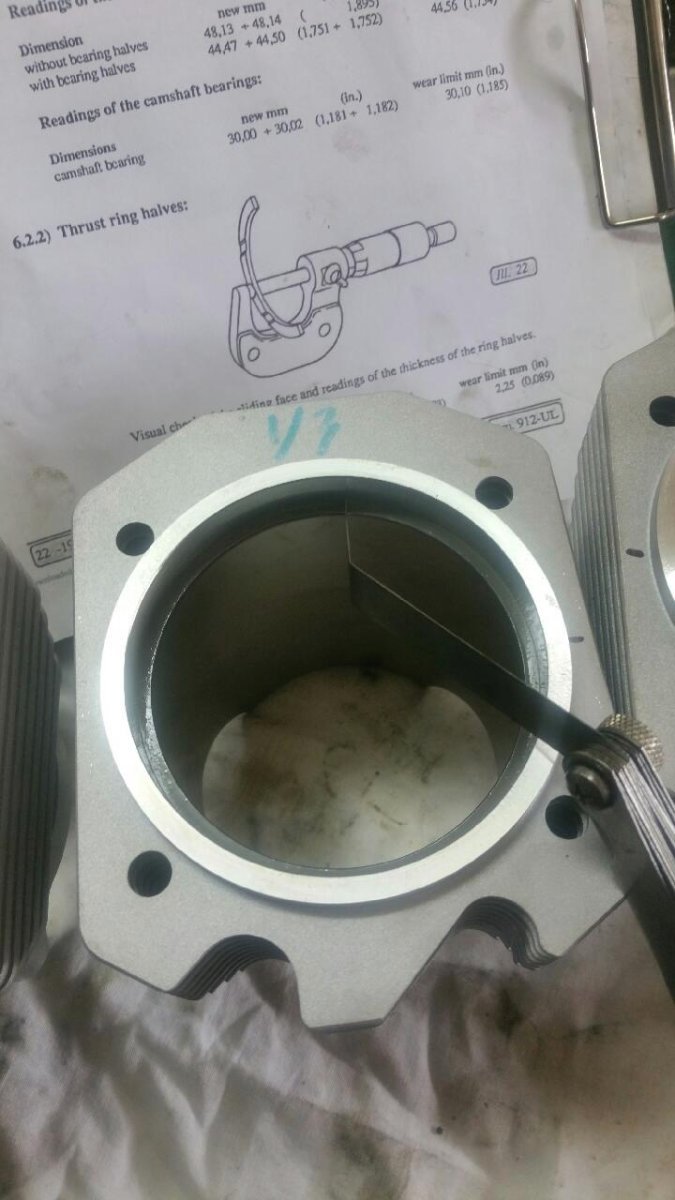
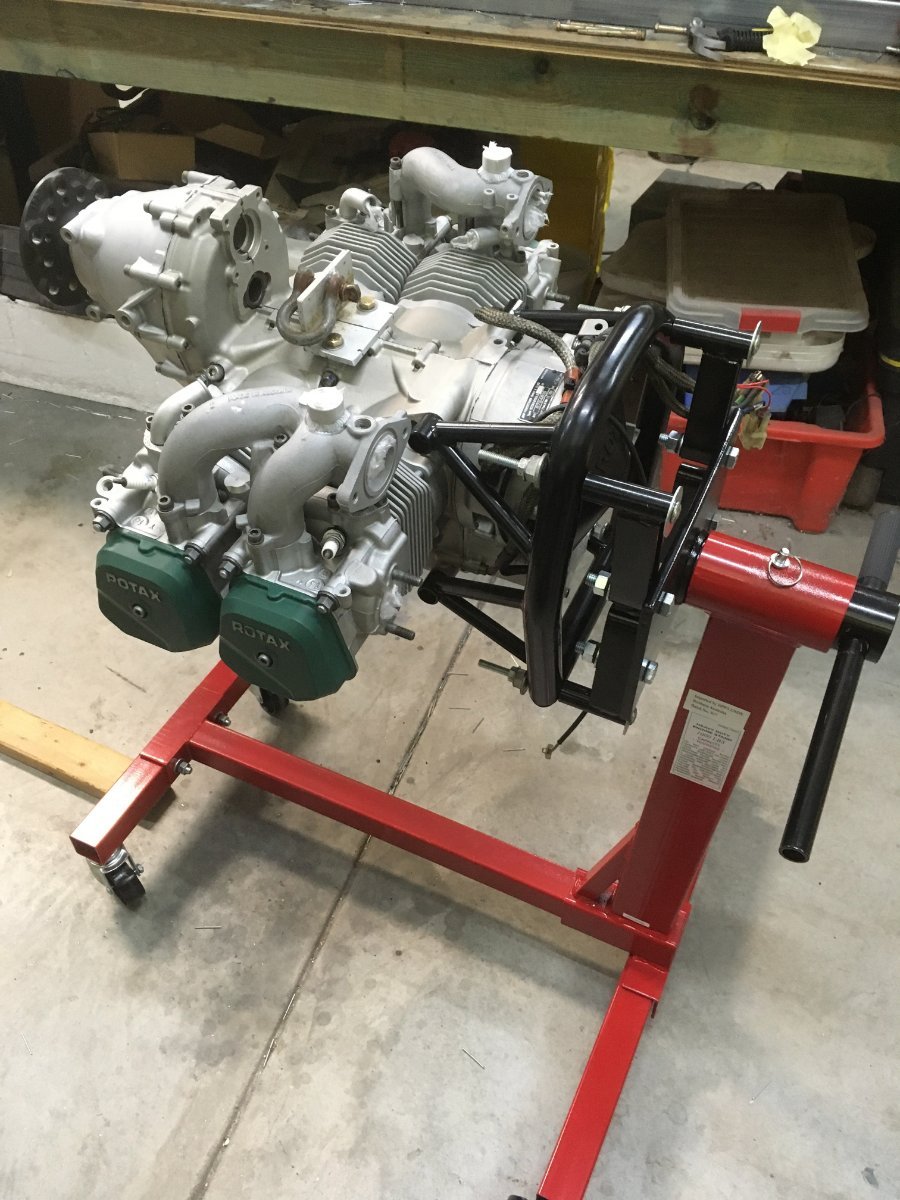
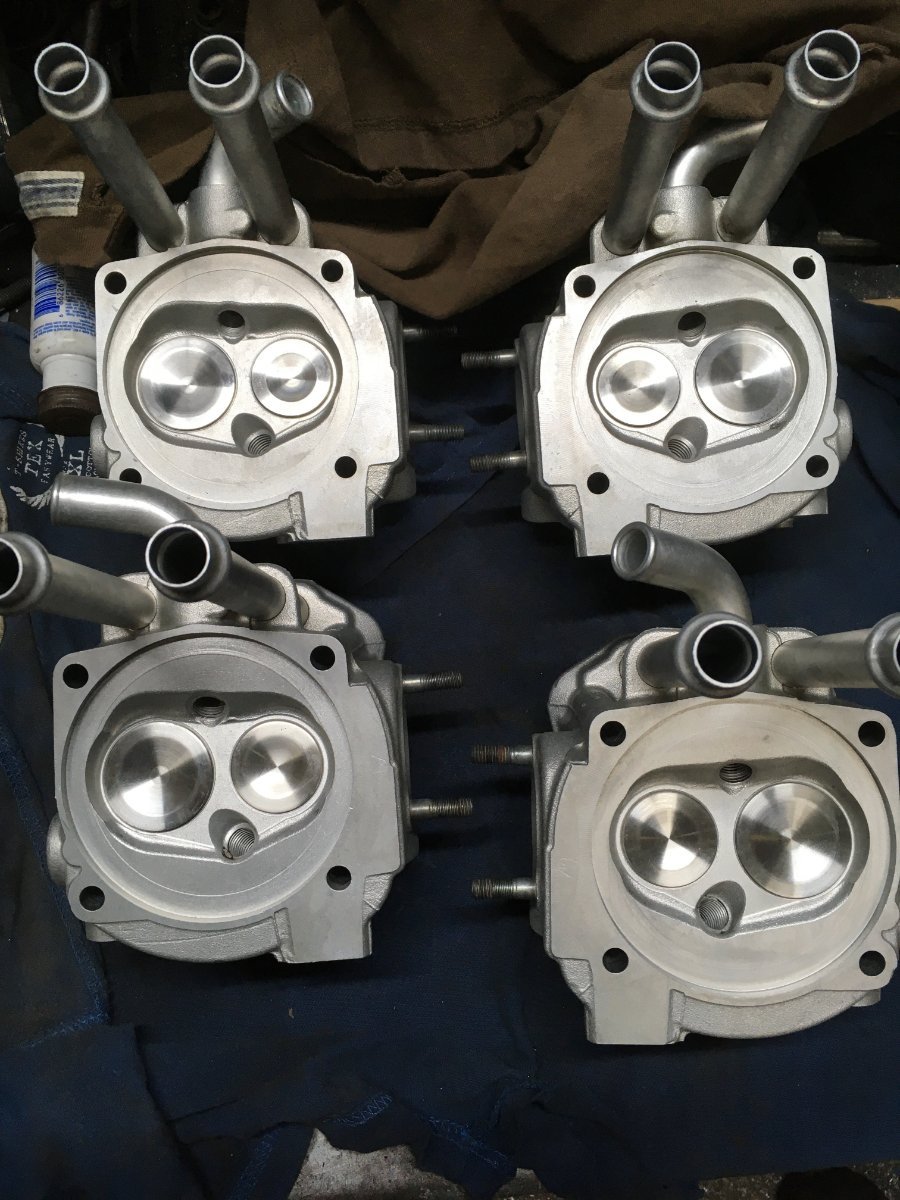
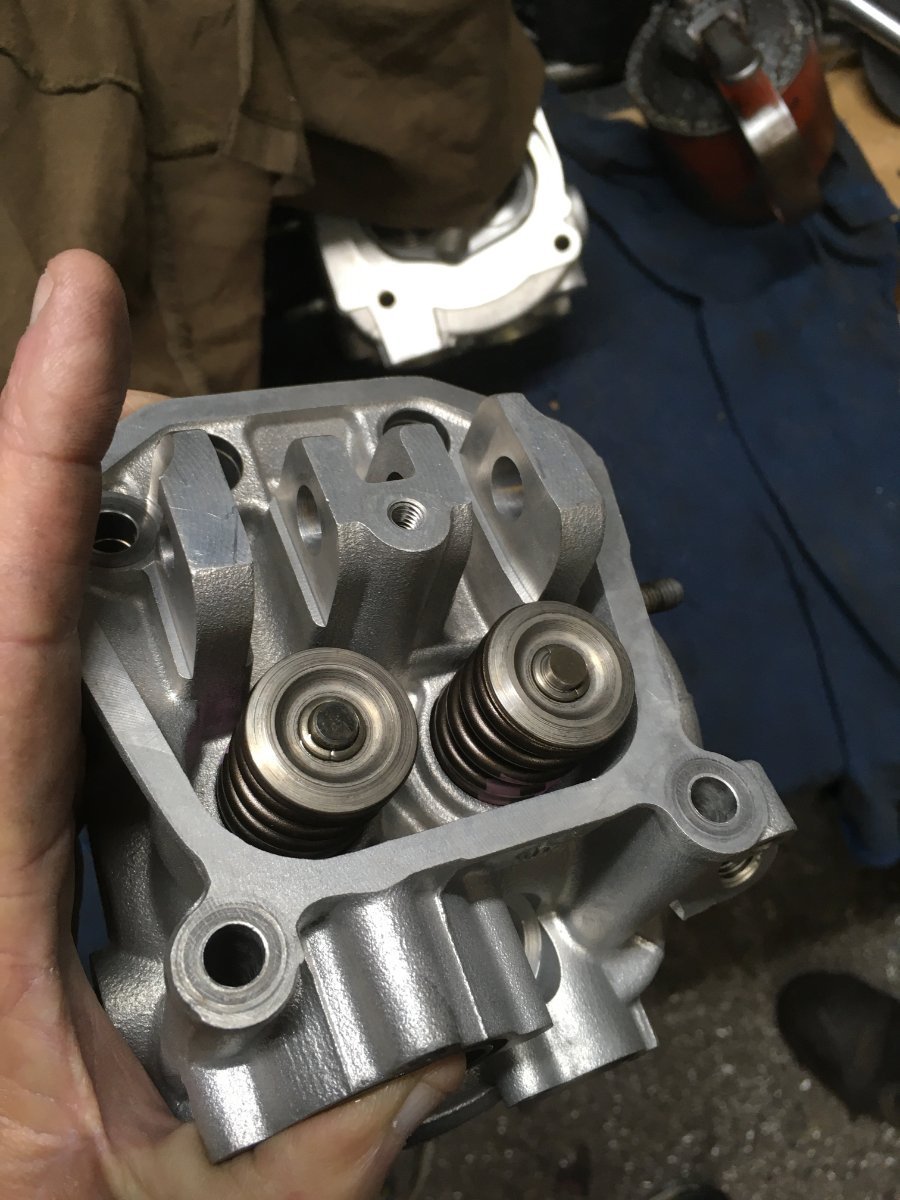
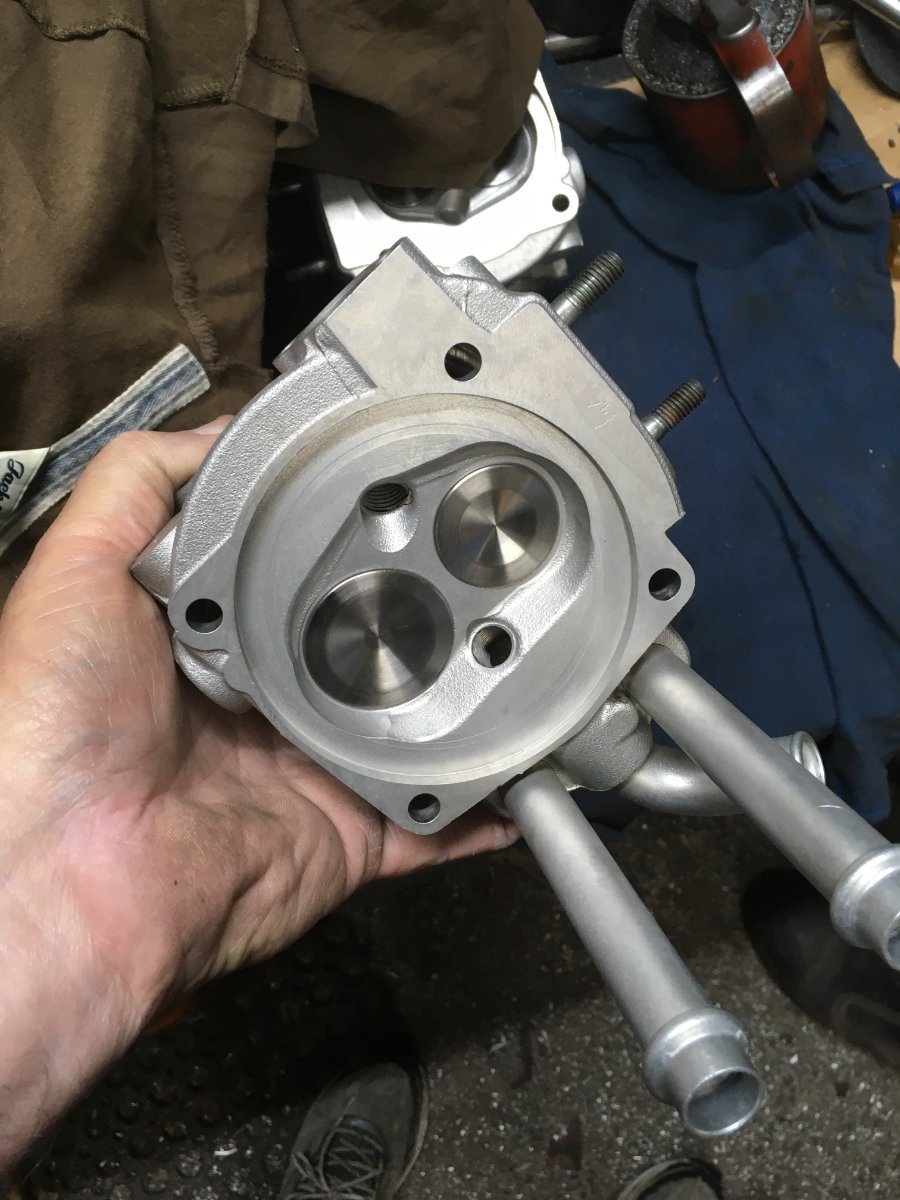
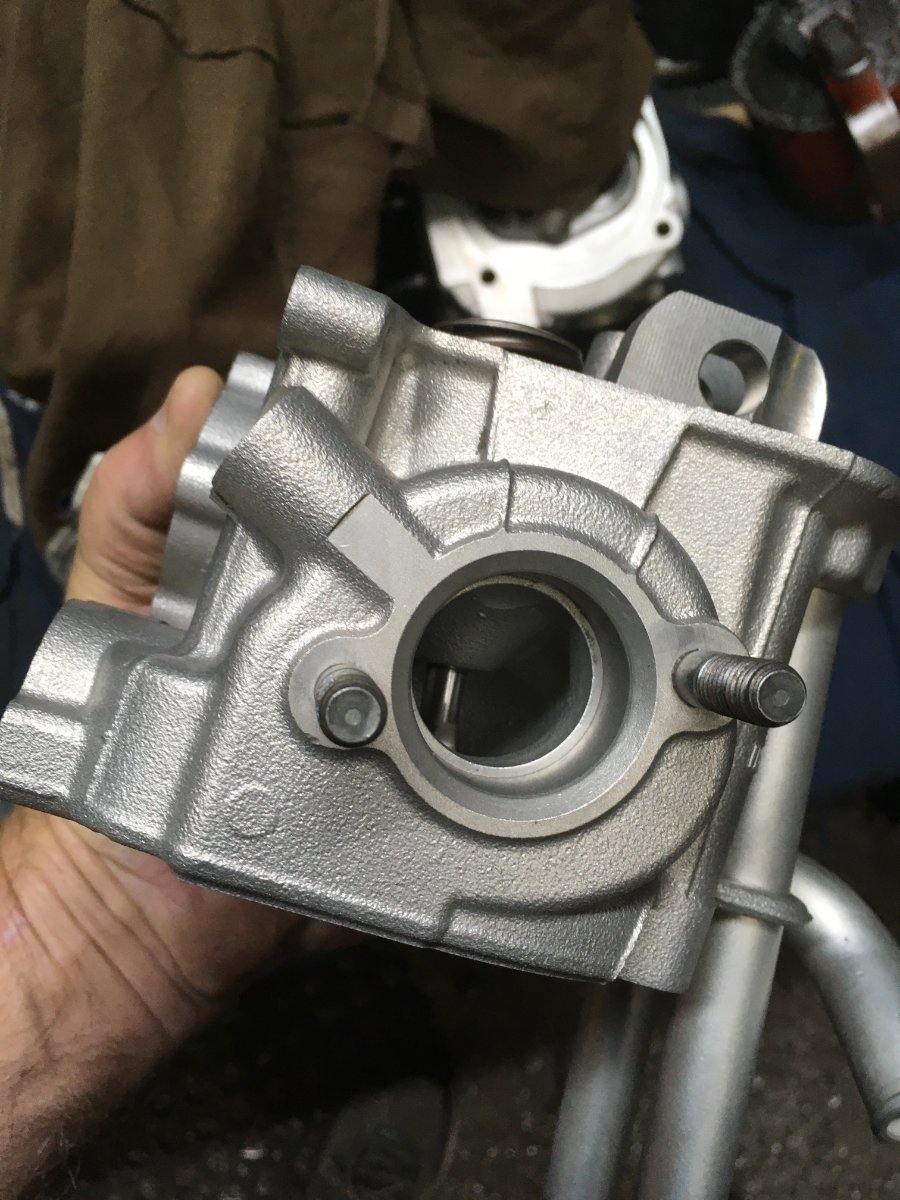
I am not sure. I trust Jim's experience and vast knowledge on what to put in engines and how to rebuild them. He does all the machining himself and also the cam grinding. The cam lobes must have a slight curve at 90 deg to the cam lobe. This is what makes the lifters rotate that little curve and it cant be too much or too little either it has to be just riht he tells me. All I know is they are lifters for Ford engines. He also has a engine balancer and a heap of gear there. He is always flat out doing engines for the racing guys that when you give him a job to do for a relative you have to be patient as he does it as he gets the time. Some pics of the rebuild from when I got the engine. It was a 2000 hr 2015 engine that had been well maintained out of a Tecnam at a local flying school. You can see the cam being reground
-
The cam lobe shape at the top has to do with how and why the lifters rotate. Edge had a issue with their hot cams that were not doing this until someone worked out that this was the issue
-
The engine hasnt been run yet. My cousin is a racecar engine builder and he rebuilt the engine for me. It is also fully balanced and has a big bore kit fitted. He is also a Rotax certified engine repairer as he is a pilot and instructor as well. He told me he used the ford lifters as they were the best. The main thing is the cam grind. He did the cam as well. The lifters must rotate as the engine turns over otherwise the cam lobe of lifters will wear. This is my engine
-
I have ford lifters in my rebuilt 912ULS with big bore for the S-21
-
My spies tell me Jabiru has been sold
Kyle Communications replied to Kyle Communications's topic in AUS/NZ General Discussion
Everyone is assuming they will shift the business itself...it wouldnt make sense to. Its at a Airport already there is plenty of building space and machinery is there...just getting rid of the old guard of owners. As of today I am retired :)..The company i worked for was bought out by a huge european based company..and I mean huge. They sponsor 2 F1 cars in..(the pink ones). My mate and he being the boss sold the buisness late last year..the new manager they got finally has put his stamp on it and the way he wants to do stuff...I didnt really care much for all this new corporate bullsh@t he is bringing in but essentially they started to squeeze me out by keeping me in the dark as he has started to employ the engineers he has previously worked with..especially seeing I have designed all the very successful products that the new company paid a lot of money for. No skin off my nose and I realise its as Nev said its out with the old and in with the new...I am quite ok with that. I would imagine jab will be the same. They will get rid of the high end staff/manage,emnt and put their methods into it -
If I get flush at some stage in the future I may re engine the S-21 with a 915 IS...but 65k is a bit hard to stuff down my throat
-
I think the engine mounts are similar for the Titan and Continental. I am sure I have seen either installed. Randy has been working on a BRS fitment into the S-21 but I must get onto him and see how that has been going. Not cheap though for a 800kg aircraft but the mrs is pretty keen on one. I am fitting the BRS into Mabel now
-
My spies tell me Jabiru has been sold
Kyle Communications replied to Kyle Communications's topic in AUS/NZ General Discussion
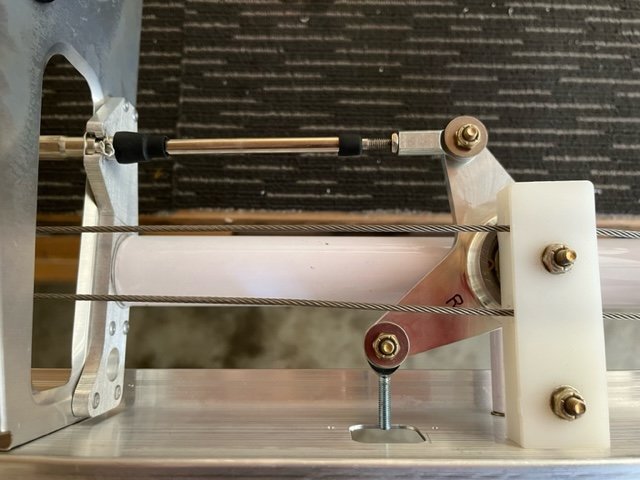
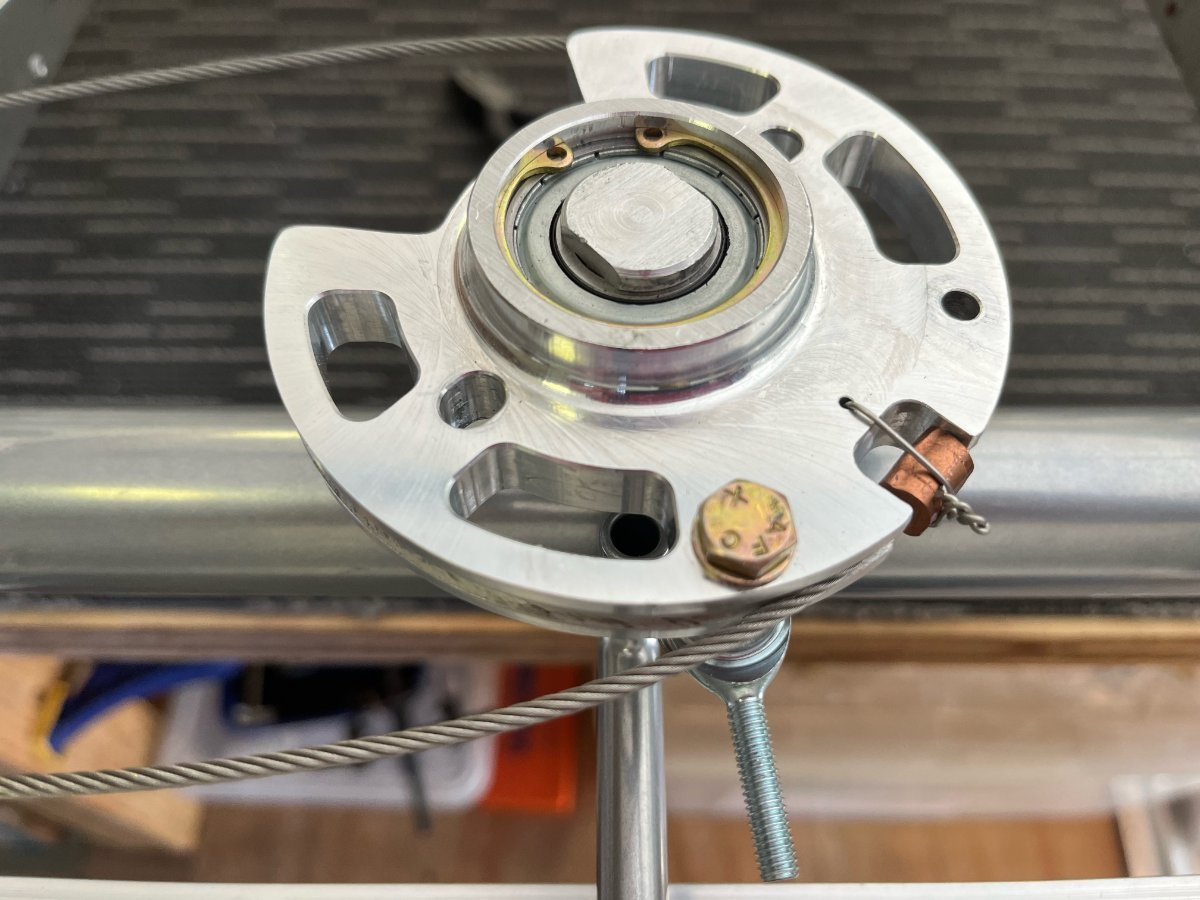
I think they all just load the airframe at the calculated G load and see if it breaks...then load it to more until it does..mainly just wings and stab are loaded in the videos I have seen -
The battery is on the firewall on the S-21 the issue Maybe I will need to use a Oddysey battery they are very heavy to help the CG. What will be a issue too is I will have the Eprop and it is so light that will make a big difference and the Mrs wants a BRS in it too so thats another problem to solve
-
The CG with the 912ULS is a bit tail heavy or so apparently so I have been told..cant tell yet. The one I did 2 flights on was the 912 and it flew fine. The mount for the 915 will be made to suit I would think. The performance with the 915 is supposed to be pretty damn good for the guys gettin them in. Quite a lot now are getting them due to the less fuel consumption and of course the performance at altitude also long waiting time for the Titan and other engines. Patrick Esmond's was the first S-21 to fly here in OZ and he has a 915 in it and really performs. He has a few videos on it and one showing at 10,000 ft he is doing 148 kts TAS !!!! which is actually faster than the Titan
-
Mike Why dont you use a 915 IS...lots going in now on S-21 and they are better on fuel and actually faster at altitude than the Titan..also the MTOW is better
-
My spies tell me Jabiru has been sold
Kyle Communications replied to Kyle Communications's topic in AUS/NZ General Discussion
I suppose you have to decide what you make the most money from...engines or airframes to make that decision -
My spies tell me Jabiru has been sold
Kyle Communications replied to Kyle Communications's topic in AUS/NZ General Discussion
Might see a Rotax option for powerplant...they would sell a lot more Jabs I believe if they offered that -
My spies tell me Jabiru has been sold
Kyle Communications replied to Kyle Communications's topic in AUS/NZ General Discussion
Yes apparently so.....also told Sue was not there now either