MajorTom
-
Posts
289 -
Joined
-
Last visited
-
Days Won
1
Content Type
Profiles
Forums
Gallery
Downloads
Blogs
Events
Store
Aircraft
Resources
Tutorials
Articles
Classifieds
Movies
Books
Community Map
Quizzes
Videos Directory
Everything posted by MajorTom
-
Why not by a german made charge regulator and a LiFePo4? This is what I bought... also bought the recommended battery SILENT HEKTIK Automotive Hard- & Software - LiMa-Kontroller© 13-14V 37A - Lithium Ionen Batterie - Rotax 912 Lichtmaschinen Regler - Rotax 912 regulator rectifier
-
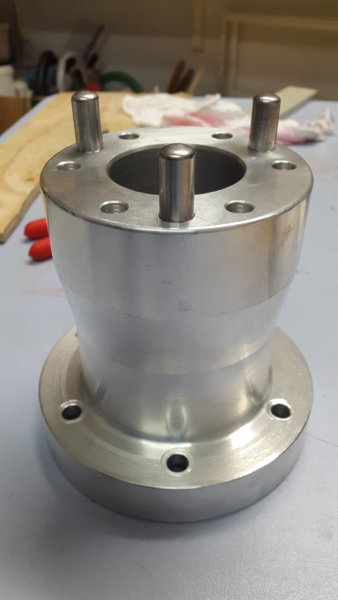
Thanks, yes this word is much better. Guess bolt meens something with thread. Does anyone have an idea to get them out. I allready tried to heat the up like i did with the water pump outlets. But it did not work.
-
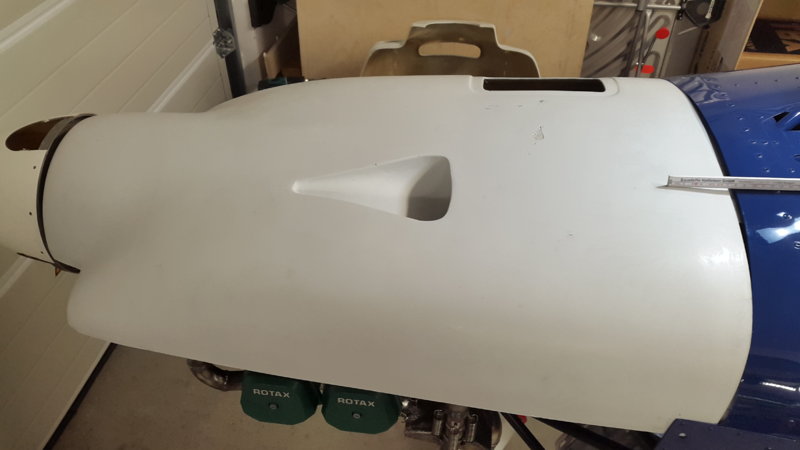
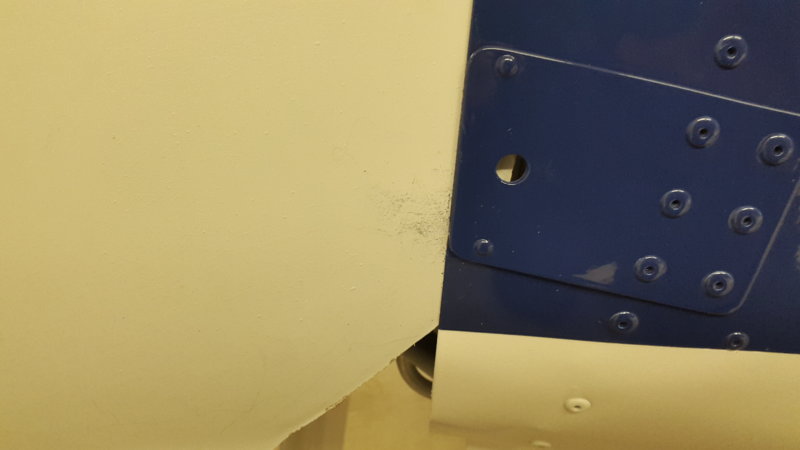
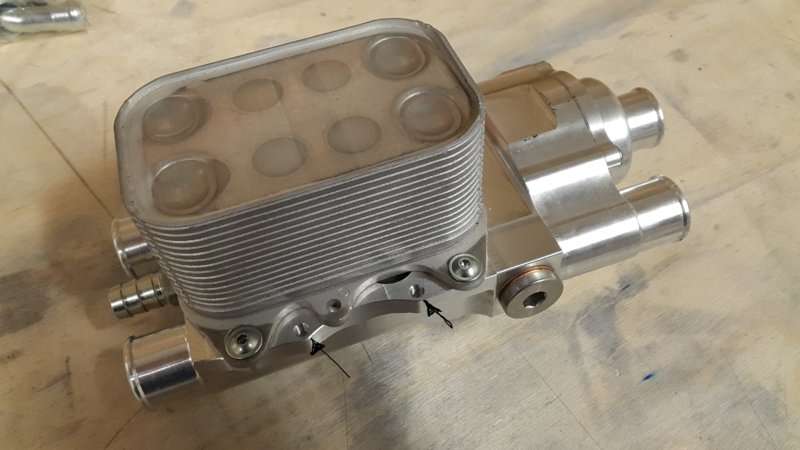
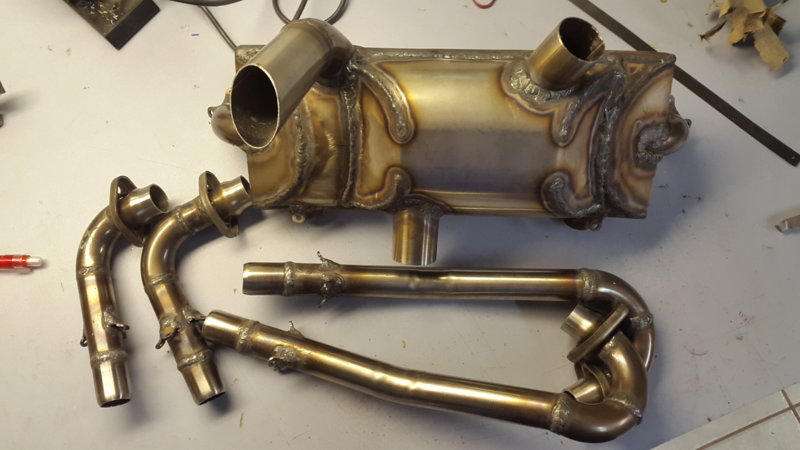
Hey Mike, thanks for your answer. There seems to be no problem with the spacer, prop e.g. it is just optics realy. It is just the case, that the upper cowling was trimmed to much on the pilot side after comming out of the mould. I tried to get the 3 bolts (maybe the wrong vocabulary) out the way I adjusted the water pump outlets. But heating the bolt did help to get it out. So I will stay with the gap.... And if the modification to eliminate the oil cooler is going well, I might consider to remove the spacer completly. My cowling seems quite empty in the front. But that all depends on the suczessfull integratin of the mixer/thermostate. loravia.com-3-Wege-Thermostat.pdf loravia.com-3-Wege-Thermostat.pdf loravia.com-3-Wege-Thermostat.pdf

-
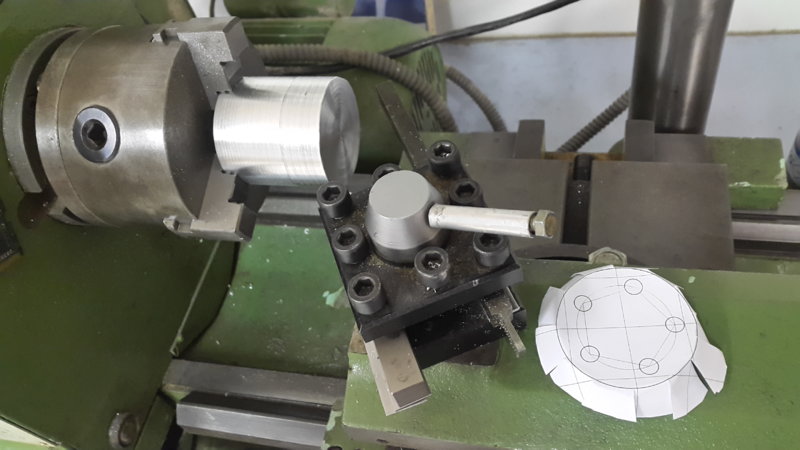
I tried to shorten the prop spacer, but could not get the the 3 steel bolts out. So I have to live with 3 cm gap to spinner... which looks not too nice.
-
It is an option. Or what do you mean?
-
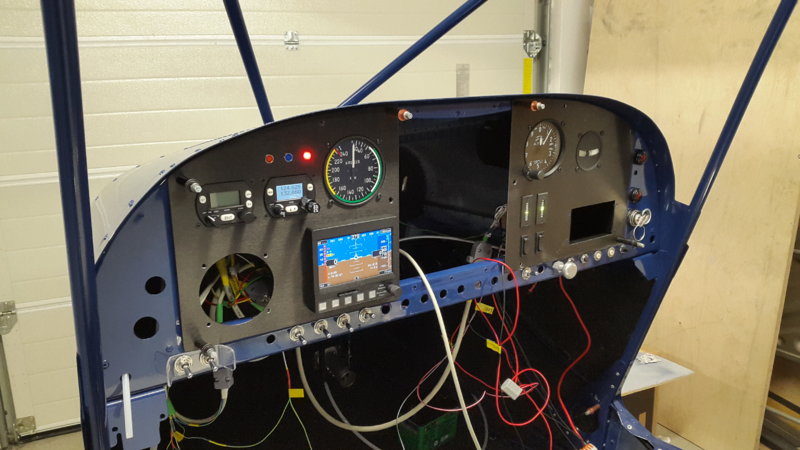
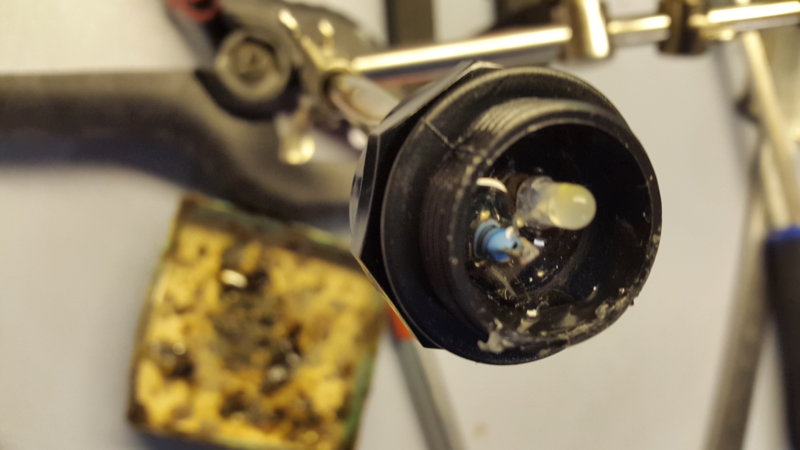
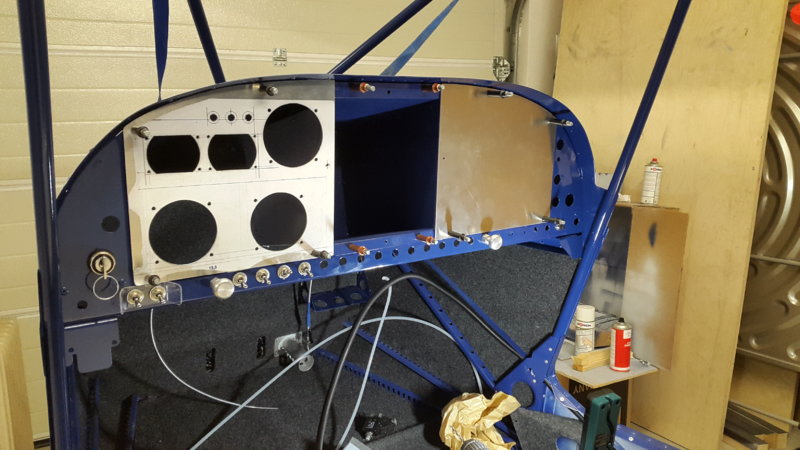
Thanks for the warning Mark. The used LED is a very bright flashing white. I put it into the big oldstyle socket, so it is flashing red. The reason to use the old stuff is to cover up the big holes in the panel. Otherwise some fearsom passenger could be misled and assume something is missing there... ;-) Also this LED on the passenger side has a red, nonflashing sister on the pilot side, just to make sure, never to miss this most important warning. About the gap. Do you suggest to push the cowling about 1,5 cm inward and live with a 3 cm gap at the spinner?
-
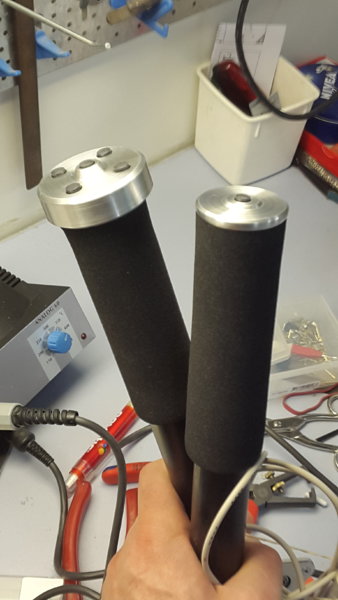
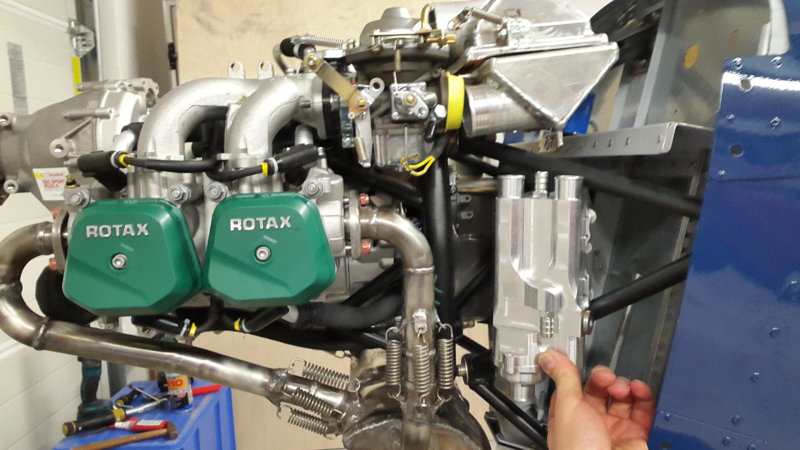
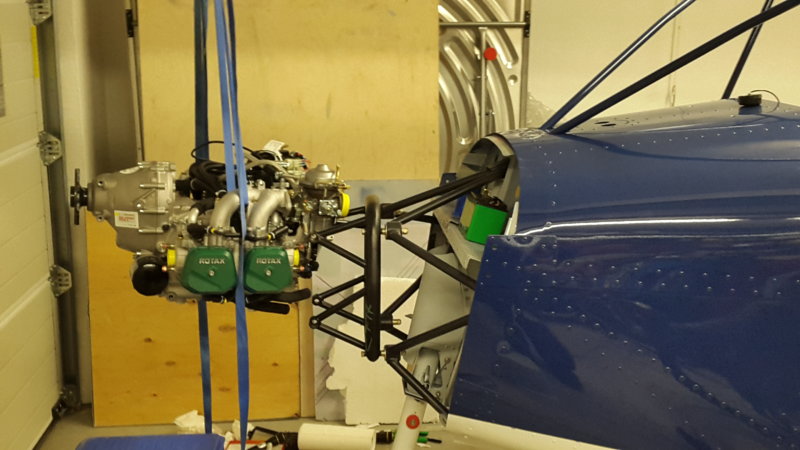
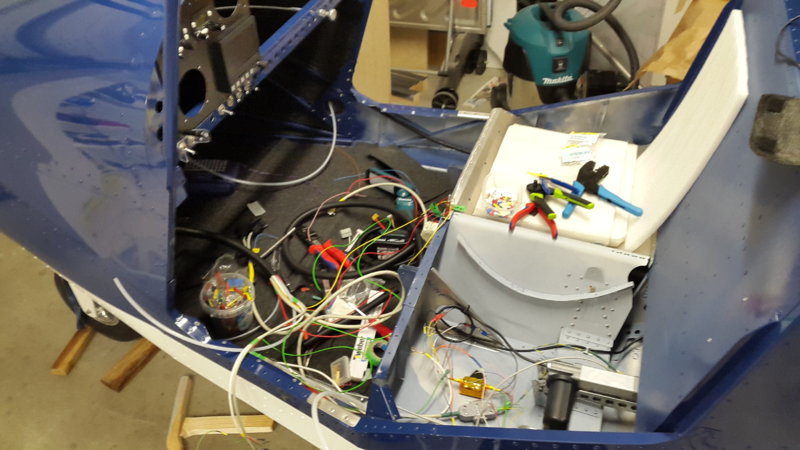
-now answer from MGL helping me with a Rotax wiring diagram -spend many, many hours wiring -made nice flight sticks -worked out, how to make a relais modul for trim and flap -finaly stopped hiding the Rotax in the box -have a cowling, that is to short -spend some time thinking how to get the 4-way thermostate mixer installed
-
Yes, thanks Mark. I have already visited the forum. It is full of valuable information, but for me kind of hard to find the right answers. Have you used EGT / CHT? If Yes with what sensors?
-
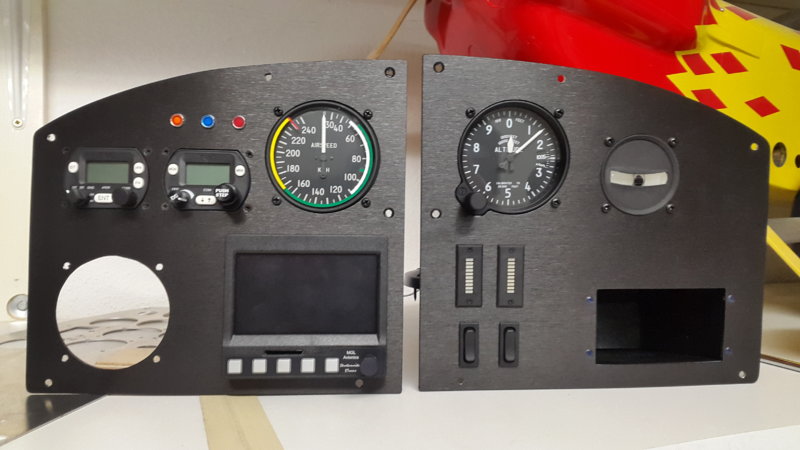
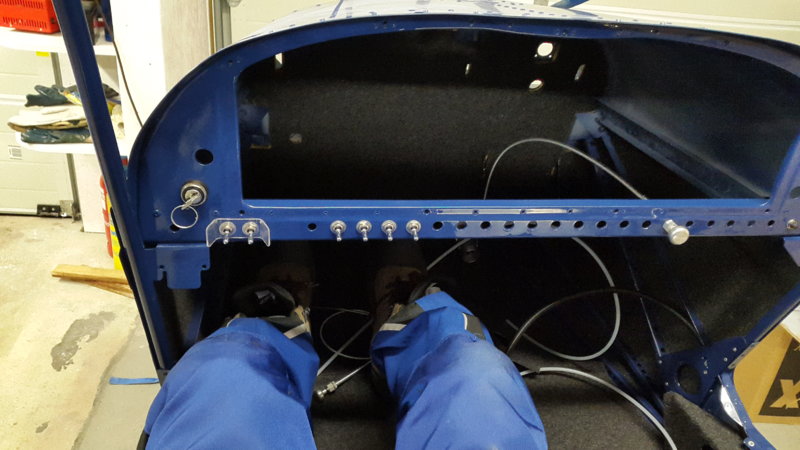
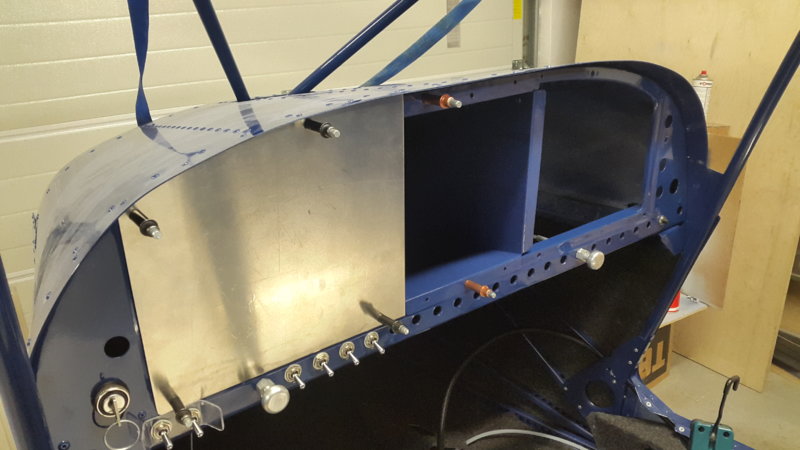
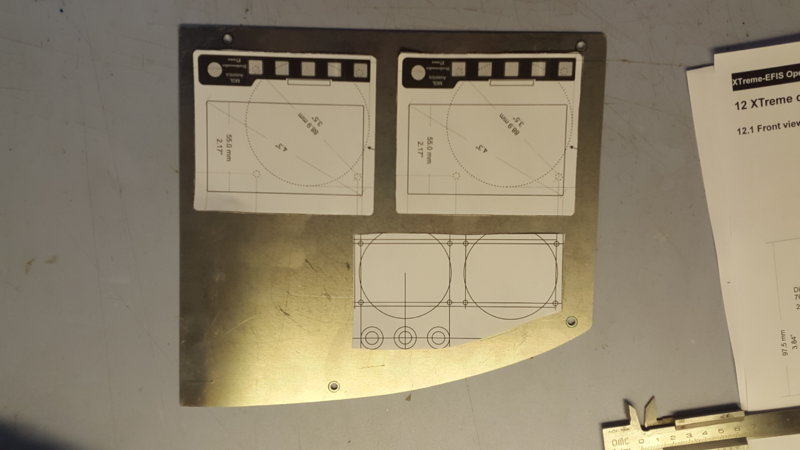
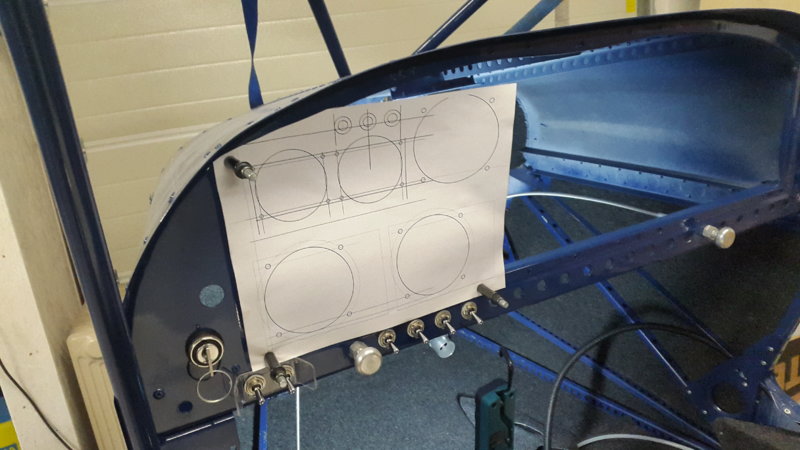
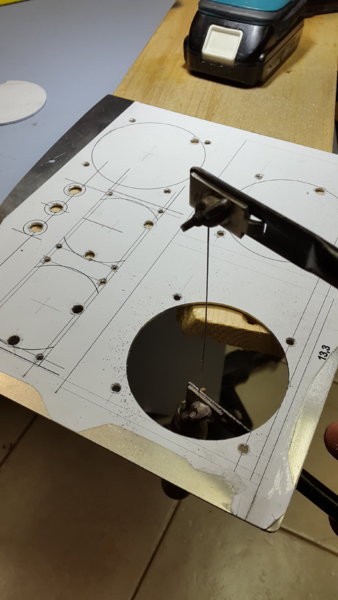
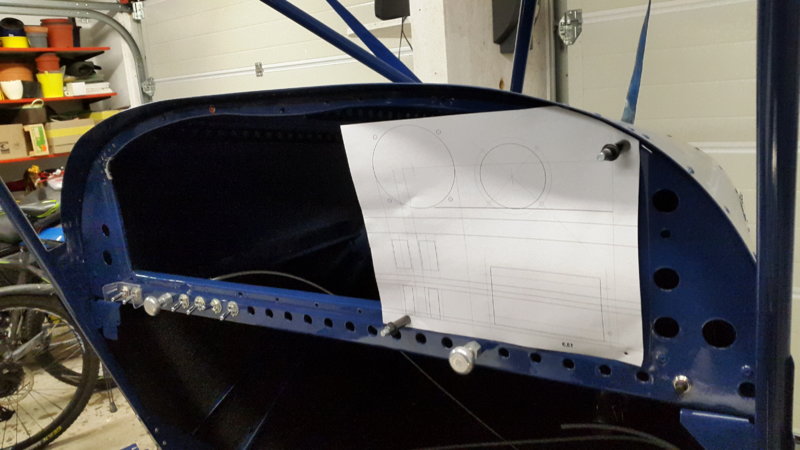
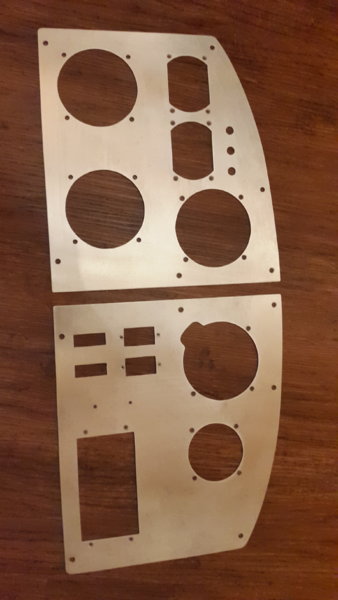
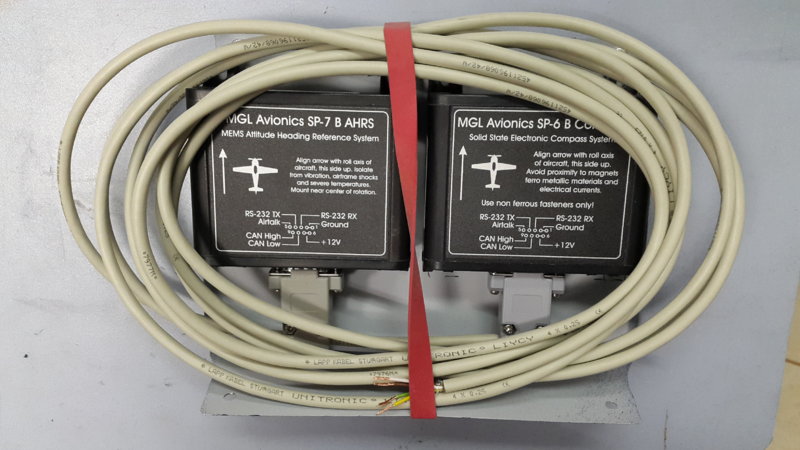
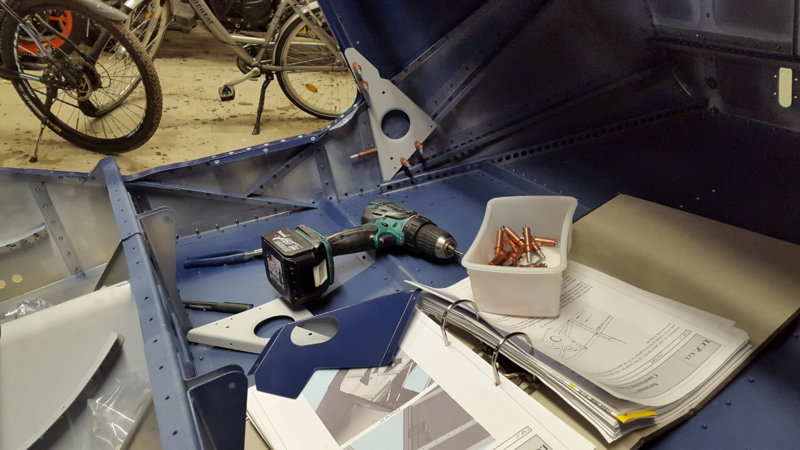
Hey Savannah builders, X-Mas is a great time for building. I'm in the middle of wiring all that fancy electronic stuff together. This is a lot of fun but an absolut time-eater. But all is going well. Even cutting my coustum panel-halfes with a tiny handsaw (intended for ply wood) worked out perfect. What gives me headakes is the MGL RDAC. It has 1000 inputs for thermocouples but very few for Rotax sensors.... I ordered as suggested: 2 Xtreme EFIS, SP-6 and -7 RDAC-XG MGL-Shunt UMA Fuel Pressure Sender, 0-7 psi (ROTAX) MGL Version 1. I would have liked to have a MAP Sensor, but there seems to be no way add an electronic sensor to my RDAC... ??? 2. The Rotax CHT sensors are allready on the deliverded engine. Good, but why have they to attatch (and blockade) to AUX1 and AUX2 3. How to integrate Airbox Temp? 4. If I disable all CHT/EGT that I can not use, the EFIS display has a big blank area, while all the important engine information is cramped and interleaved. That is just the toplist of my questions... Does anybody have a printout of how he did it?
-
Grüß dich Marty, interesting you did such a long flight to see some snow. I hope you and your family have a real good time. Yes, Templin is far from your route. But if you change your mind, you and your family are very wellcome to visit us. We have enough space and it would be a plesure. Thanks Mark. So you are o.k. with the position. After seeing some videos, I was just thinking the position seems uncompy high. so maybe switch the position of ignition key and trottle. Any other hints gerarding ergonomics?
-
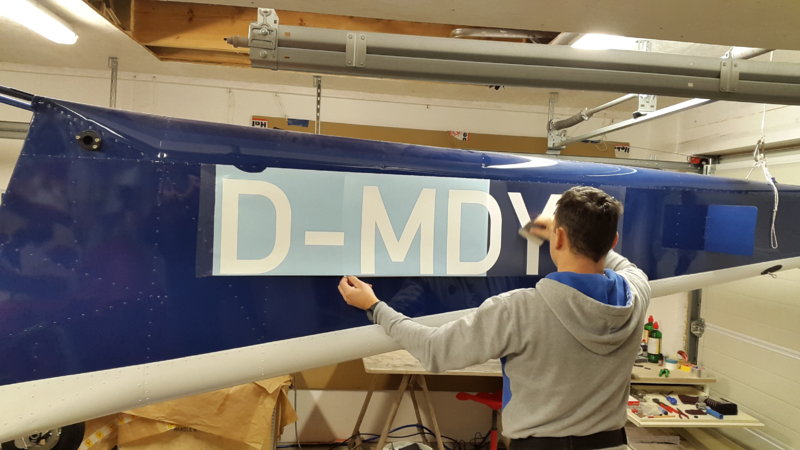
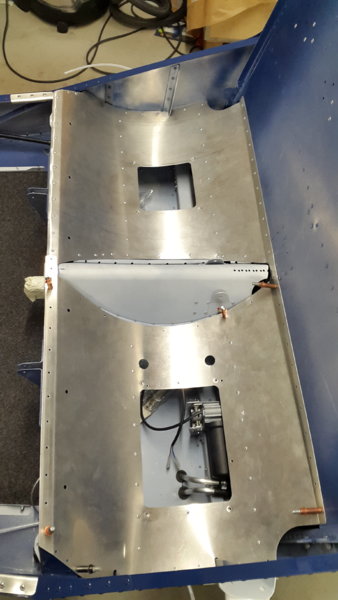
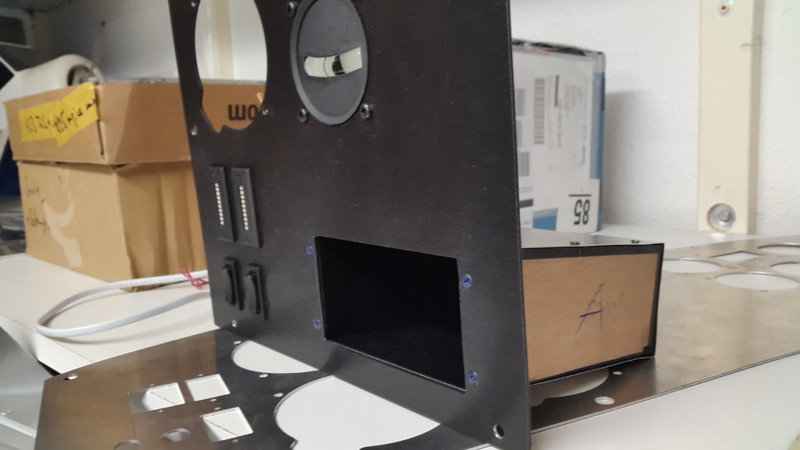
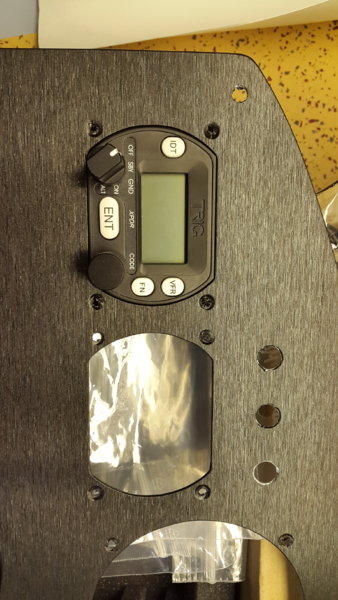
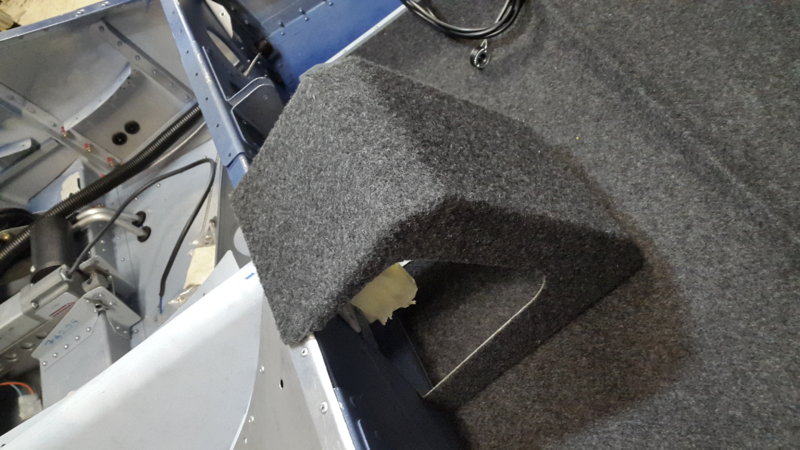
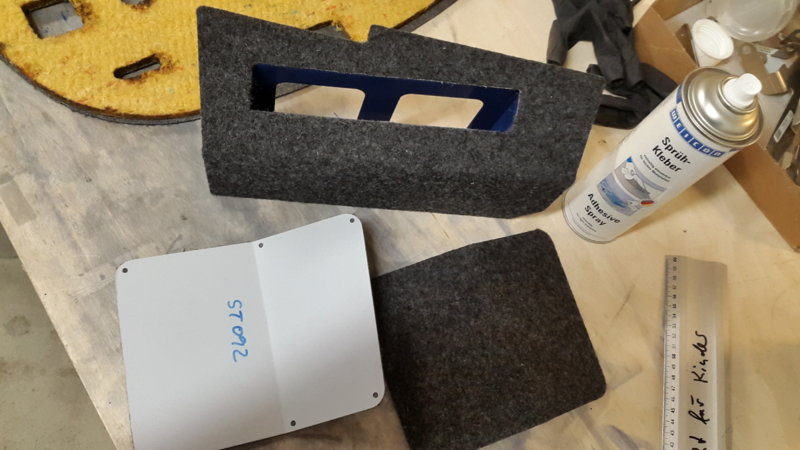
80% done...80% to go... I'm in the middle of it. spend much time with the fuel lines... included some of Marks modifications ordered the MCFarlane trottle thing my friend put the ID on, he did a great job made holders for the LiFePo battery, the MGL sensors and the transponder / Com ordered tons of cables and connectors for thge TRIG and MGL stuff started to put the carpet in but most of the time is considaration (hope the meaning, gets over to you...bad english...sorry) Some things not decided: - I would rather have an engine start knob - Why not put the MCFallane trottle a little lower at the panel? The original position seems quite high. Are you comfortable in you birds?
-
Thank you for warning me. I will try to take my time and use some diodes to prevent noise in com system.
-
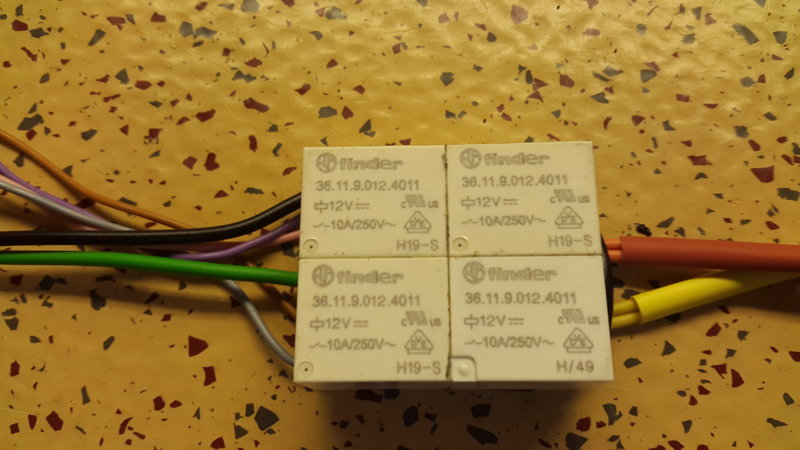
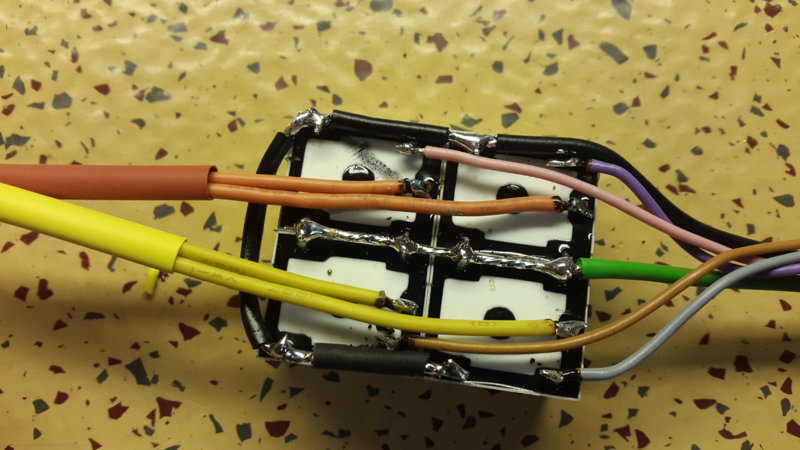
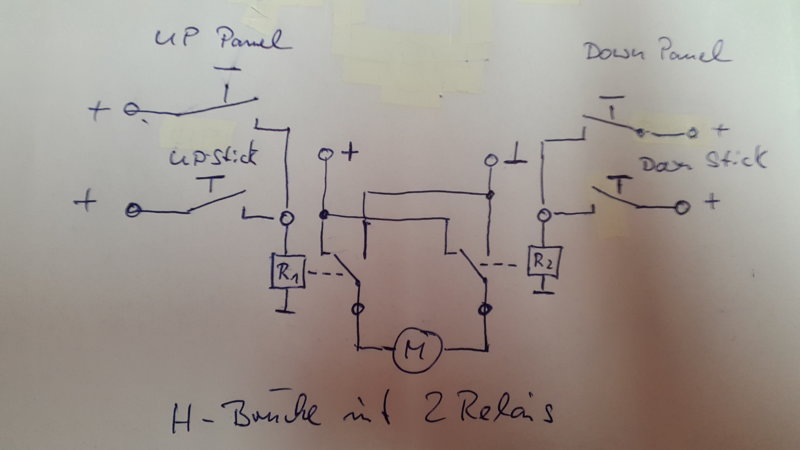
I did some thinking about the trim switch and flap switch problem. Easiest way is a second switch to chouse if you want to use the switch in the panel ore on the stick. But I would like to have both options without the need for an extra switch. One solution could be to use 2 relais in something called H-bridge... if you press one or two switches for the same direction the servo runs...if you press up+down or none the servo rests. I will let you know, if it works, when I'm tested it.
-
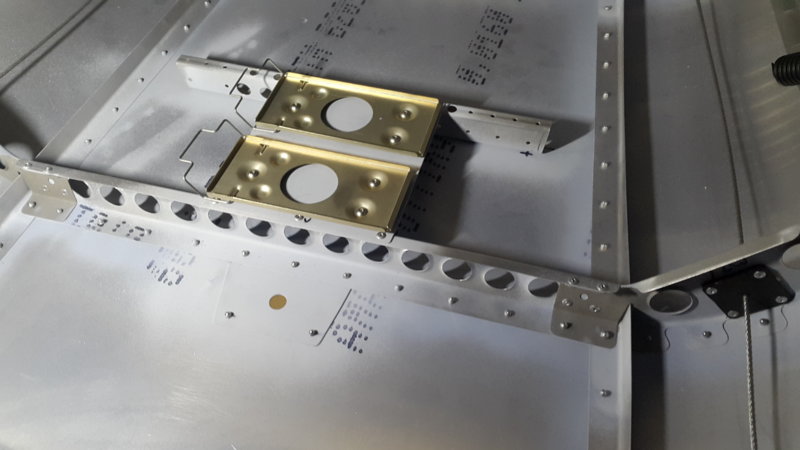
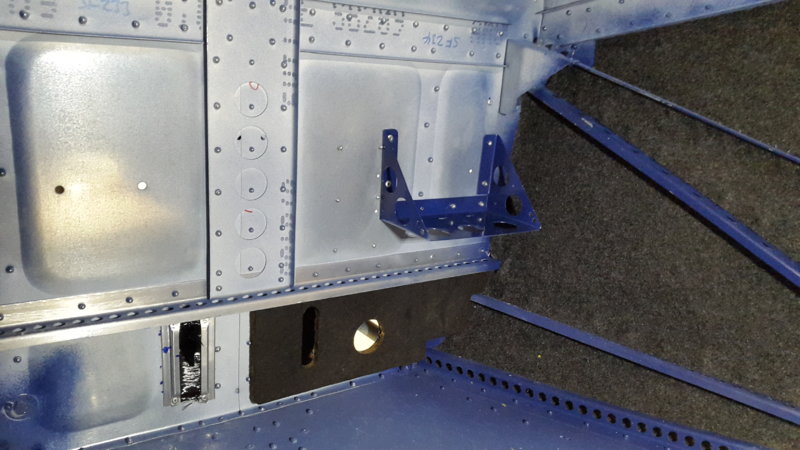
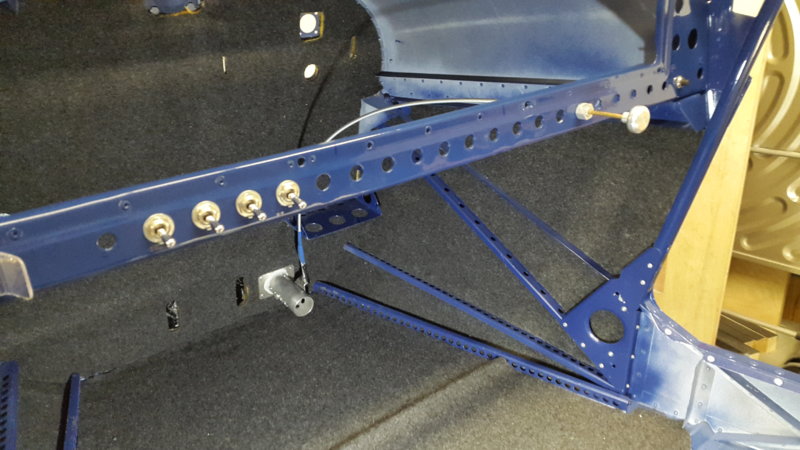
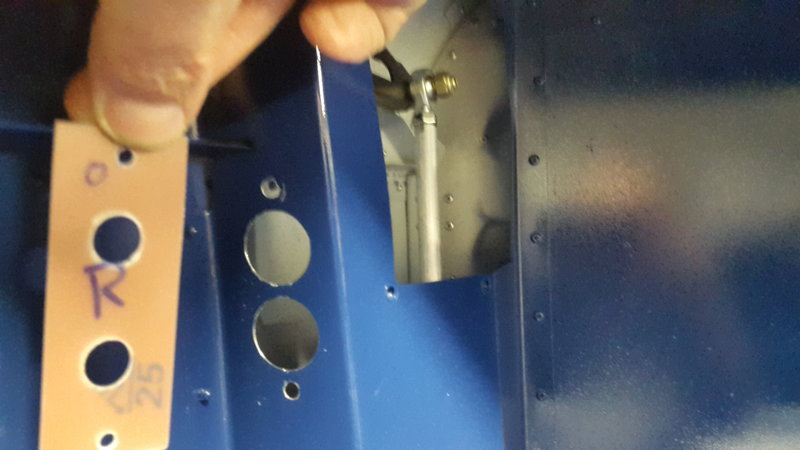
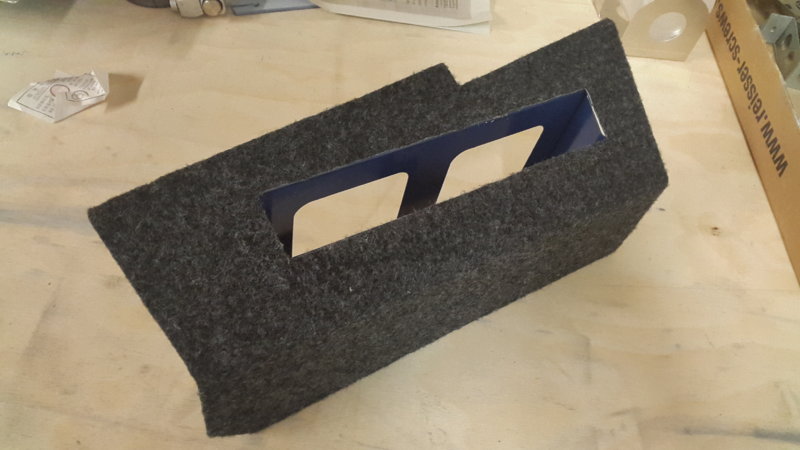
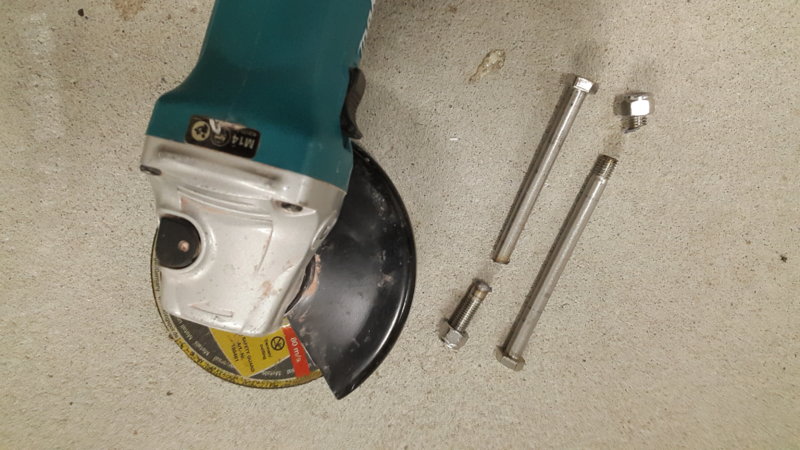
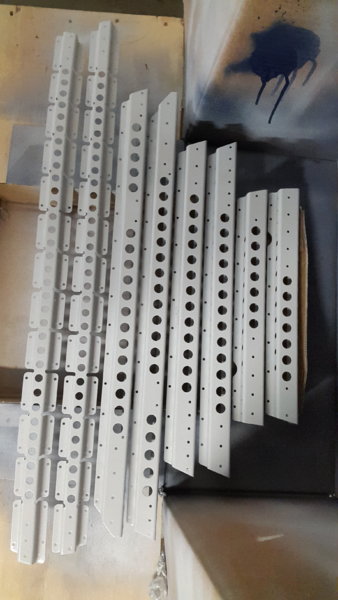
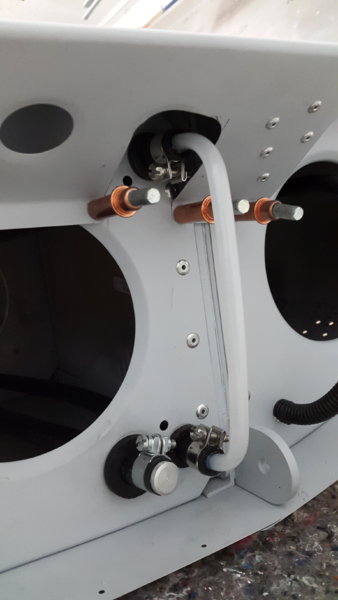
The bolts where of cheap making. Stainless steel can cold weld. Sorry bad english. First, when I tried to remove one nut, it got heavier to move instead of leasier. So I changed them all. None of the nuts came of the natural way. Friend of mine had the same problems. The card holders are lightweight.
-
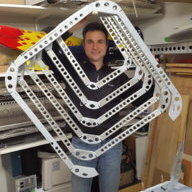
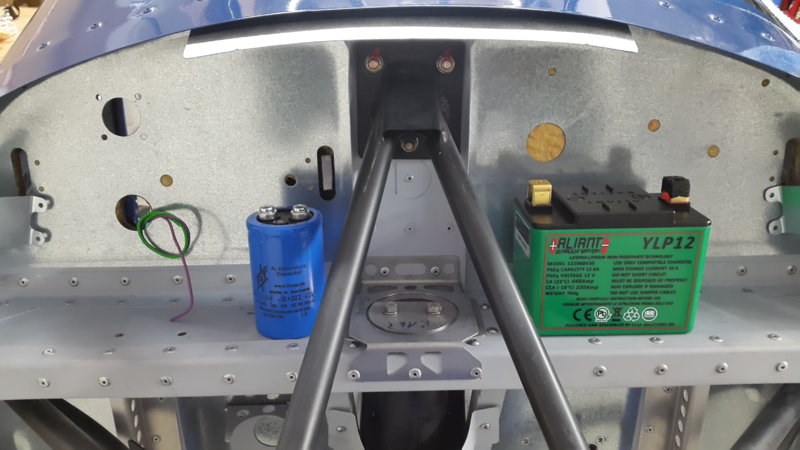
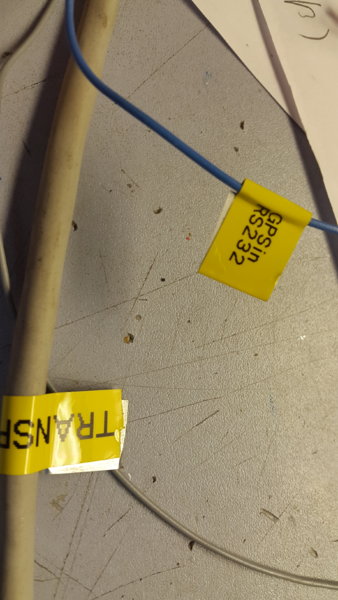
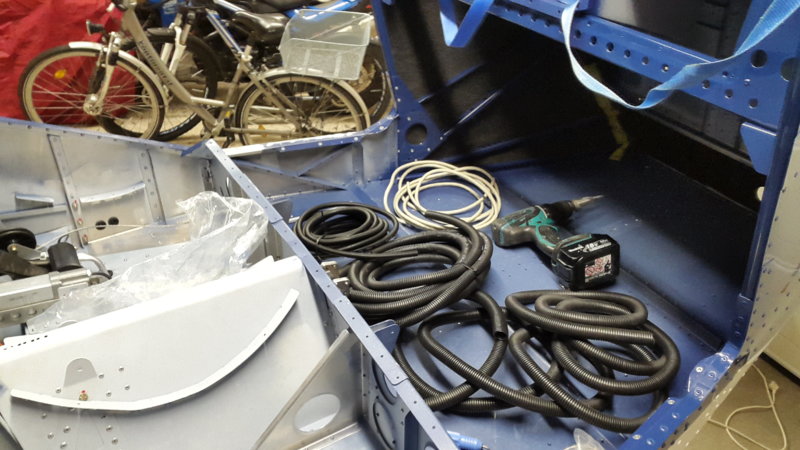
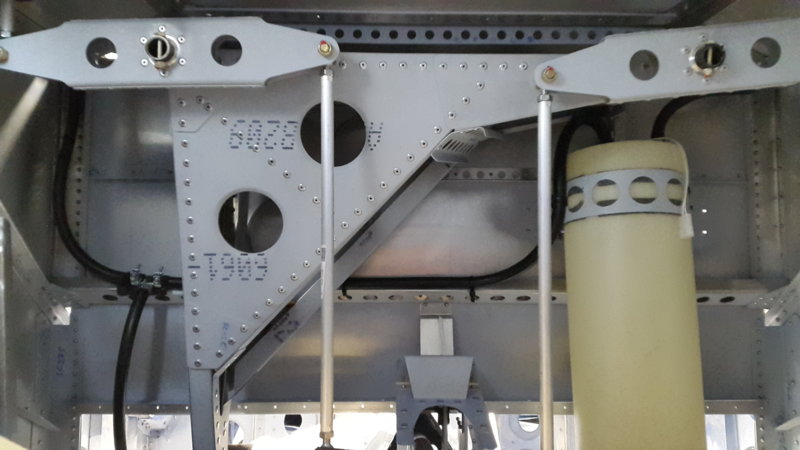
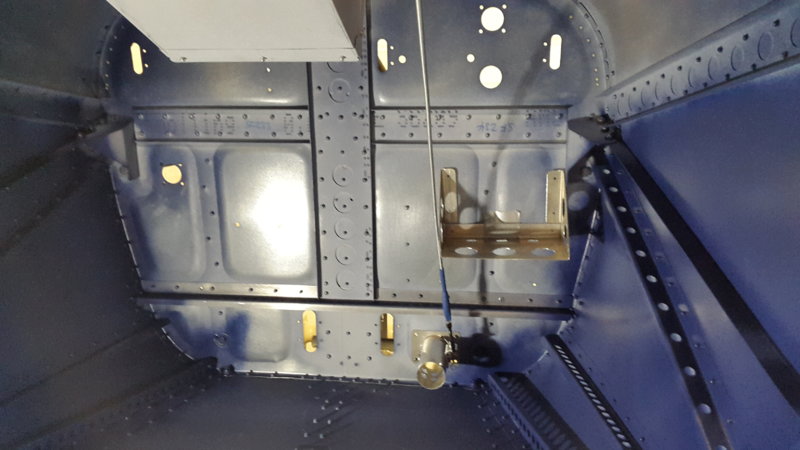
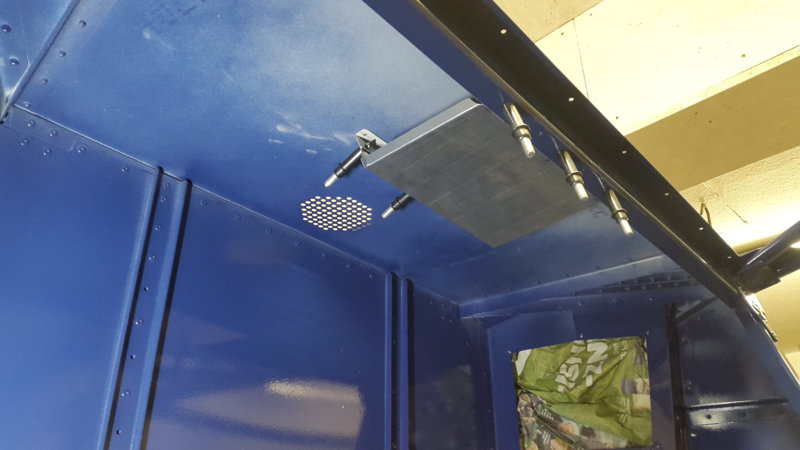
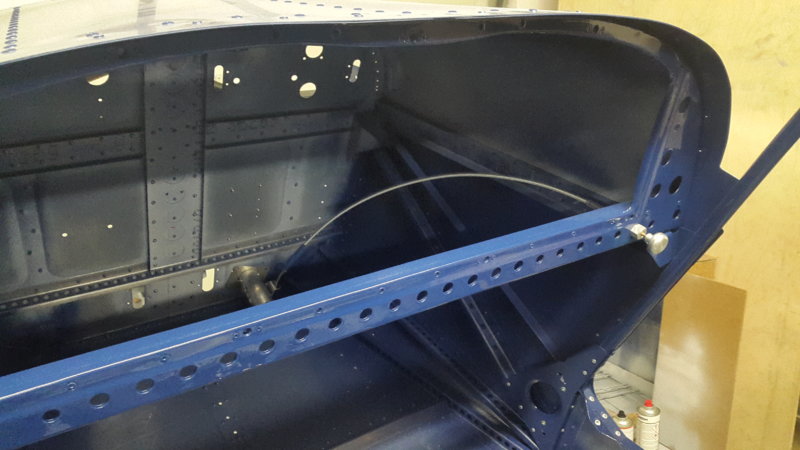
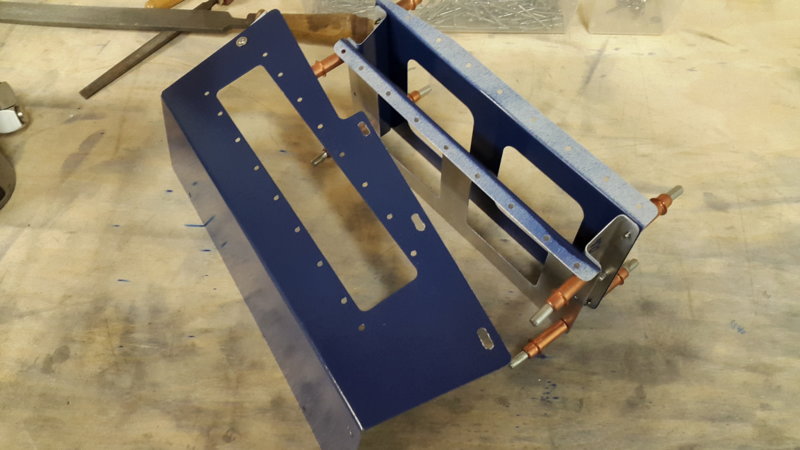
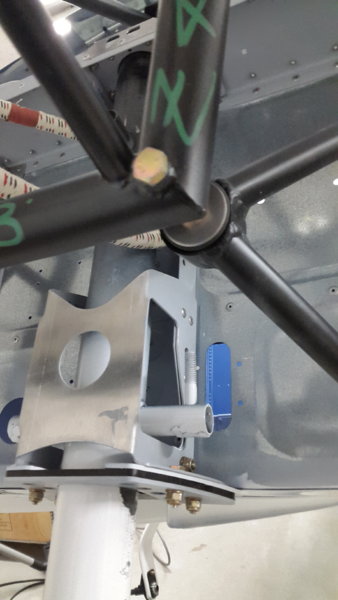
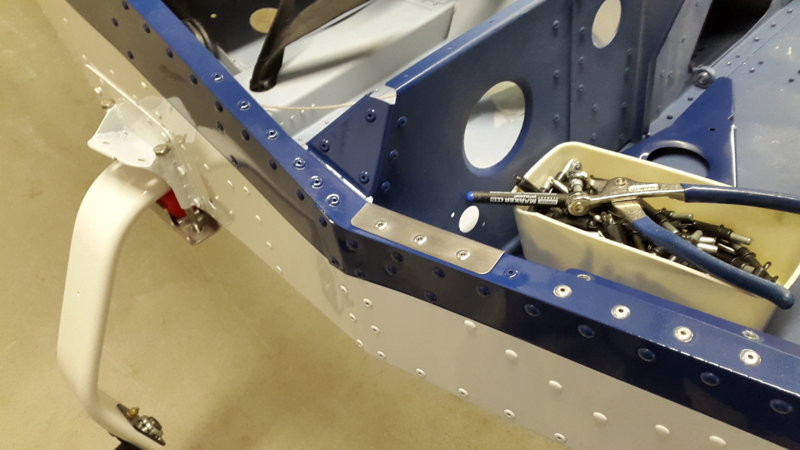
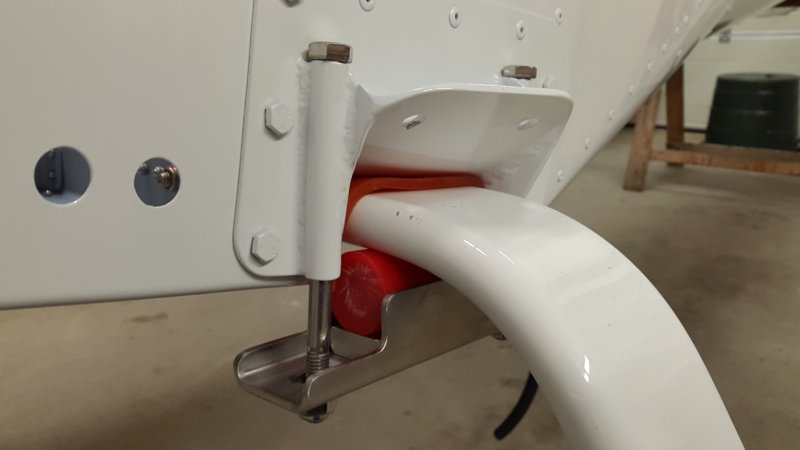
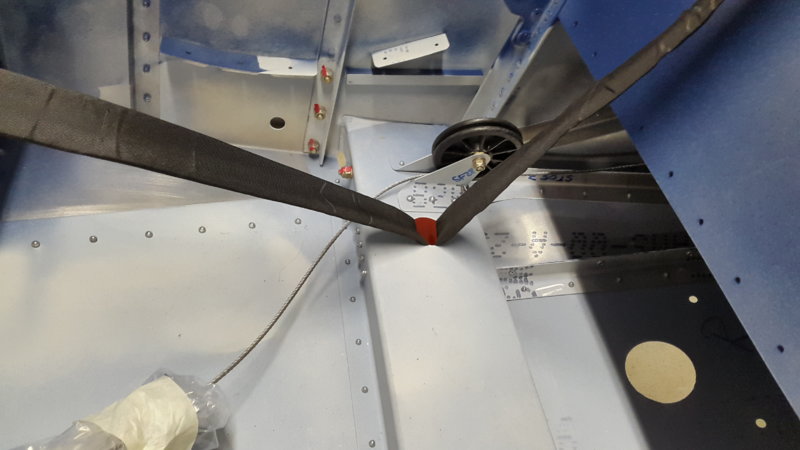
had some time for some serious work... - did the card holders, nice to have, because the cover the cables - put the double steering togehter - got the bird on ist wheels - made holders for the MGL sensors and the LiFePo Batterie to go on the firewall - found a nice place for the headset panel Big problems caused the M8 x 120mm A2 bolts. They hade to be removed. Also ordered TRIG Transponder and Com
-
I will let you know. But there are other ways. What about masking tape with holes the size of a rivet heat plus 1mm?
-
No problem Richard... you have a call sign beginning with F... I will have D
-
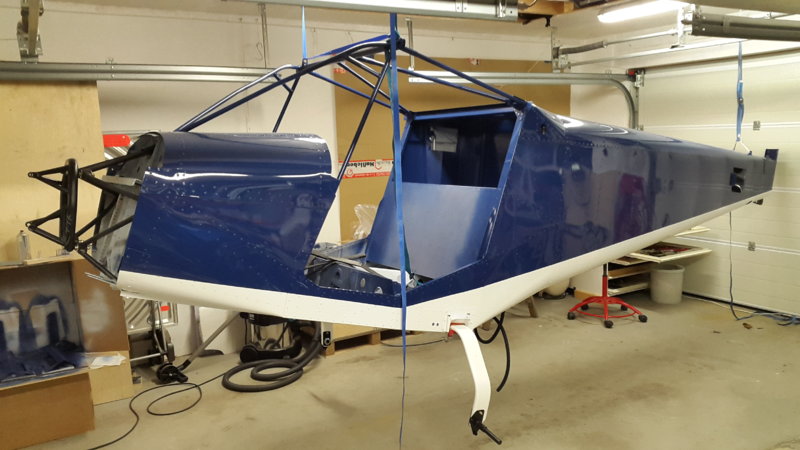
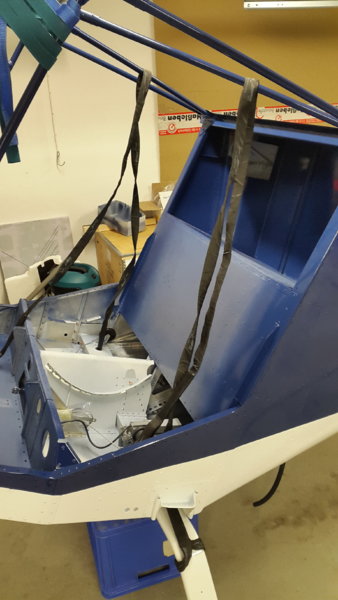
Been busy lately... Bringing and recieving parts from the paintjob friend. Also slowly getting the bird on its wheels.
-
Thanks again Mark, so I will try to do it the same way. If my inspector objects I can still move it to the middle. I just finished my flight school and have lerned to fly trottle left - stick right.... so best to keep it that way. Have you considered the vernier version of the throttle? McFarlane Aviation CONTROL, Throttle Vernier-Assist, Dual, 6 ft - Part Number: MCTV0005D072
-
This trottle thing is something that i gave a lot of thoughts. Due to the lack of expirience i am unsure where to put the one and only trottle control. I have dual sticks.
-
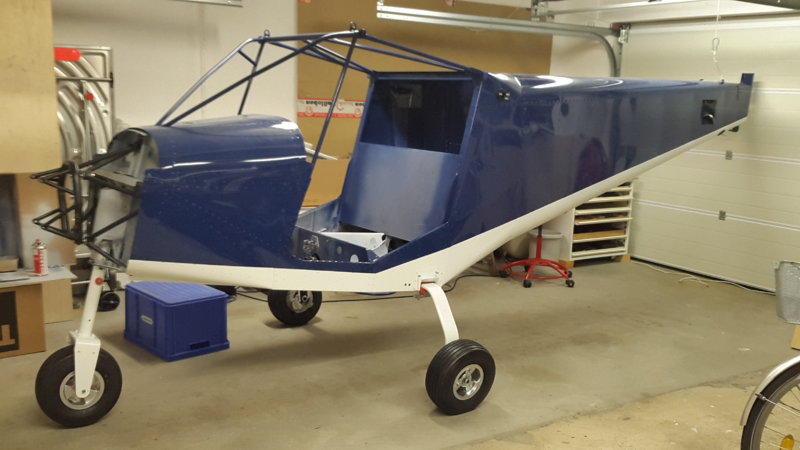
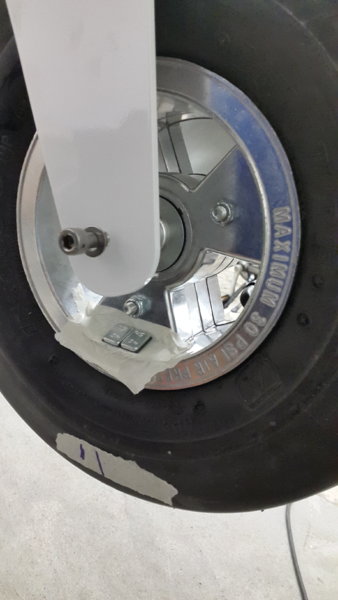
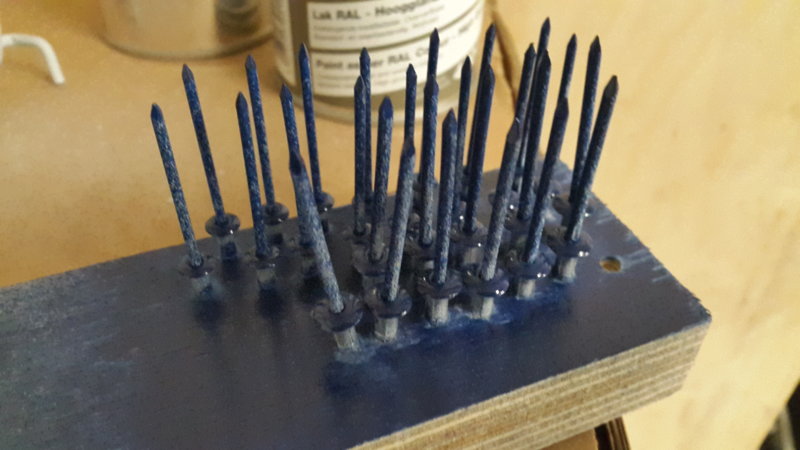
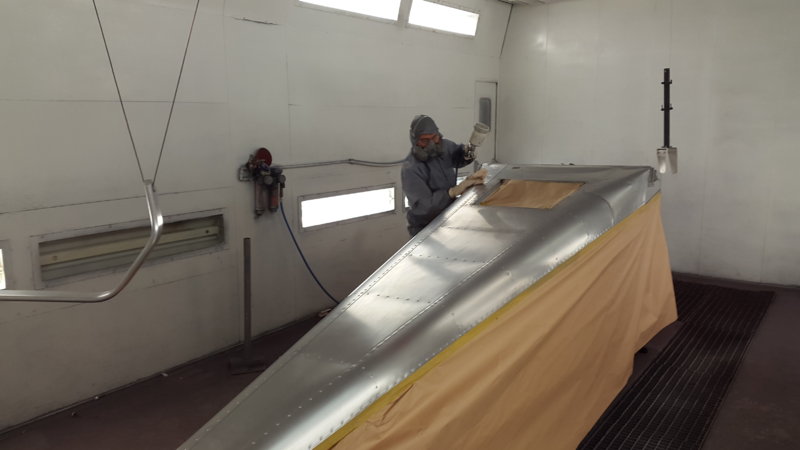
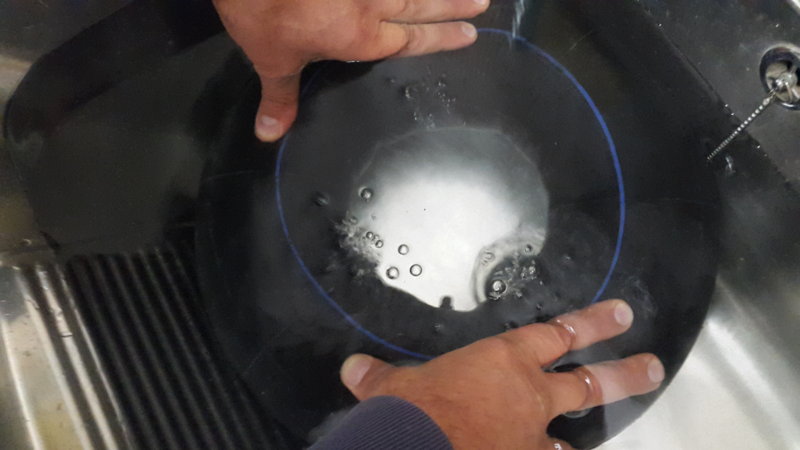
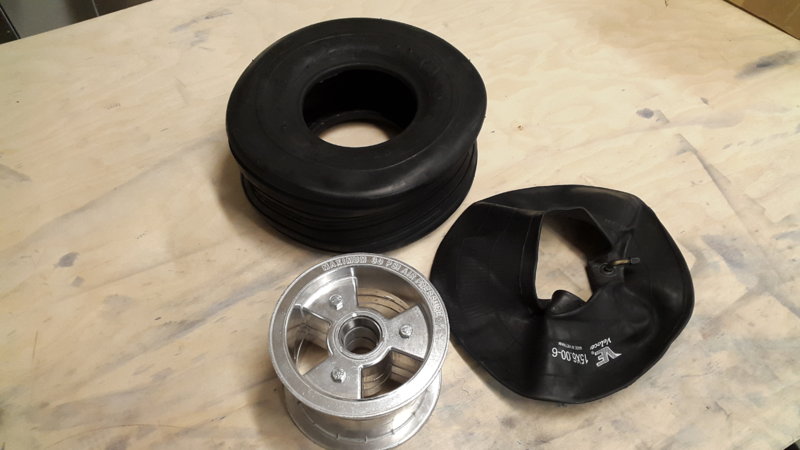
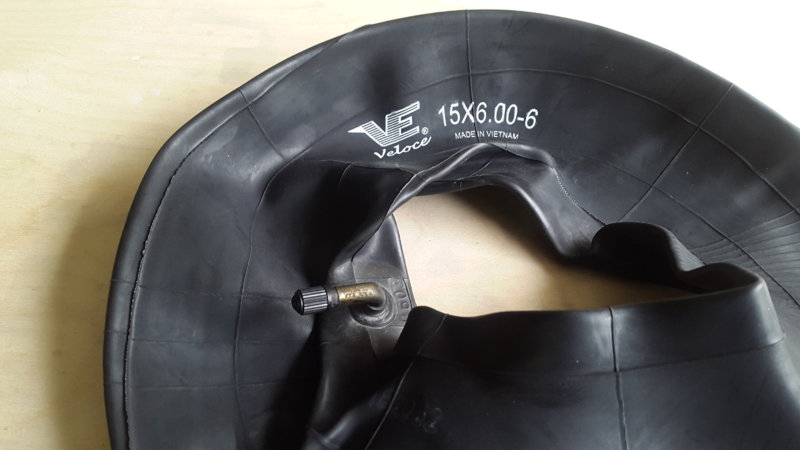
No way Richard....remember: 90% ready - meens 90% left ... but I hope to start flight test in spring About the wheels: I had absolutly no clue how to do it and could not find the right answers on youtube e.g. but then I remembered the EAA video collection. look at this: http://www.eaavideo.org/detail/video/1967222618001/wheels-and-tires?autoStart=true&q=wheel But I must admit, during the first wheel, I damaged the tube. Clamped it betwen the rims... Also read what Kyle Kom. wrote about 90deg. tubes and get some. Paint: - some rubbing with scotch brite pads - silicon remover - Sikkens 2K EP primer with much thinner (fast type) to keep it thin and light - then wet-in-wet Sikkens VOC plus .... its a paint not for cars but for trucks and other business machinery lookes good so far and seem light weight
-
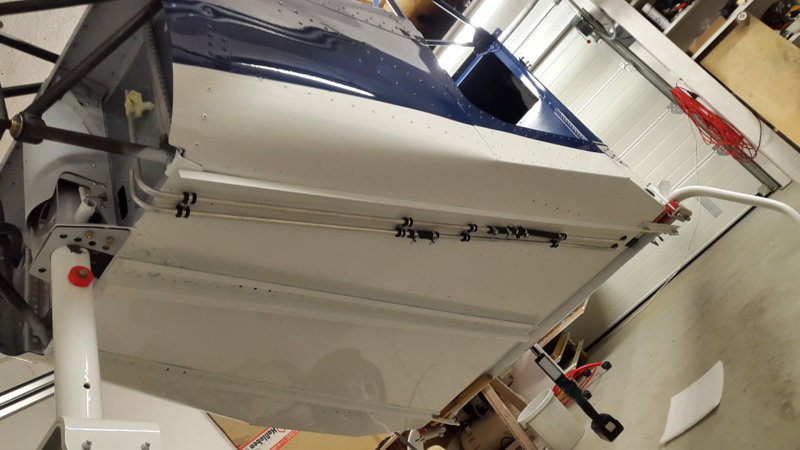
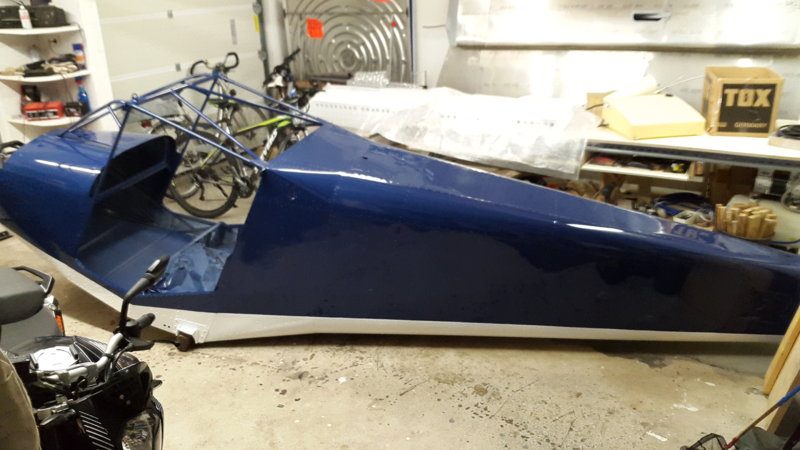
Not to much progress over the last weeks. "90% finished - 90% to go" But my the fuselage was in a paint shop. I was lucky to find a retiered professional who was amazed to paint an airplane. The empty space on the work bench was used to finish the wing tanks. And did the first wheels in my live. I had to replace one tube, that I ruined during intallation. Also recieved the rest of the kit including the rotax.
-
Good to see you back on track! Now keep going, so we can have our little fly in next spring!
-
I hope I can manage to put a LiFePo batterie to the Firewall and theirby saving some meters heawy wire. Still I don't know which side of the firewall to chose. The warm side is the one with the easy access. But whould that be to warm?
-
Thanks Mark. Your advise is highly appreciated.