MajorTom
-
Posts
289 -
Joined
-
Last visited
-
Days Won
1
Content Type
Profiles
Forums
Gallery
Downloads
Blogs
Events
Store
Aircraft
Resources
Tutorials
Articles
Classifieds
Movies
Books
Community Map
Quizzes
Videos Directory
Everything posted by MajorTom
-
Time to celebrate! Yesterday my savannah built passed the "middle" "bare-metall" (sorry don't know the right term) inspection. Just one rivet was to be redone. What a happy day.

-
Hey Skee, came something out of your thoughts about this one. It interests me too.
-
No, I did not have to drill it. And I don't want to use force. I could rivet it that way, but that would push the tube hard into the plastic at the other side. This would surely wear out fast. You seem to have other versions of this details in your builts. Thanks for the link. Guess it won't hurt to read it again, although this problem is not related with twin sticks. Now I remember. I like the removable sticks but my inspector would go mad for sure!!!
-
Hey Kyle, yes I have double steering and electric flaps. When I ordered, I did not know about adjustable seats. But I would not have ordered them, I think. I'm thinking about putting some epoxi (thick with microballons and some fibrepowder) under the pieces that hold the tube. so the angle would fit perfect.
-
Yesterday I recieved my tank cap update. Nice, but I don't see much difference. Also I put the flap mixer in, while the bird was laying on its side. Problems occured when trying to install the torque tube. It is the the new straight desingn without the dogleg. The tube seems slightly to long. And its not in 90 deg. angle to the seat longeron. There is a gap with gradient. I don't believe force is a solution.
-
What happend to your old ones? I'm looking for some seats for my built.
-
Hey Richard I've not recieved anything yet. What is the problem with the caps? And by the way, you gonne love this one.
-
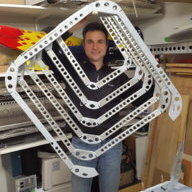
First step is sorting the parts into cardboardboxes. It took me 2 or 3 weeks and wished I had and Hogwarts Sorting Hat ...
-
Thank You all. I will take my time. There is no second chance, if I spoil this one. It is very kind of you, to help a first time builder from the opposit side of the world.
-
O.K. lets see if I understand. 1. bring engine mount in place 2. drill firewall 3. install brackets 4. loosly install upper fuselage skin 5. bolt cabin frame to engine mount
-
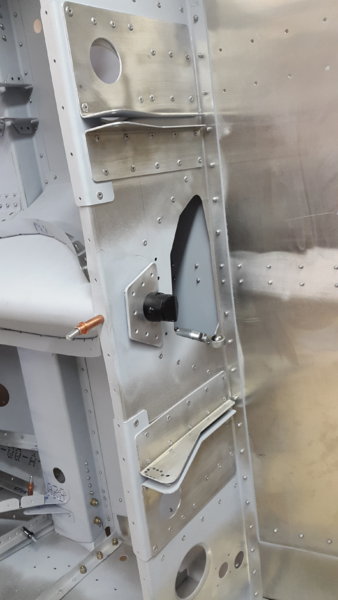
I did a lot of reading in your post lately trying to fill the gap the manual leaves... Now I know, why I was so confused about what goes in betwen sidewalls and firewall. It is all because this cowling inside / outside thing. I had this picture https://www.recreationalflying.com/attachments/img_1018_1-jpg.14169/ in mind and was searching a part that is not there on my built. The black part in the middle of this picture https://www.recreationalflying.com/attachments/img_1029_1-jpg.14171/ When to install it? My guess is to do it together with the engine mount. So the to be drilled holes in the extruded angulars would be exactly and no tension. Is there a best pactice sequence for assembling the cabin frame, engine mount and stuff around? ( Please don't waste you time writing much. If you can please just say 1. 2. 3. ) Thank you!!! The pictures are from Kyle. Hope he don't minds.
-
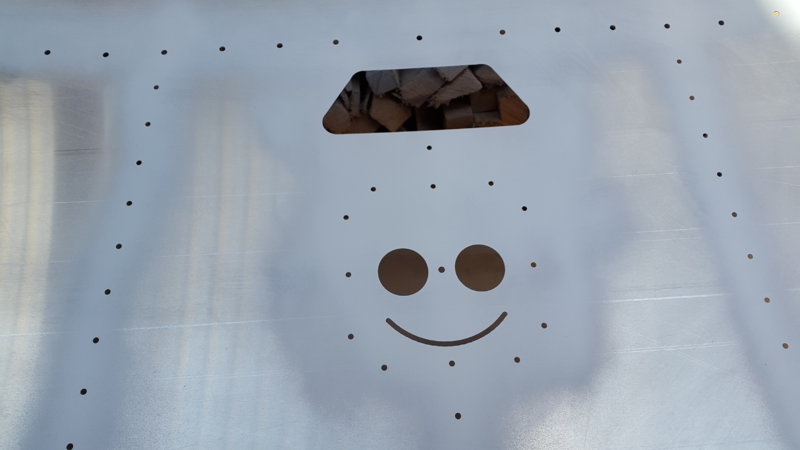
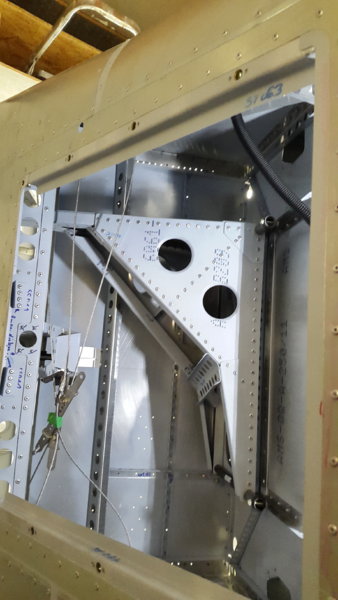
italien style cowling... I don't want to upset my inspector... he is going to list even a A5 rivet where it should be A4 in the plans... no joking!!! Won the first round on the wressling match...
-
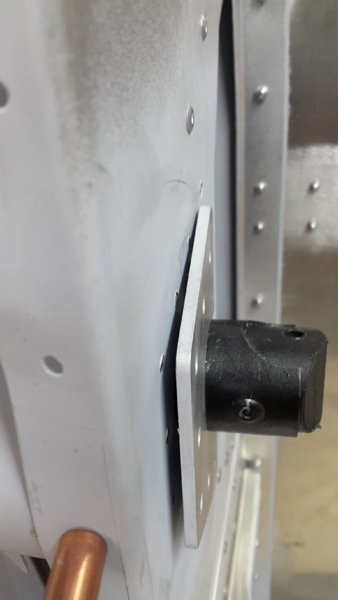
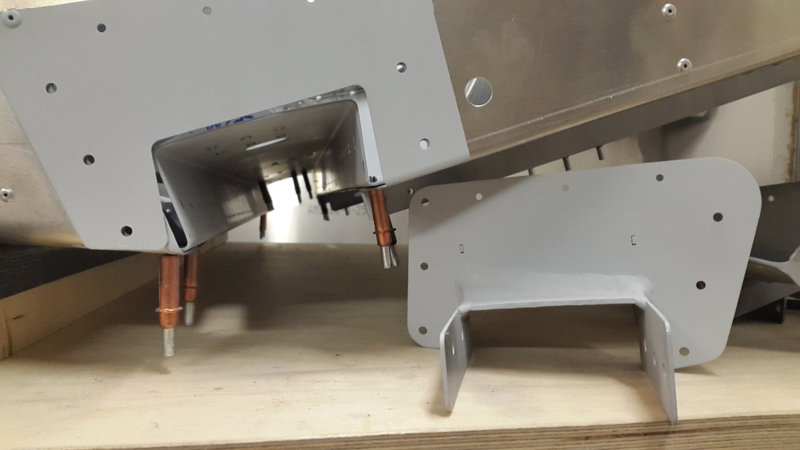
I'm very curious if this goes in nicely. The opening lookes trapezoidal but the bracket is square.
-
The manual realy s...s There is such an easy solution. I'm also wondering why ICP is not hosting an own forum or owners-site.
-
Thanks. Belive me, I read the manual and use the forum search funktion, before I ask stupid questions. It would surely help to have a Savannah owner nearby and have a peak from time to time. All worked out real good. Climbed the attic to get the engine mount. Nice crafted piece! Will do. The upper skin needs to be clecoed in anyway before installing the cabin frame. Seems you absolutly cannot follow the sequence of chapters in the manual.
-
Yes this might easily be true. This side is so full of information, but sometimes it is hard to find what your looking for. Thats why I liked your summaries so much. Maybe ICP should hire you to rewrite the manual.
-
This is what i got from ICP...
-
Yes.... It is called Bob's Rule... "No matter what they say, do not drill" And it is a good rule... saved my ass more than once allready... ( e.g. tanks )
-
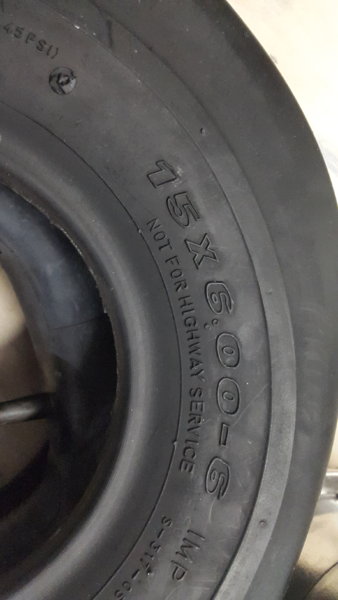
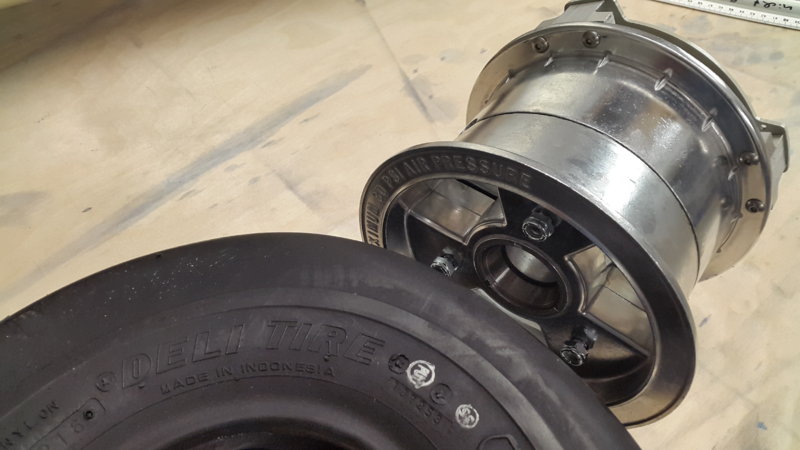
I ordered my kit with 600 x 6 tyres from ICP. I payed 250 euro extra and was told they would not only be bigger, but better quality. I can't say if this is true. because I have no expirience with tyres, I guess I will go to a car or bike tyre shop and ask for help.
-
Yes, I did as advised. It worked good, no problems. But I used only clecos so far. Yes, that was a problem in my built to. At first I was wondering why the firewall would bent at 1/3 height. Then I saw the angles you mentioned. So I removed the firewall completly and clecoed the hole firewall inside and outside on the bench. Next step is riveting something on or around the firewall, but I'm afraid of riviting pieces and drilling out one chapter later. For instance there are SF240 and SF241 The manual doesn't show wherer exactly to put them. Do they go betwen sidewall and firewall??? I searched Kyle's blog over and over to get hints on what comes betwen sidewalls and firewall. But I'm not sure.
-
I had to remove the firewall once again. Two of the stiffners needed 2 mm shortening. Otherwise the firewall would be bent. So this time, I fully assembled the firewall on both sides before puting it in. I think his realy is the best way. Just to make sure.... SF240 and SF241 go betwen sidewall and firewall??? I'm running out of black clecos. Can I put some rivets in the firewall? Where not to rivet?
-
So do I. Friend of mine is alway trying to talk me out of dark grey. He votes for blue also. steel blue and white seems a real good combination - fresh and modern How far is your built? steel blue like this? http://www.blackheathproducts.co.uk/image/cache/data/U539_ST9-500x500.jpg
-
Hey Perry, thanks for your help. If I just had the itAlien manual, my first time builder skills and no friends, I would be completly lost. I like the dark grey color of the savannah in your profil photo. How do you call it? I guess the two color factory paint sheme would look nice on the fuselage. dark grey upside and creamwhite down
-
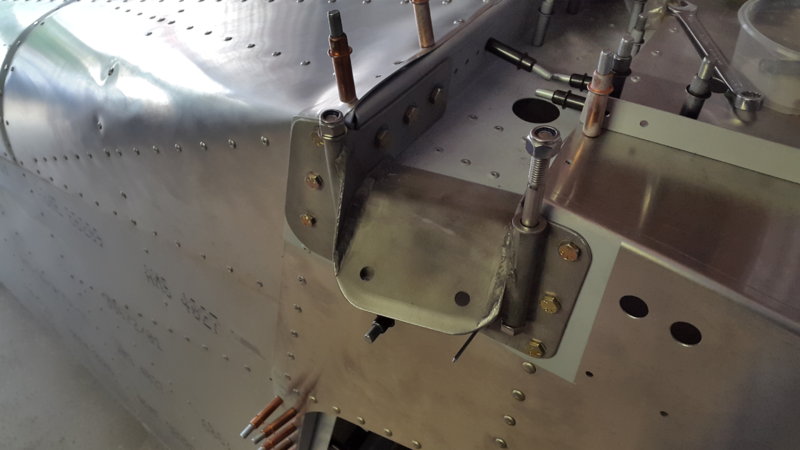
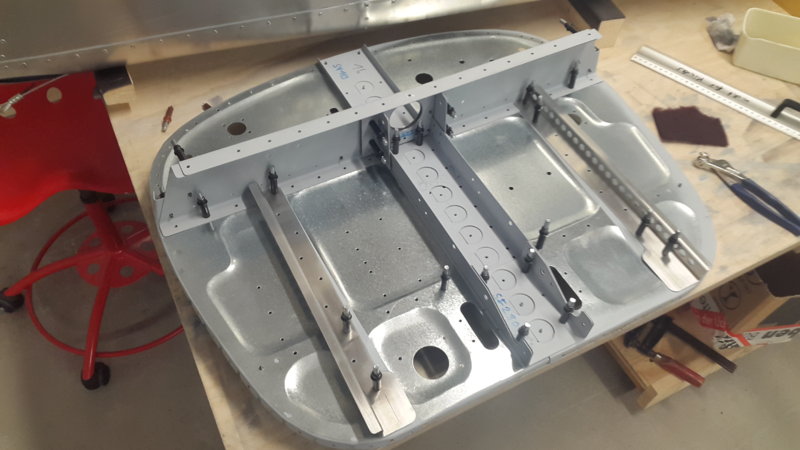
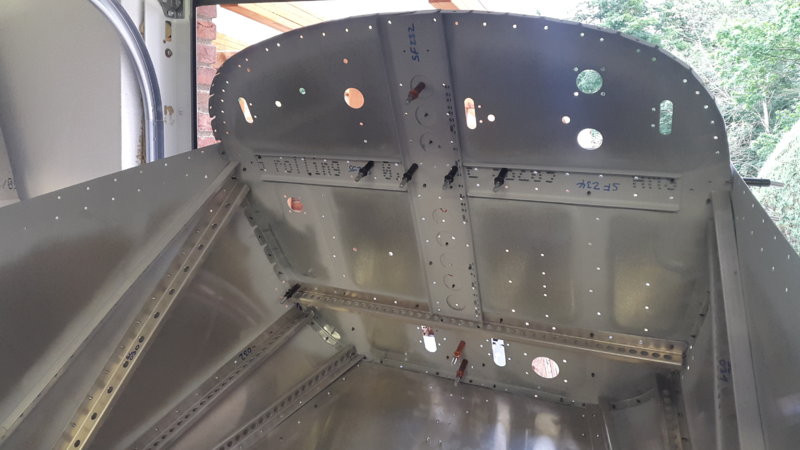
Guess who's much to big firewall is fitting perfect to the much to small fuselage! But I have to go back a bit. Like Perry advised, I clecoed some pieces to the halfes to stabiliese them. But I clecoed not enough stuff to it, so it deformed verticaly. The vertical piece you see in the photo was clecoed in later, but it was to late already. Today I will remove all clecoes left and right from the sidewall and install as many stuff as possible before clecoing upward again.
-
Well, I put myself in kind of a double dilemma. On one handside I dont want to spend to much money. So a good used engine would be good. On the other side, as a first time builder I would be best advised to get a complete kit. If I decide to by a kit, I can do it in germany or safe 5000Euro and buy in france. But that might deeply upset the german distributer. And he realy seems to be a nice guy.