Kyle Communications
-
Posts
6,660 -
Joined
-
Last visited
-
Days Won
99
Content Type
Profiles
Forums
Gallery
Downloads
Blogs
Events
Store
Aircraft
Resources
Tutorials
Articles
Classifieds
Movies
Books
Community Map
Quizzes
Videos Directory
Everything posted by Kyle Communications
-
Doing the modified cowl for Mabel was a friggin nightmare......I have a new most hated job now
-

Rotax 912uls ignition pinout
Kyle Communications replied to danny_galaga's topic in Instruments, Radios and Electronics
I have the terminals if you want some That will be the kill sw wire it will be under the oragnce wire coming from the CDI module side. The mauve/purple wire at the CDI end is softstart is that a new engine? -
My Savannah S model rebuild Blog
Kyle Communications replied to Kyle Communications's topic in Savannah
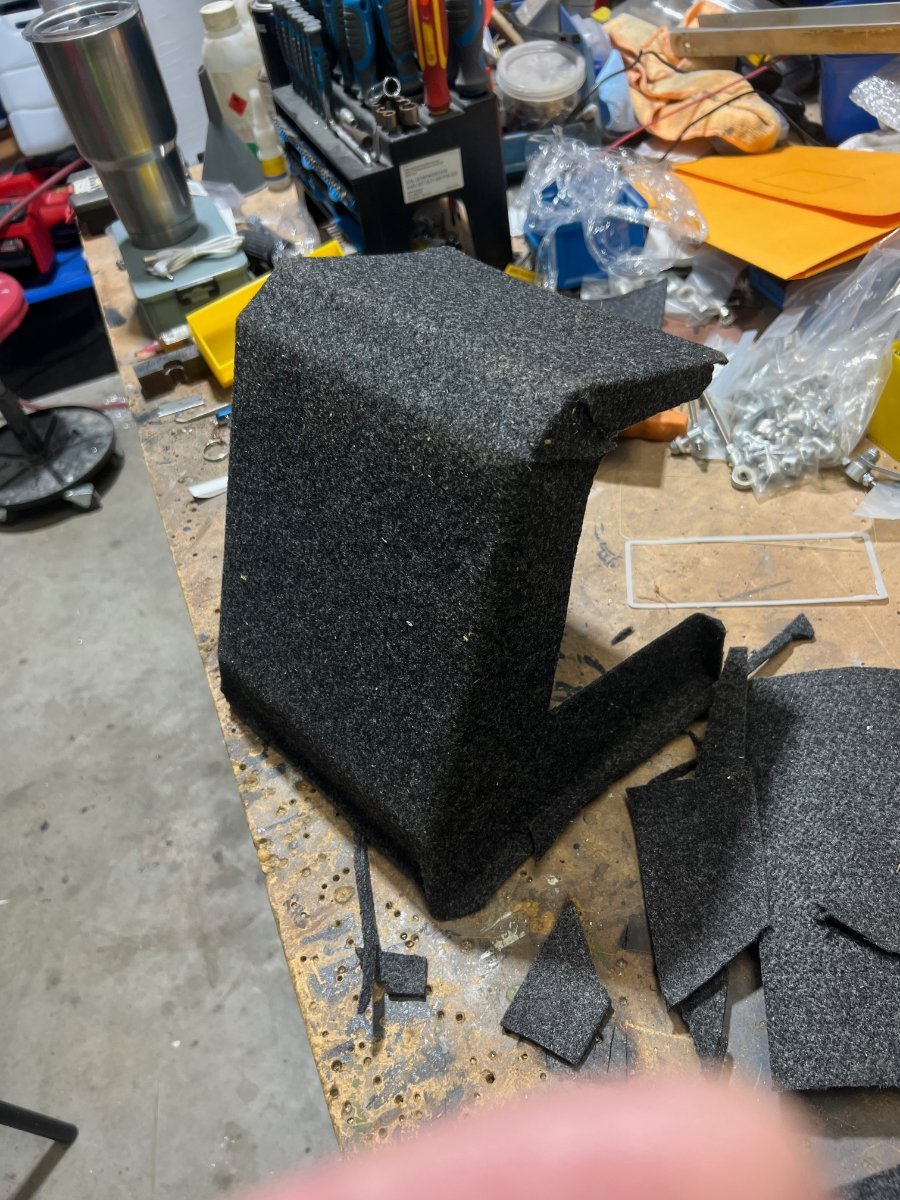
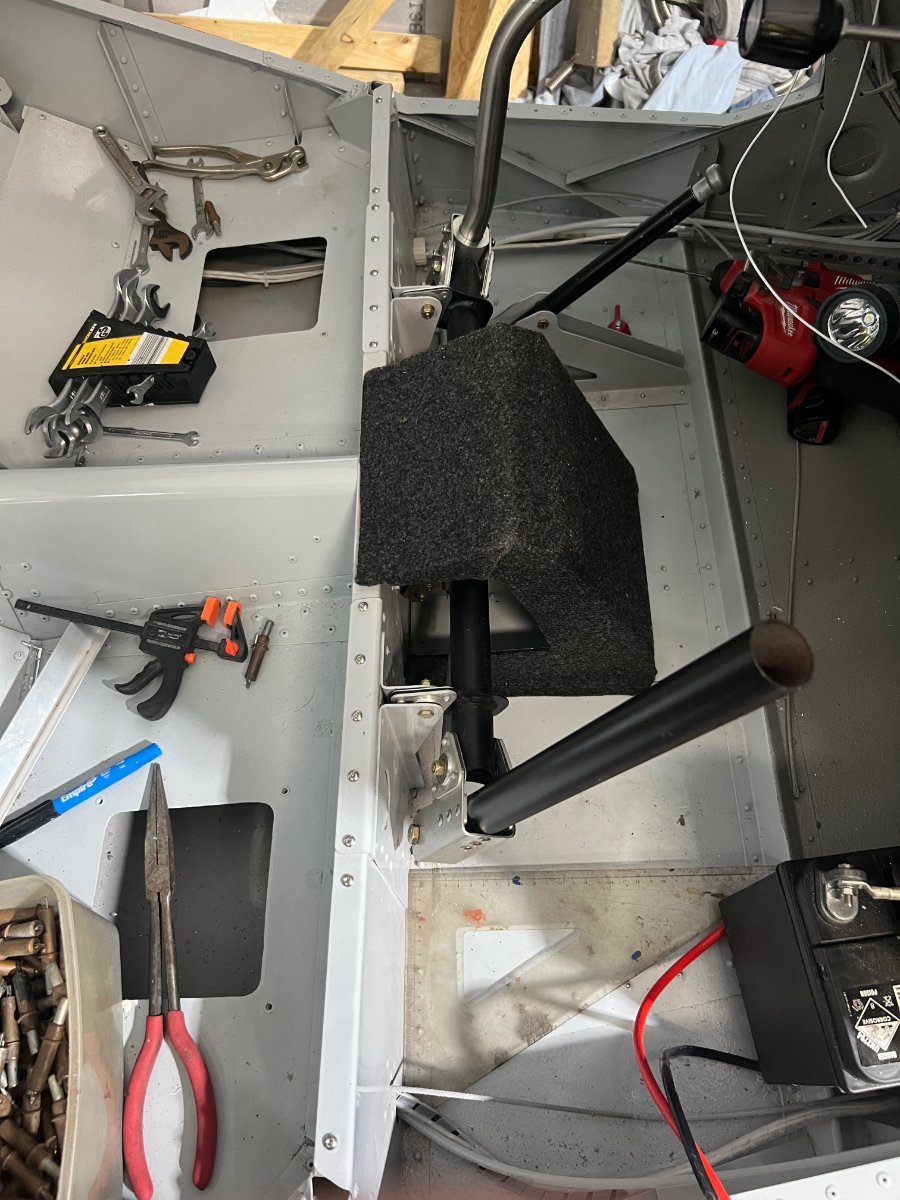
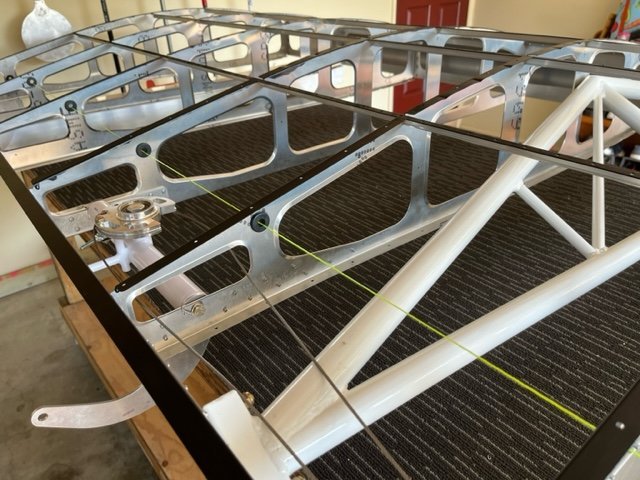
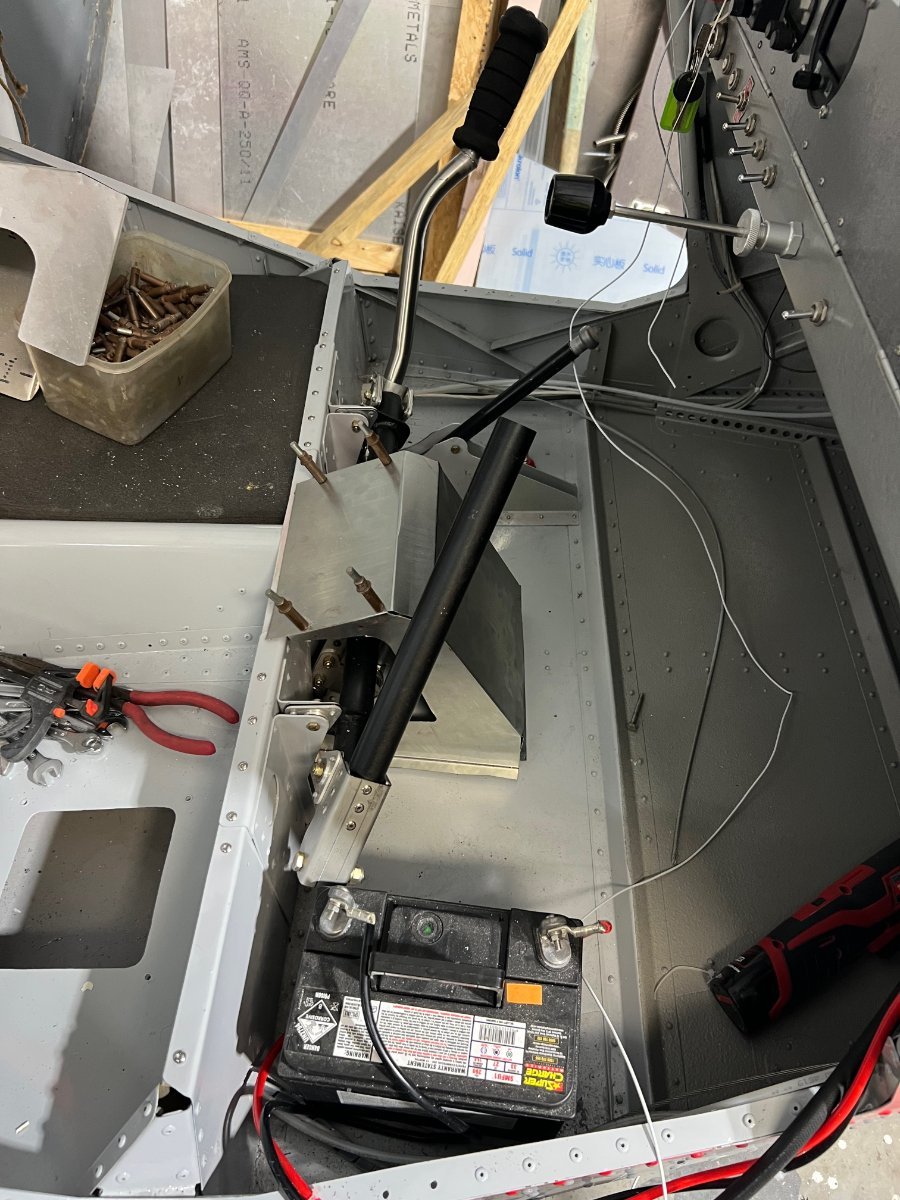
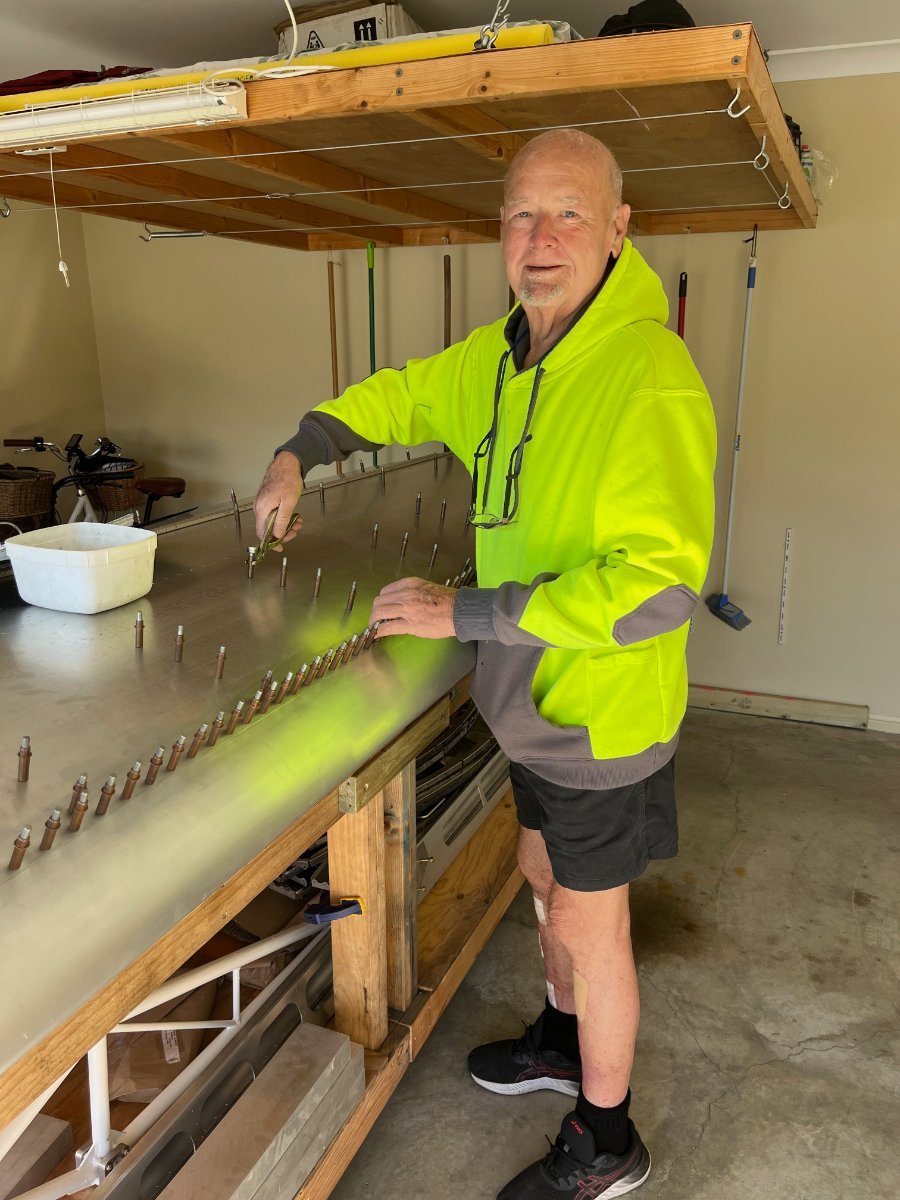
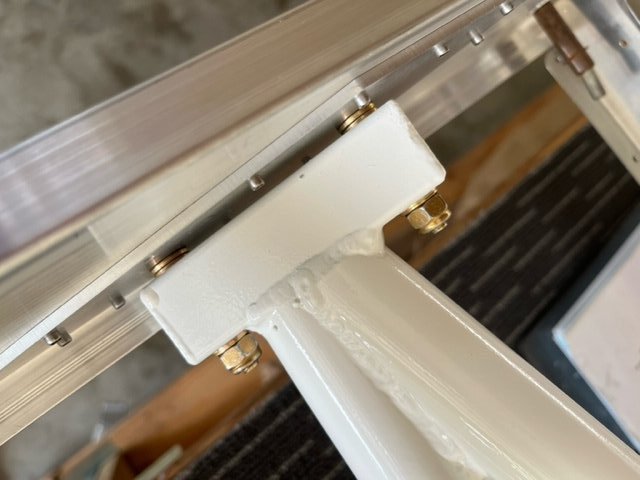
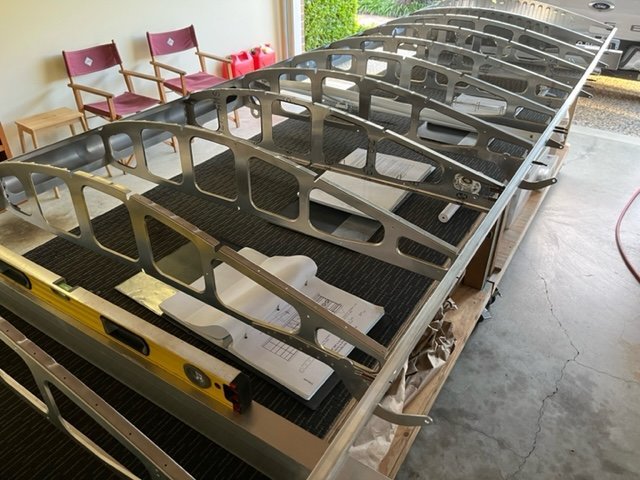
Been cold in the workshop at night so havent done a lot in there. The twin stick coupling cover has been finalised and now carpeted. I have the cover attached. I put 3mm rivnuts into the floor and the cover nicely screws down and is super solid. The roof ribs are now painted and set onto the cabin overheads. The windscreen has been trimmed and also all drilled and also the roof section and all clecoed This week I will be reinstalling the ballistic chute box I made and getting the chute mounted and fitting the chute actuator. Not sure where that will end up yet. Some are on the top of the dash others are in front of the pilot on the cross member...so will make that decision later
-
Go to facebook and look up AOPA Australia..look at te last 3 videos Ben Morgan has done..watch the first one done 3 days ago then the next a day ago and the last one today. ....Its a eye opener especially the guy with the foxbat in RAA and has a defib
-
Belite Fuel Level System
Kyle Communications replied to skippydiesel's topic in Instruments, Radios and Electronics
If you hook it up wrong I doubt it would be replaced under warranty....thats not in any manufacturers pervue -
Belite Fuel Level System
Kyle Communications replied to skippydiesel's topic in Instruments, Radios and Electronics
Thats probably a 4-20ma sender. Is there any numbers on the sender? some are 0.5 to 4.5V analogue style though -
Belite Fuel Level System
Kyle Communications replied to skippydiesel's topic in Instruments, Radios and Electronics
If it is the stickon type plastic sensor they are either a serial data out of a open collector transistor -
You will find any aircraft wet hire will have to operate as a certified aircraft. Its a different matter if you have a mate who has a aircraft and "lets" you fly it. it does not have to be a certified aircraft. The only thing is though that you would usually be named on his insurance policy...if he has one of course and also how many hours you have up will be taken into account for that policy. If its not insured then be prepared to soak up the bill for any repairs if you damage it though.
-
My Savannah S model rebuild Blog
Kyle Communications replied to Kyle Communications's topic in Savannah
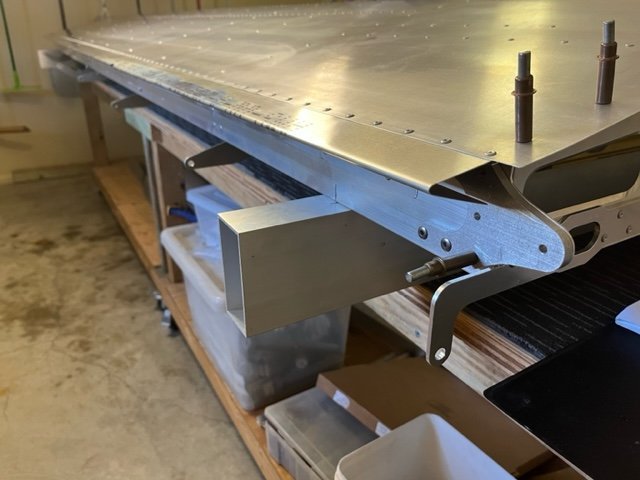
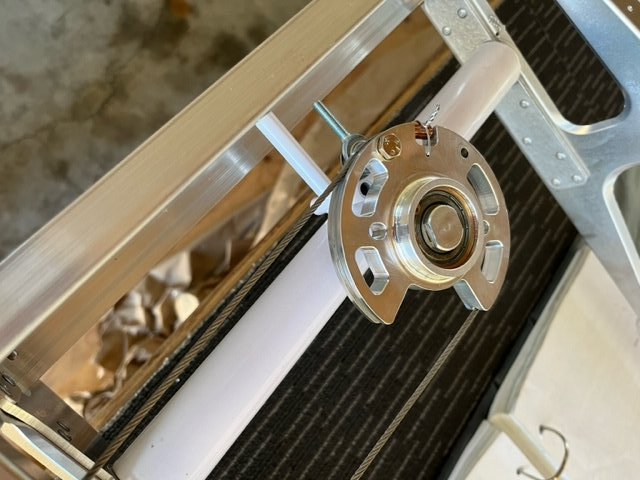
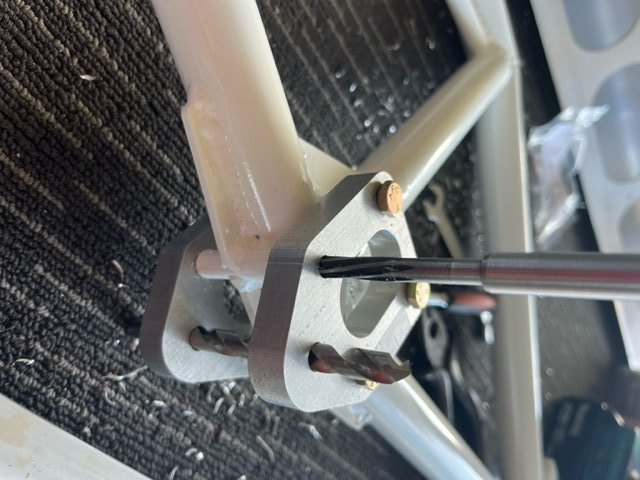
My later version flap bracket had deeper notches...it made the engagement a lot more positive and highly unlikely to ever jump out even after a lot of wear. -
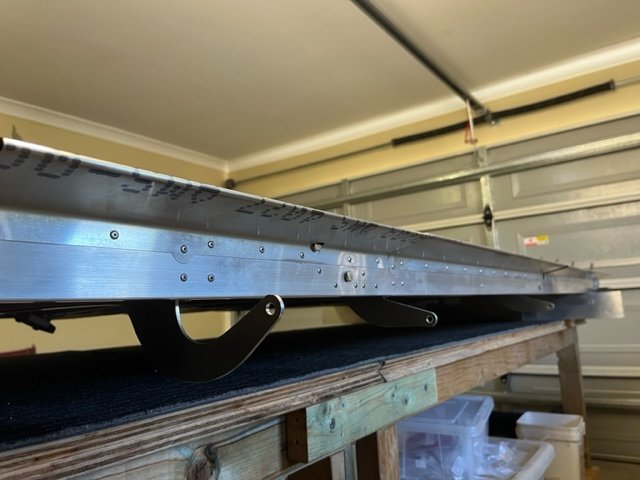
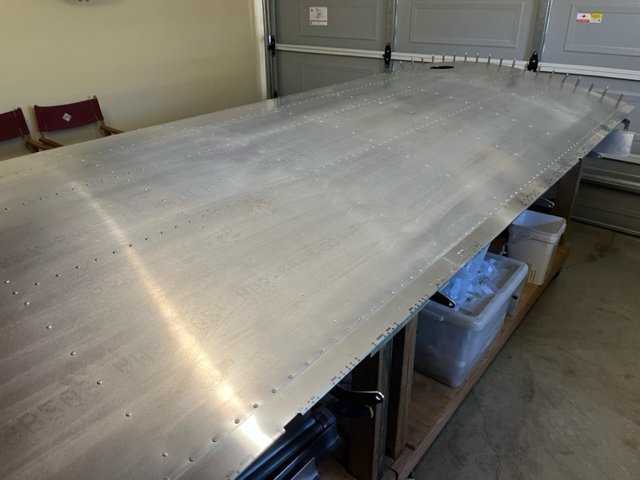
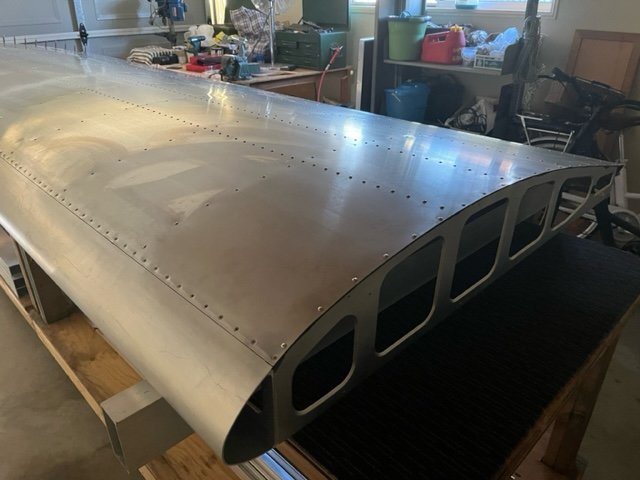
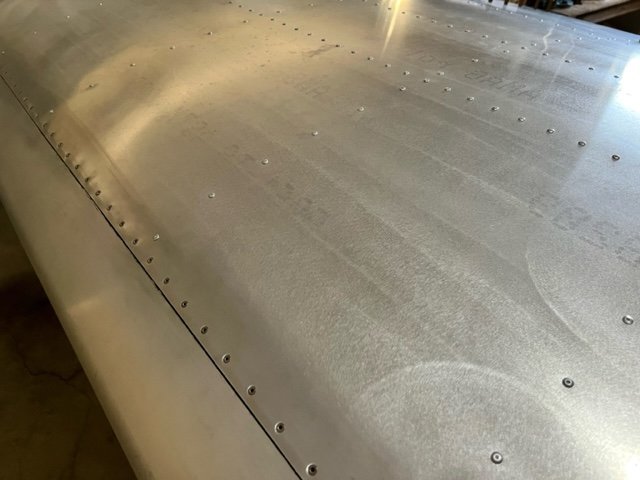
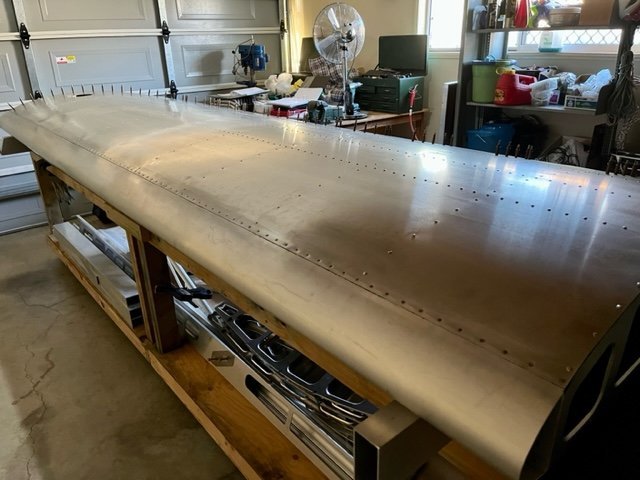
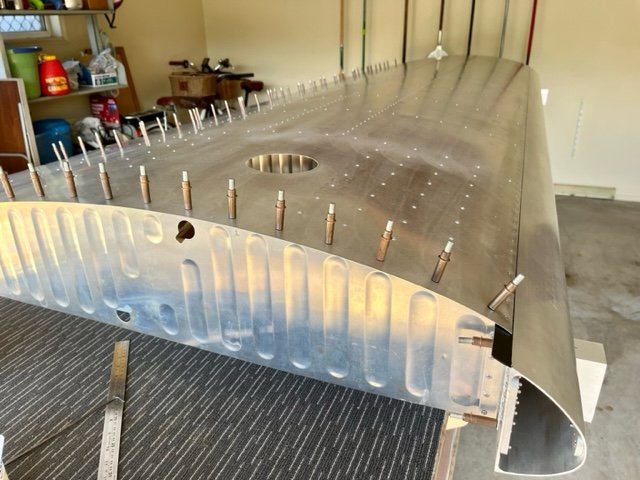
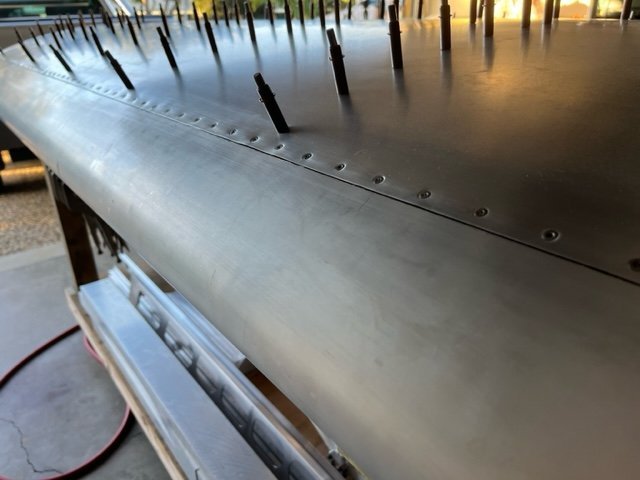
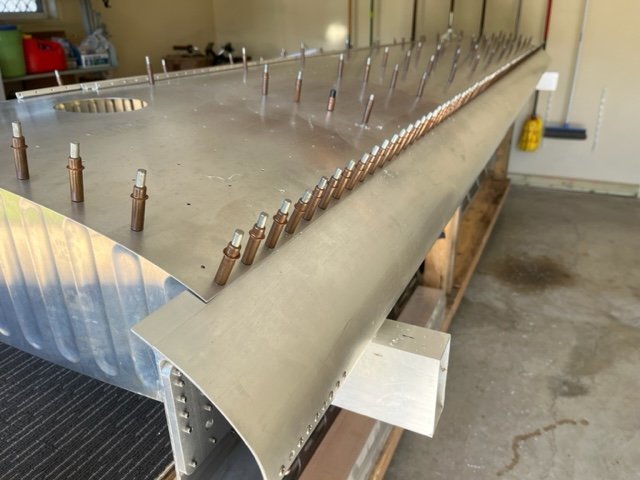
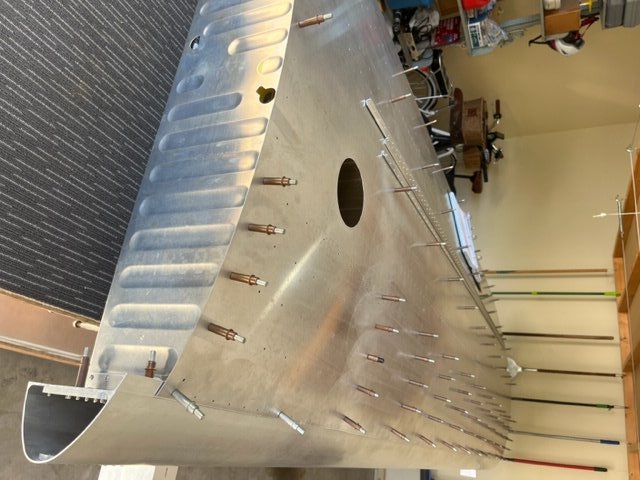
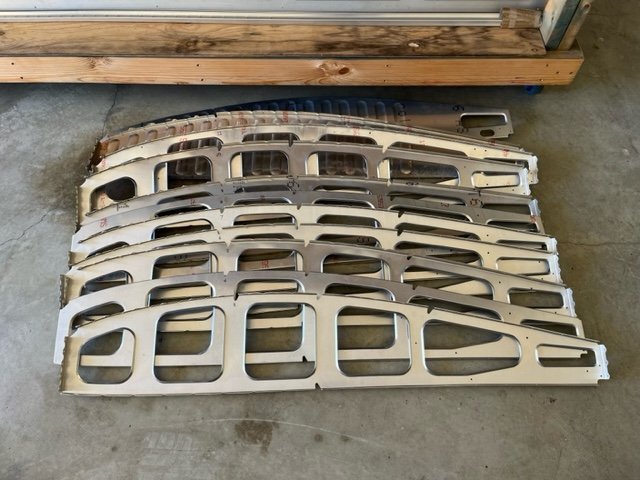
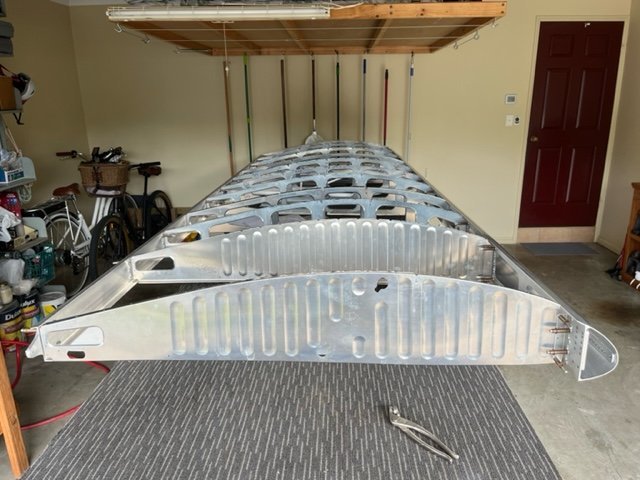
02/06/23 Trimmed, deburred and clecoed Flap and Aileron Gap Seals to Rear Spar. Riveted final four rows of LH Wing upper skin rivets to ribs. Riveted Gap seals to Rear Spar. Upper skin of LH Wing complete. 4.4h
-
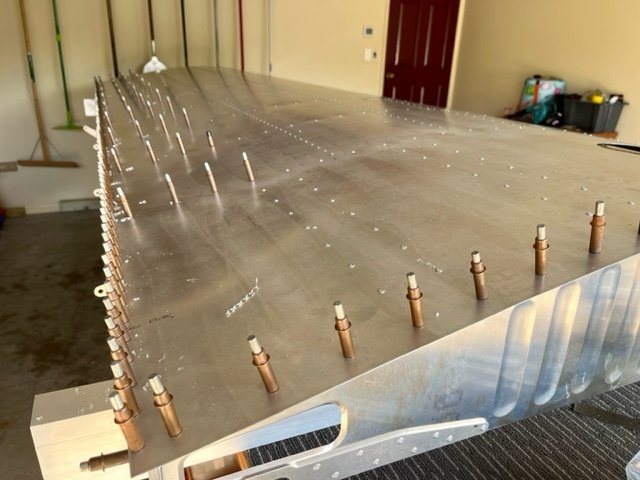
31/05/23 Riveted LH upper wing skin to ribs, fuel tank supports and stringers up to 4th last row. Match drilled upper flange of rear spar. Deburred rear spar and wing skin. 5.4h
-
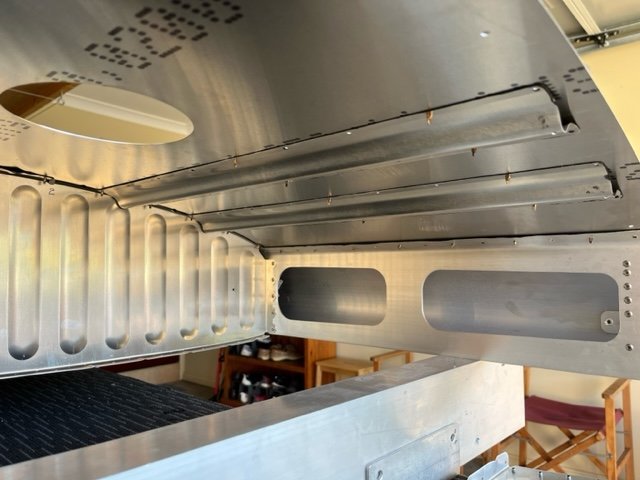
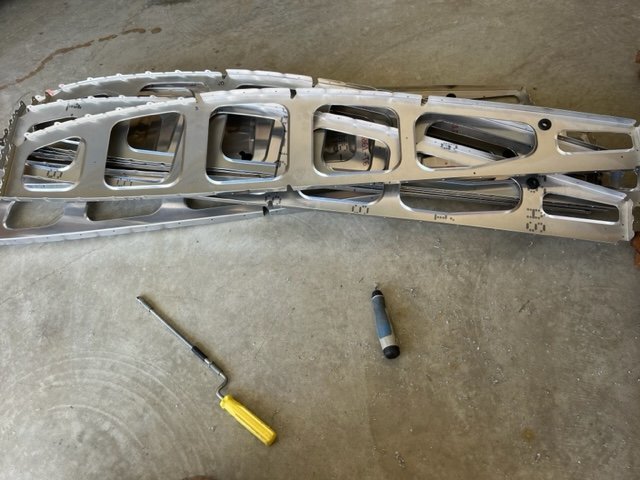
29/05/23 Removed upper LH wing skin and deburred leading edge spar. Roller applied two coats of corrosion inhibitor to spars, ribs, stringers and tank supports. Replaced wing skin and clecoed in tank supports. Riveted leading edge of skin to spar. 4.3h
-
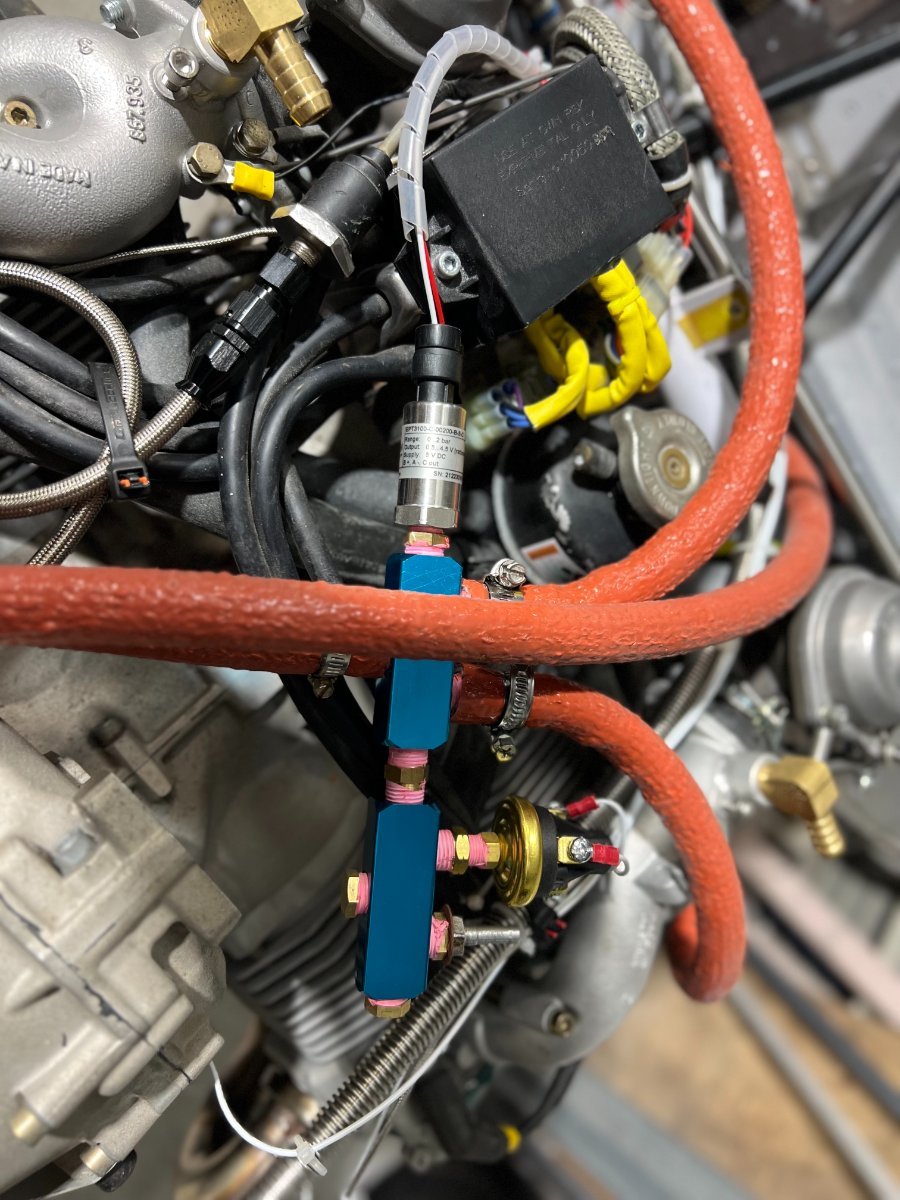
The new sensors also had a unacceptable failure rate especially for about 400 bucks each. They went away from the Honeywell one to a German one...starts with a K...something like Keller. Not sure how relaible the new ones are. I have had a Honeywell fail and I put a VDO resistor style in but I remote mounted it so take out the hammering they get from the crankcase. I now remote mount even the electronic sensors. You can see it next to the CDI module the silver one is my fuel pressure sender it is a 0-5V electronic type not the 4-20ma type
-
Lets face it Rotax specify 2000 hr TBO....a bad run in wouldnt show up until after 2000 hr of ops
-
My Savannah S model rebuild Blog
Kyle Communications replied to Kyle Communications's topic in Savannah
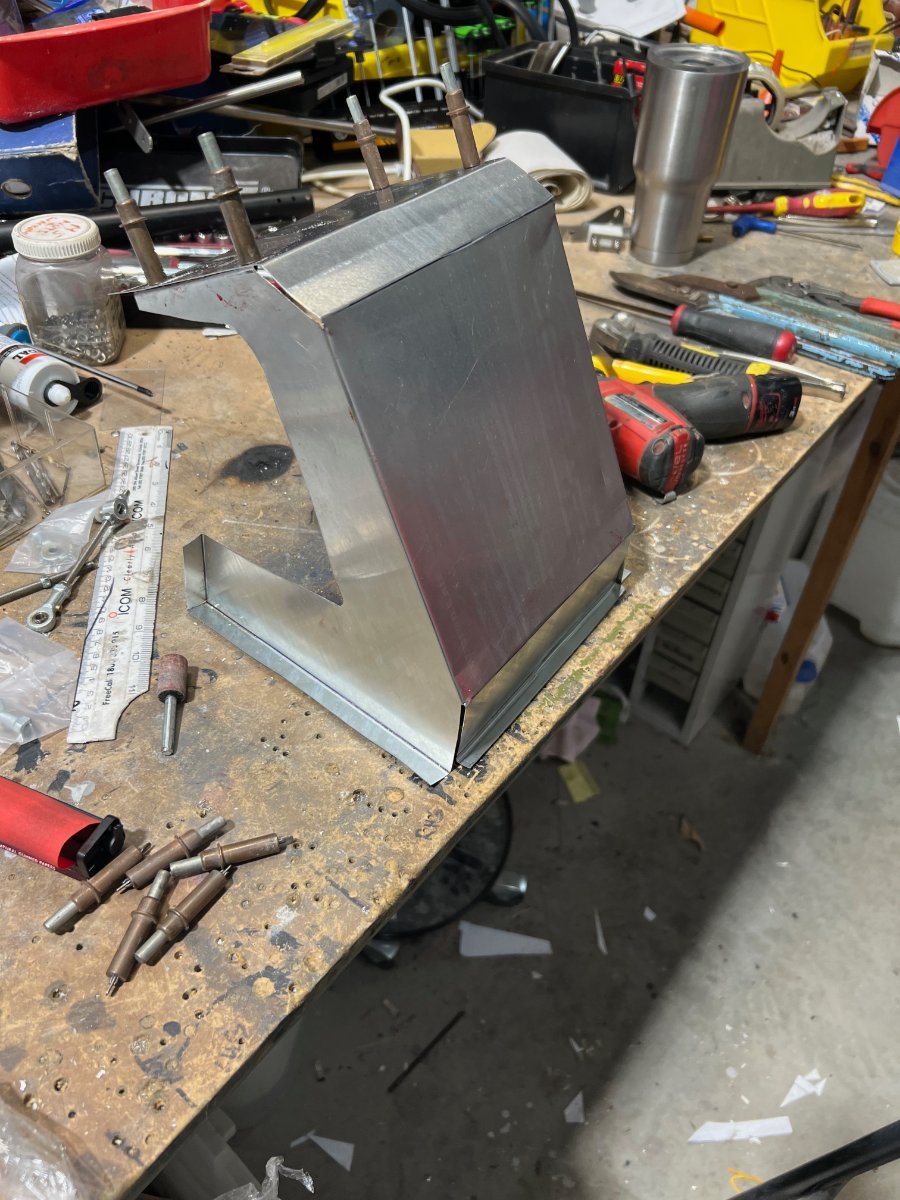
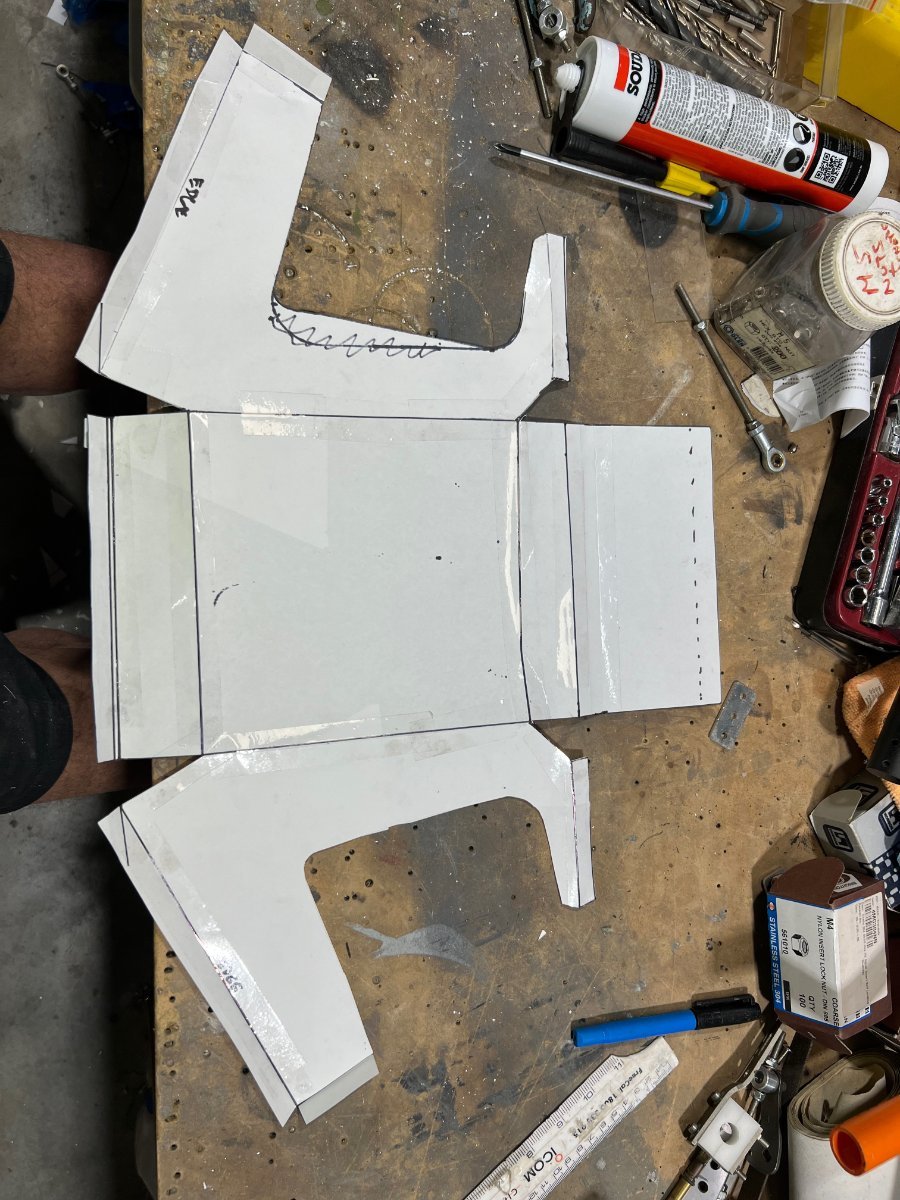
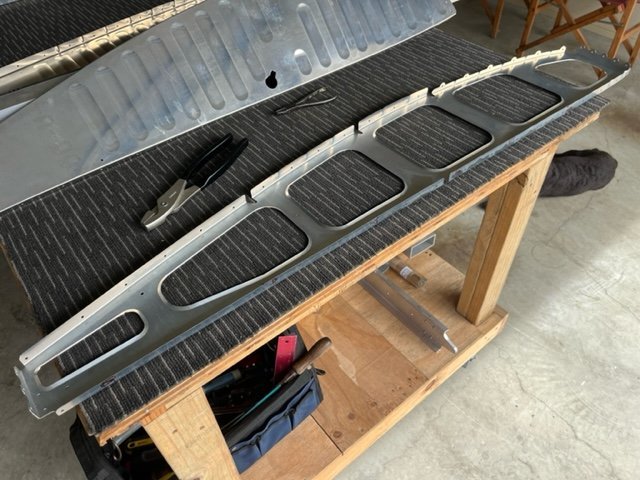
Sized up the required area for the twin stick control cover. It is there just incase something gets on the floor and decides to go in under the control yoke at the bottom and jam the controls. It will be coverd in carpet and I will use velcro to affix a front section on it that acts like a vertical glovebox. I did the same in "The Girlfriend" I have a little 600mm panbrake here so after hand making a pattern I transferred that to some 0.016 alu and started cuttong and then folding. I am not a sheet metal guy but it didnt come out too bad...but the carpet will hide a multitude of sins. Gotsome final fitting to do for the mounting.
-
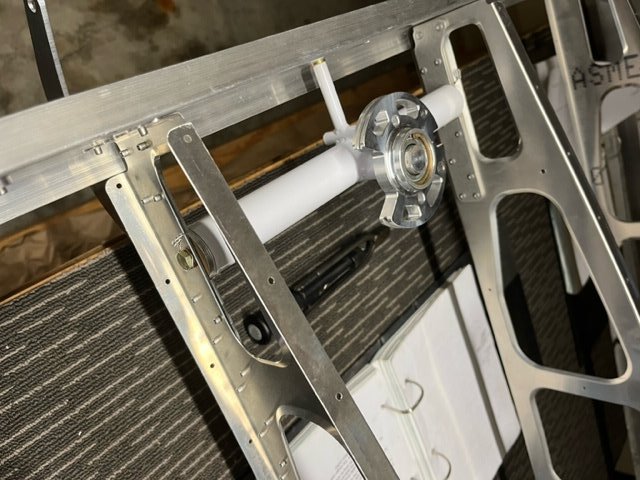
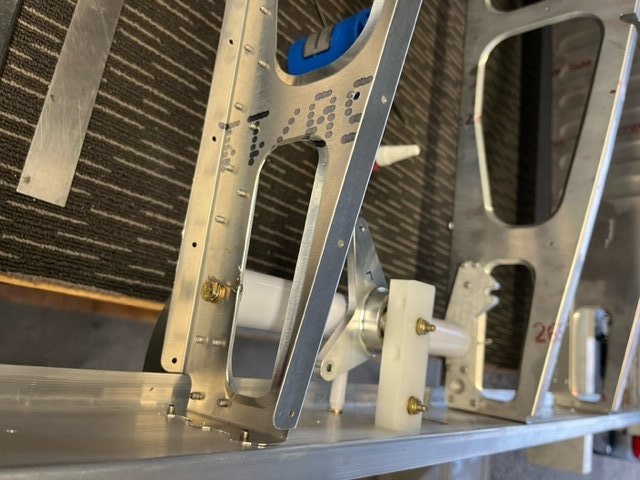
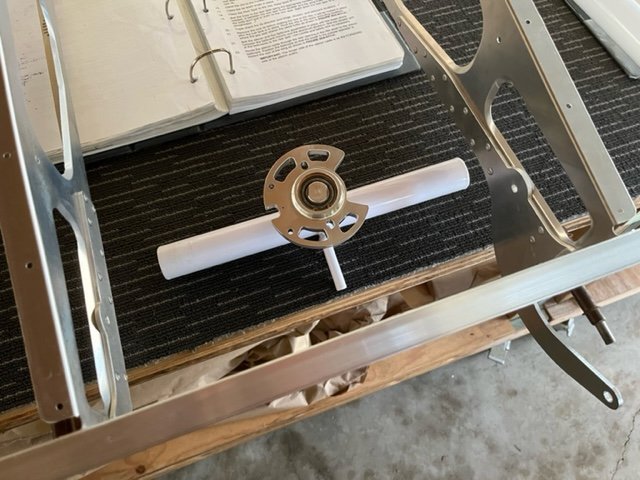
27/05/23 Assembled RH wing aileron bellcrank. 0.4h
-
27/05/23 LE countersinking completed. Prep for anticorrosion paint for tops of ribs and front and rear spar contact areas 1 hr
-
24/05/23 Countersunk (microstop) main spar to accept LH dimpled upper wing skin. 1.3h
-
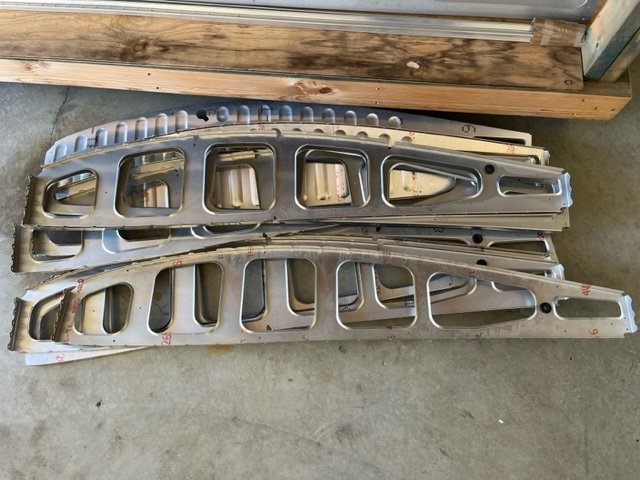
23/05/23 Trimmed stringers to length. Levelled and squared wing spars on aluminium box sections. Formed rolled edge on upper LH wing skin. Clecoed wing skin to ribs and matched drilled main spar. Deburred and dimpled wing leading edge. 3.8h
-
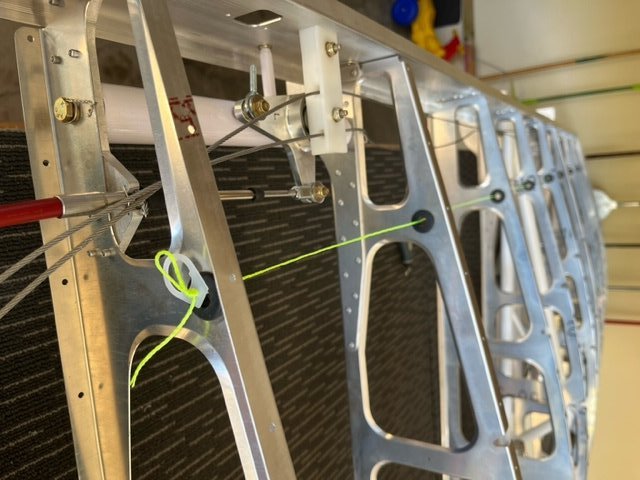
03/05/23 Riveted ribs 2-11 to front and rear spars. Installed LH wing flap and aileron bell cranks. 2.4h 06/05/23 Installed LH aileron bellcrank pushrod male rod end and aileron cable. Safety wired ferrule in locating slot. Installed LH flap Teleflex cable and safety wired to Teleflex cable mount. Attached male and female rod ends to flap bellcrank. 1.4h 08/05/23 Straightened (fluted) 11 ribs of RH wing. Drilled and deburred 5/8” holes in ribs of LH and RH wings. Added grommets to holes and cable draw string to LH wing ribs. 2.3h 13/05/23 Deburred ribs of RH wing. 1.9h 15/05/23 Routed and supported pitot and static lines in LH wing. Deburred 8 stringers for LH and RH wings. 5.4h
-
28/04/23 Squared flanges and straightened ribs of LH wing. Clecoed ribs temporarily to spars and shimmed truss to straighten rear spar. Fabricated wing attach angles for both wings and deburred. Deburred aileron and flap hinge brackets for both wings. 5.1h 30/04/23 Set-out aileron and flap hinge arms and rib attach angles. Removed ribs from spars and match drilled for hinge arms etc. Deburred all ribs and riveted hinge arms, flap and aileron bellcrank mounts and attach angles to ribs. Clecoed ribs to spars and positioned wing tie-down angle. 6.3h
-
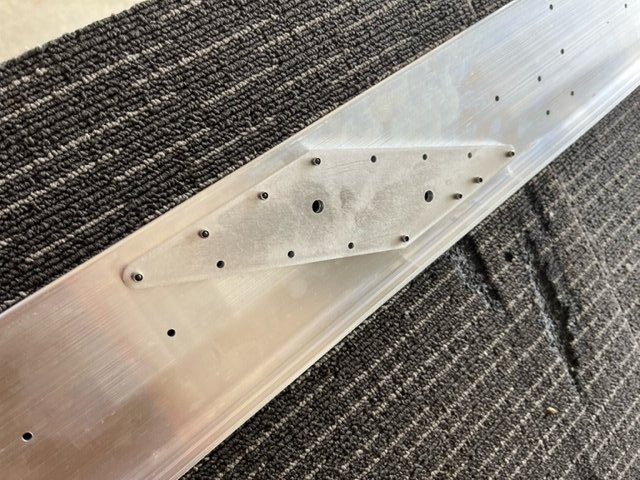
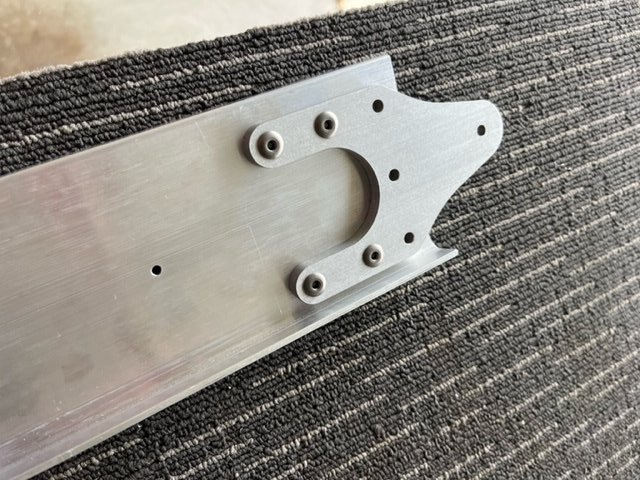
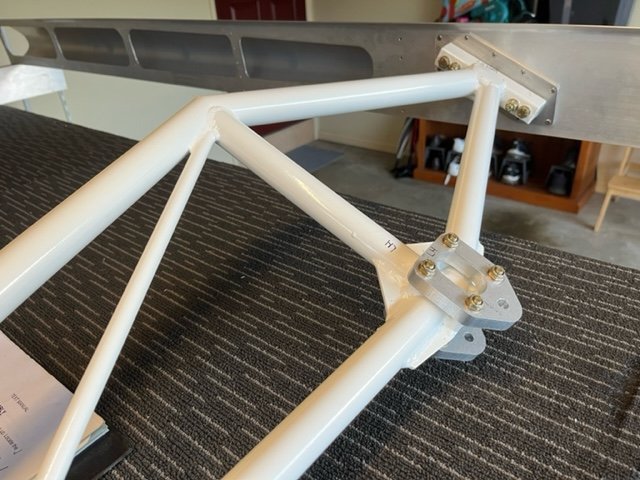
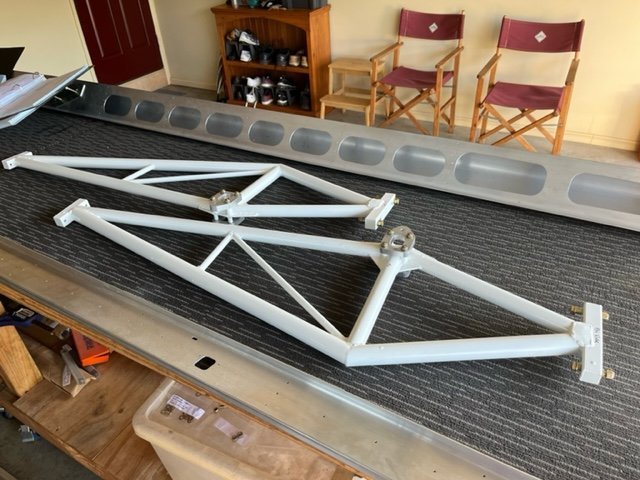
This thread will be a copy of the build log for this aircraft 23/4/23 Assembled both flap bell crank and one aileron bell crank assemblies. 1.4h 24/4/23 Riveted all (10) doublers to main and rear spars of LH and RH wing. Removed and replaced 9 rivets that were incorrectly packed in CCPQ-43 packet. (Were actually CCPQ-42….12 wrong size rivets in packet) Updrilled truss attachment holes in main spars to 5/16” and cleared excess powdercoat from bolt holes in wing trusses. 3.4h 25/4/23 Commenced match drilling strut truss fittings to LH and RH truss bosses. 1.3h 25/4/23 Continued match drilling and started reaming strut truss fittings on both trusses. 3.3h 26/4/23 Completed reaming strut truss fittings and bolted same to LH and RH trusses. Reamed spars, doublers and trusses. Bolted LH truss to LH wing main truss. 2.8h
-
My Savannah S model rebuild Blog
Kyle Communications replied to Kyle Communications's topic in Savannah
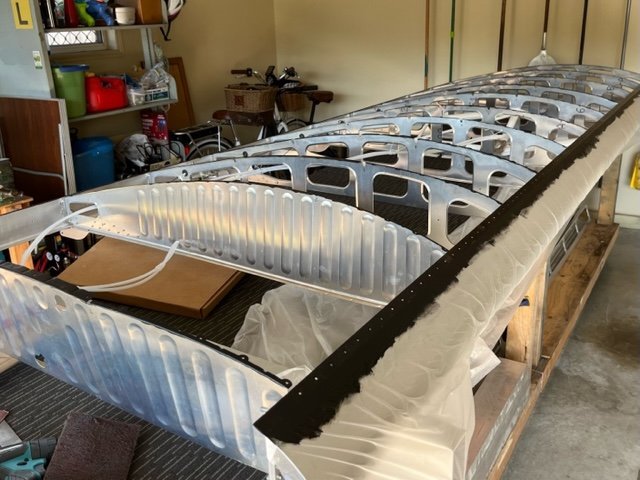
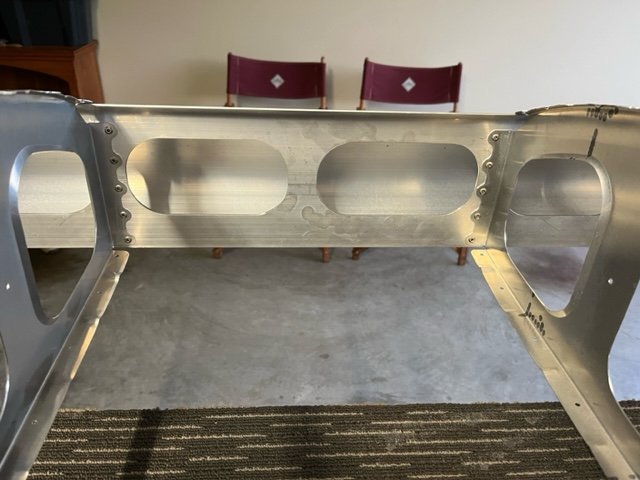
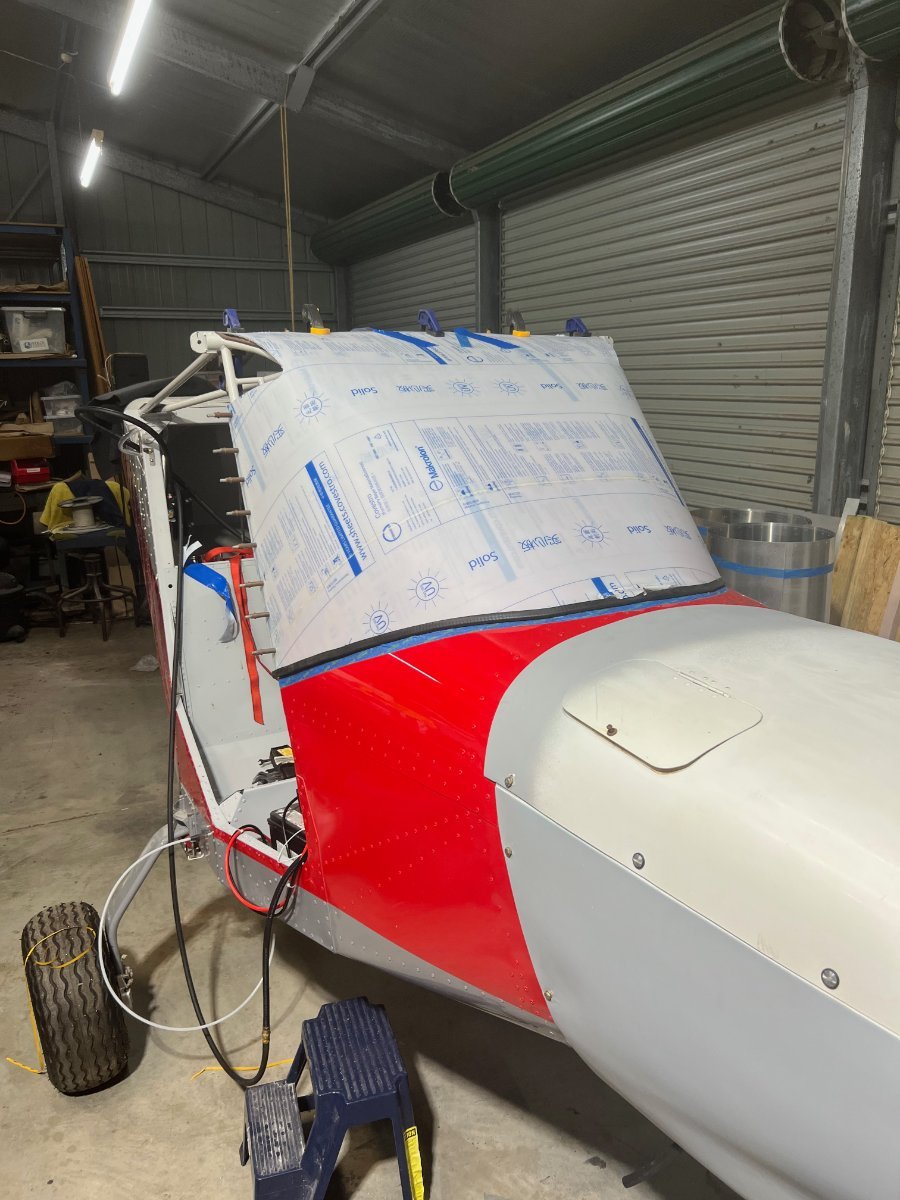
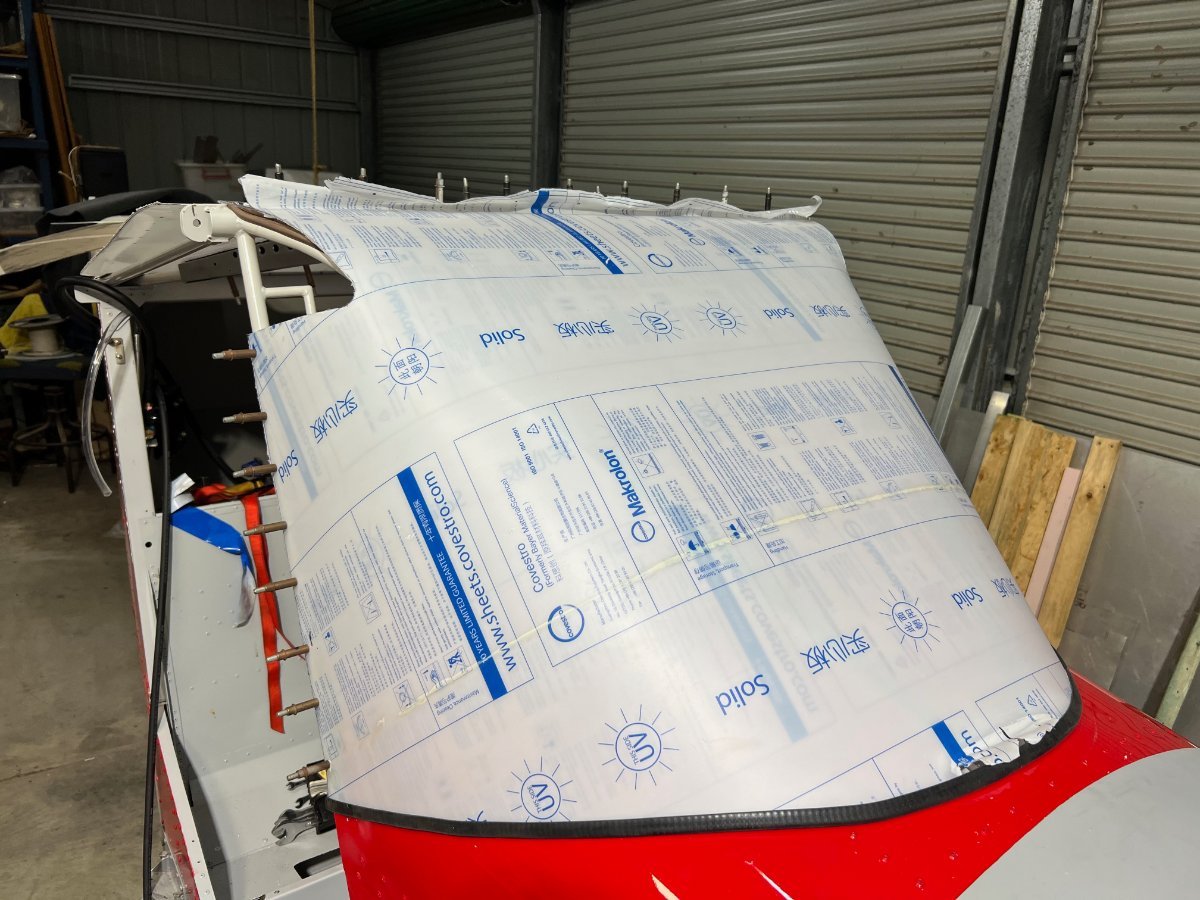
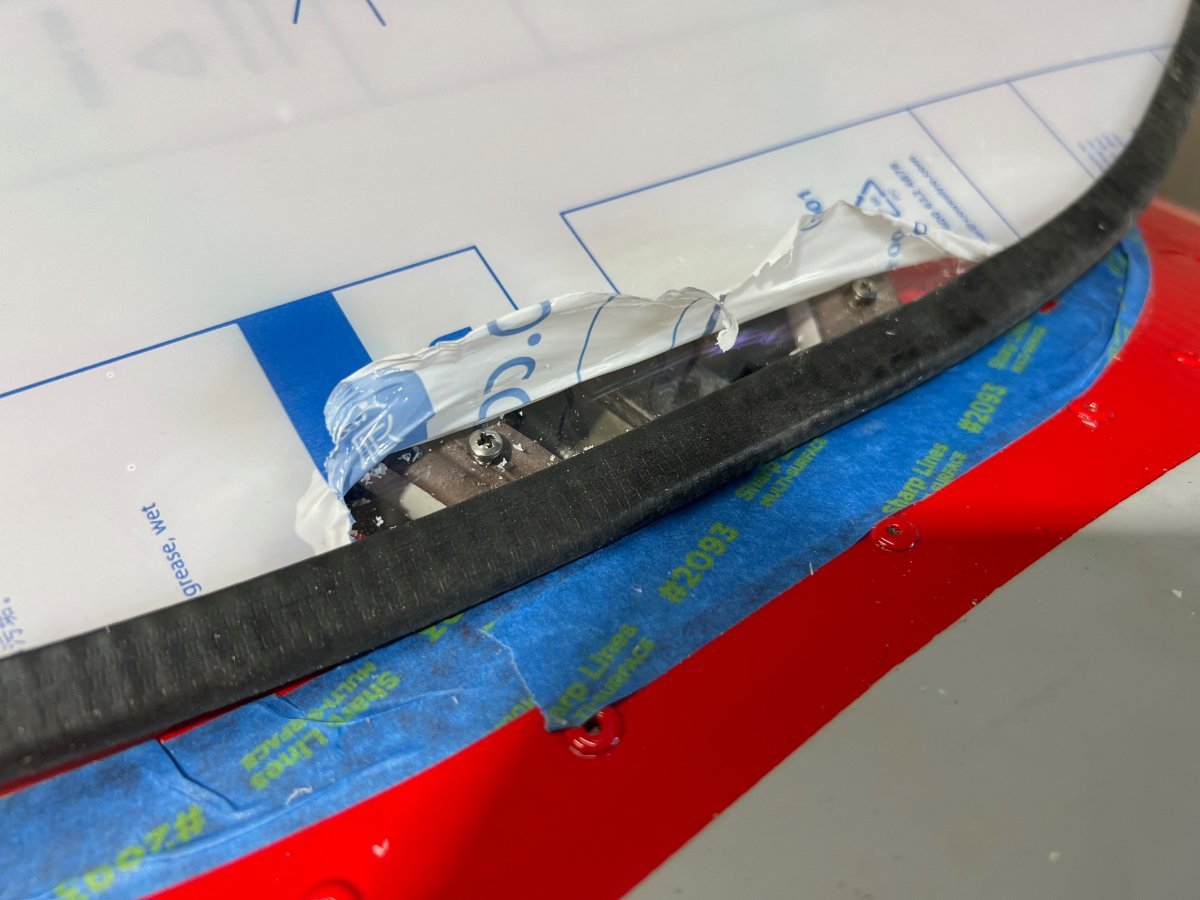
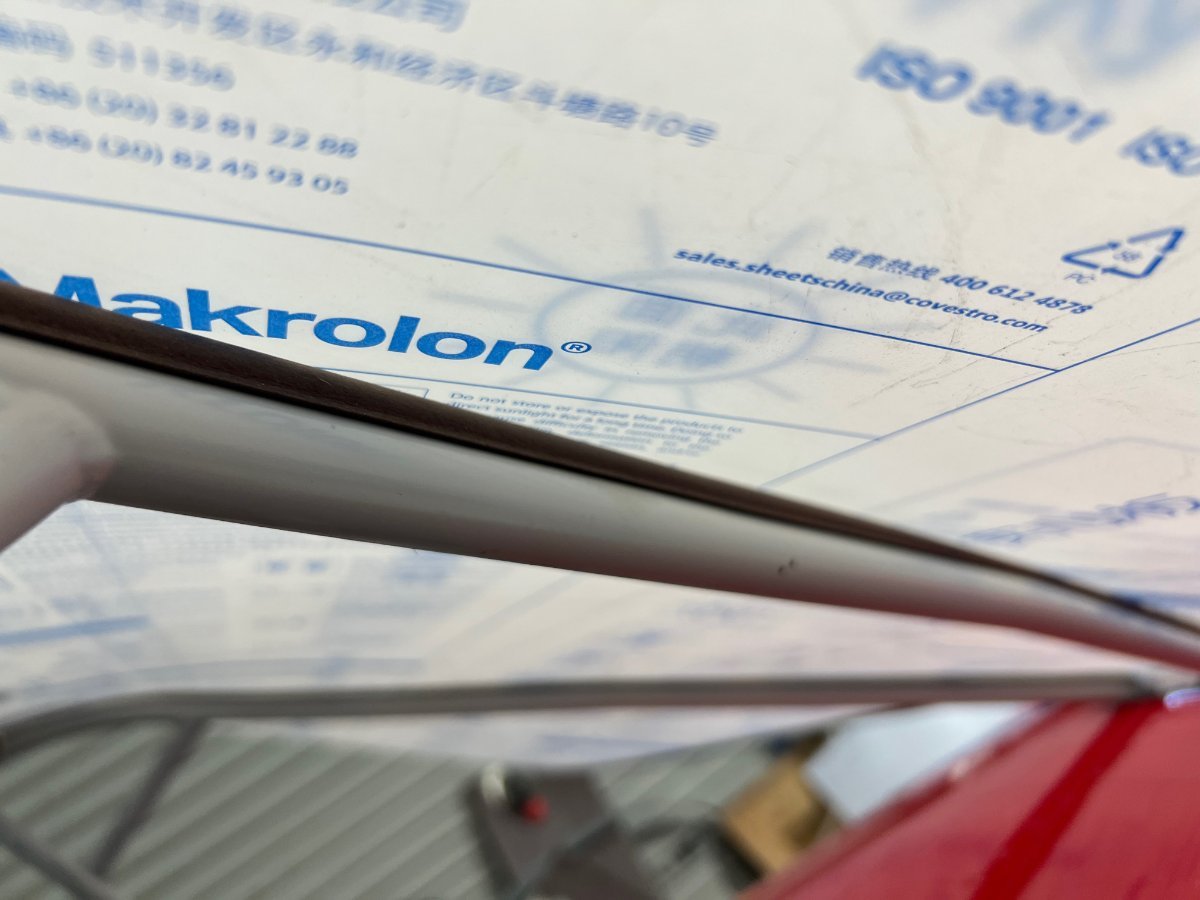
I left all the rear top and both sides about 10mm longer than it needed to be just to make sure I did get it right. I had that trouble on my first build and ended up redrilling the sides. The issue wasnt at the top on the first build though. Doing the main screen by yourself is a PIA but as usual the more you do the more you learn how to do it better. This one isnt perfect fit but good old black silicon fills any tiny gaps at the bottom of the screen where it just misses touchig the boot cowl skins. Got to get some painting done this week then I can continue on. I have to make a cover yet for the twin stick connection control point. Thats also a PIA. But at least its easy working with 16 thou -
My Savannah S model rebuild Blog
Kyle Communications replied to Kyle Communications's topic in Savannah
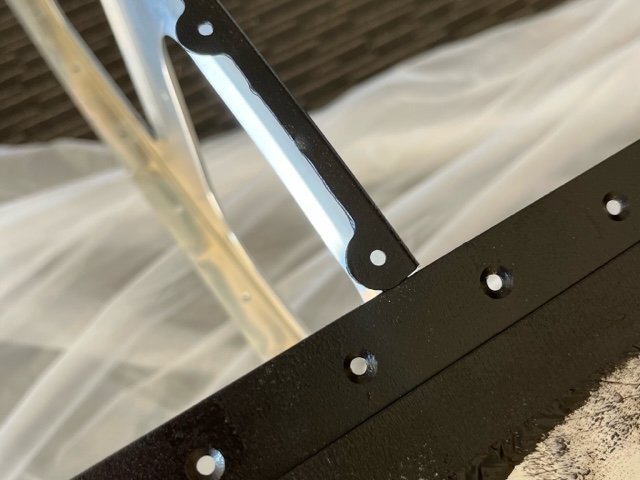
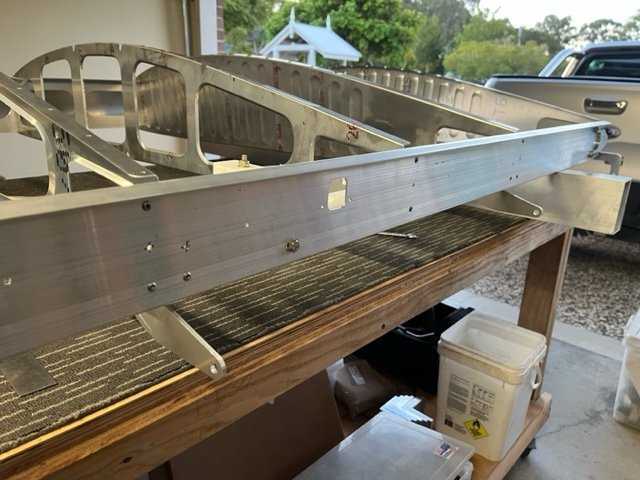
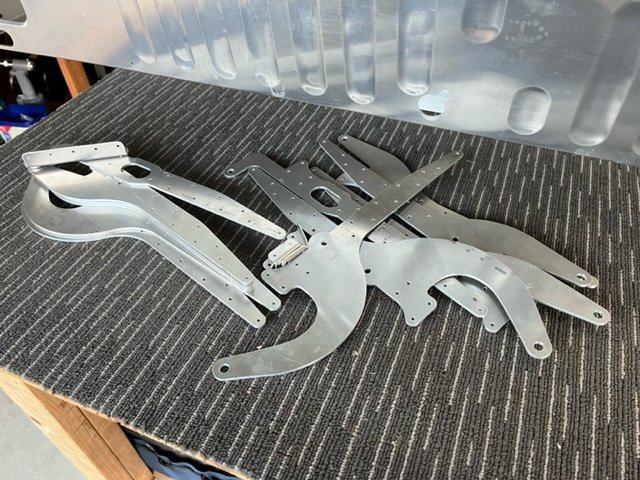
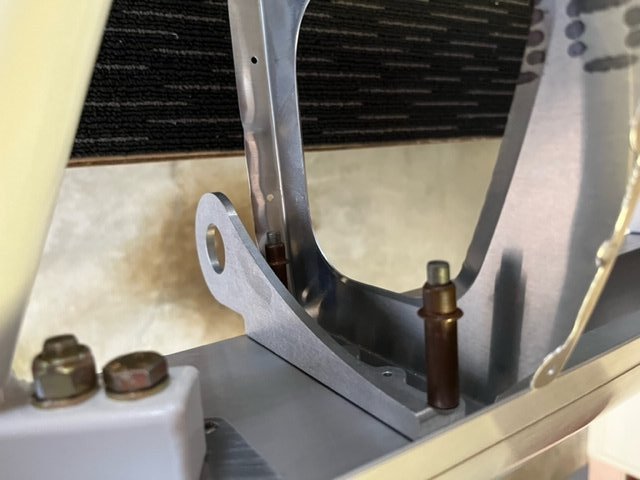
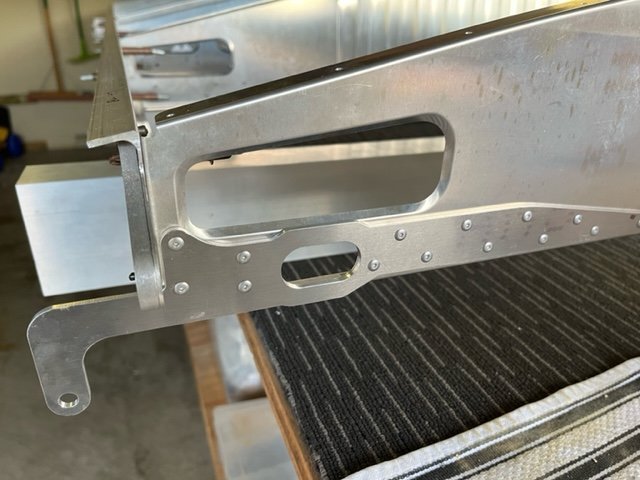
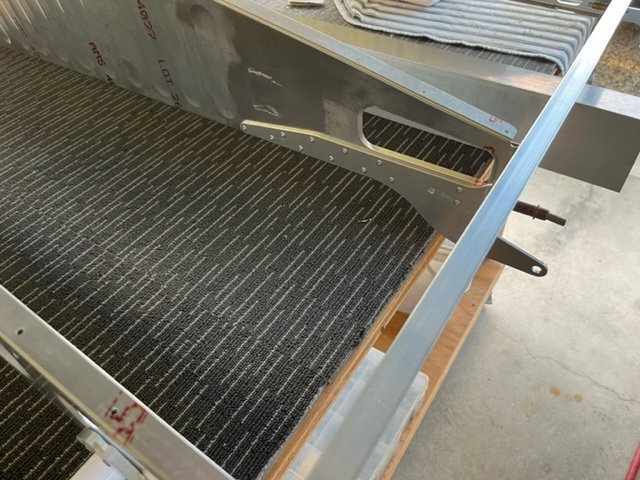
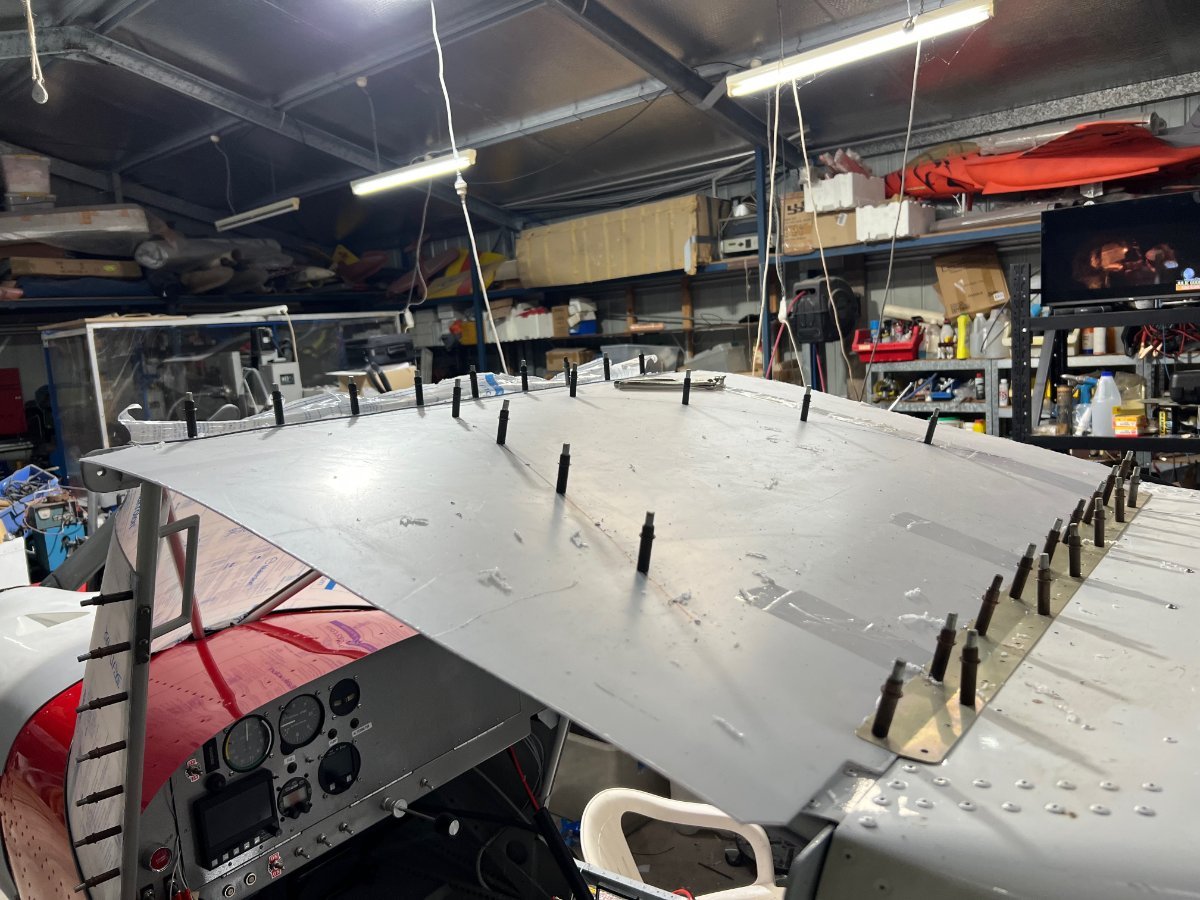
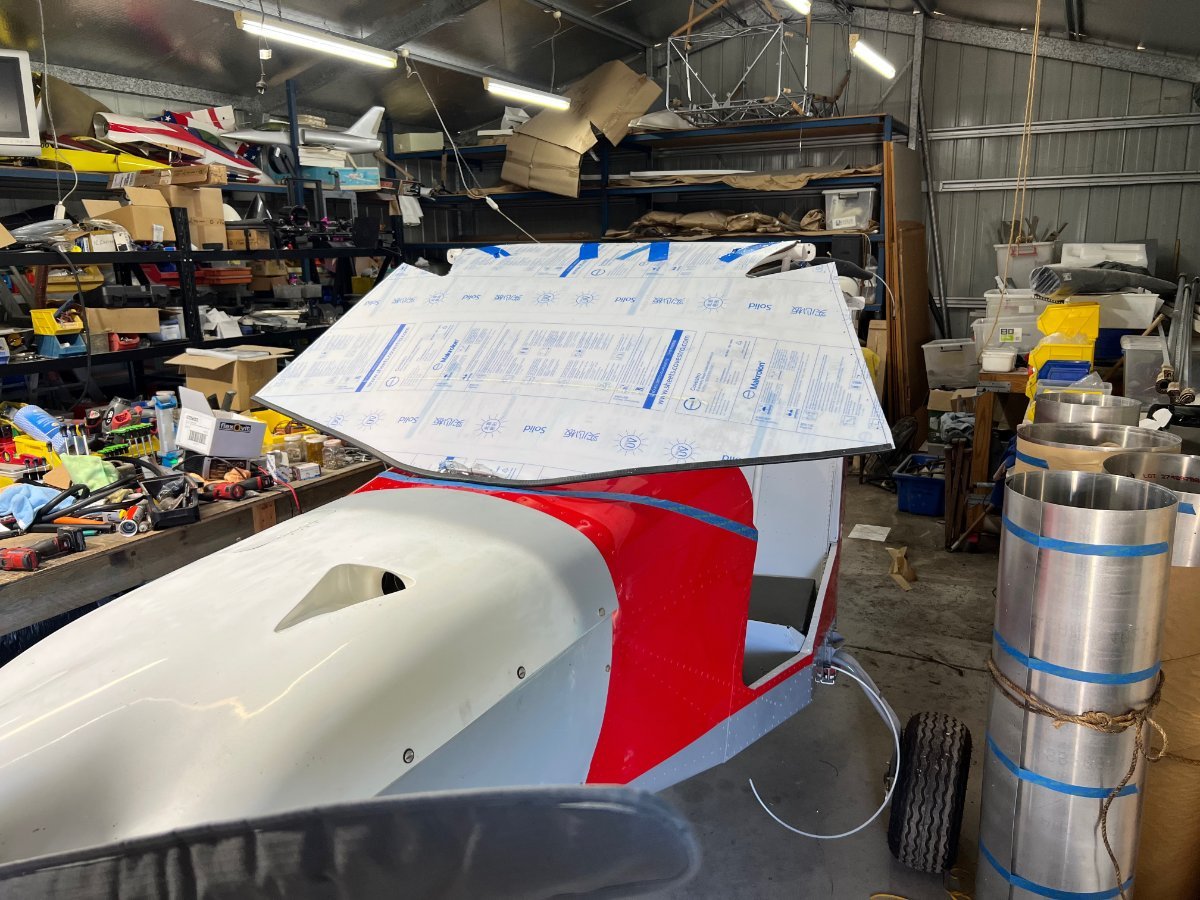
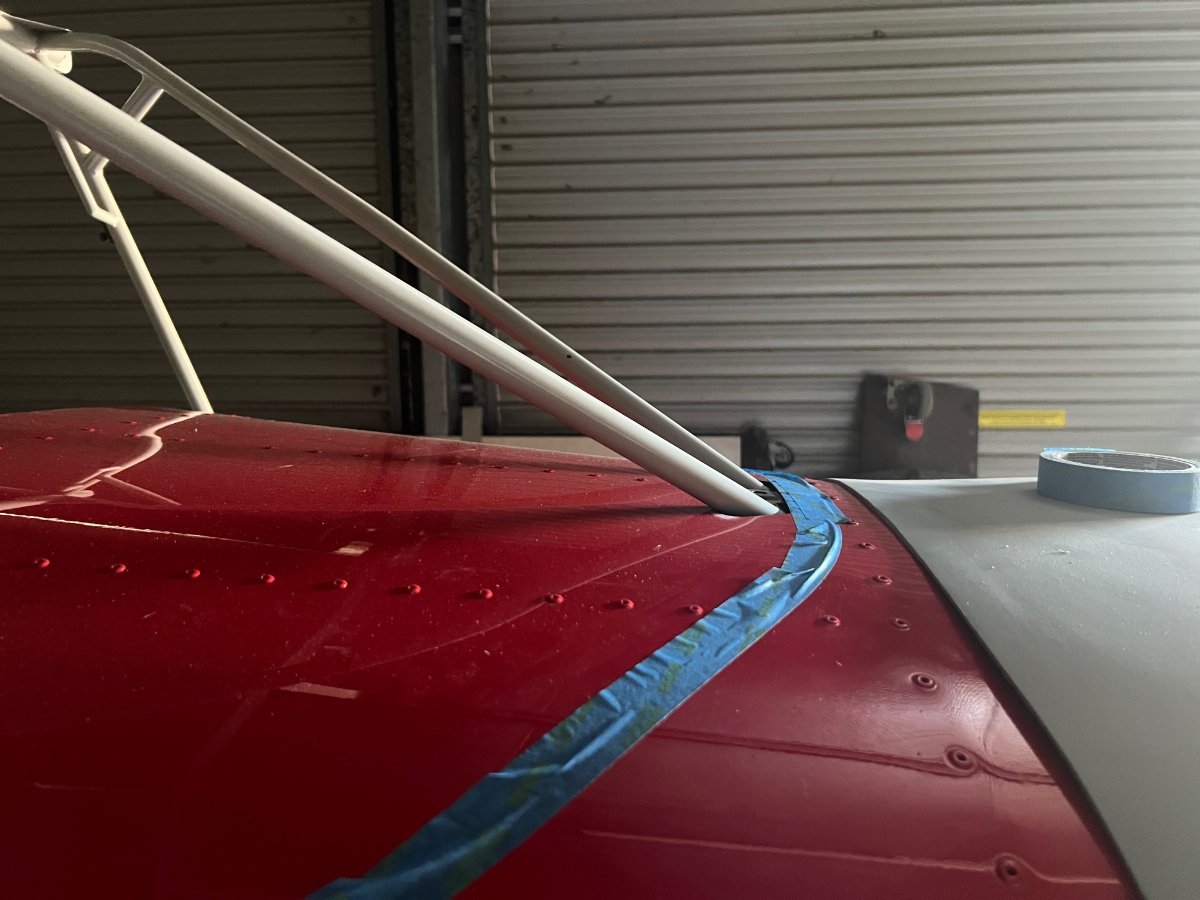
Got quite a few jobs done on Mabel this weekend. Windscreen and top deck cover cut out and sized and fitted. Made the angle brackets for the flap bracket that ties it back to the crossmember. Have undercoated the support ribs for the top deck and a few other metal parts associated with the polycarb.. Hoped to get some colour sprayed but its too windy and cold here today
-
My Savannah S model rebuild Blog
Kyle Communications replied to Kyle Communications's topic in Savannah
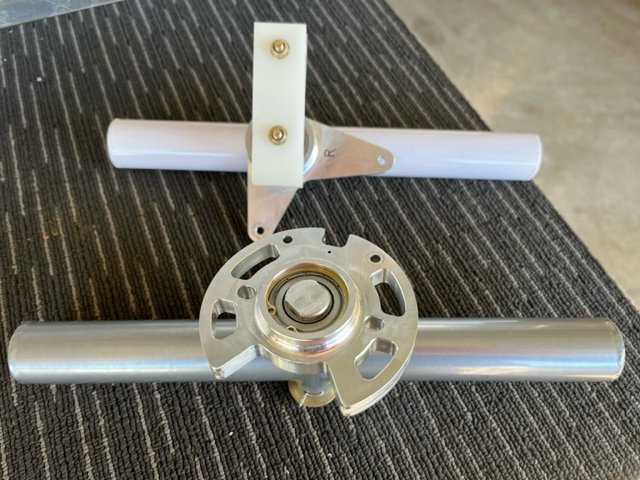
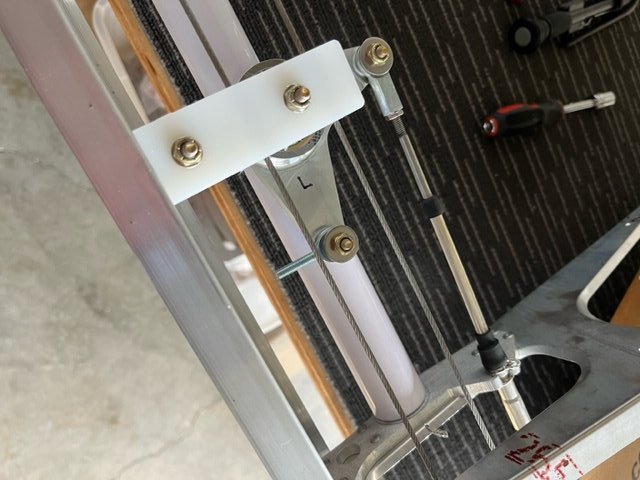
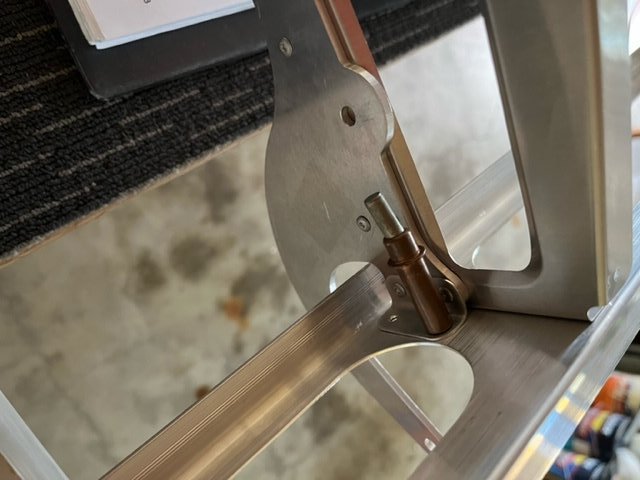
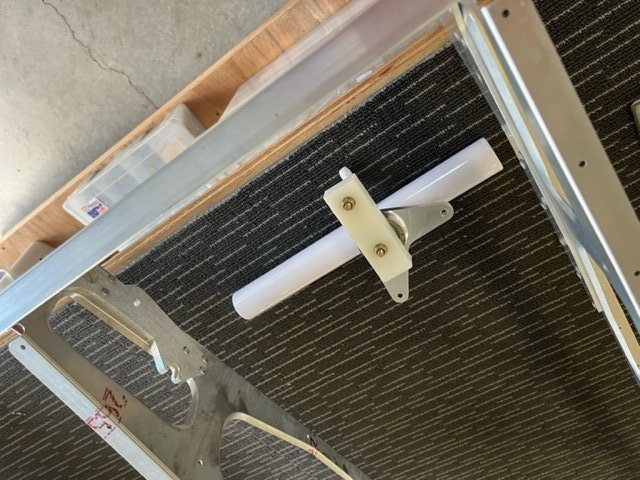
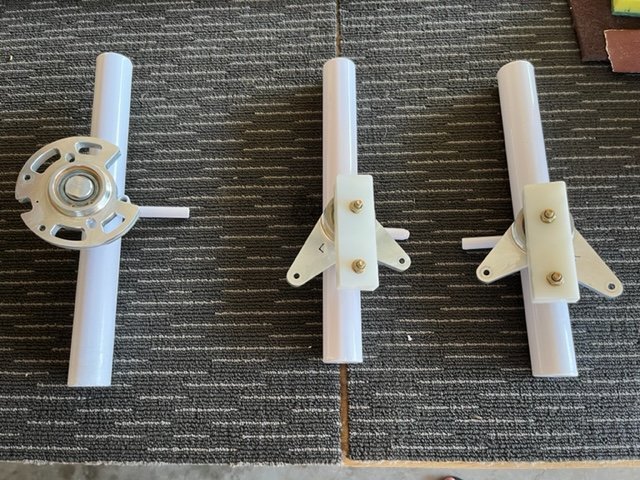
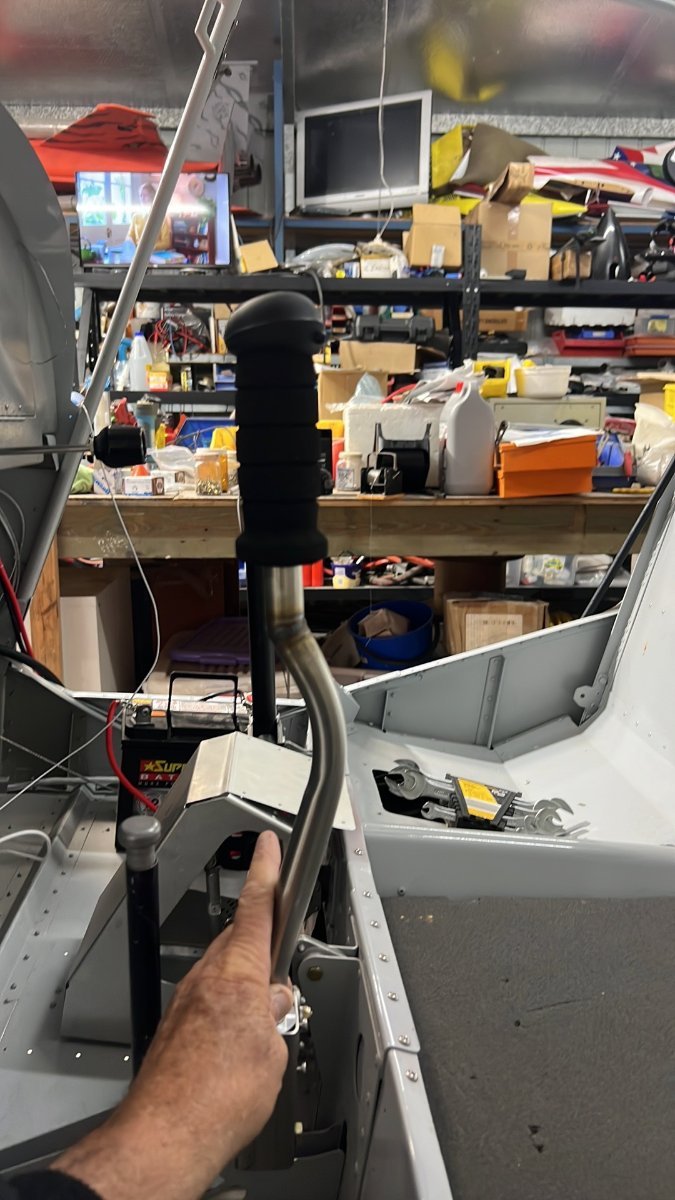
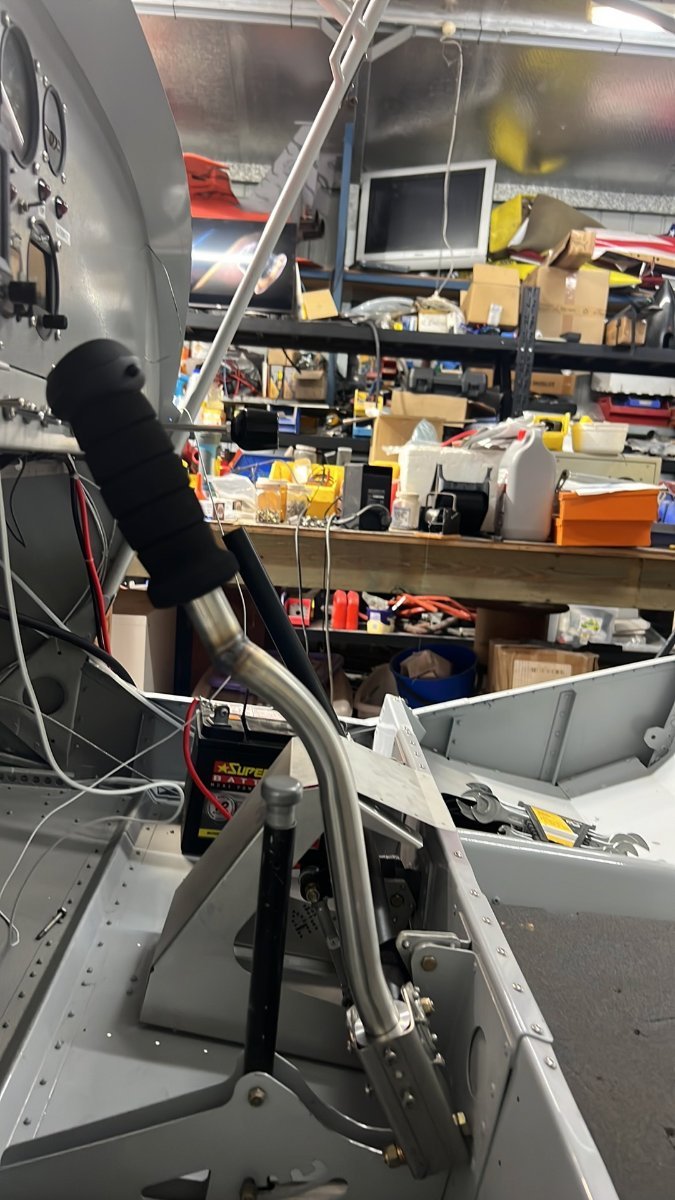
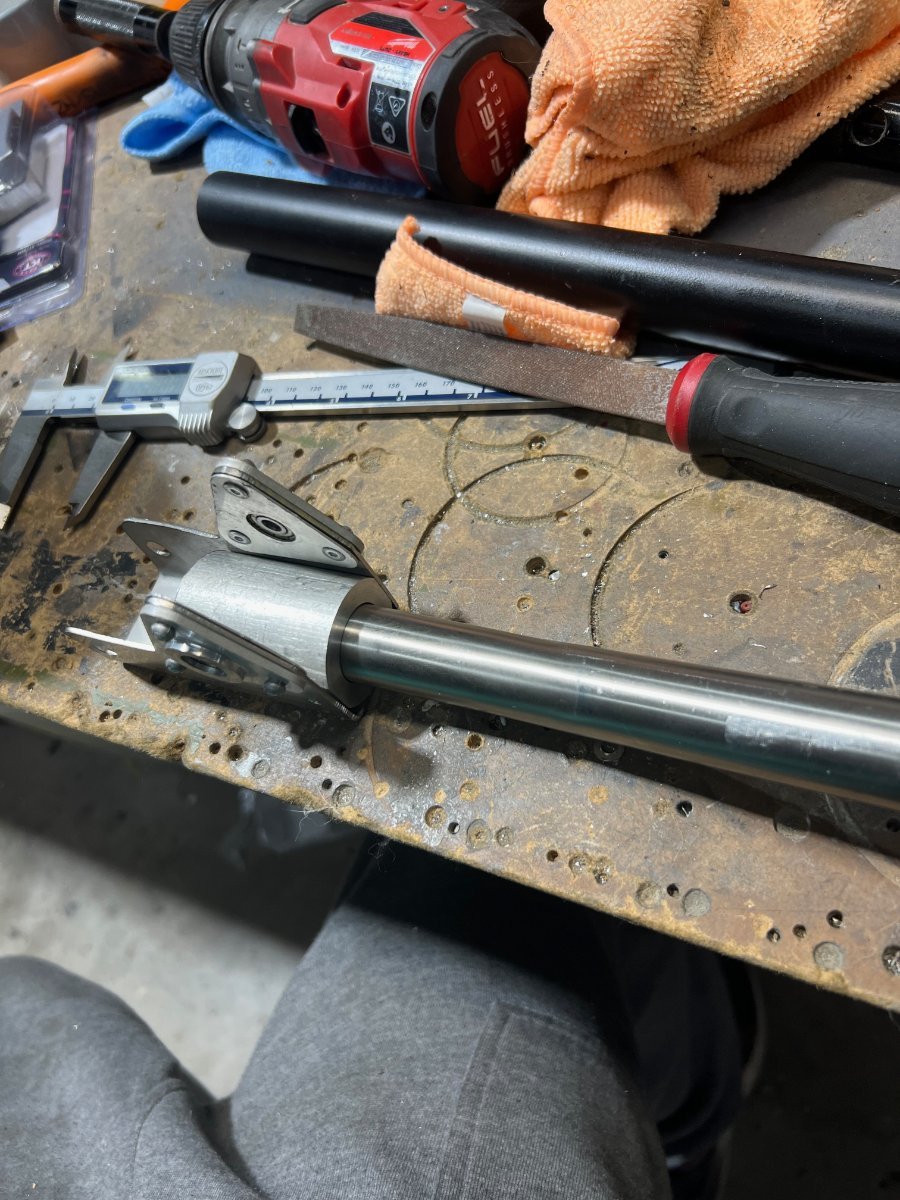
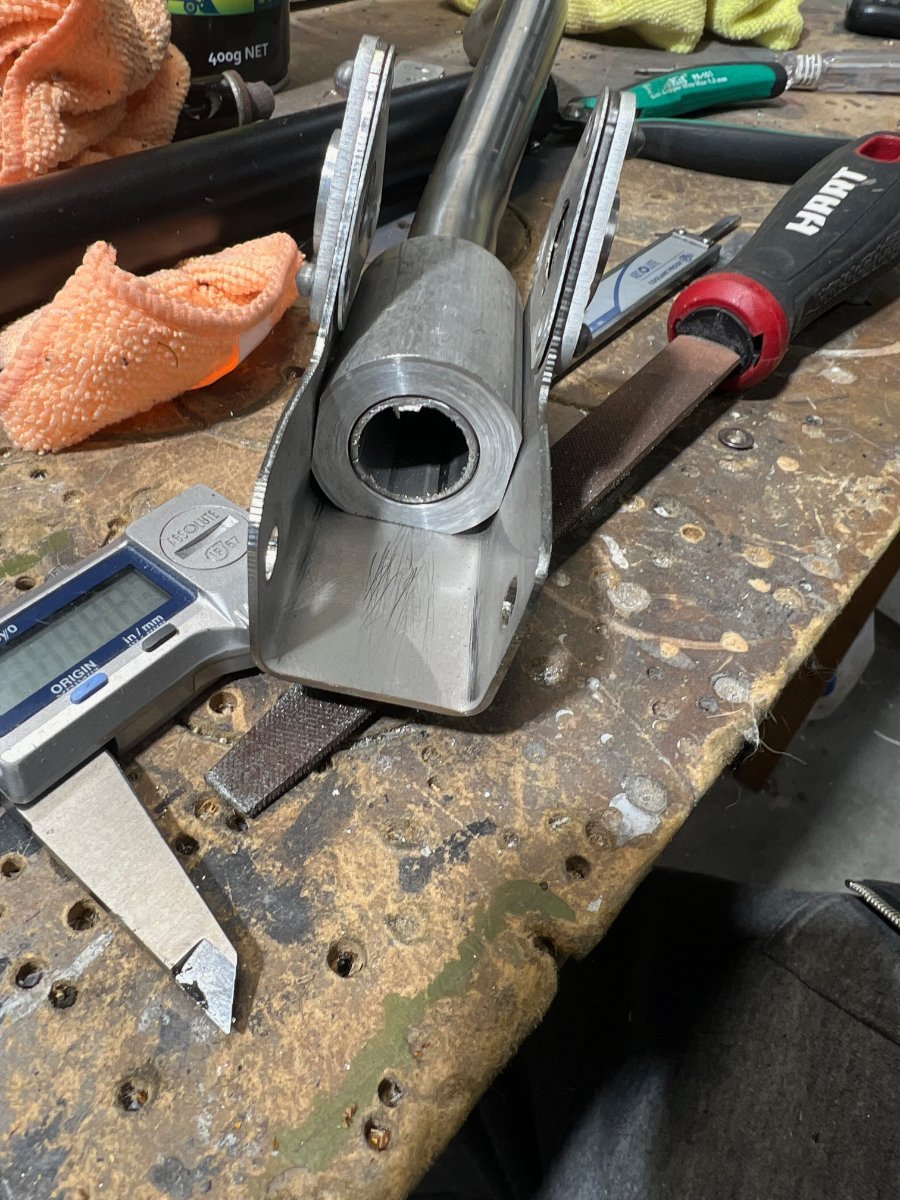
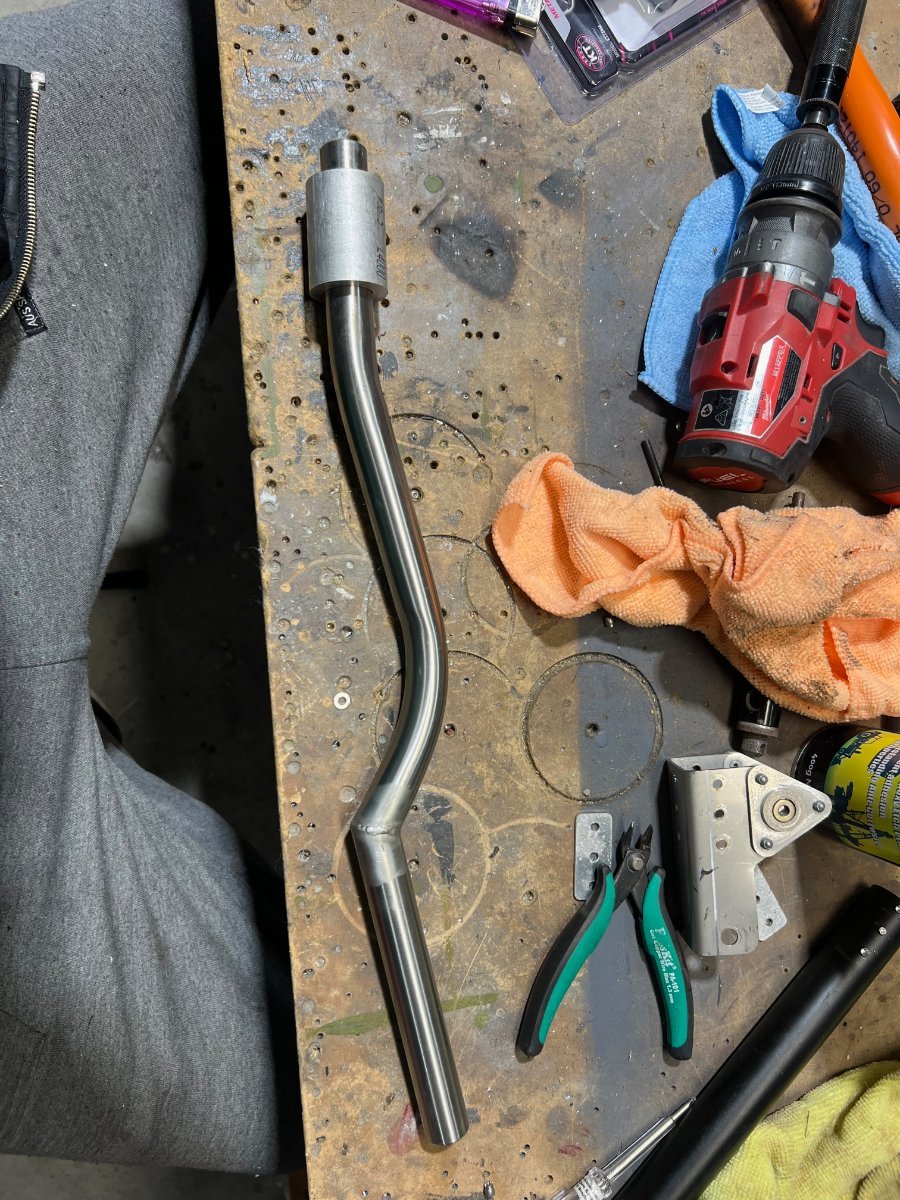
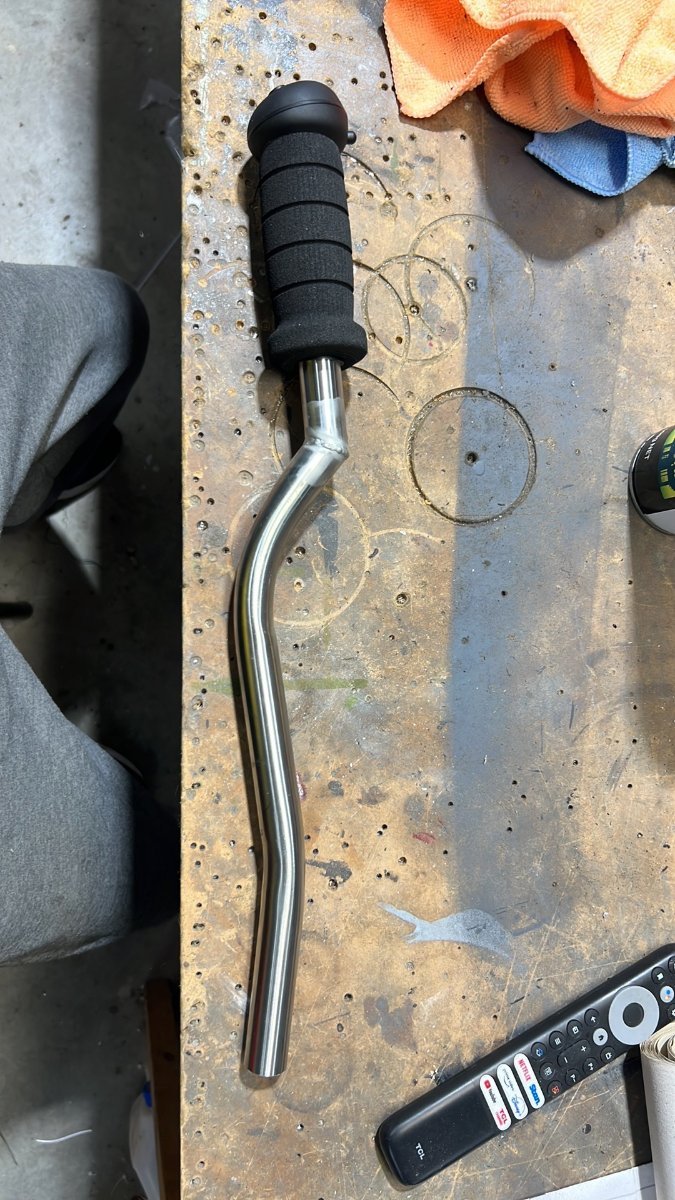
Back from my trip over to Thailand. Worked on getting the new control stick shaped around the modified flap lever. This is only necessary due to it being a twin stick install. This is of course only when in full flap position and with my modified flap bracket I never use full flap but it misses the lever fully in all cases I drew up the shape and Danny bent it in his roller. The angle at the top for the grip meant it had to be cut and shut. The main control arm connector for taht stick I removed the std piece of pipe and machined up a piece to go inside so I could slide the new control stick in. It can be easily removed by 2 of 4mm screws if needed and is a good fit. I am using a Ray Allen grip on the stick so I will wire the trim up to the stick. So i have a switch on the panel that doesnt work or I get a filler dot for it. Cut the new windscreen and top cabin cover out of polycarb also this week. Trying to find some decent rubber to fit on it at the bottom but not much around now so tomorrow I will be driving around trying to find something. I have to paint the 2 roof ribs for the roof top and the aim is to get the windscreen installed and the top cabin cover at least all fitted and drilled.